How to Enable Domain Privacy
According to the ICANN regulation, the group of people who solely focus on domains and all the stuff about them, the contact information for a domain must be submitted when you purchase a domain name. This information is made publicly available through an RDAP Directory. All domain owners (registrars) are required to keep accurate, current, and valid personal or business contact information for their domain. But let's say you don't want your personal contact information for your domain accessible to everyone on the World Wide Web. In order to make ICANN happy by providing accurate contact information and not allowing your personal contact information to be online, you can simply purchase Domain Privacy to appease everyone.
What is Domain Privacy + Protection?
Domain Privacy + Protection is a service that allows you to keep your personal and business contact information, such as your name, address, email, and phone number, private from prying eyes while still ensuring that you list valid contact information for your domain. With the "Protection" feature, it also provides the following additional functionalities:
- Daily malware scanning
- Blacklist monitoring
- SMS domain alerts
Please visit the following article to learn more about the Domain Privacy + Protection's features and how to add the service to your HostGator account.
How to Manage Domain Privacy + Protection
Here are the steps to managing your Domain Privacy + Protection in the Domains tab of your Customer Portal.
To enable or disable Domain Privacy + Protection:
- Log in to your Customer Portal.
- Click Domains on the left-side menu.
- If you have a single domain in your account, you will be redirected to the domains panel right away.
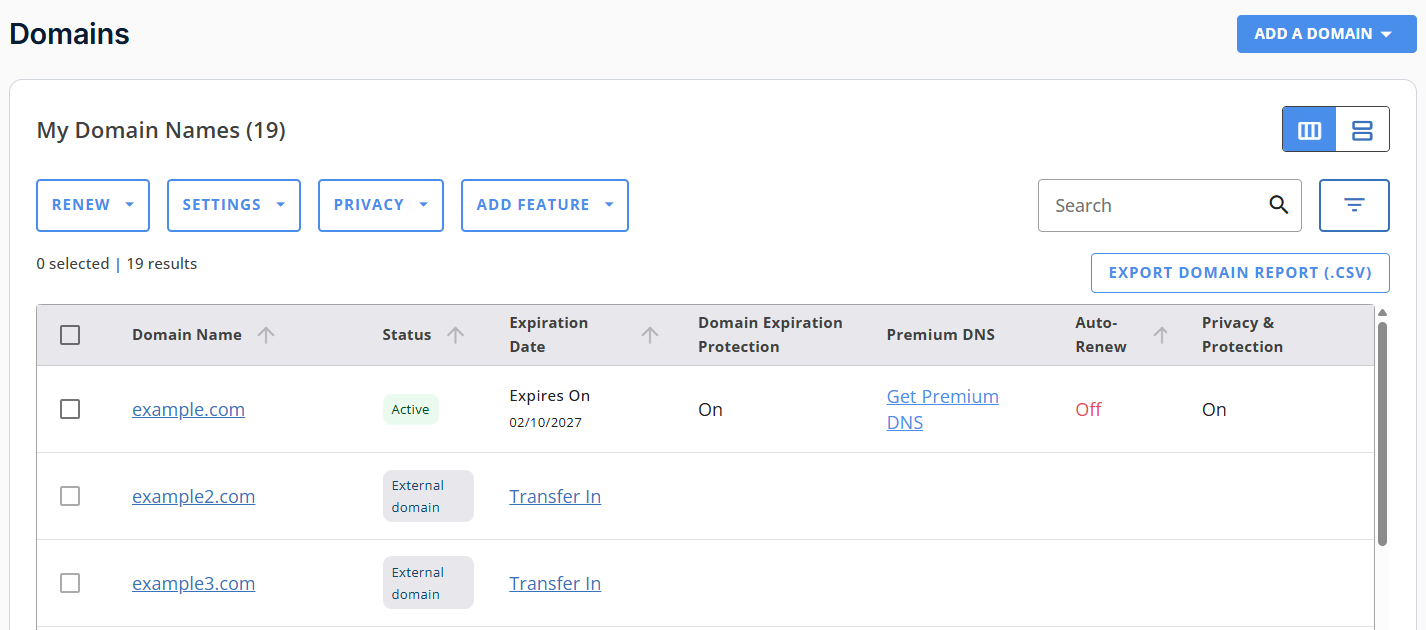
- If you have multiple domains, a list will appear. Click the domain you want to manage.
List view:
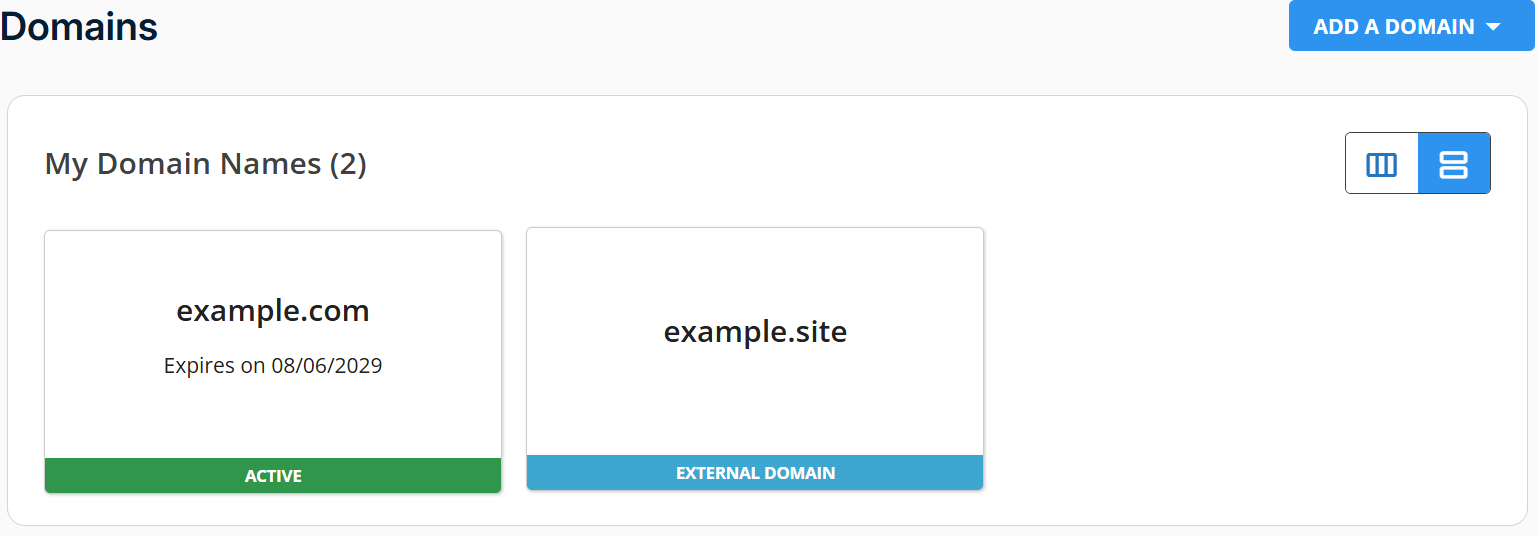
Card view:
- In the Overview tab, toggle the Domain Privacy + Protection button to enable or disable this feature.
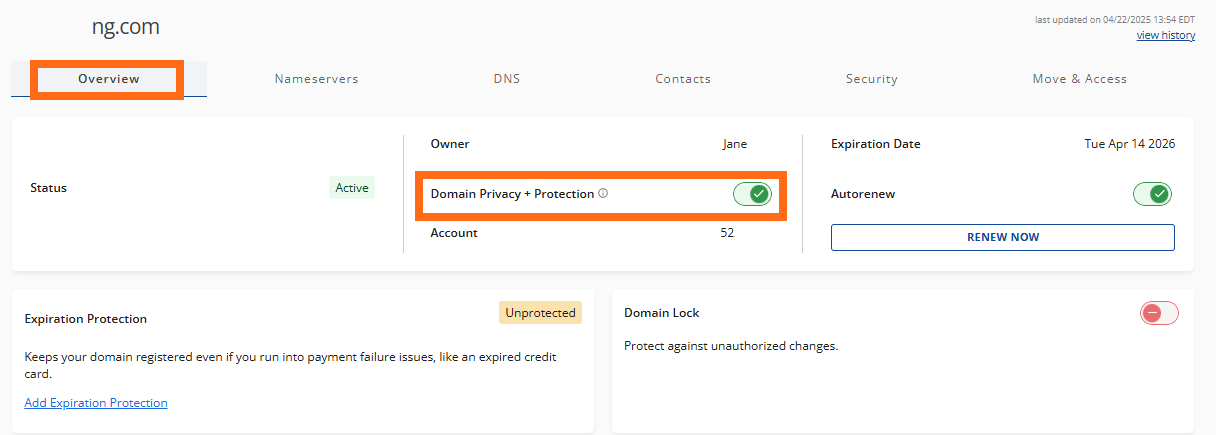
You can also go to the Contacts tab and toggle the button to enable or disable Domain Privacy + Protection.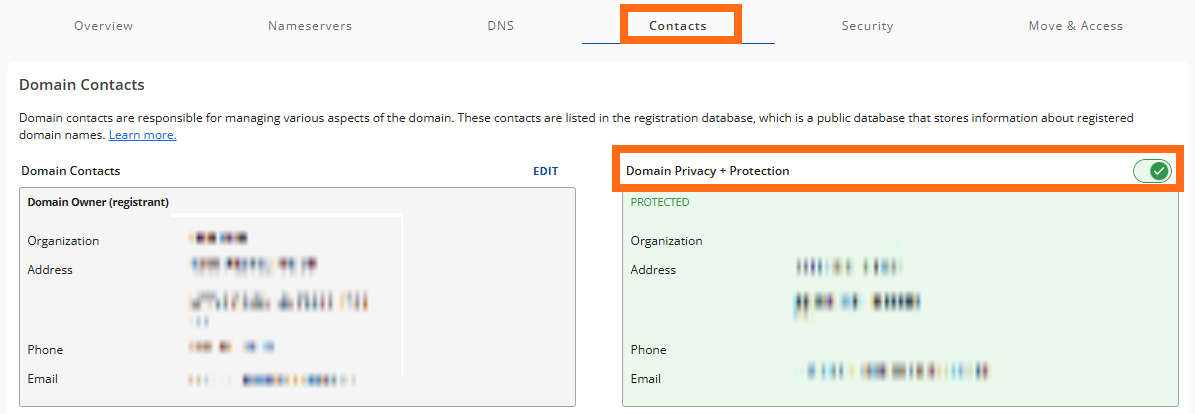
To renew your Domain Privacy + Protection:
Domain Privacy + Protection renews automatically by default unless you turn off its Auto-Renew feature within the Renewal Center. Please note that renewing this service is different from renewing your domain name or hosting plan.
Check out the following article to learn how to renew your Domain Privacy + Protection within the Renewal Center.
Related Articles
- Domain Expiration Protection: What You Need to Know - If you're looking for more information about our Domain Expiration Protection service, please visit this article.
- Domain Privacy Protection for .us Domains - This article explains why you can't add privacy protection to your .us domain.
- How to Navigate the Domains tab Overview Menu - You may visit our go-to articles for domain management.
- How to Update WHOIS Information for Your HostGator Domain - Learn how to update your domain contact information (WHOIS) within your Customer Portal.
- WHOIS Information & Domain Privacy - This article discusses WHOIS and how to purchase Domain Privacy + Protection for your domain.
- Why Update Your WHOIS Information - For more information about why it's important to keep your WHOIS info updated, please visit this article.