Manage DNS Records with HostGator
With the recent updates to the HostGator Customer Portal, the way you access DNS settings and manage DNS records for your domain names has changed. Let us walk you through the new Domains tab experience in the Customer Portal and help you navigate your DNS management tasks easily.
Please click on the link to jump to a section:
What is DNS, and what does it do?
The Domain Name System, also known as DNS, refers to the large-scale system of information containing IP addresses, domain names, hosting, and other registration information across every site on the Internet. DNS translates domain names to IP addresses and helps locate a website on the Internet.
How do I get to the DNS tab?
You can now easily manage your DNS records directly within the Customer Portal. There's no need to look under the Hosting or Websites tabs or to use cPanel. All your DNS management can now be done in one place within your Customer Portal for a simpler experience.
Here's how:
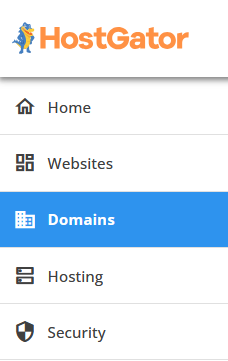
- Log in to your Customer Portal.
- Click Domains on the left-side menu.
- If you have a single domain in your account, you will be redirected to the domains panel right away.
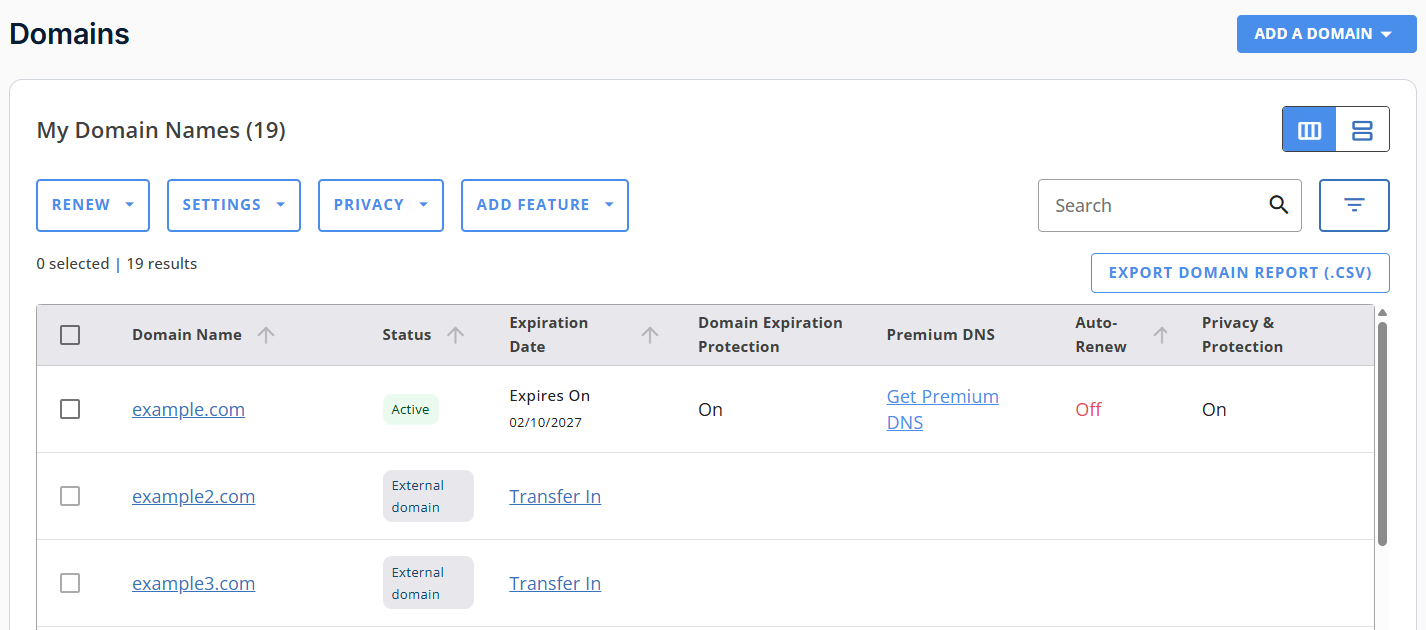
- If you have multiple domains, a list will appear. Click the domain you want to manage.
List view:
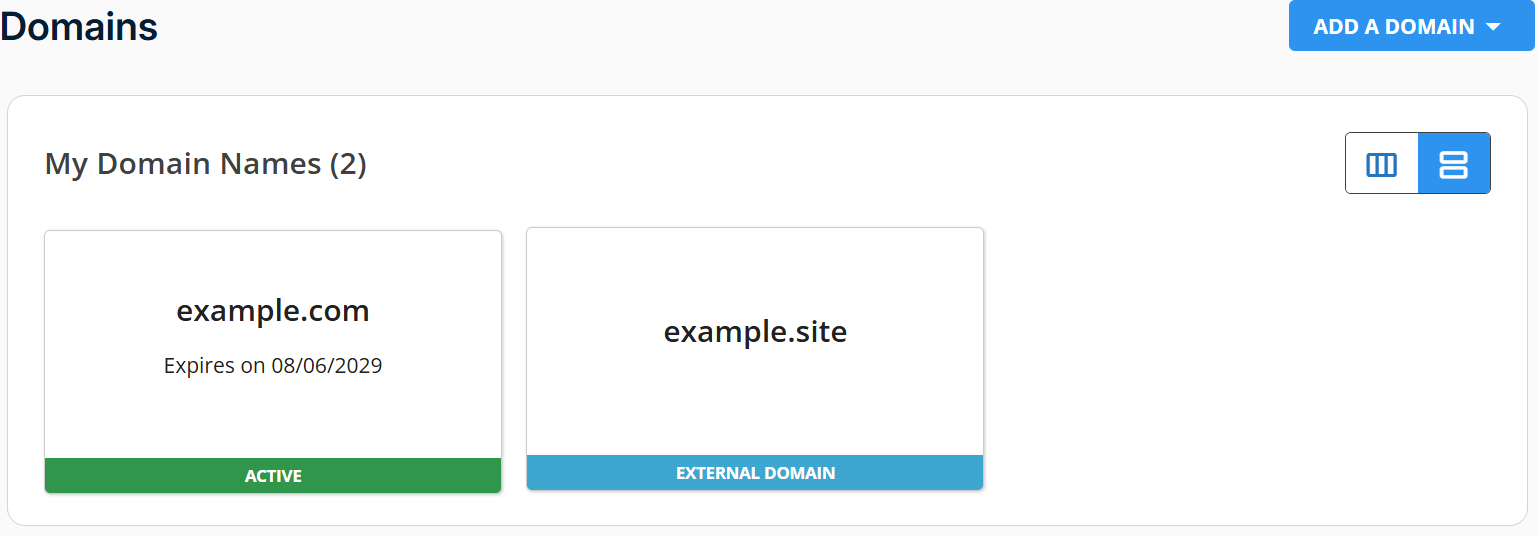
Card view:
- Click the DNS tab.

You'll see the Manage Advanced DNS Records section, where you can do the following:
Adding a DNS record
- Click the + Add Record button.

- Select whether to add a Single record or Multiple records.
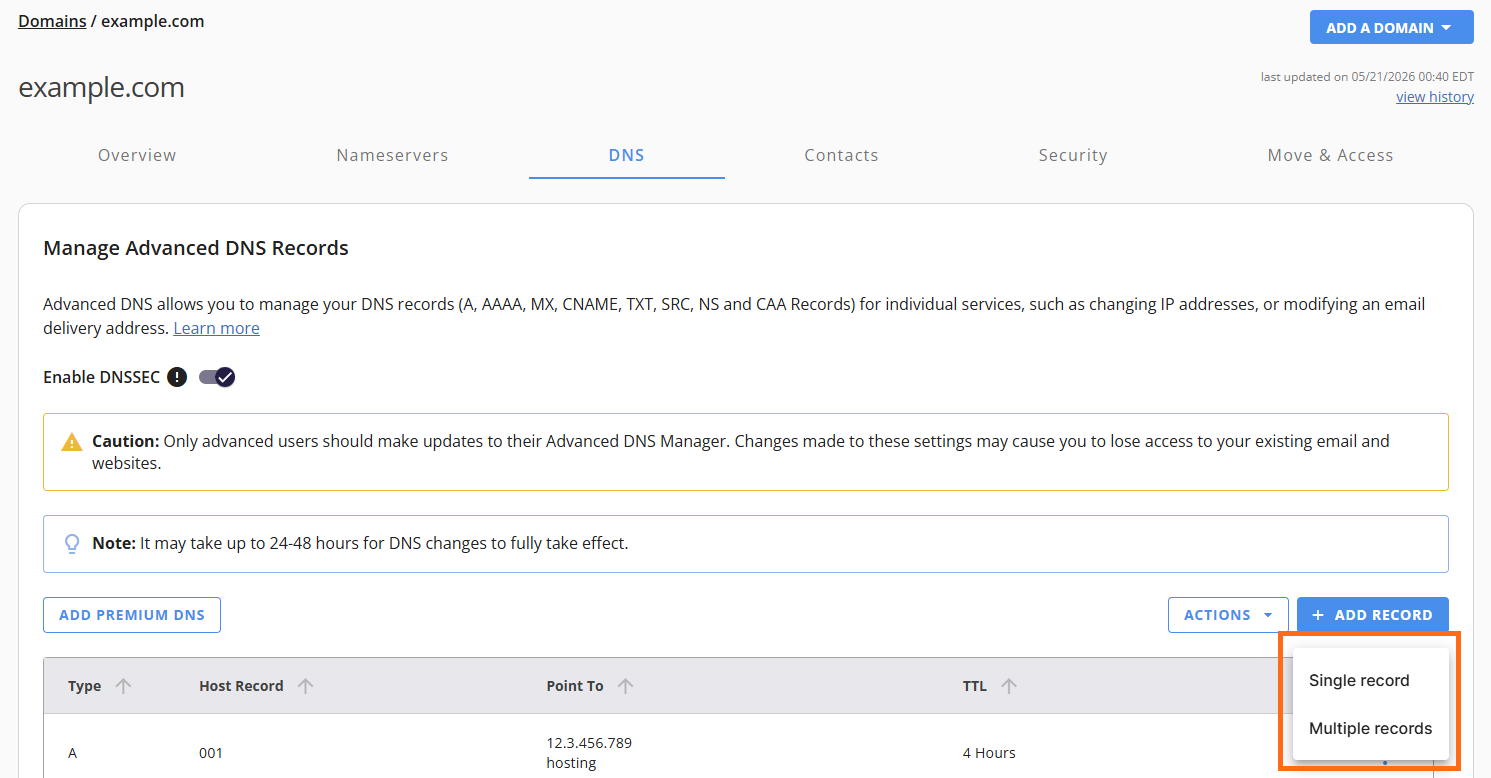
- For a Single record, you can add only one DNS record at a time.
- Choose the record type and enter its values.

- Click Add to save the new DNS record.
For Multiple records, you can add more than one DNS record.
- Select the record type from the dropdown, then click Continue.

- Click the + Add More Records link to enter the values of the DNS records.
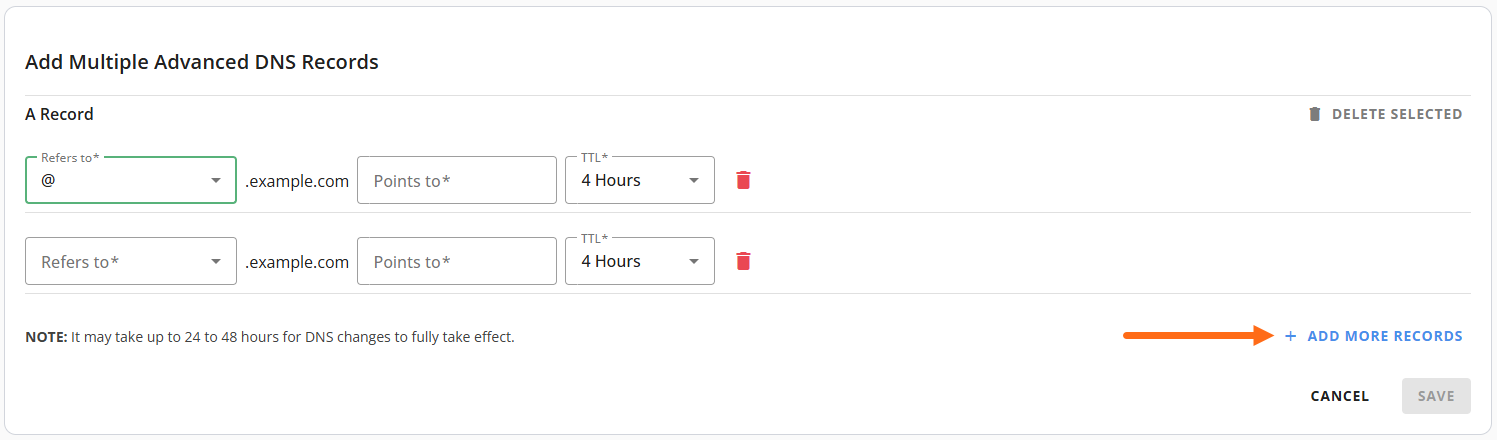
- Click Save.
- Choose the record type and enter its values.
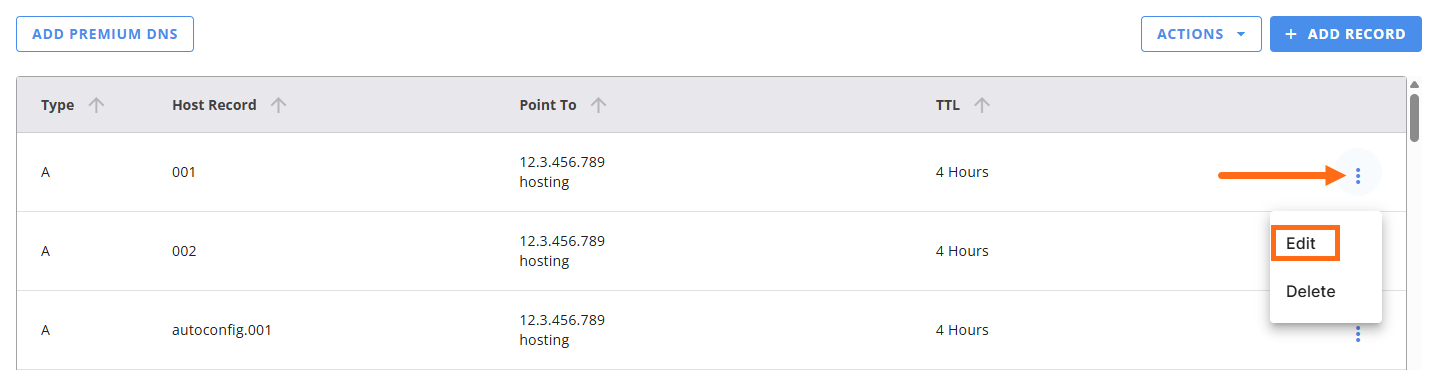
Editing a DNS record
- Choose the domain you want to edit, click its ellipsis icon on the right, then click Edit.
- Make the changes to the record, then click the Edit button to save the changes made.
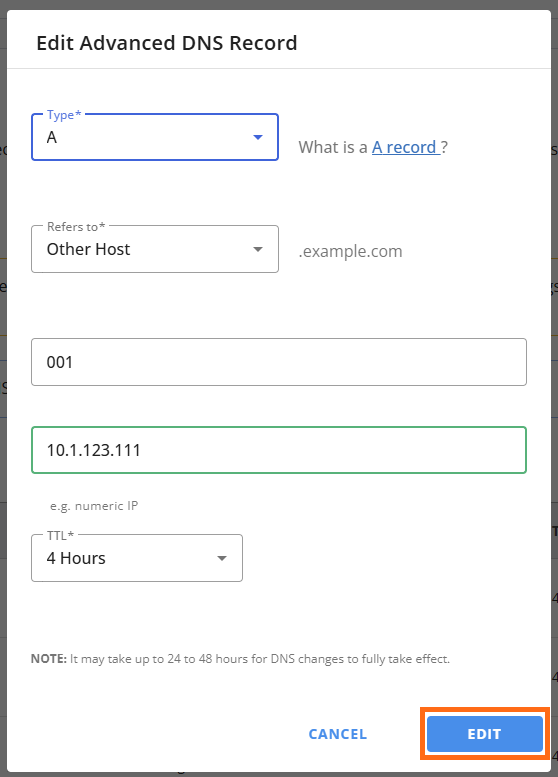
- A pop-up message confirming the changes were successful will appear on the screen.
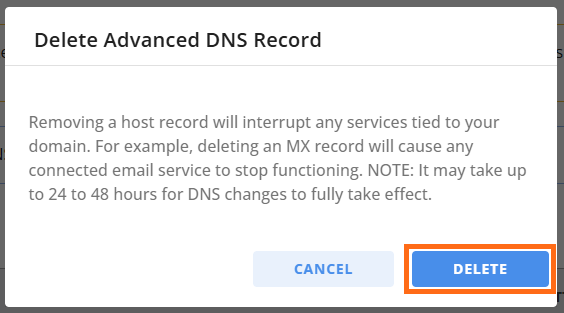
Deleting a DNS record
- Look for the domain from which you want to remove a DNS record, click its ellipsis icon on the right, then select Delete.
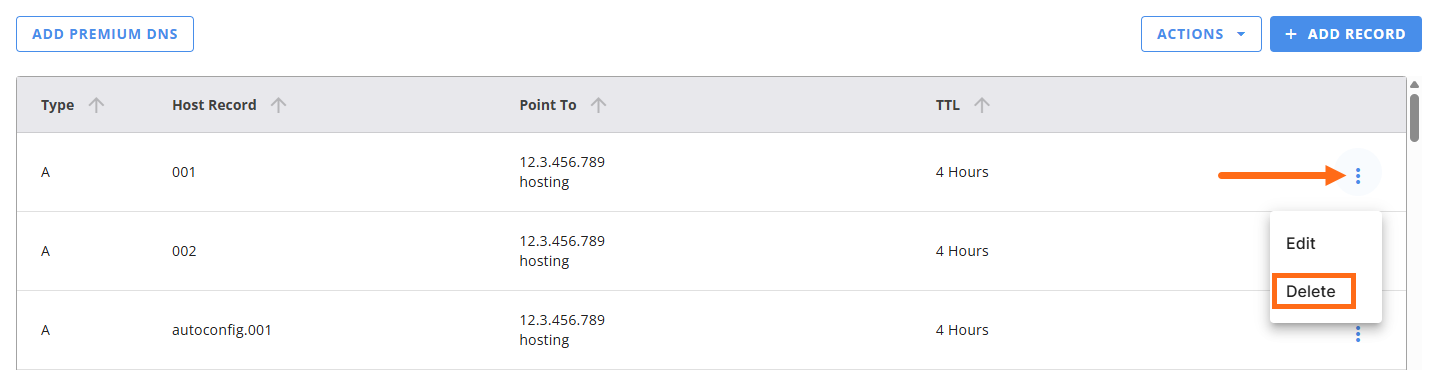
- Click the Delete button to confirm deletion.
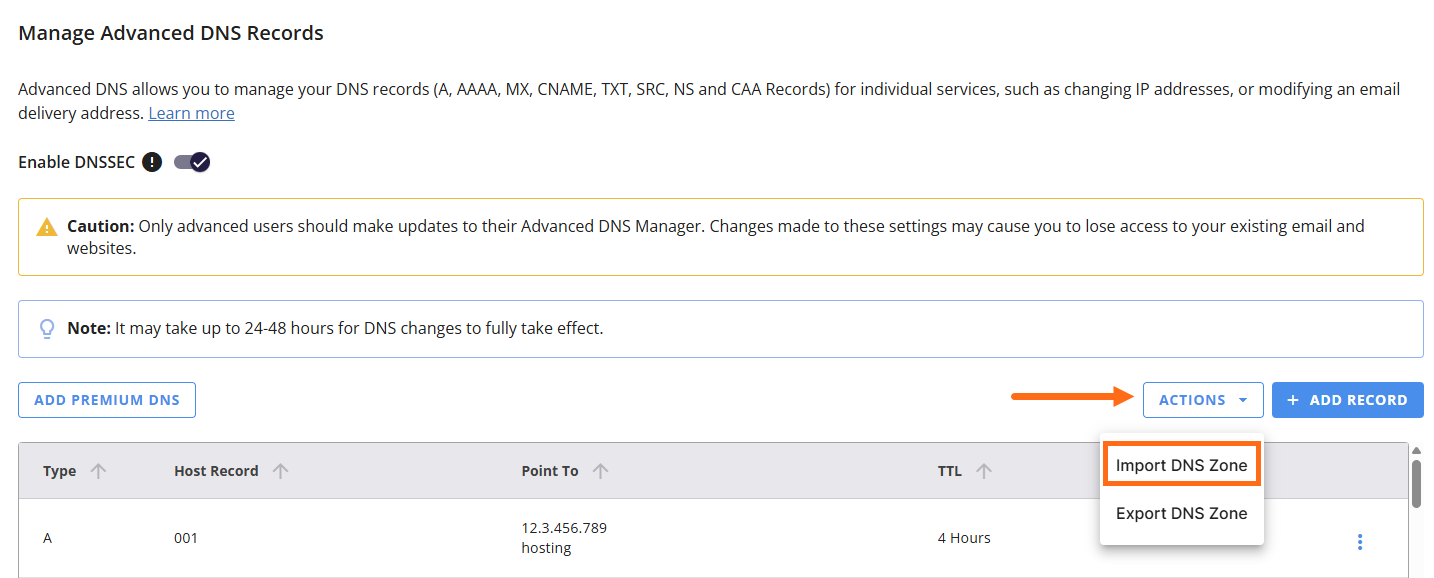
Importing a DNS Zone
- Click the Actions menu.
- Select Import DNS Zone.
- In the pop-up, select your DNS zone file.
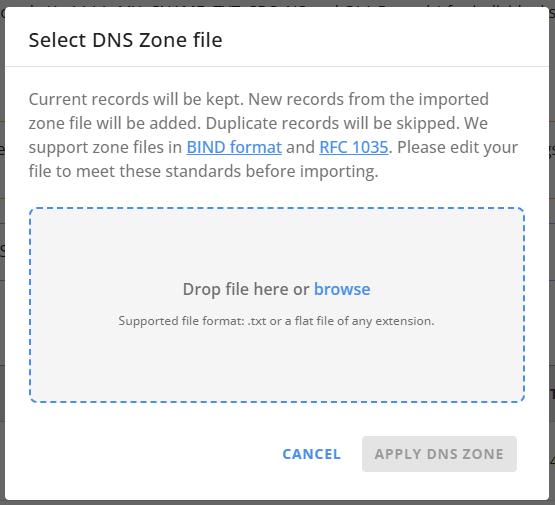
- Click Apply DNS Zone.
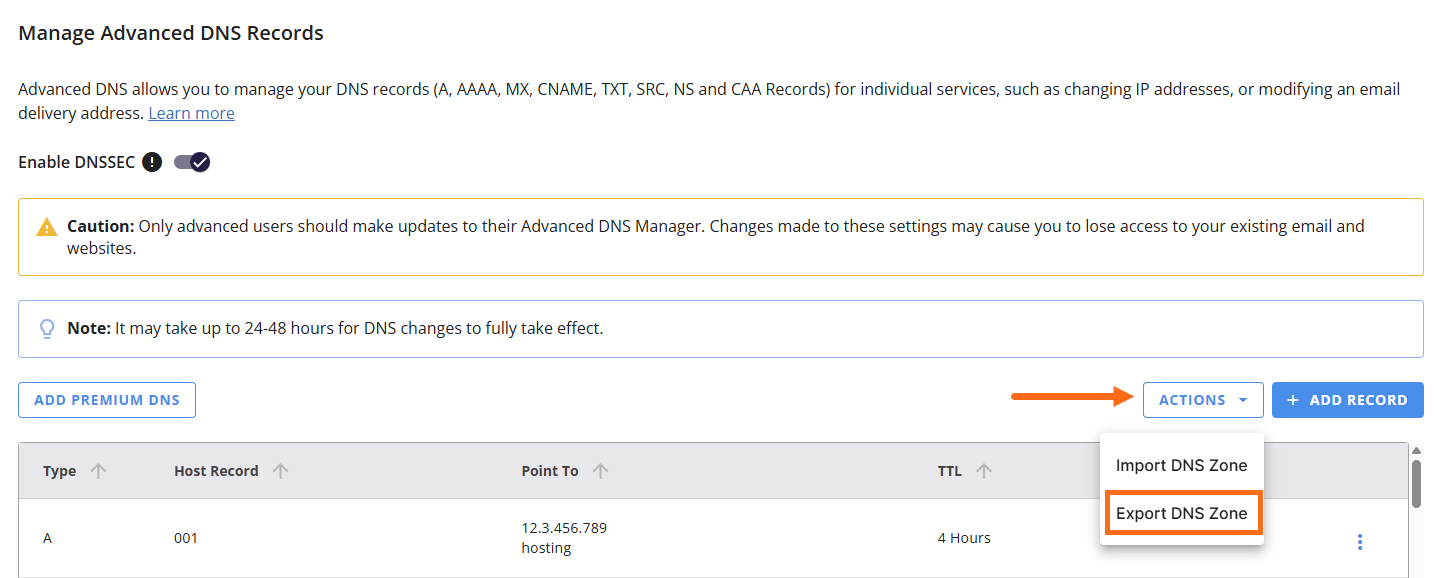
Exporting a DNZ Zone
- Click the Actions menu.
- Select Export DNS Zone.
- In the pop-up, click Download DNS Zone.
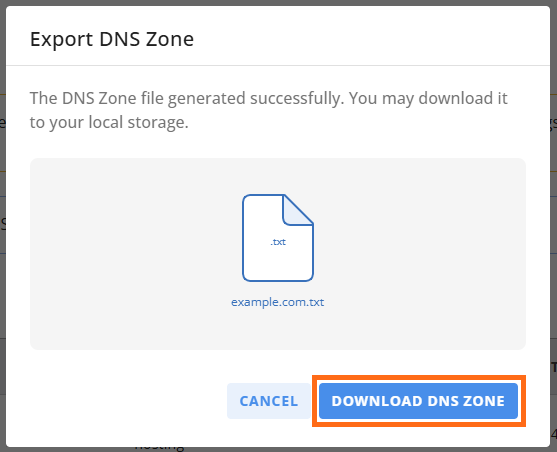
- A .txt file containing the DNS zone for your domain will be downloaded to your computer.