How to Connect Your Domain to Website, Email, and Hosting
Connecting your domain to your website or email might seem overwhelming, but it's an essential step in establishing your online presence. This article will walk you through the process of connecting your domain to your website or email service through your HostGator Customer Portal's Domains tab, ensuring that your website is live and your email is fully functional.
To access the domain's Connections section:
- Log in to your Customer Portal.
- Click Domains on the left-side menu.
- If you have a single domain in your account, you will be redirected to the domains panel right away.
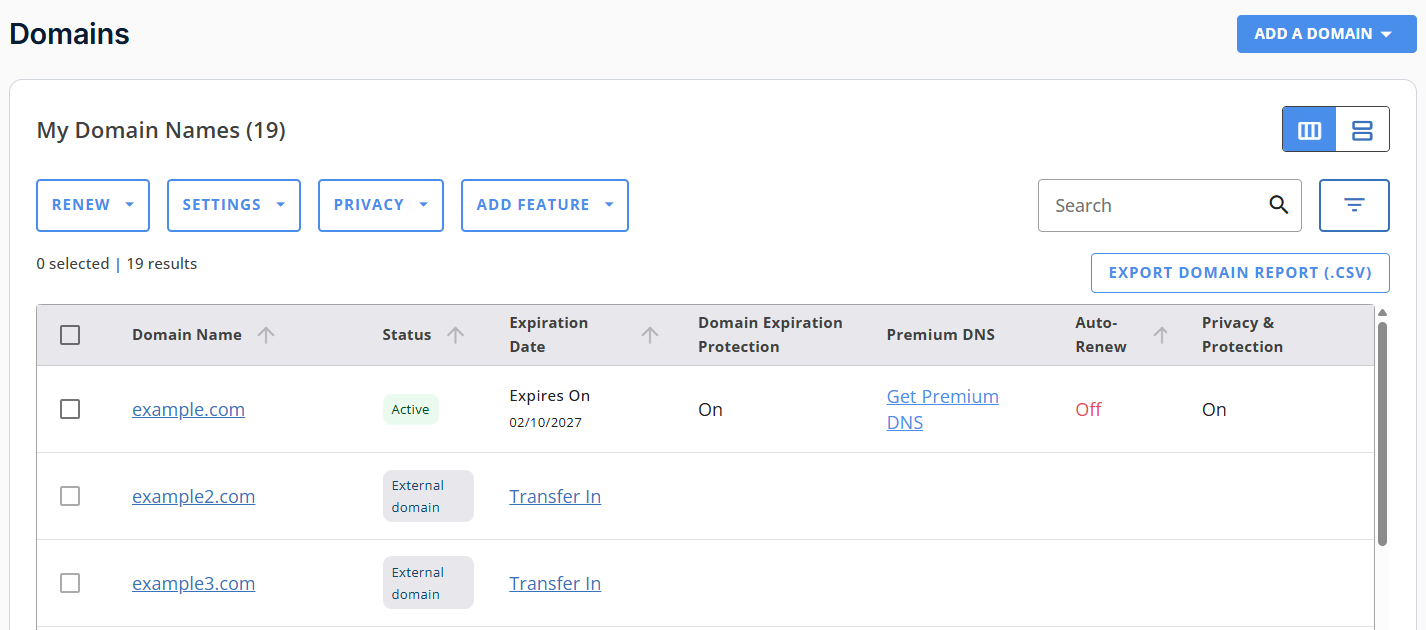
- If you have multiple domains, a list will appear. Click the domain you want to manage.
List view:
Card view:
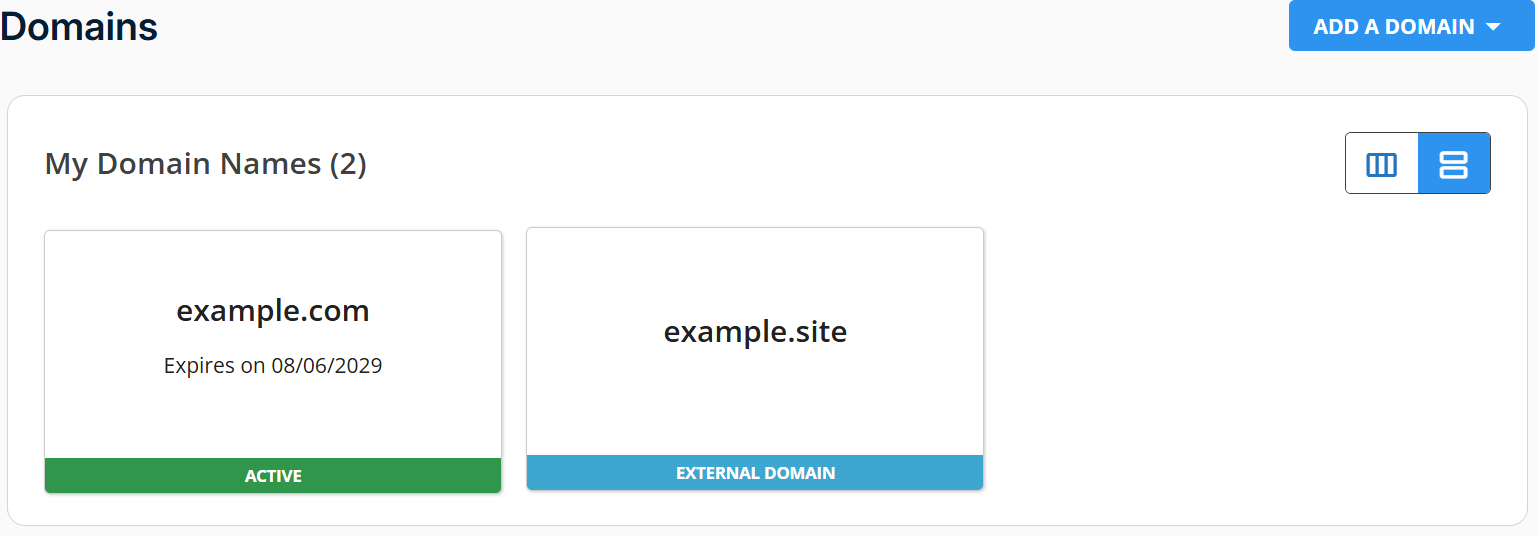
- Click the domain you need to connect.
- Under the Overview menu, scroll down to the Connections section.
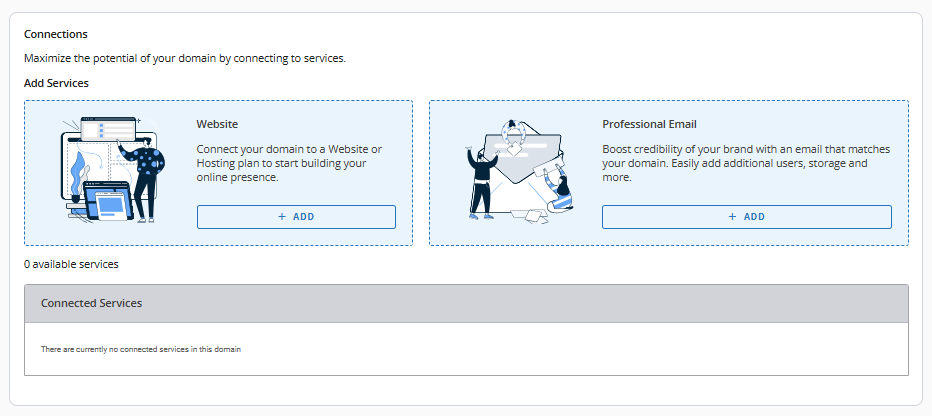
In the Connections section, you can do the following:
Connect Your Domain to a Website
Follow the steps below to connect your domain to a website. Please note that if you want to connect to a website hosted by another provider, you will be prompted to change your DNS records.
- Under Connections, click +Add under the Website card.
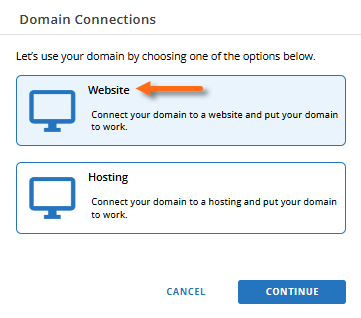
- In the pop-up, select Website, then click Continue.
- To connect to a website hosted at HostGator, do the following:
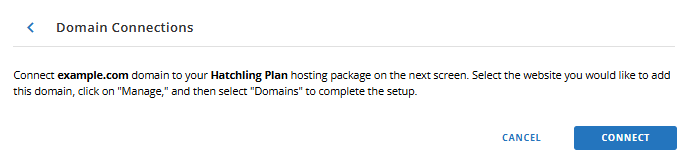
If you have a hosting plan in your account, a pop-up will appear, where you can select the hosting package where you want to connect your domain, then click on Connect. Next, go to Step 4 ⤵.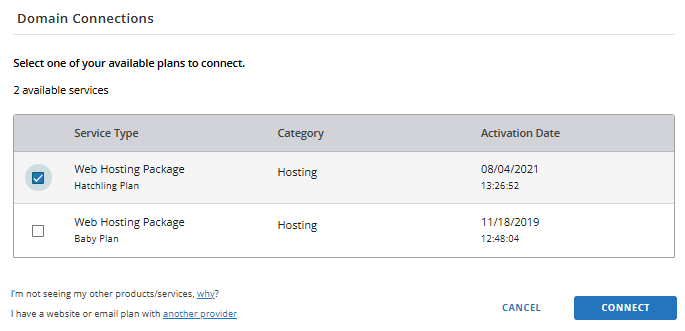
If you do not have a hosting plan in your account yet, you'll be redirected to the front-of-site page, where you can select your preferred hosting plan. Proceed to complete the purchase.
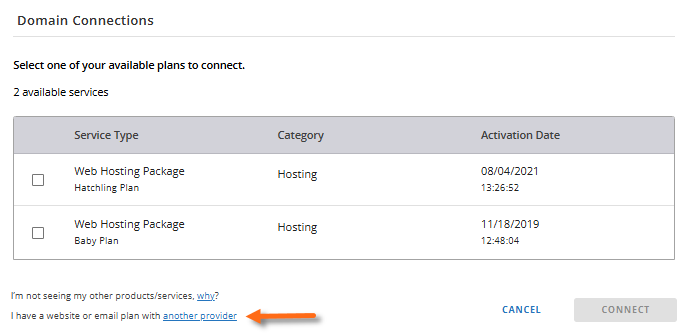
To connect to a website hosted by another provider, do the following:- Click the "another provider" link in the pop-up.
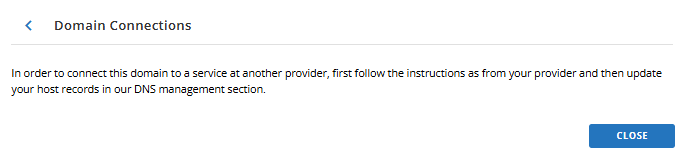
- Another pop-up will appear, informing you to follow the instructions of your hosting provider and update your DNS records in our Domains tab to connect to your website.
- Click the "another provider" link in the pop-up.
- In the pop-up, click on Connect to connect your domain to your Bluehost hosting plan.
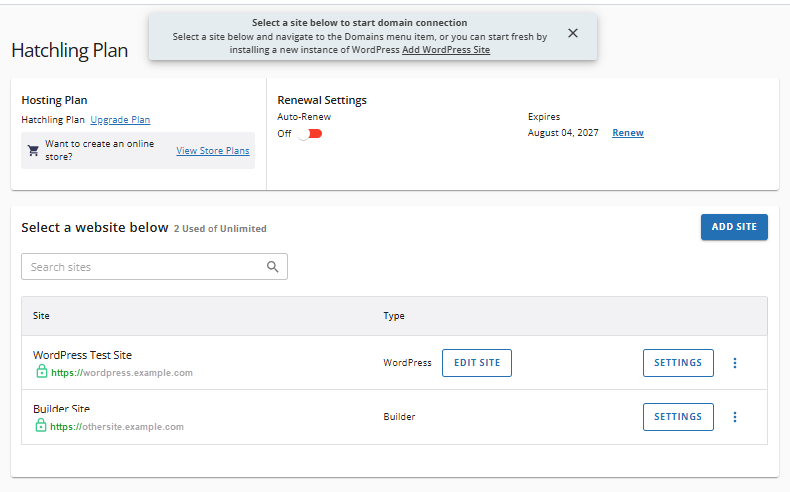
- You will be asked to select the website where you want to connect your domain.
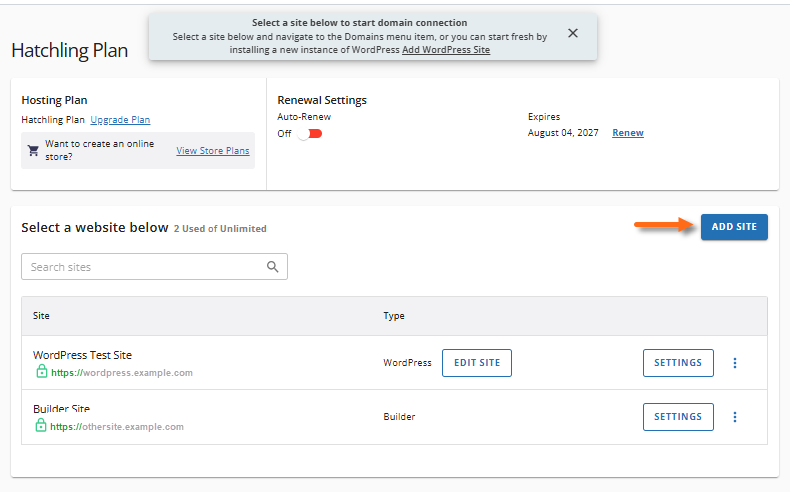
You can also choose to create a new website by clicking the Add Site button, then following the preceding steps.
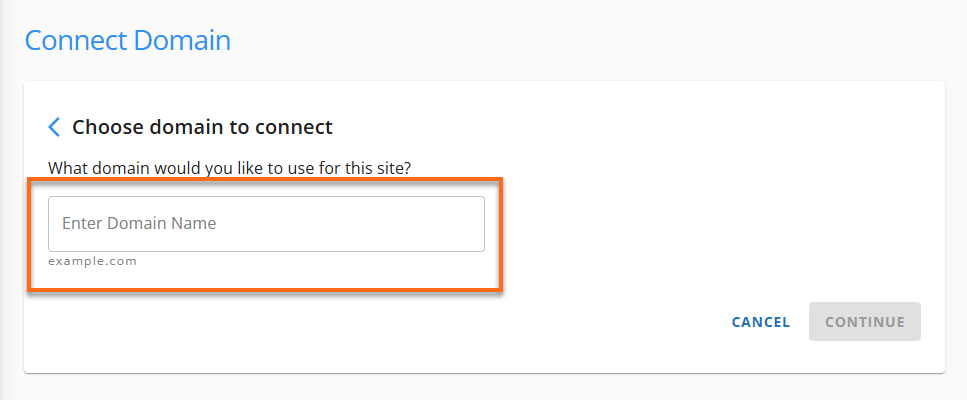
- On the website management page, navigate to the Domains tab, then click the Add Domain button.
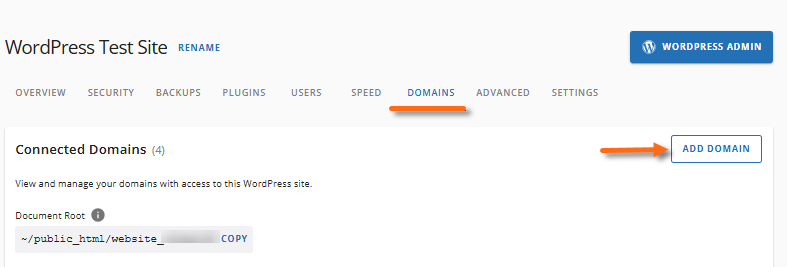
- Enter your domain name to connect, then click Continue.
- The domain will be added to the list of domains using the existing website. Click Finish Setup.
- On the Site Settings page, follow the provided instructions and point your domain to your HostGator name servers.
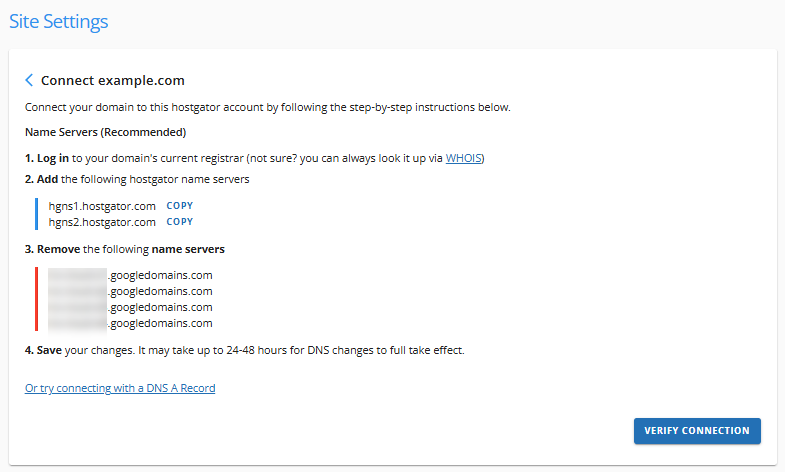
- After propagation, click Verify Connection to check your domain's connection.
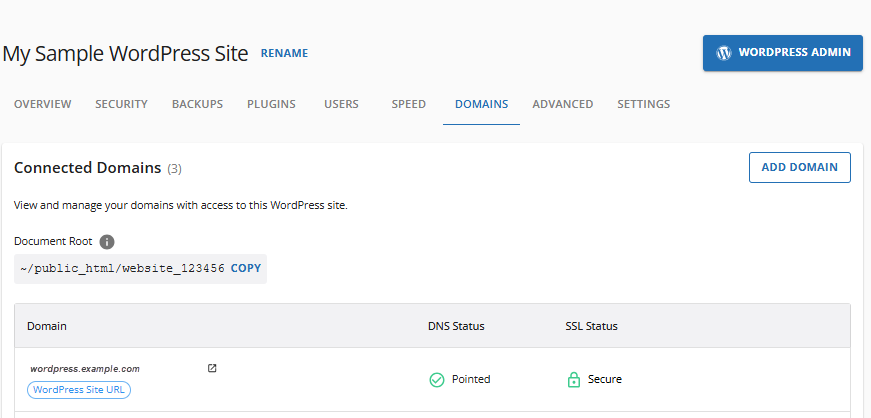
- Once successfully connected, you will find that your site is listed under the Connected Services and Connected Domains sections.
Connected Services (Under the Domains tab, Overview menu)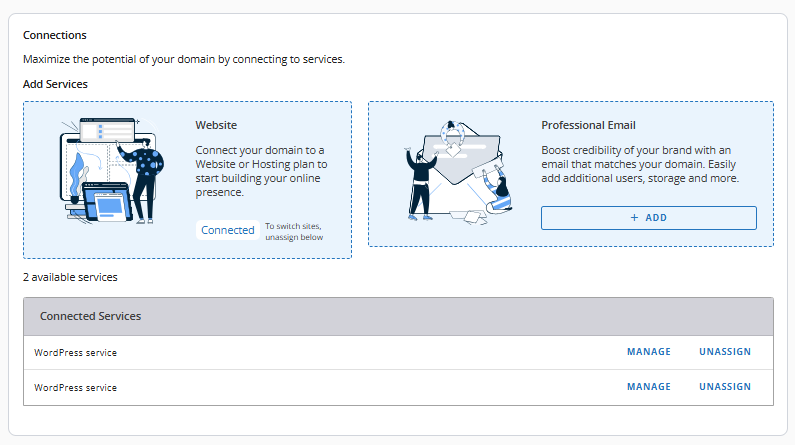
Connected Domains (Under the Websites tab, Domains menu)
Connect Your Domain to an Email Service
Here are the steps to connect your domain to your professional email service.
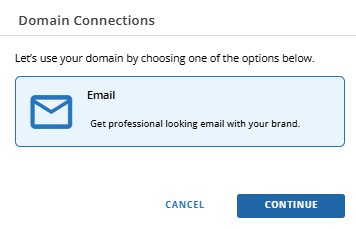
- Under Connections, click +Add in the Professional Email card.
- In the pop-up, click Continue.
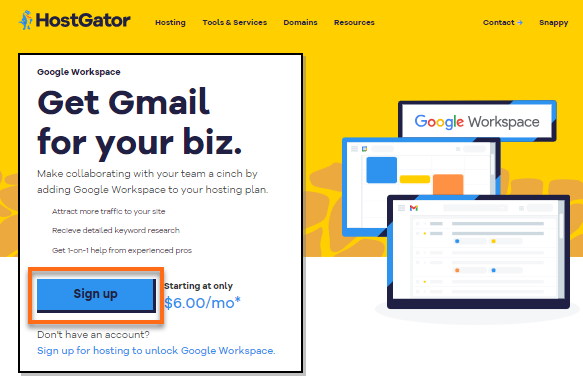
- You will be redirected to our Google Workspace page. Proceed to complete the purchase.
- During the configuration process after purchase, you will need to assign a domain for your email. Please follow the provided setup instructions.