How to Change Name Servers with Other Registrars to Point to HostGator
You can easily change the name servers of a domain registered with another provider to point it to your HostGator hosting account. This process allows your domain to direct visitors to your website hosted on HostGator. While it may seem technical, it's a straightforward task—and we're here to help.
Why change name servers?
Changing your domain's name servers tells the internet to look for your website on HostGator's servers instead of the registrar's default servers. This is essential when moving your site to HostGator.
What happens when you change name servers?
When you update name servers with another registrar:
- DNS queries are directed to HostGator.
- Your domain will begin using HostGator's DNS records.
- If misconfigured, it may result in website or email disruption.
- It may take 24–48 hours for changes to fully propagate across the internet.
During this propagation time, your website might be temporarily inaccessible or appear inconsistently across regions. Be patient and avoid making additional DNS changes during this window.
Will this affect my email?
Yes. Since DNS records also control email routing, updating your name servers can interrupt email delivery if not configured correctly. Make sure:
- Your new name servers include MX records for your email provider.
- You update email client settings if needed.
- You test email functionality post-update.
How long does DNS propagation take?
Typically, it takes up to 48 hours for DNS changes to propagate globally. In many cases, you'll notice changes in a few hours. Speed depends on:
- TTL (Time to Live) settings
- Your ISP's DNS cache
- Device/browser caching
You can try clearing your DNS cache to check updates sooner.
Steps to change name servers with other registrars
Step 1: Get your HostGator name servers
Find these in your Customer Portal under the Domains section.
Customer Portal
To find your name servers in your Customer Portal:
- Log in to your Customer Portal.
- Click Domains on the left-side menu.
- If you have a single domain in your account, you will be redirected to the domains panel right away.
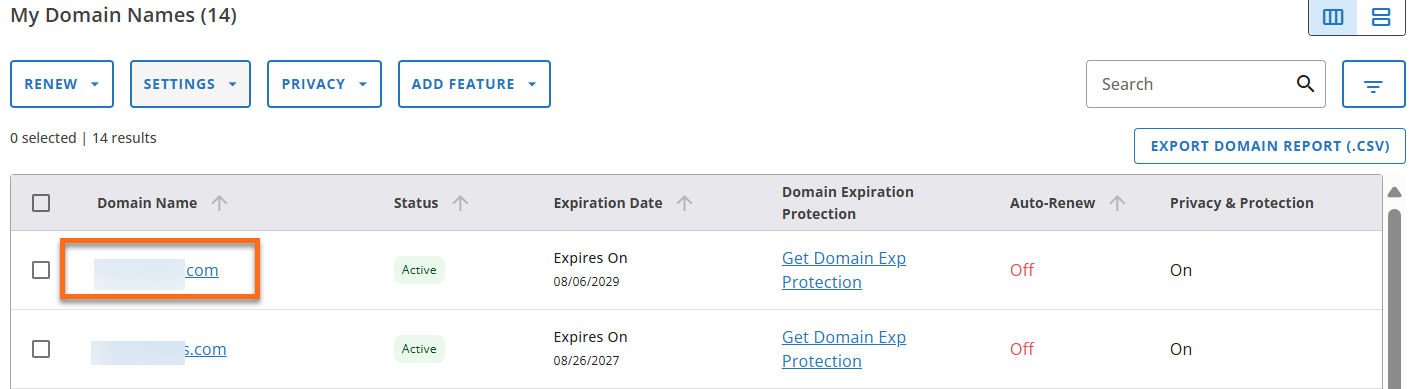
- If you have multiple domains, a list will appear. Click the domain you want to manage.
List view:
Card view:
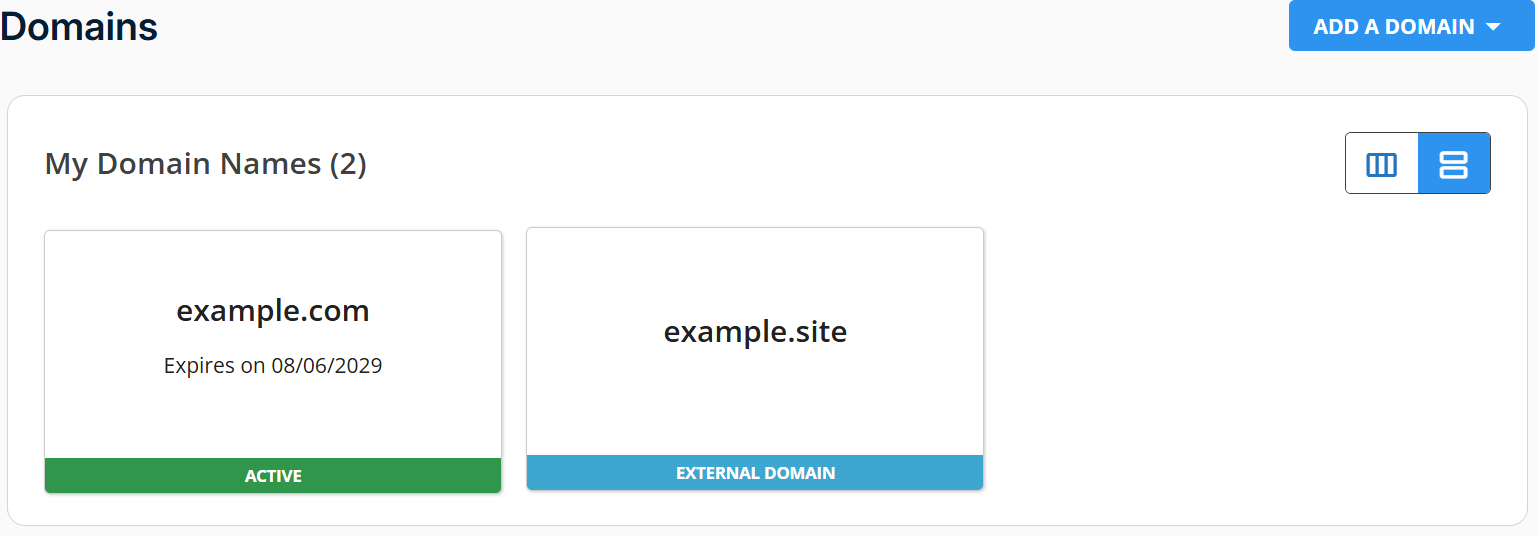
- Go to the Nameservers section to find your name servers.
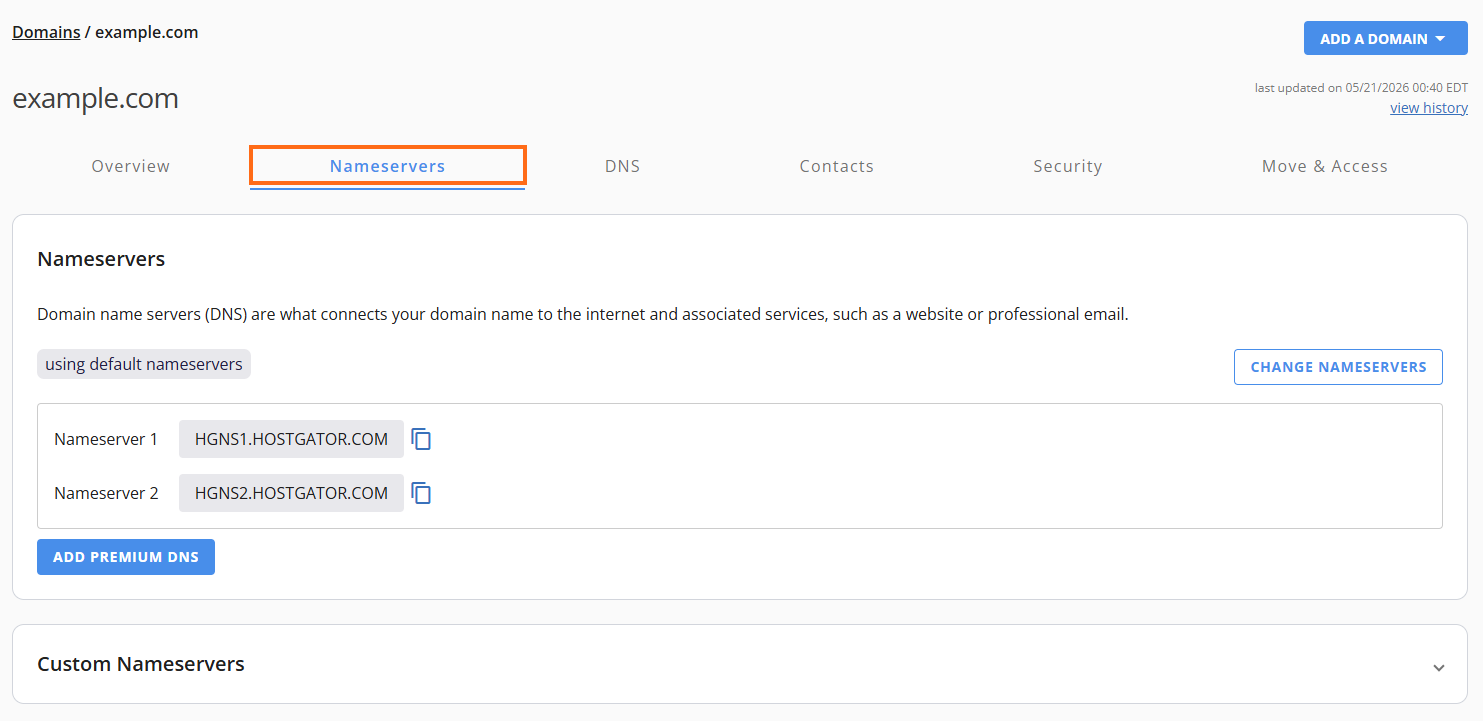
For more information about navigating the Nameservers tab in the Customer Portal, please read the article: What are my name servers?
Step 2: Update name servers in your registrar account
If your domain is registered elsewhere, log in to their control panel and:
- Locate DNS/Nameserver Settings.
- Replace the current nameservers with HostGator's you got from Step #1.
- Save changes and wait for propagation.
To make things easier, we have compiled instructions from popular registrars.
- 1&1
- Bluehost
- Domain.com
- Enom.com
- FastDomain
- GoDaddy
- Hover
- Launchpad
- Name.com
- Network Solutions
- Public Domain Registry (PDR)
- Register.com
- Registry Rocket (Enom Resellers)
- Tucows
- Wild West Domains
These instructions are up-to-date as of the day we posted them. However, some registrars frequently change their website and may use different terms (such as referring to your name servers as name servers), so expect variations from the instructions provided.
Use name servers elsewhere (Advanced)
For some advanced users, it may be desirable to use different name servers (registrar instructions provided above. This requires more maintenance since it is not automatically updated like HostGator's name servers are. If you wish to point your domain to HostGator while using third-party name servers, you will need to manage your domains' DNS records and point them to HostGator. For more details on how to do this, read the following article:
Please note that if only the name servers were changed and no customization is done on a domain's DNS records at the host where the name servers are pointed, then all DNS records will automatically point to that name server's hosting provider. For example, a domain using Google's name servers without customizing the DNS records at Google will automatically point (host) that domain to Google.
Frequently Asked Questions
How do I know if my nameservers have been updated?
Use a DNS checker tool like whatsmydns.net to monitor propagation.
Will my website go down during propagation?
It might be temporarily unavailable or inconsistent during the 24–48 hour window.
Can I revert the nameserver change?
Yes, simply replace the HostGator nameservers with your previous ones via your registrar.
Do I need to change DNS records, too?
If you're using HostGator's nameservers, DNS records are automatically configured. If using third-party nameservers, you'll need to add them manually.
Changing nameservers with other registrars allows you to point your domain to HostGator and host your website with us. Though DNS propagation may take up to 48 hours and may temporarily affect your website and email, following the correct steps and verifying your DNS settings ensures a smooth transition. If you need help, don't hesitate to reach out to your domain registrar or HostGator support.