VPS Getting Started
This guide will walk you through the essential first steps after purchasing a new VPS hosting.
Accessing your VPS
Resellers may already be familiar with setting up private name servers, but if you are VPS hosting, it is the only way to create name servers for your new hosting package. Before your name servers are created, you will have to use your IP address, which is available in your Welcome email and Customer Portal. Please check out the article below to learn how to find your IP address and private name servers
To access your KVM VPS accounts, use the following links:
- WHM: https://server-ip-address:2087
- cPanel: https://server-ip-address:2083
(Please replace "server-ip-address" with the IP address found in your Welcome email or Customer Portal.)
Using the URL format above, you'll be able to access WHM with "root" as the username and password from the HostGator email. Once you've followed the rest of the steps in this article, you'll be able to use your domain instead of your IP address.
Please check out the following article for instructions on logging into your WHM.
Here is a video guide showing how to log in to WHM.
First-time setup
There's nothing to set up. Easy peasy! Our VPS platform is a Kernel-based Virtual Machine (KVM). It is a more modern, open-source virtualization technology already built into Linux.
These guides will walk you step by step through learning about the tools you have access to and configuring them to work for you:
Once you've got your settings correct and can access and make changes to your VPS, you're ready to continue setting up your private name servers ⤵, allowing you access to your server via your domain name.
Troubleshooting a VPS
Some extra troubleshooting steps are available for VPS in case your container is experiencing performance issues.
Check the resources being used by the server
For KVM VPS, there are two ways to check your server's resources.
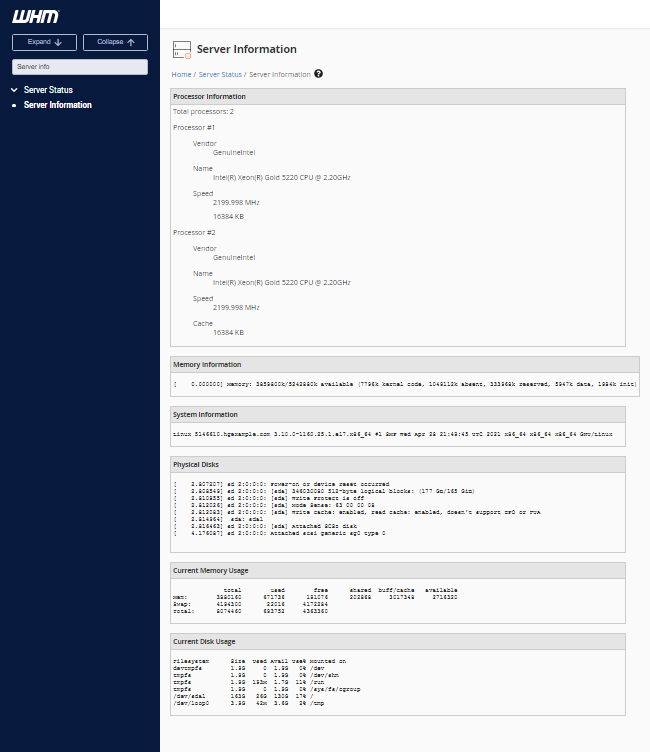
- Within WHM, use the Search bar on the left-side panel to search for Server Information.
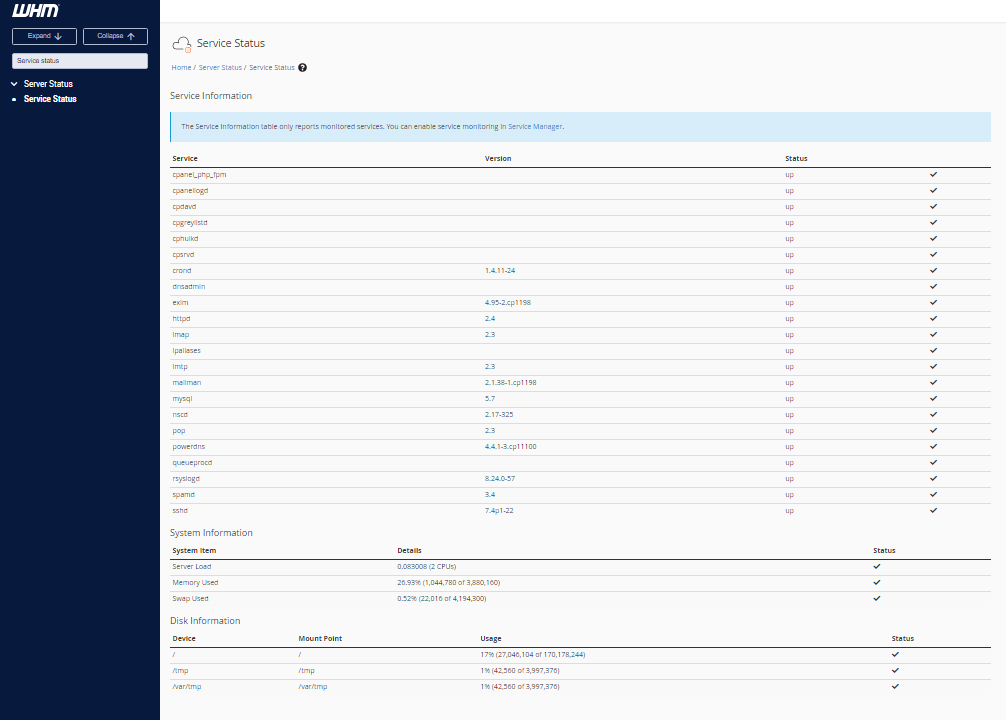
- Navigate to WHM and search for Service Status.
Rebooting a VPS container
Another troubleshooting step available to a VPS owner that is not available on Shared hosting is the ability to reboot the server if the need arises.
There are two ways to reboot your VPS container:
Via the Web Host Manager (WHM)
- Log in to the WHM.
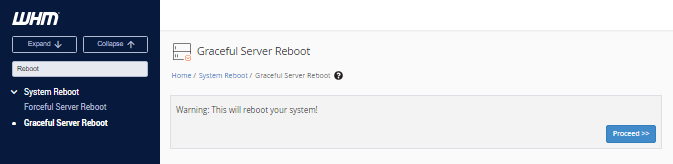
- On the Search function on the left side, search for System Reboot.
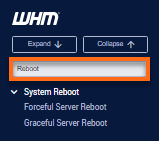
There will be two options for system reboot: Forceful and Graceful Server Reboot.
Forceful Server Reboot means that the server reboots immediately.
Graceful Server Reboot means that all services will be shut down, allowing all current processes to finish before the server reboots.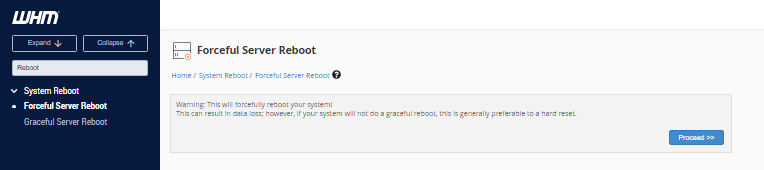
Via the Command Line
Many users are comfortable with using SSH to manage their servers. If you have not used SSH access and want to learn how to do so, please read our article How to Get and Use SSH Access.
To restart your container using SSH:
- Log in to SSH as root.
- Enter the reboot command. Your output should look like this:
root@server [~]# reboot

root@server [~]#

Broadcast message from root@server-host-name

(/dev/pts/0) at 14:52 ...

The system is going down for reboot NOW!

Connection to ip.add.re.ss closed by remote host.

Connection to ip.add.re.ss closed.
Private name servers
By now, you're ready to set up your domain so you can access your VPS. By setting up private name servers, you'll not only be able to access your VPS with your domain name, but you can use those name servers for any other domains you need to connect to your server without any further setup.
HostGator provides the following article to walk you through setting up private name servers on your VPS with step-by-step instructions for many popular domain registrars:
Once you're done, nothing stops you from using your VPS exactly how you may be used to!
Bonuses
Owning a VPS provided by HostGator comes with a whole list of benefits and extras. Check the article below for a list of services we provide for hosting on a VPS.
Additional Resources
Since a VPS can be set up to resell hosting to third parties, you can check out the Reseller Startup Guide below. Just keep in mind that this is not recommended for multiple resource-intensive sites, but it can be a great way to try out these settings before committing to a Dedicated server. This guide, while written for our Reseller accounts, offers many valuable tips to VPS owners as well:
- Reseller Startup Guide (Useful for setting up your VPS too!)
Also, for further recommended reading, additional tips, and useful links, check out our VPS hosting guide: