Guide to Setting up Private Name Servers
Private name servers, also known as "custom name servers," are DNS servers linked to a specific domain rather than using the default name servers provided by the hosting provider.
In this article, we will guide you through setting up custom or private name servers for your domain.
- Step 1: Register your Private Name Servers at your Registrar ⤵
- Step 2: Setting A Records ⤵
- Step 3: DNS Glue/Setting SOA and NS records ⤵
- Related Articles ⤵
- If you have Shared hosting, you are on shared servers, not custom or private name servers.
- If you have VPS or Dedicated hosting, you should be able to set up your private name servers under the Nameservers menu in the Domains tab of your Customer Portal.
Please check out the What Are My Name Servers? article to know where to find them.
Step 1: Register your Private Name Servers at your Registrar
Name servers and/or private name servers are registered at the domain's registrar. Depending on where you purchased your domain, you must set up your private name servers within your registrar's control panel. Please note that every registrar has a different process for registering private name servers.
Domains Registered with HostGator
To set up your private name servers:
- Log in to your Customer Portal.
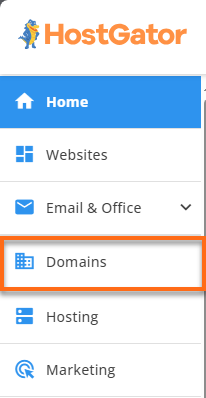
- Click Domains in the left-side menu.
- If you have a single domain in your account, you will be redirected to the domains panel right away.
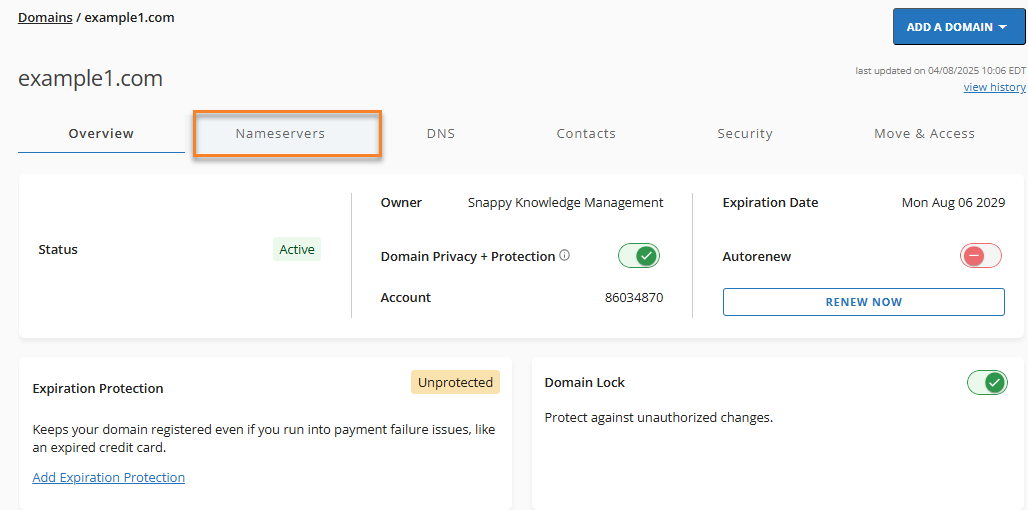
If you have multiple domains in your account, click the domain name that you need to modify.
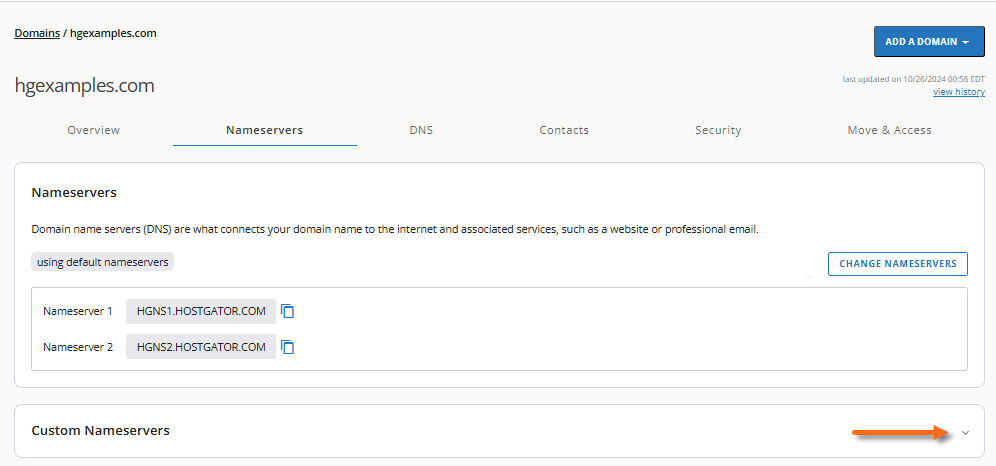
- Click the Nameservers menu.
- Click on Custom nameservers to expand the section.
- Click + ADD.
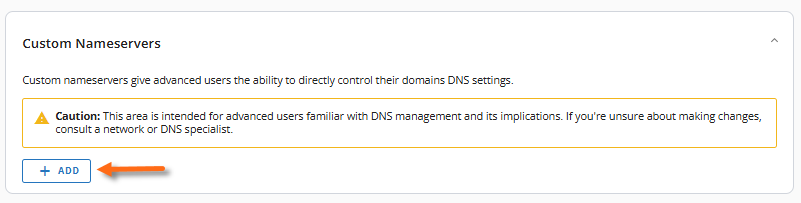
- Enter your name server hostname and IP address.
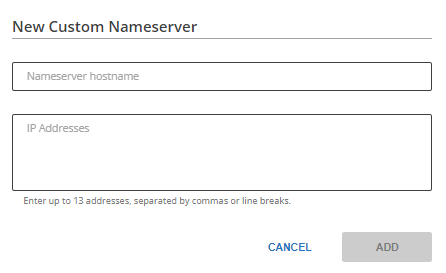
- Click ADD.
- Allow propagation time of about 24-48 hours.
If you're unable to find your HostGator domain in the Customer Portal, you may have registered it with Enom, which is a legacy registrar of HostGator. Please check out the following article to learn how to set up your private name servers within Registry Rocket (Enom's control panel).
Domains Registered with Other Registrars
If you purchased your domain from another provider, you must register the name servers with that registrar. From your registrar's account, you will want to look for options along the lines of "register DNS," "create DNS," or "add DNS." The only way to create name servers is by using the IP addresses we assigned to your hosting server. If there isn't a field asking for the IP address, you are not in the right place.
Registering Private Name Servers vs. Changing DNS
Changing your domain's DNS is not the same as registering private name servers. You will not be able to change your site's DNS to private name servers until your private name servers are registered with your domain registrar. Some registrars don't even have an option for you to create private name servers on your own. In many cases, emailing them to do it is the only option.
Need help? If you can't figure out how to register your private name servers with your registrar, read the registrar's FAQs and look for a question along the lines of "How do I register name servers?"
If you can't figure it out from reading the FAQ documentation or navigating through your account with them, you will need to contact your registrar's Support team to request further assistance.
Step 2: Setting A records
After creating your name servers, you must add the necessary A records to your domain. Once the A record has been updated, you and your clients can use your private name servers to host all the domains on your account.
For help adding A records to your domain, please see the following article:
Step 3: DNS Glue/Setting SOA and NS records
Once a domain name is using your private name servers, it is important to check the DNS Glue. The DNS glue will check the SOA and NS records in your domain's DNS zone and ensure they match the exact name servers used at your registrar.
The SOA (Start of Authority) and NS (Name Server) records tell the internet that your private name servers are authoritative and contain the most up-to-date information about your DNS settings. If these are not set correctly, some DNS servers will not trust your private name servers. Other DNS servers may get confused because there is a mismatch between what the registrar says and what your name servers say. This typically results in some people being able to reach your domain while others cannot. So, it is always a good idea to double-check these settings.