How Do I Log into the Web Host Manager (WHM)?
The Web Host Manager (WHM) is a control dashboard that allows a user administrative access to the cPanel's backend. To find out more about how awesome WHM is, please visit this article: What is WHM (Web Host Manager)?
There are different methods for logging into your WHM. Please note that WHM is only available for Reseller, VPS, and Dedicated hosting plans. If you're currently on a Shared hosting plan, please visit the following article to log in to your cPanel.
If you're looking for a guide on how to access your webmail, please check out the following article.
This article discusses the following methods.
Method 1: Launch WHM via the Customer Portal
If you're looking for a guide on how to log into your Customer Portal, please visit the How to Log in to Customer Portal article.
To log in to WHM:
- Log in to your Customer Portal.
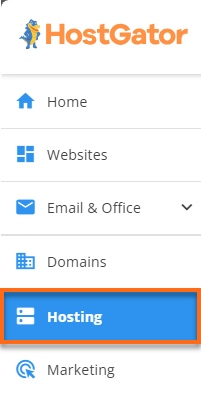
- Click Hosting on the left-hand menu.
- If you have only one hosting plan in your account, you will be automatically redirected to the hosting panel.
- If you have multiple hosting plans, a list will appear. Click the Manage button for the hosting plan you want to manage.
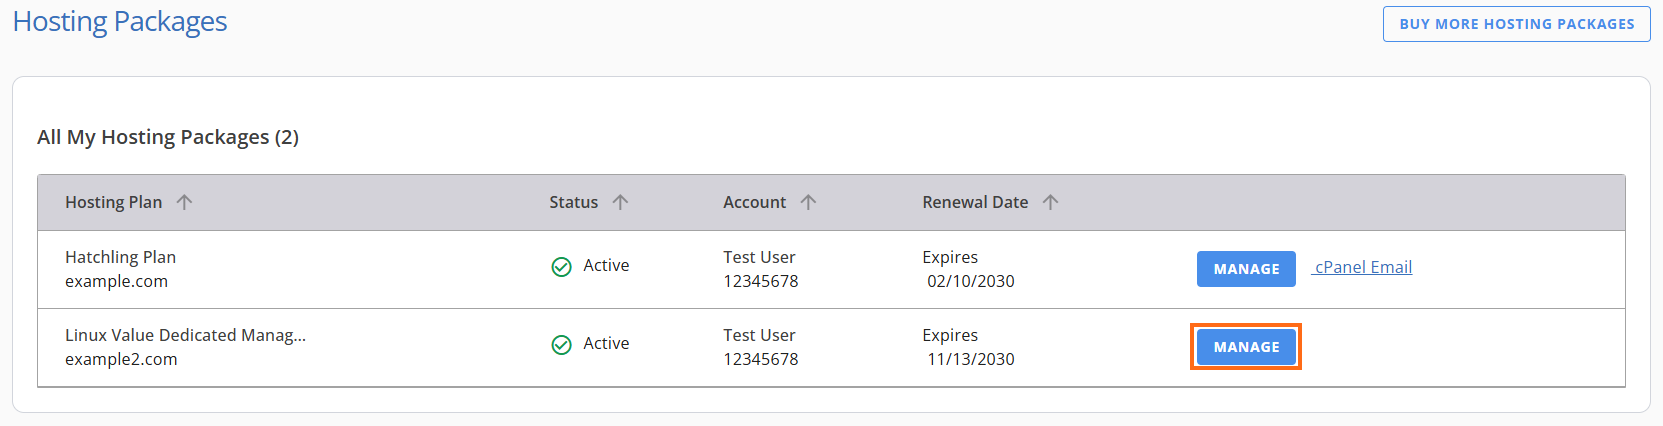
- Click the WHM button.
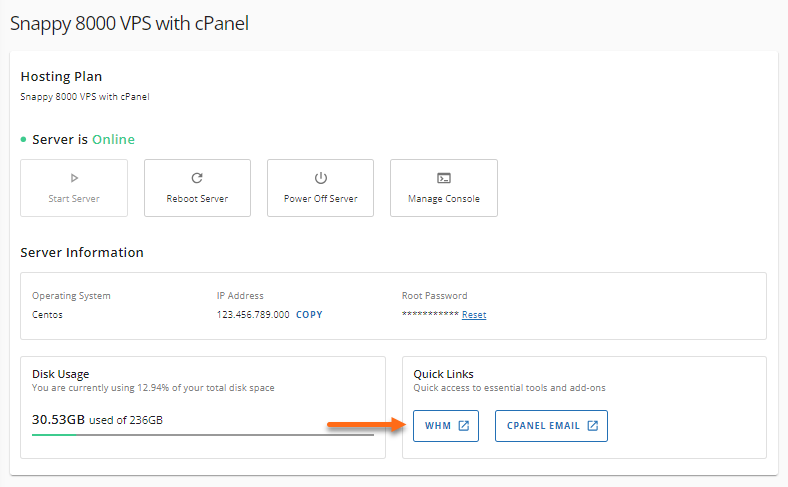
Your WHM will open in a new tab.
Method 2: Launch WHM via URL
Direct access to the WHM is also an option. You can directly go to your WHM using your server's IP address (for VPS and Dedicated hosting) or server hostname (for Reseller hosting). This method requires you to use your WHM username and password.
Step 1: Get your server information
To get your IP address:
- Log in to your Customer Portal.
- Click Hosting on the left-hand menu.
- If you have only one hosting plan in your account, you will be automatically redirected to the hosting panel.
- If you have multiple hosting plans, a list will appear. Click the Manage button for the hosting plan you want to manage.
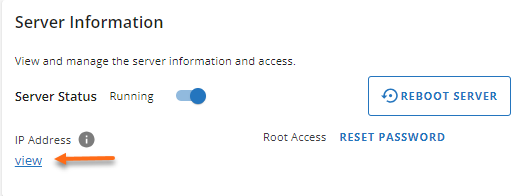
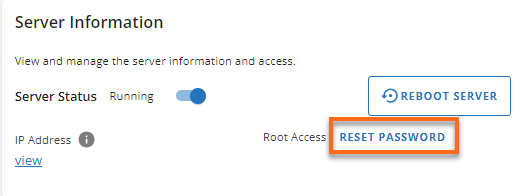
- In the Server Information section, copy the IP address for your server.
Step 2: Access your WHM URL
We always recommend using a secure connection, "https," to pull up your WHM in your browser.
In your browser, enter your IP address or server hostname (from Step 1), followed by either whm or the secure port number 2087.
For VPS/Dedicated hosting plans:
https://ip.add.re.ss/whm
or
https://ip.add.re.ss:2087
For example: "https://192.123.456.789/whm" or "https://192.123.456.789:2087"
For the Reseller hosting plan:
https://server-hostname/whm
For example: "https://snappy.websitewelcome.com/whm"
Step 3: Enter your WHM username and password
On your WHM login page, enter your WHM username and password.
For VPS and Dedicated hosting plans:
VPS and Dedicated hosting accounts have WHM root access. Use "root" as your username. Your individual cPanels will have their own separate usernames when you create them within WHM.
If this is your first time logging into your WHM, you need to log in through your Customer Portal first, then set up your password once logged into your WHM.
If you need to reset your WHM password, you may do so via your Customer Portal's Server Information section.
For the Reseller hosting plan:
For Reseller hosting accounts, your WHM username and (temporary) password are in your HostGator Welcome email when you initially signed up for your Reseller hosting. (Please note that you may already have changed your WHM temporary password.)
If you need help with your Reseller WHM username or password, please contact HostGator's Support via phone or chat so we can assist you.