How to Manage Optimized WordPress Email Accounts
In November 2023, the Customer Portal underwent an upgrade, which resulted in the conversion of the Optimized WordPress (OWP) hosting plan to a Shared Hatchling hosting package. As a result, new signups for the OWP hosting plan are no longer available. If you need further information about the changes in the OWP hosting plan, we suggest you visit the Optimized WordPress Overview article.
Following the conversion of OWP to a Shared Hatchling, you can now access and create email accounts in the same way as in a Shared hosting plan, which is through the cPanel. The cPanel may seem unfamiliar to you as the OWP hosting doesn't have one, but don't worry! We have support articles that will provide you with more information about cPanel. Please check out the Related Articles section below.
To go to your webmail, you can use the method you were using with your OWP hosting plan. In your browser, you can enter the following links:
*http://www.example.com/webmail
Your webmail can also be pulled up using the port 2095:
*http://www.example.com:2095
*Please replace "example.com" with your actual domain name.
Your webmail or cPanel email (Yes, you have cPanel as you are now in a Shared hosting plan) can also be accessed through your Customer Portal. Your upgraded Customer Portal has made it easier for you to access your cPanel email accounts. Simply log in to your Customer Portal using the same logins and follow the steps below.
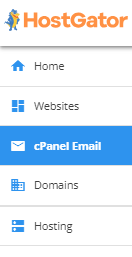
- Within your Customer Portal, click cPanel Email in the left-side menu.
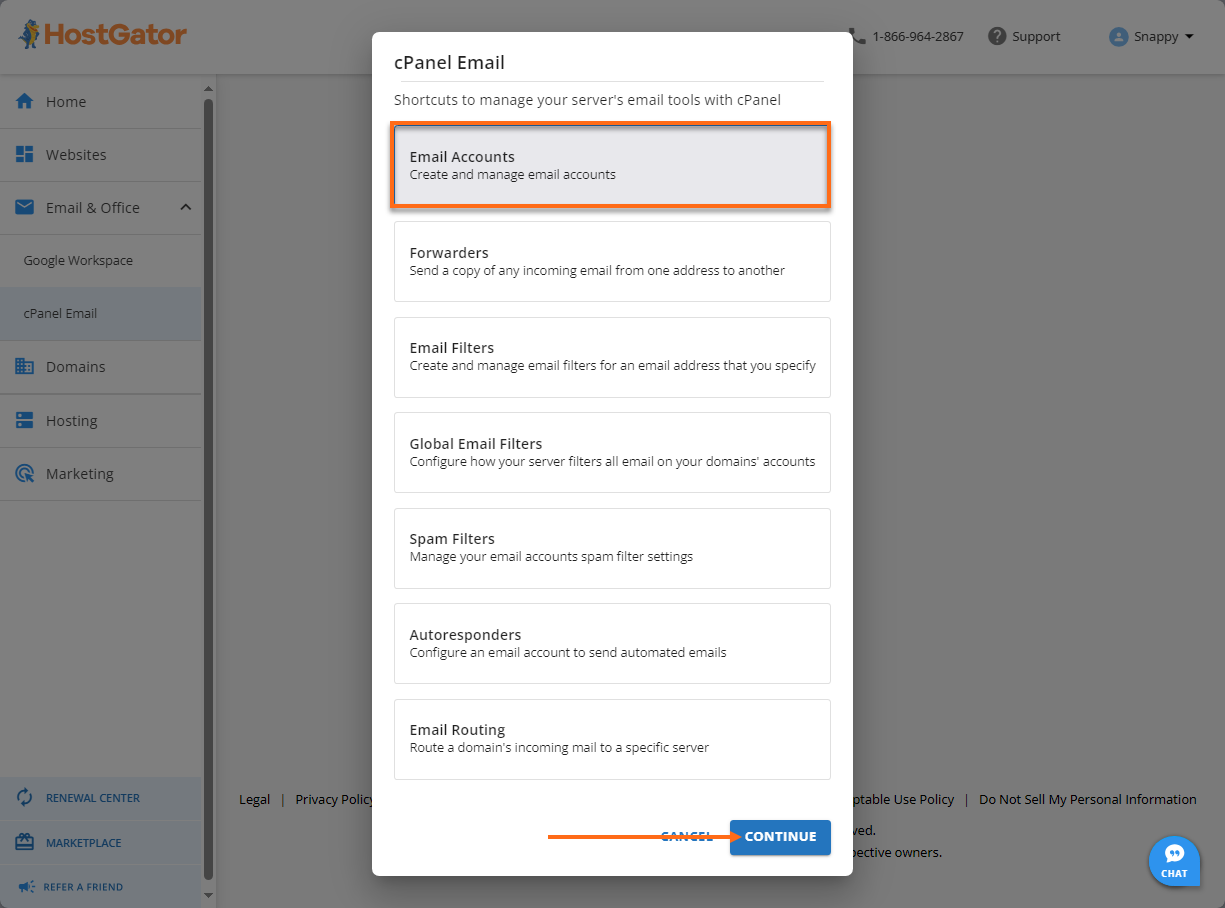
- A pop-up will appear; select Email Accounts and click Continue to go to your list of email accounts within your cPanel.
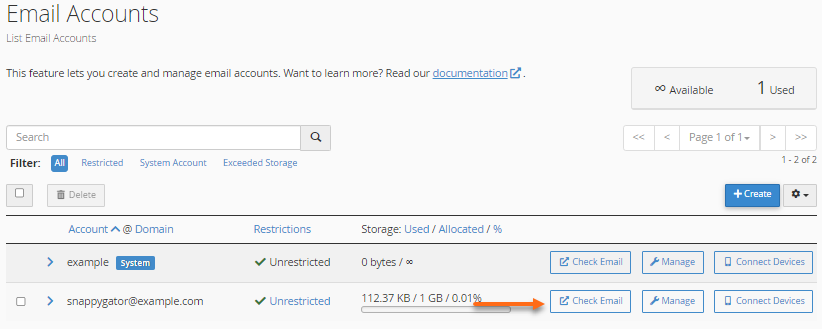
- You will be redirected right away to your cPanel's Email Accounts section, where you can manage all email accounts you have in your hosting plan. Locate the email account you want to manage, then click on the Check Email button to launch the Roundcube webmail application.
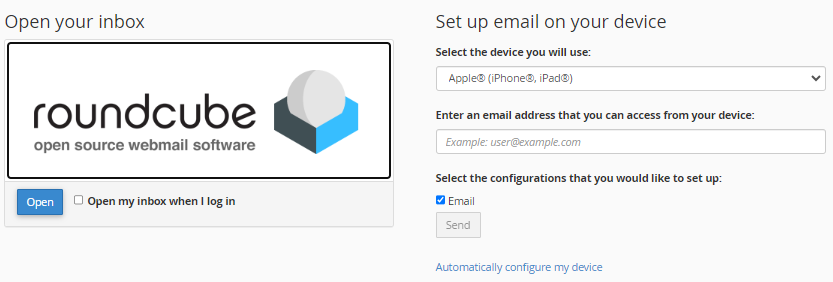
- You will be redirected to the Roundcube webmail interface.

- A prompt may appear asking you to select your default webmail application. Please click Open to open the webmail interface. If you no longer wish to see this prompt the next time you log in, put a check mark on Open my inbox when I log in.
Related Articles
To learn more about emails in your shared hosting and your new Customer Portal, please visit the following support articles.
Customer Portal:
Getting Started with cPanel Emails or Webmail:
- A Beginners Guide to cPanel - To get started with cPanel, please visit this article.
- Email Connection Settings - If you prefer using an email client application, use this article for your connection settings.
- How to Log in to cPanel - This article discusses various ways you can access your cPanel.
- How to Access your Emails through cPanel - Here are ways to pull up your webmail.
- How to Log into Webmail
- How Do I Create Email Accounts in cPanel? - This article will guide you in creating new email accounts in your cPanel.