Setting up CodeGuard – Site
After you've purchased CodeGuard, you can access it just like any other addon product through the Customer Portal. Once purchased, CodeGuard will automatically start backing up your files on your primary domain. If you are using WordPress or another app that requires a database, you must configure CodeGuard to back up your website's database.
- CodeGuard will notify you if you have exceeded the CodeGuard limit, need to upgrade to the next plan, or delete old backups to free up space.
- CodeGuard will not affect or be affected by CDN networks because it is set up via FTP/SFTP.
- CodeGuard does not offer malware scans and monitoring. As a HostGator customer, check out our HostGator Malware Protection security plans.
Adding a website to CodeGuard
Your primary domain's website is automatically added to the CodeGuard Dashboard during initial setup.
To add a website to be backed up in CodeGuard, you first need to obtain the following:
| Item Needed | Description |
|---|---|
| Website URL | Your domain name: https://example.com |
| Hostname/IP address | Shared IP address or Server Hostname |
| FTP/SFTP Username | cPanel/SFTP or FTP username |
| FTP/SFTP Password | cPanel/FTP password |
| Port number | 21 or 22 |
Once you've gathered the information above, proceed to the following steps.
Step 1: Connect FTP/SFTP Website
- Log in to your Customer Portal.
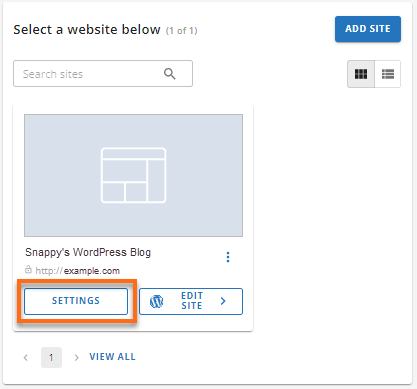
- Go to Websites from the left navigation menu.
- Click Settings next to the website you want to manage.
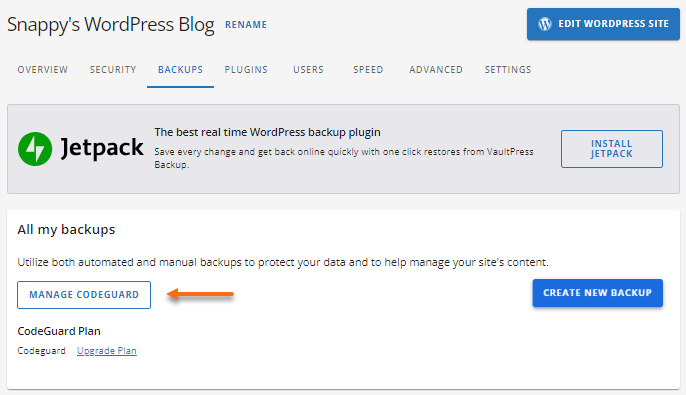
- Go to the Backups section and click Manage Codeguard.
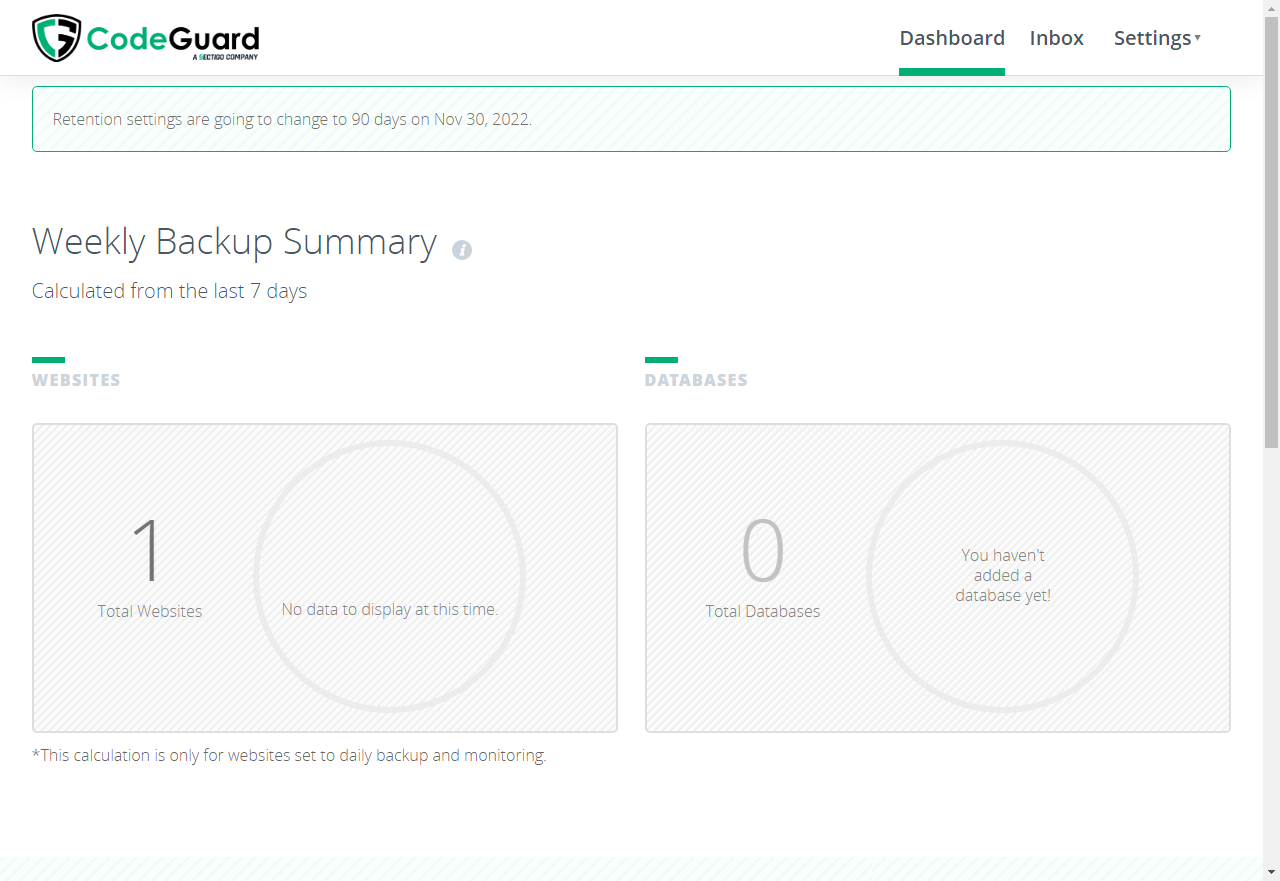
- Once logged into the CodeGuard Dashboard, you will first see the Weekly Backup Summary, which provides a general overview of the number of up-to-date websites and databases.
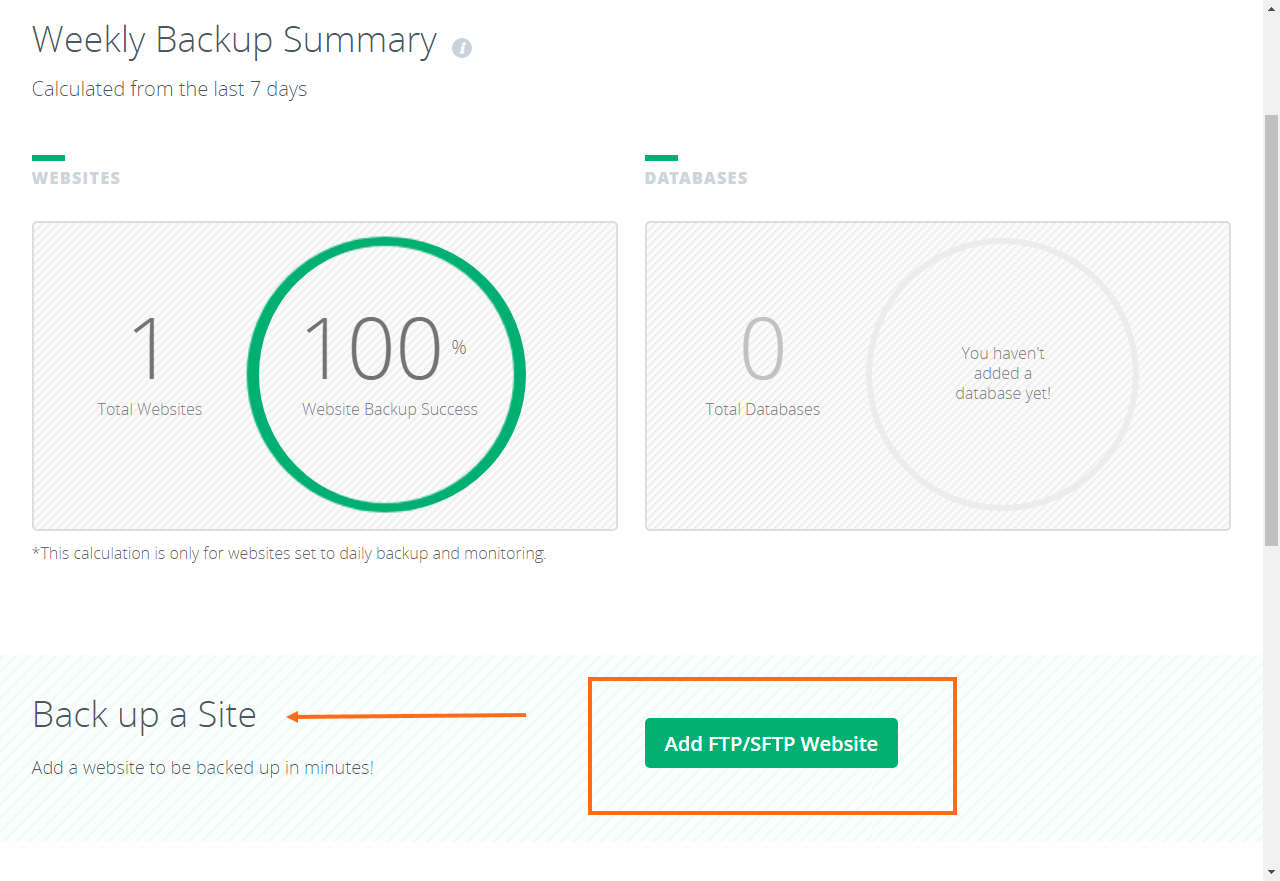
- To add a new site to CodeGuard, click the green Add FTP/SFTP Website button in the Back up a Site section.
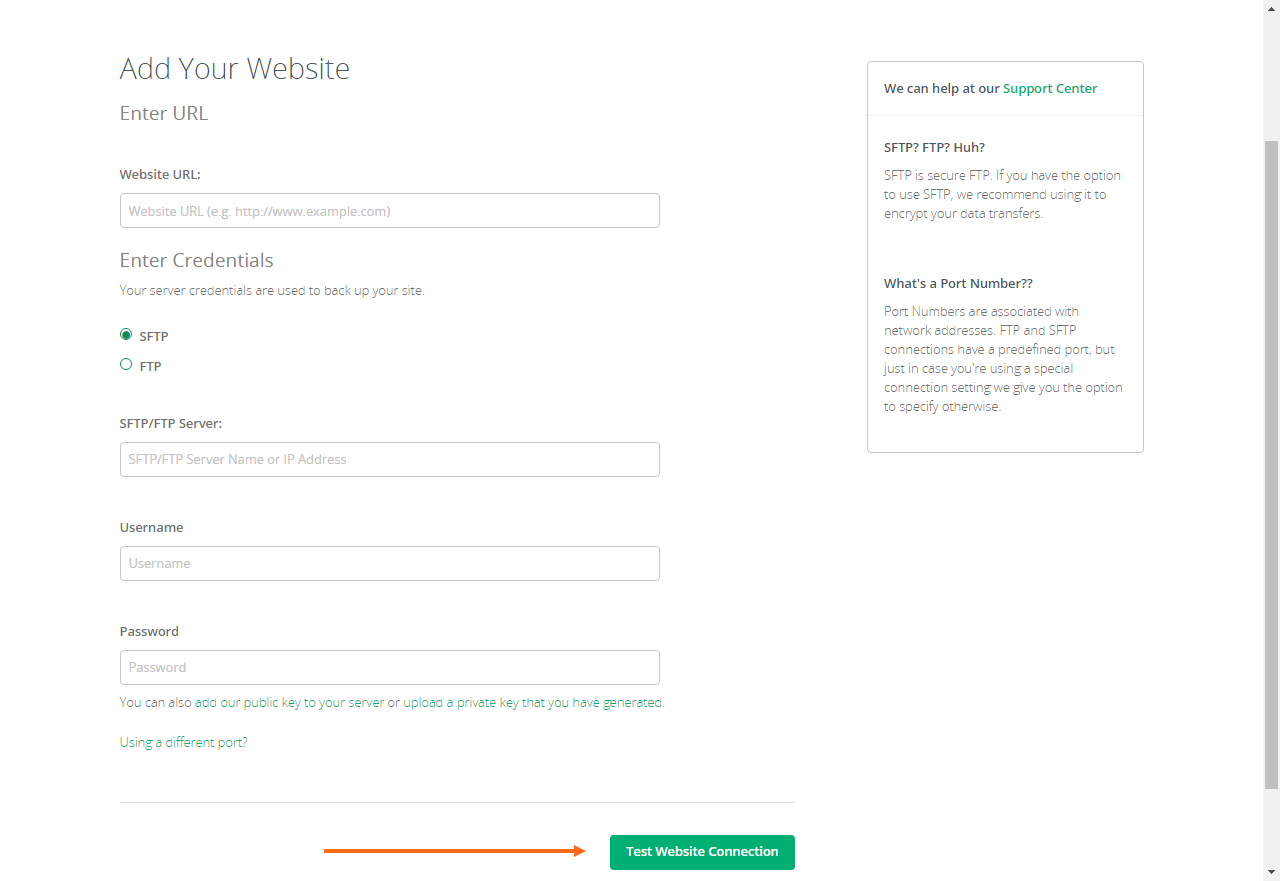
- You will be redirected to another page where you must enter the credentials you gathered earlier in their corresponding boxes:
Send Securely - It is recommended that your backups be securely sent to CodeGuard using the SFTP settings.
- Website URL (e.g., https://:example.com)
- FTP/SFTP Server (e.g., ftp.example.com)
- FTP/SFTP Username (e.g., [email protected])
- FTP/SFTP Password
- Port number (21 or 22)
- Once done, click Test Website Connection.
Step 2: Choose what files to back up
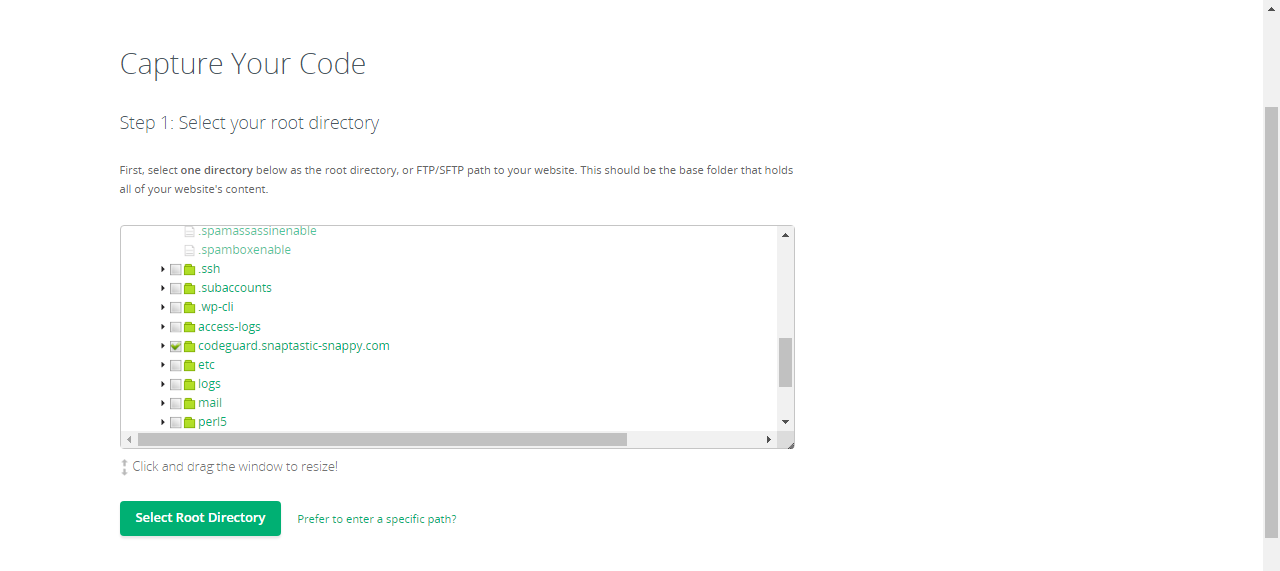
Once successful, you will be redirected to the Capture Your Code page, where you need to do the following:
- Select your root directory: Choose one of the listed directories as your website's root directory or an FTP/SFTP path. This should be the root folder for your website's content.
- Select website content: Choose which files and folders to include or exclude from your backups.
Note: Cache, temp, and log folders are usually good folders to leave unchecked!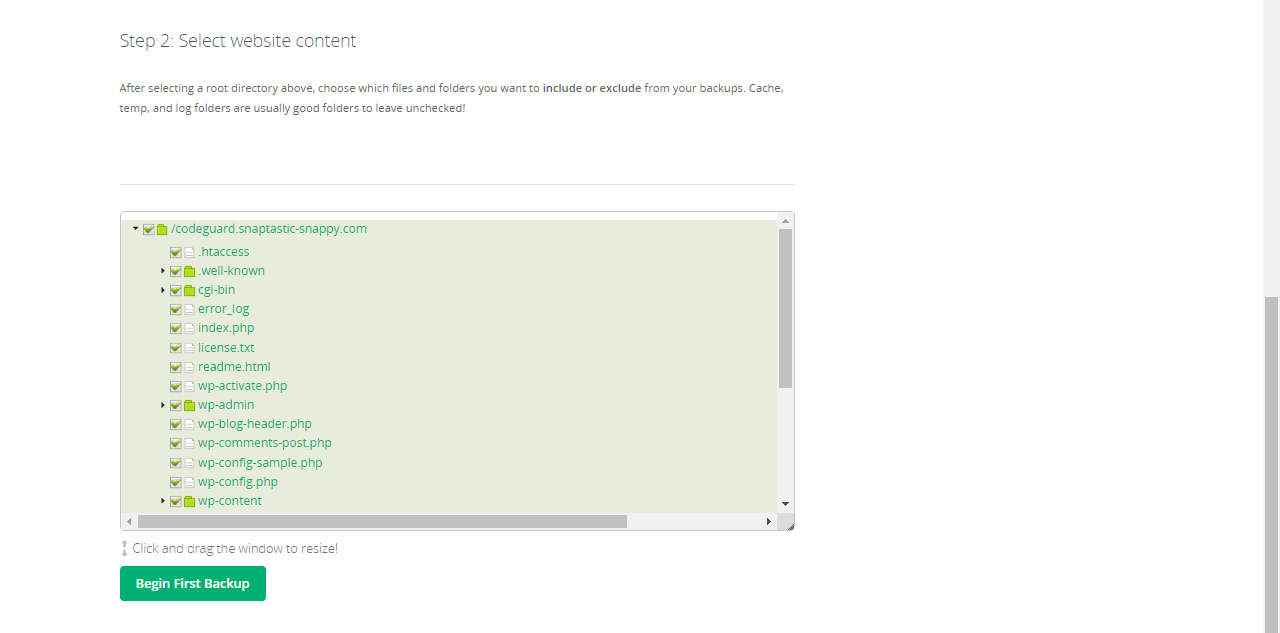
- Click Begin First Backup to initialize the CodeGuard Backup feature.

- You will see the Complete Confirmation page.
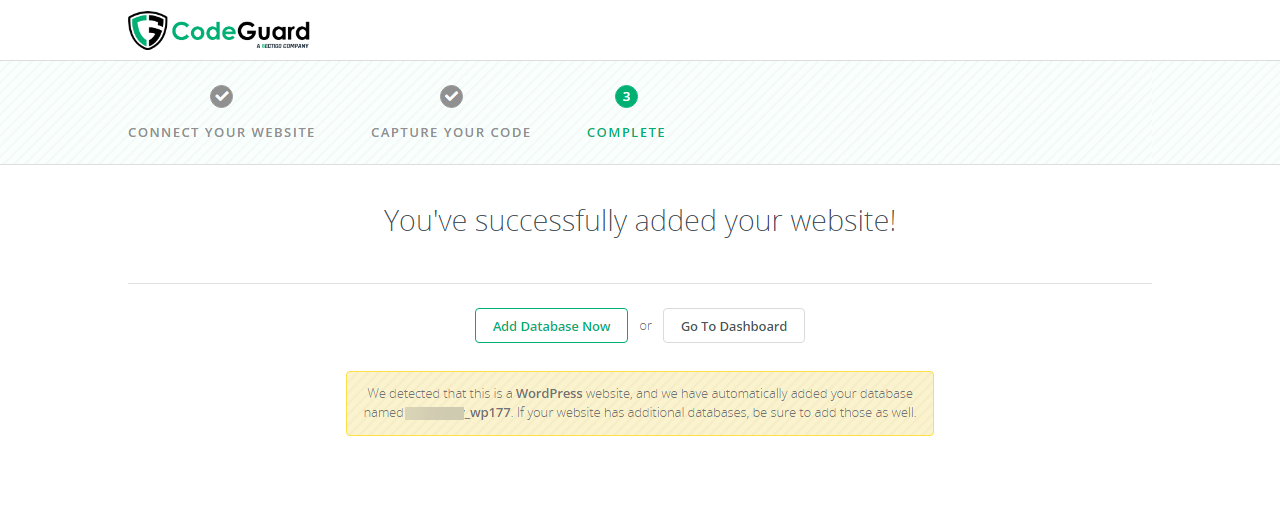 The database will be automatically added once CodeGuard detects that you have a WordPress or another Content Management System (CMS) that requires a database to function. Select which options apply to your website to complete the process:
- Go To Dashboard: Click here to see the File Backup Summary and Backup Progress Tracker.
- Once the websites are added, they are displayed in a list just below the Backup a Site section. The Website Backup section provides more detailed information about completed backups and lets you customize CodeGuard settings.
Configuring CodeGuard to safeguard an additional domain or website
- Log in to your Customer Portal.
- Go to Websites from the left navigation menu.
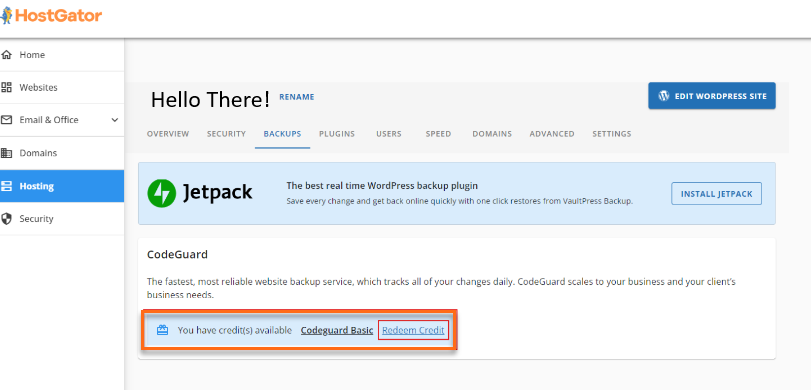
- Click Settings next to the website you want to manage.
- Click Redeem Credit to add the website/domain to CodeGuard.
CodeGuard has been successfully added to your website!
- Website files AND database(s) will be set up automatically.
- The Status will show Pending..., and the customer can return in 30-60 minutes to confirm their website files and connected database Status is Active.