Guide to Using Google Workspace with an External Domain
Having a professional email address is crucial for establishing your identity as a brand and building trust. While free email services are available, there is a significant difference between using a generic address and your own domain. This is where Google Workspace becomes valuable. And yes, you can use your own domain name to set up Google Workspace.
Google Workspace is a cloud-based productivity suite that facilitates team collaboration across different locations and devices.
HostGator makes it convenient for you to sign up for Google Workspace by providing you with a guided setup to link your own domain, regardless of whether your domain was registered with HostGator or with another registrar. While you can now use a domain not registered with HostGator to set up Google Workspace, a manual DNS verification is still required. You can verify your domain by adding a TXT record to your hosting provider with a value provided in the Customer Portal.
This article will help you set up your Google Workspace using an external domain or a domain NOT registered with HostGator.
- Google Workspace Setup Part 1 - Setup with Internal Domains - This article walks you through setting up Google Workspace with domains you've registered with HostGator.
- Google Workspace Set up Part 2 - Manage Google Workspace Admin - This article will guide you through the additional setup required within your Google Workspace admin account so you can use its functionalities.
- How to Transfer a Google Workspace (Formerly G Suite) Account - This article will guide you through transferring your existing Google Workspace account to HostGator.
How to Order and Set up Google Workspace with a Domain NOT Registered with HostGator
To set up Google Workspace with a domain NOT registered with HostGator, follow the steps below.
- Step 1: Complete the purchase of Google Workspace ⤵
- Step 2: Set up your Google Workspace (Post-purchase)⤵
- Step 3: Verify your domain (Post-purchase)⤵
- Step 4: Update your domain's MX records (Post-purchase) ⤵
Step 1: Complete the purchase of Google Workspace
You can purchase Google Workspace within your Customer Portal or https://www.hostgator.com/google.
Via the Customer Portal
- Log in to your Customer Portal.
- Click Marketplace on the left-side menu.
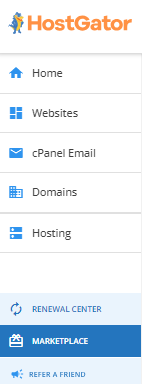
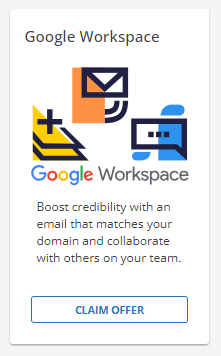
- Scroll down to the Email category and click CLAIM OFFER under Google Workspace.
- In the pop-up window, enter the domain you want to use for your email.
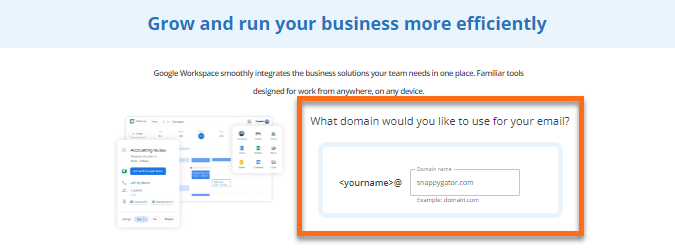
- Scroll down and click the CONTINUE button.
- In the next pop-up window, select your Google Workspace plan.
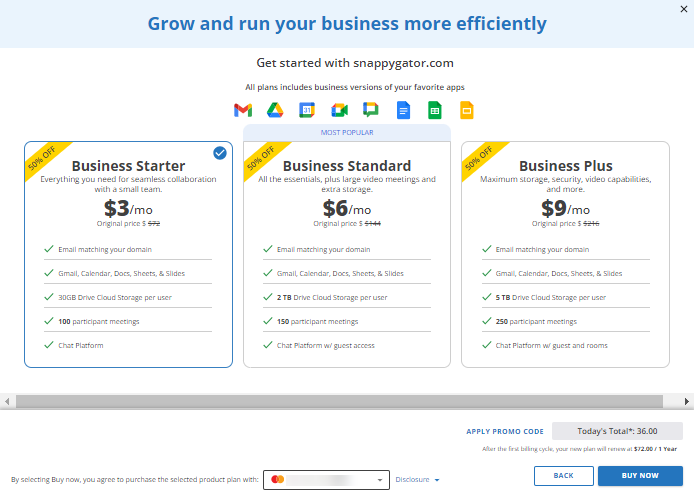
- Select your preferred payment method from the dropdown. If you don't have a payment method on file, you may need to enter your billing details. Click the BUY NOW button.
- You'll be redirected to the Checkout page, where you can complete the payment transaction.
Via https://www.hostgator.com/google
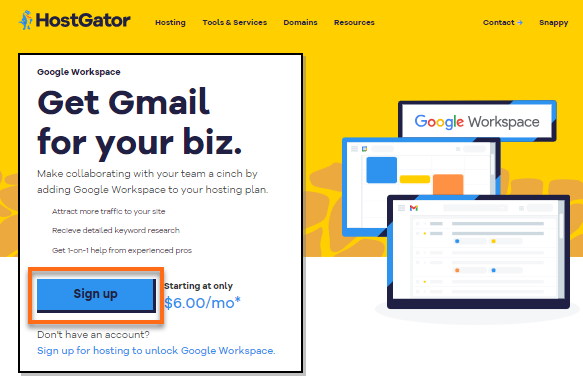
- Go to https://www.hostgator.com/google.
- Click the Sign up button.
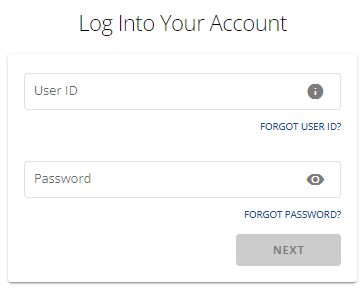
- You'll be prompted to log into your Customer Portal. Enter your username and password.
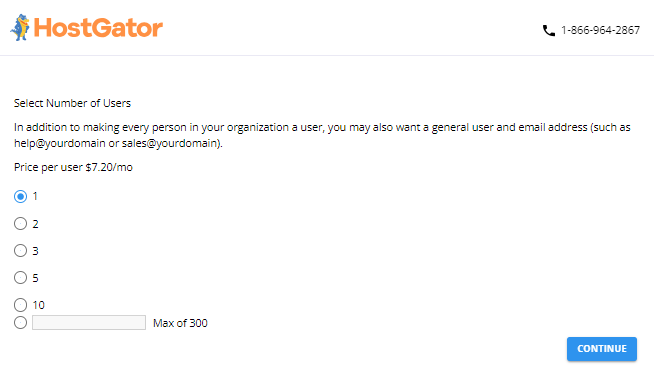
- On the next page, fill out the required information. Select your preferred number of users (or seats), and then click CONTINUE.
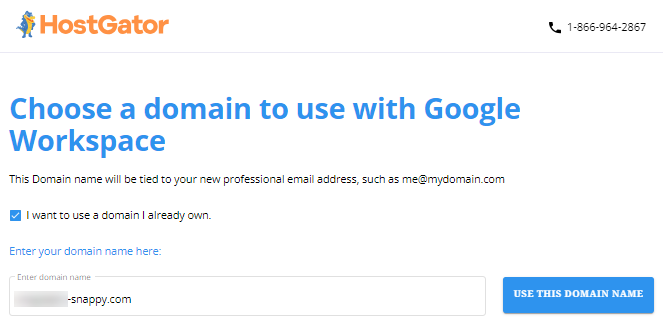
- Choose the domain you want to use with Google Workspace. You can use your existing domain or purchase a new one.
To use your existing domain, put a checkmark on "I want to use a domain I already own," enter your domain, then click Use This Domain Name button.
- Review your Cart and Order Summary. Enter your PROMO CODE if you have one available (optional).
- Click CONTINUE TO CHECKOUT to proceed.
- You'll be redirected to the Checkout page, where you can complete the payment transaction. Make sure you have a payment method saved. If you don't have one on file, you'll be asked to enter one.
You can now start setting up your Google Workspace account.
Step 2: Set up Google Workspace (Post-purchase)
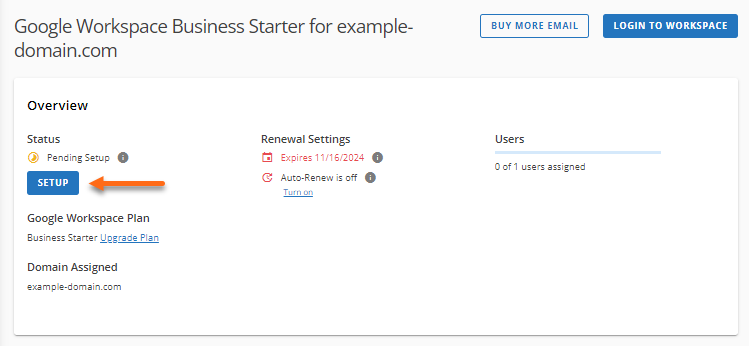
- Once you have completed the purchase, you will see an alert banner in your Customer Portal prompting you to start the Google Workspace setup. Click the SETUP button to launch the setup window.

If you happen to miss or close the alert banner, you can still proceed with the setup by clicking the Email & Office tab on the left-hand menu and selecting Google Workspace.
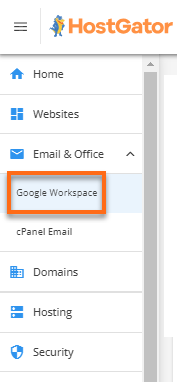
Click the SETUP button under the Overview section to launch the setup window.
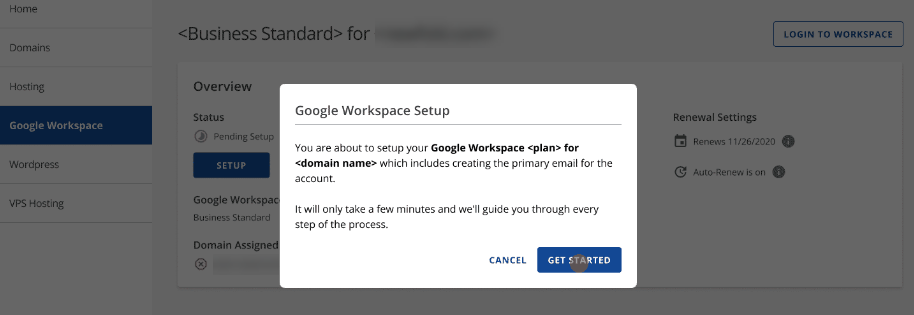
- A pop-up window will appear, informing you that you are about to set up your domain with Google Workspace. Click the GET STARTED button.
- In the next pop-up window, fill out the required fields with the following information:
- Primary email
- First and last name
- Organization (optional)
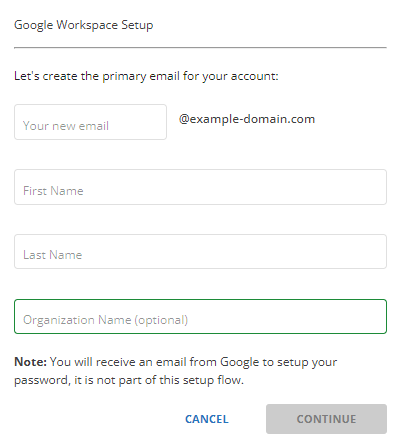
- Click the CONTINUE button.
- In the next pop-up, enter a recovery email address.
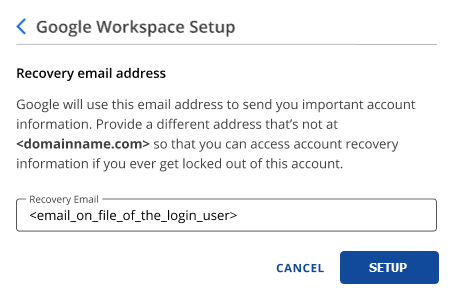
- Click the SETUP button.
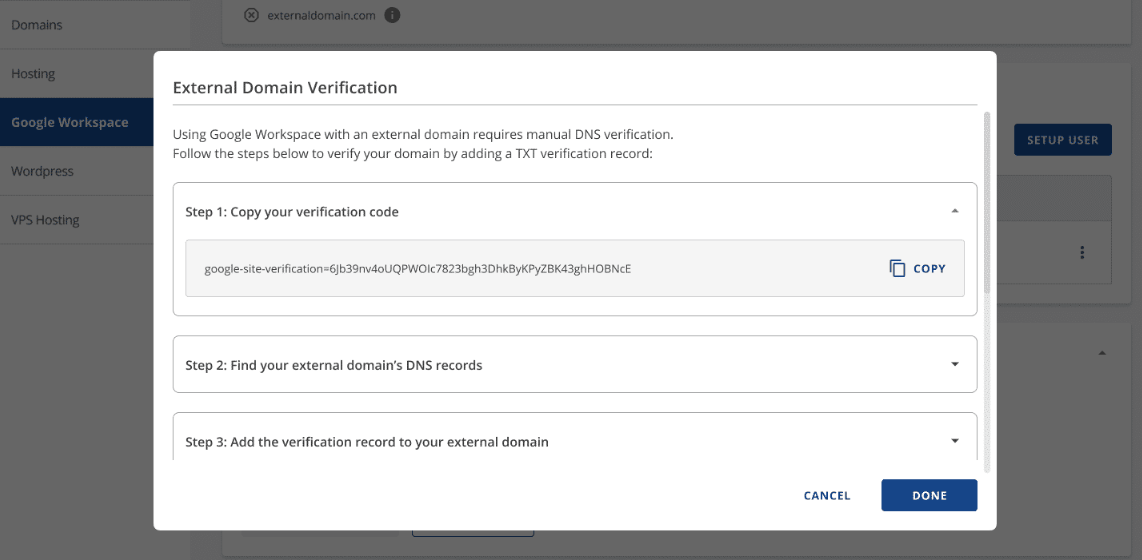
Step 3: Verify your domain (Post-purchase)
To verify your domain, you will need to create a TXT record. Copy your verification code from the next pop-up window. (The image below shows a sample verification code.)
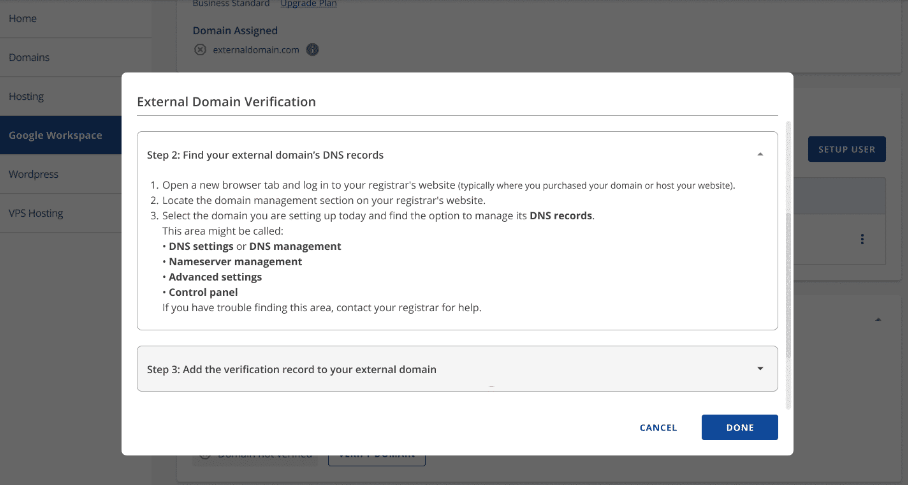
- You will be prompted to look for your registrar or hosting provider's domain management section in the next pop-up. Your domain management section may vary depending on your hosting provider. If you need assistance finding your domain management section, please contact your registrar or hosting provider.
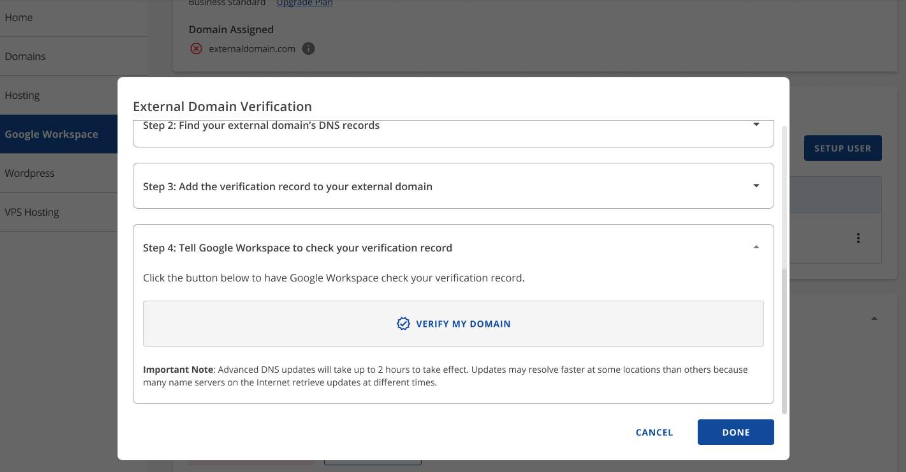
- In the next pop-up window, follow the instructions on how to add the verification code to your domain using a TXT record.
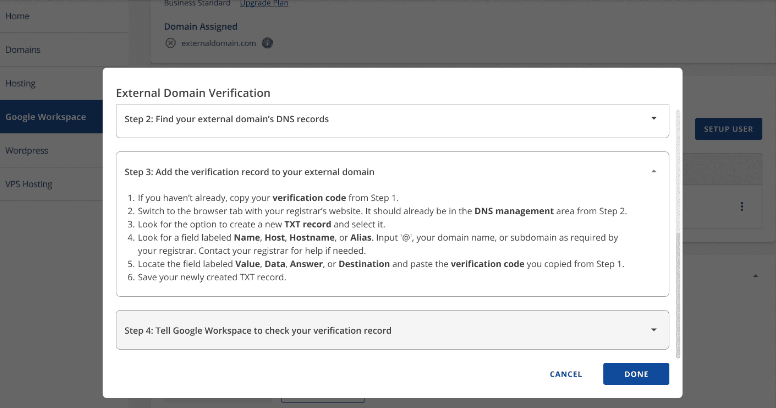 Please note that there is a DNS propagation time of a few hours.
 - Go back to your Customer Portal and click Verify my Domain in the pop-up window to have Google Workspace check your verification record.
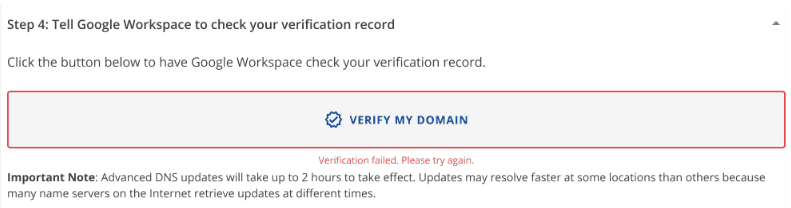
- A prompt will appear informing you about the status of your domain verification. If Google Workspace fails to verify your domain, it will show "Verification failed. Please try again." Propagation may take a while. Try verifying your domain again.
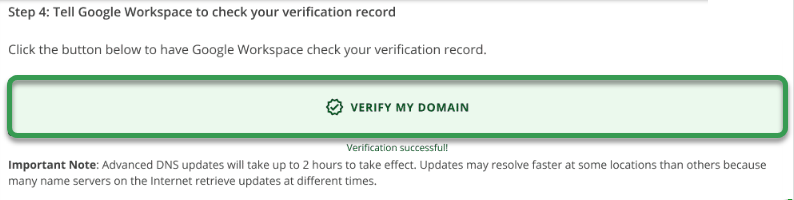
If your domain was successfully verified, the prompt will show "Verification successful." You can proceed to the next step.
Step 4: Update your domain's MX records (Post-purchase)
Once Google Workspace successfully verifies your domain, you need to update its MX records. This is also done in your registrar or hosting provider's domain management section. You can also check this article for more information about updating MX records: Changing DNS Zones (MX, CNAME, and A Records) in cPanel.
If you signed up for Google Workspace ON or AFTER April 2023, here is the MX record you need:
| Name/Host/Alias | Priority | Value/Answer/Destination |
|---|---|---|
| Blank or @ | 1 | SMTP.GOOGLE.COM |
If you signed up for Google Workspace BEFORE April 2023, your MX records look like these:
| Name/Host/Alias | Priority | Value/Answer/Destination |
|---|---|---|
| Blank or @ | 1 | ASPMX.L.GOOGLE.COM |
| Blank or @ | 5 | ALT1.ASPMX.L.GOOGLE.COM |
| Blank or @ | 5 | ALT2.ASPMX.L.GOOGLE.COM |
| Blank or @ | 10 | ALT3.ASPMX.L.GOOGLE.COM |
| Blank or @ | 10 | ALT4.ASPMX.L.GOOGLE.COM |
Propagation may take some time. Once it is done, you can log in to your Google Workspace account, accept the Google Workspace Terms of Service, and fully enjoy the benefits of Google Workspace!
Related Articles
Learn more about our Google Workspace email service!