Google Workspace (Formerly G Suite) Setup Part 1
Bring the power and scale of Google into your company with flawless performance combined with an uninterrupted workflow. Starting services is now smoother than ever with our onboarding experience.
This article will walk you through purchasing and setting up Google Workspace with a domain you've registered with HostGator.
Here are the topics discussed in this article.
- How to Purchase Google Workspace with a Domain Registered with HostGator ⤵
- How to Set up Google Workspace (Post-Purchase) ⤵
- How to Manage Google Workspace (Post-Purchase) ⤵
- Related Articles ⤵
We have consolidated helpful articles to guide you in ordering and managing Google Workspace.
- Guide to Using Google Workspace with an External Domain - This article will guide you through purchasing and setting up Google Workspace with domains not registered with HostGator.
- Google Workspace Set up Part 2 - Manage Google Workspace Admin - This article will guide you through the additional setup required within your Google Workspace admin account so you can use its functionalities.
- How to Transfer a Google Workspace (Formerly G Suite) Account - This article will guide you through transferring your existing Google Workspace account to HostGator.
How to Purchase Google Workspace with a Domain Registered with HostGator
You can purchase Google Workspace within your Customer Portal or https://www.hostgator.com/google.
Via the Customer Portal
- Log in to your Customer Portal.
- Click Marketplace on the left-side menu.
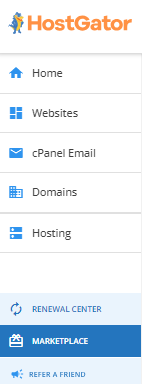
- Scroll down to the Email category and look for the Google Workspace card.
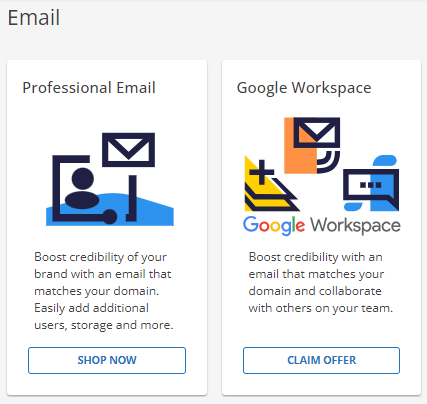
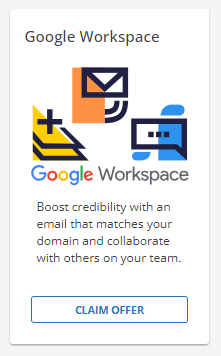
- Click CLAIM OFFER under Google Workspace.
- In the pop-up window, enter the domain you want to use for your email.
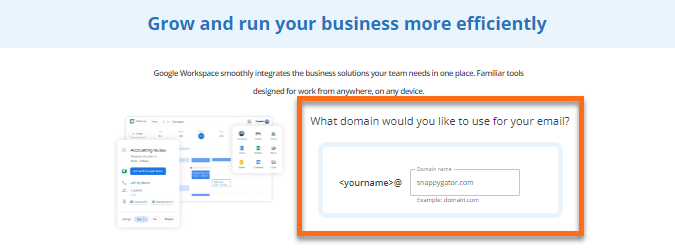
- Scroll down and click the CONTINUE button.
- In the next pop-up window, select your Google Workspace plan.
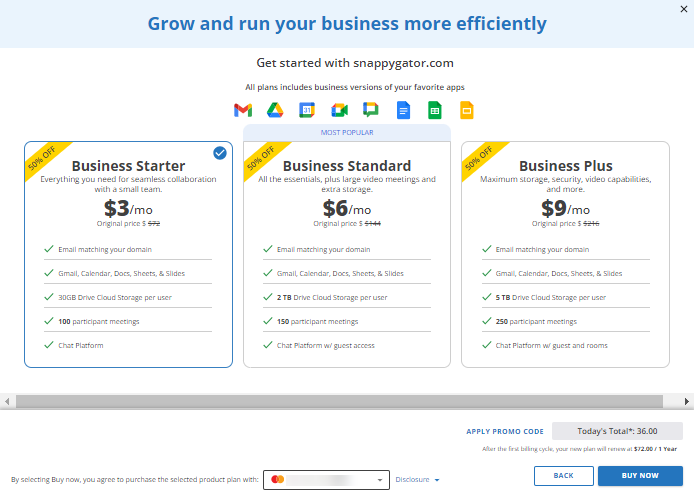
- Select your preferred payment method from the dropdown. If you don't have a payment method on file, you may need to enter your billing details.
- (Optional) Enter your PROMO CODE if you have one available.
- Click the BUY NOW button.
- You'll be redirected to the Checkout page, where you can complete the payment transaction.
- Once payment is made, you will see Google Workspace under the Email & Office tab in your Customer Portal.
Via https://www.hostgator.com/google
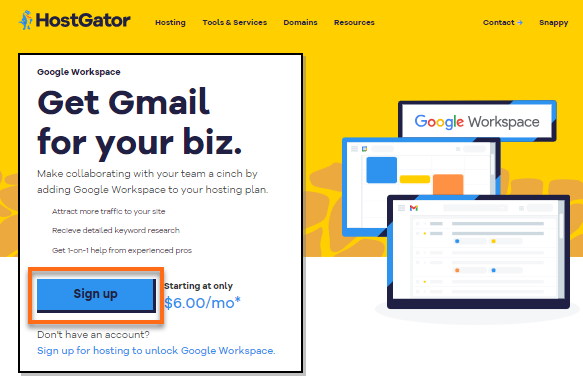
- Go to https://www.hostgator.com/google.
- Click the Sign up button.
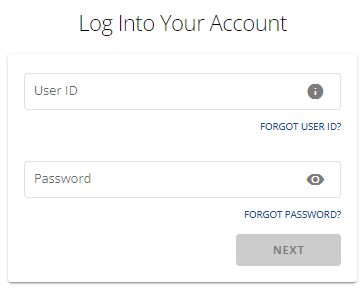
- You'll be prompted to log into your Customer Portal. Enter your username and password.
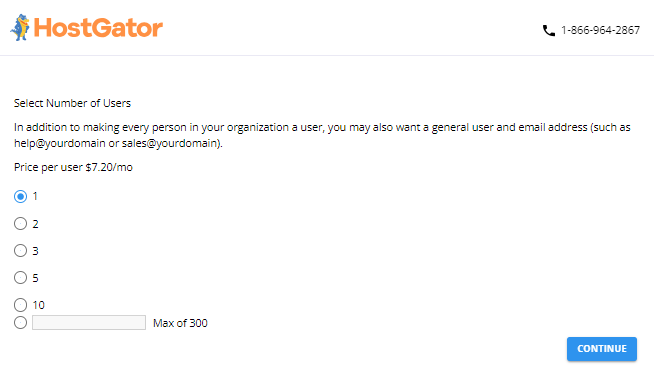
- On the next page, fill out the required information. Select your preferred number of users (or seats), and then click CONTINUE.
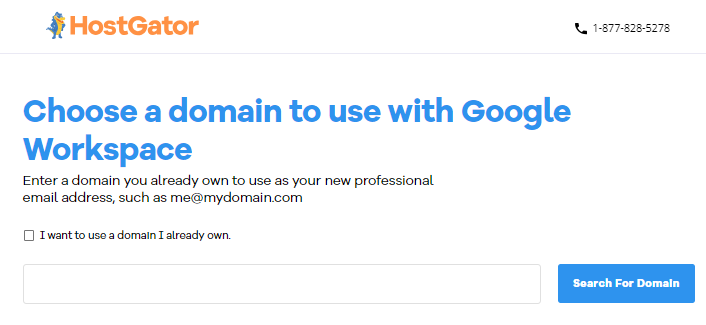
- Choose the domain you want to use with Google Workspace. You can use your existing domain (registered with HostGator or with another registrar) or purchase a new domain name.
- To register a new domain, enter a domain and click the Search For Domain button. The system will check the domain's availability. If available, it will notify you that it is eligible and will recommend adding Domain Privacy to protect your personal information online. Click CONTINUE.
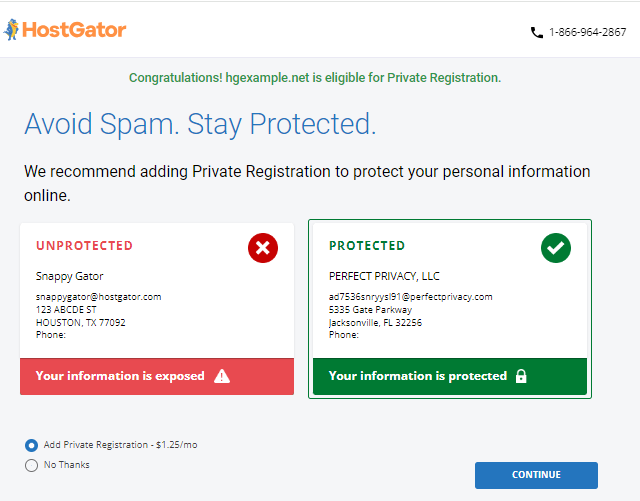
If the domain is not available, please enter another domain for registration or choose a domain from the system's recommendations.
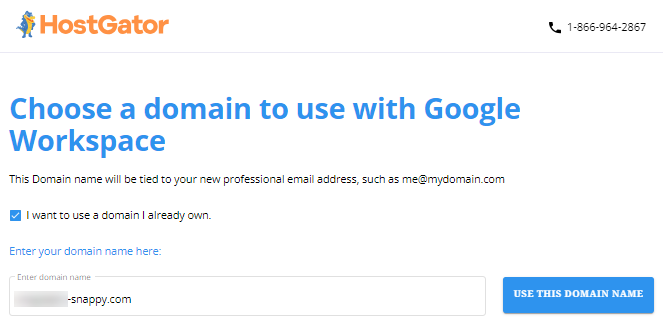
- To use your existing domain, put a checkmark on "I want to use a domain I already own," enter your domain, then click Use This Domain Name button.
- To register a new domain, enter a domain and click the Search For Domain button. The system will check the domain's availability. If available, it will notify you that it is eligible and will recommend adding Domain Privacy to protect your personal information online. Click CONTINUE.
- Review your Cart and Order Summary. Enter your PROMO CODE if you have one available (optional).
- Click CONTINUE TO CHECKOUT to proceed.
- You'll be redirected to the Checkout page, where you can complete the payment transaction. Make sure you have a payment method saved. If you don't have one on file, you'll be asked to enter one.
- Once payment is made, you will see Google Workspace under the Email & Office tab in your Customer Portal.
You can now start setting up your Google Workspace account.
How to Set up Google Workspace (Post-Purchase)
- After your purchase, you'll see an alert banner on your Customer Portal Home page. Click the Google Workspace's SETUP button on the alert banner to initiate the setup process.

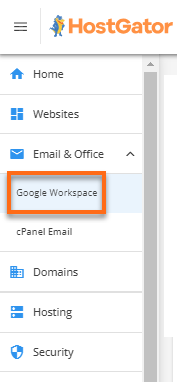
- If you missed or closed the alert banner, you can also click the Email and Office tab on the left-hand menu and select Google Workspace.
You will find the Google Workspace plans in your account on the right pane (if you have signed up for multiple plans). Locate the domain you used to sign up, and then click its Setup button on the right.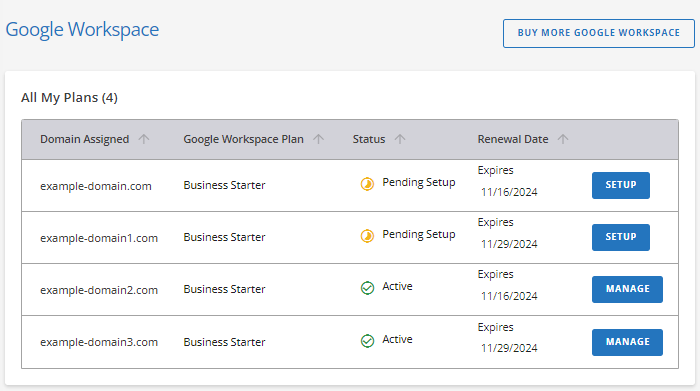
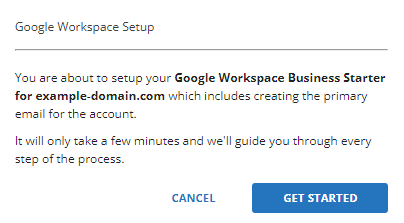
- A pop-up window will appear, informing you that you are about to set up your domain with Google Workspace. Click the Get Started button.
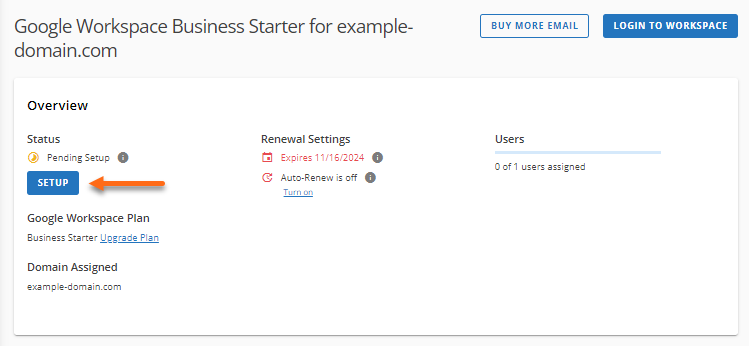
If you choose to Cancel the process, you can still set up the service later. Simply click on the SETUP button in the Overview section of Google Workspace to launch the setup window.
- In the next pop-up window, fill out the required fields with the following information:
- Primary email
- First and last name
- Organization (optional)
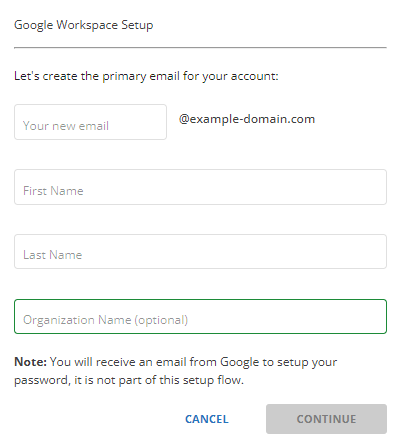
- Click the Continue button.
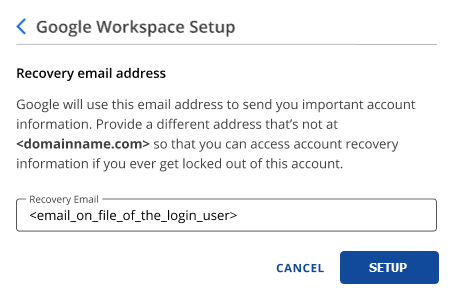
- In the next pop-up, you will be asked to enter a recovery email address.
- Another pop-up window will appear, asking you to reconfigure your DNS records for your Google Workspace. This pop-up will only appear if your domain is currently associated with an existing email service at HostGator.
If you want to reconfigure your DNS to direct all emails to Google Workspace, put a checkmark on "Yes, I want to reconfigure my DNS for Google Workspace" and then click on UPDATE DNS. Please note that you will lose access to the existing email service when you do so.
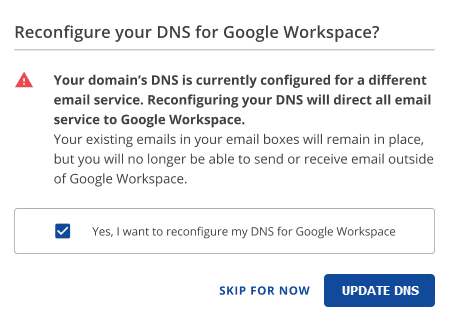
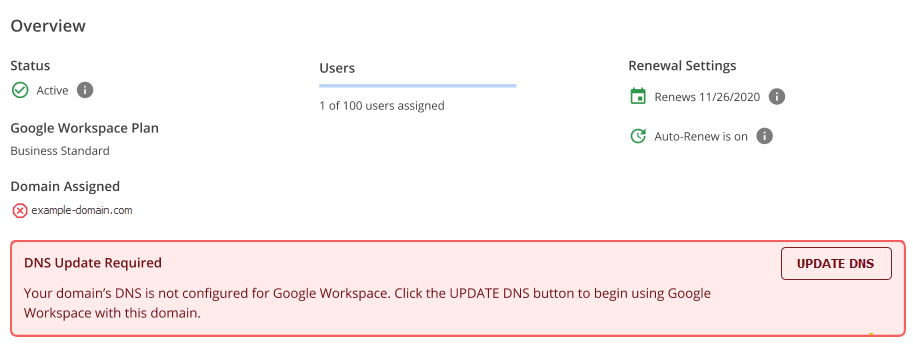
If you choose SKIP FOR NOW, you can still reconfigure your DNS later by clicking the UPDATE DNS button under Google Workspace's Overview section.
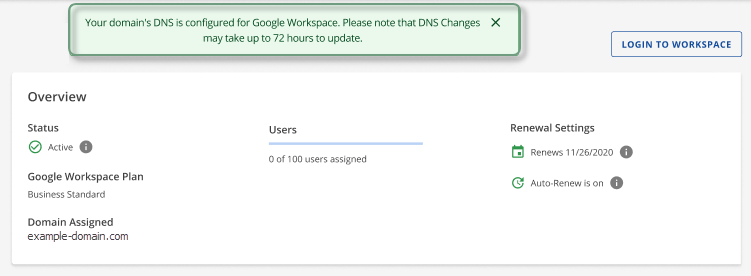
- A notification will appear stating that the domain's DNS was configured for Google Workspace. Please give your DNS time to propagate fully.
How to Manage Google Workspace (Post-Purchase)
Once done with the purchase and set up, you can manage your Google Workspace within the Customer Portal.
- In your Customer Portal, click the Email and Office tab on the left-hand menu and select Google Workspace.
- On the right pane, locate the Google Workspace account you want to manage and click its Manage button.
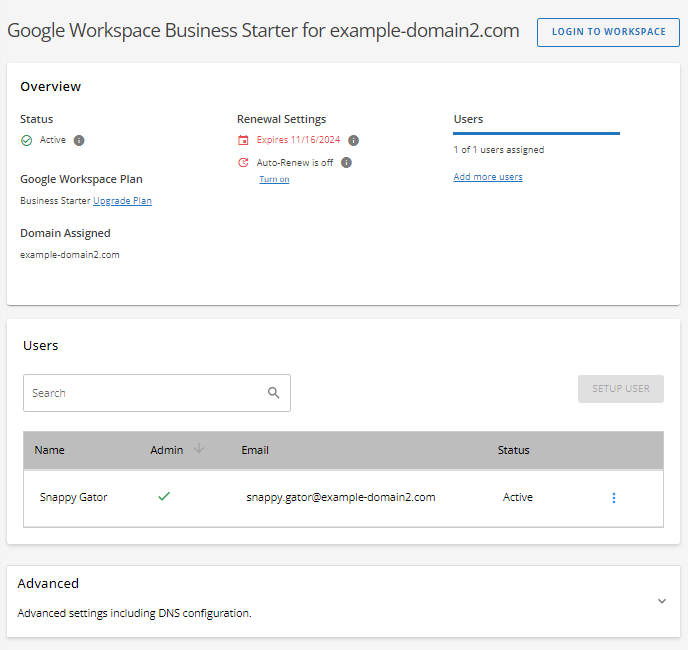
- Details about your Google Workspace plan will be displayed, which include the following:
- Account status
- Type of plan
- Assigned domain
- Expiration date
- Auto-renewal status
- User assigned
- Advanced settings (Google Workspace MX records)
-
In your Google Workspace dashboard, you can do the following actions:
- Buy more emails (purchase another Google Workspace plan)
- Log in to your Workspace
- Add more users (add seats)
- View your Google Workspace users
- Read email per email account
- Edit user settings
- Change user password
- Manage user aliases
Related Articles
Learn more about our Google Workspace email service!
If you need references about managing your MX records, please visit the following articles.