Professional Email - How to Order and Manage (Post-Purchase)
Boost your business communication with our Professional Email service. It gives you everything to manage your emails efficiently, like a custom email address, powerful tools to organize your inbox, and advanced options such as email scheduling and read receipts. With Professional Email, organizing your emails becomes easy, helping you communicate better and present a professional image.
This article discusses the following topics:
- How to Order Professional Email ⤵
- How to Manage Professional Email (Post-Purchase) ⤵
- Related Articles ⤵
How to Order Professional Email
You can purchase Professional Email service through your Customer Portal or our front-of-site.
Via the Customer Portal
- Log in to your Customer Portal.
- Click Marketplace on the left-hand menu.
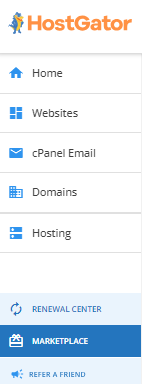
- Scroll down to the Email category and look for the Professional Email card.
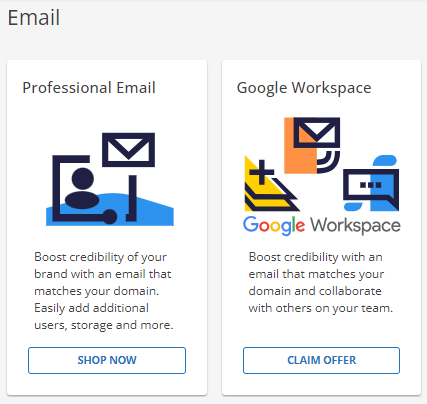
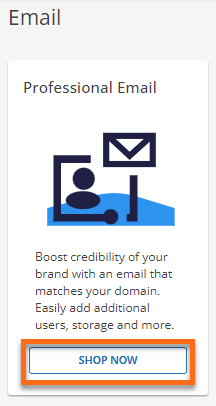
- Click SHOP NOW under Professional Email.
- A pop-up window will appear, showing you the available Professional Email plans. Select your preferred plan and click the BUY NOW button.
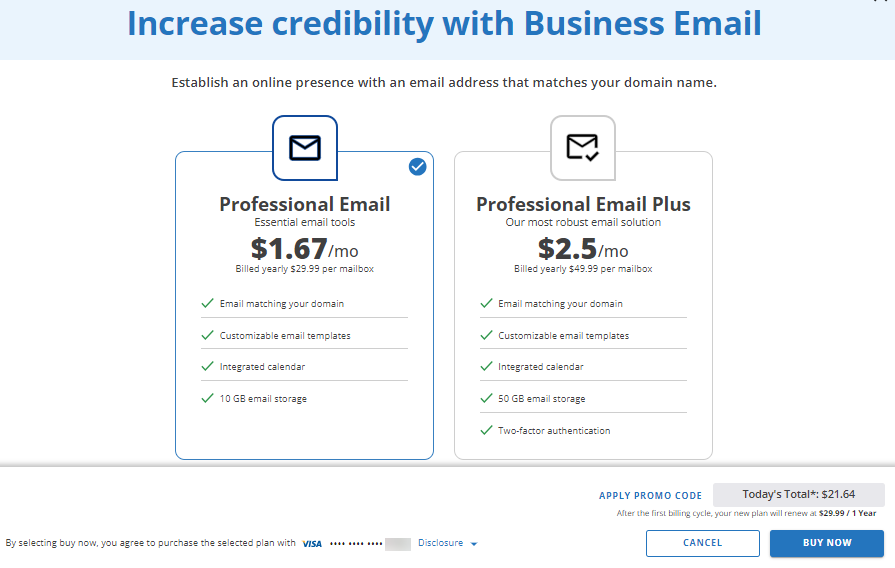
The prices displayed in the image above are subject to change in the future. - You'll be redirected to the Checkout page. You may need to enter one if you don't have a payment method on file.
- Complete the payment transaction.
Via the Front-of-Site
- On your browser, go to Professional Email.
- Click the Choose plan button of your preferred Professional Email plan.
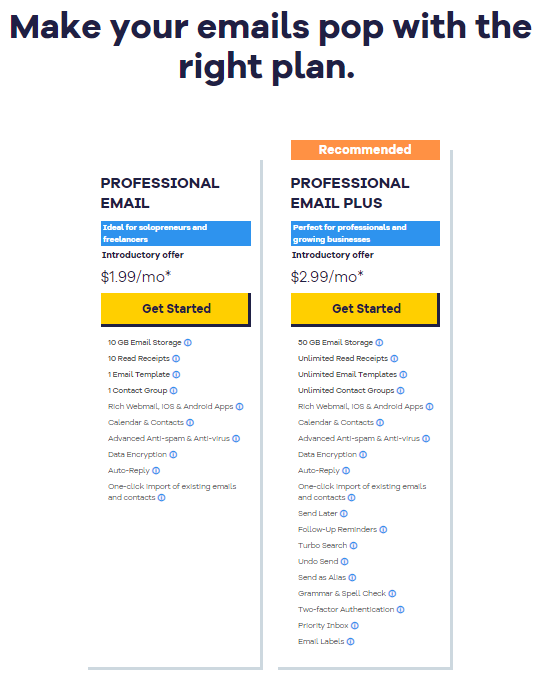
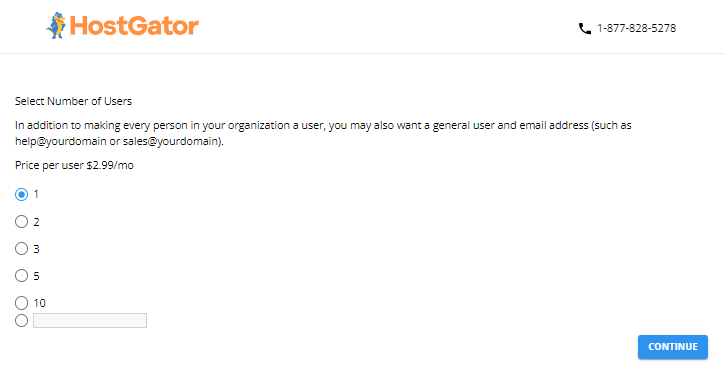
The prices displayed in the image above are subject to change in the future. - Select the number of users (seats) on the next page, then click CONTINUE.
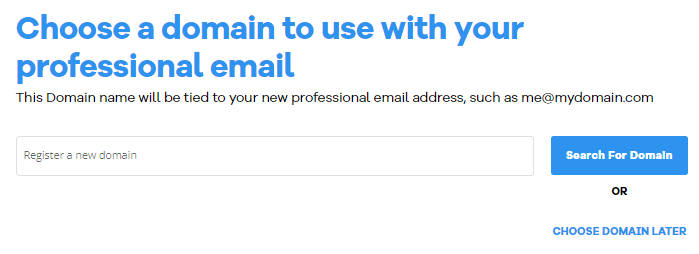
The prices displayed in the image above are subject to change in the future. - Enter a domain to use with your Professional Email service. You can register a new domain or choose a domain later.
- You'll be redirected to the Cart section. Select your preferred billing term from the dropdown - Monthly or 1 Year.
- Please take a moment to review the items in your Order Summary, and when you're ready, click CONTINUE TO CHECKOUT to proceed. If you don't have a payment method on file, you'll have the opportunity to add one. If you're new, creating an account with us is quick and easy.
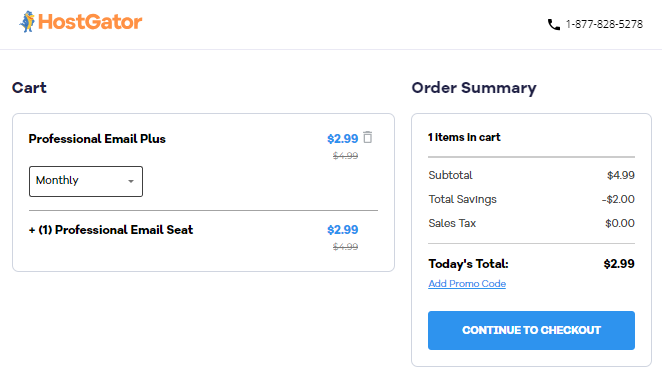
The prices displayed in the image above are subject to change in the future. - Complete the payment transaction.
How to Manage Professional Email (Post-Purchase)
Once payment is made, you will see Professional Email under the Email & Office tab in your Customer Portal.
- Logging into your Professional Email Account ⤵
- Setting Up Your Professional Email Account ⤵
- Adding More Users to Professional Email ⤵
Logging into your Professional Email Account
You can now begin navigating your Professional Email account.
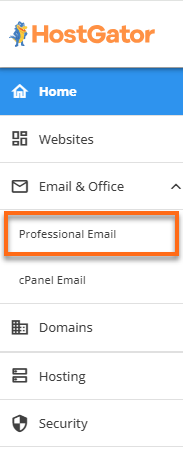
- Within your Customer Portal, click the Email & Office tab in the left-hand menu, then select Professional Email.
- Click the LOGIN TO WEBMAIL button in the top-right corner.

- You'll be redirected to the login page. Enter your email address and password.
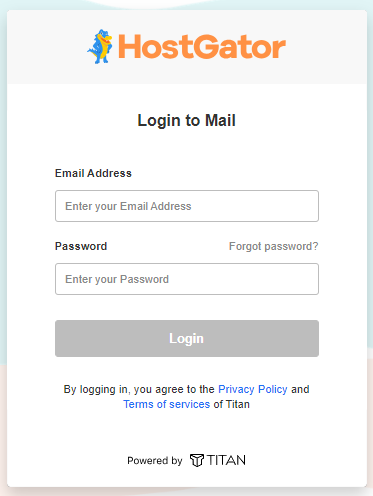
- You should now be able to see your email dashboard.
Setting Up Your Professional Email Account
You can configure your Professional Email using the available management options.
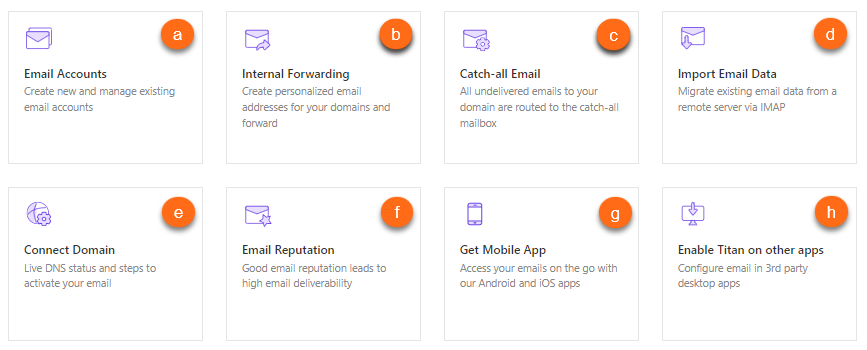
- Email Accounts - This is where you can view, create, and manage email accounts.
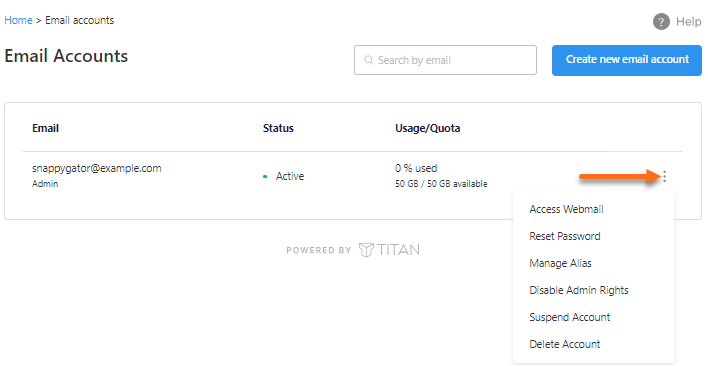
By clicking the vertical ellipsis icon on the right of your email account, you can:
- Access Webmail
- Reset Password
- Manage Alias
- Disable Admin Rights
- Suspend Account
- Delete Account
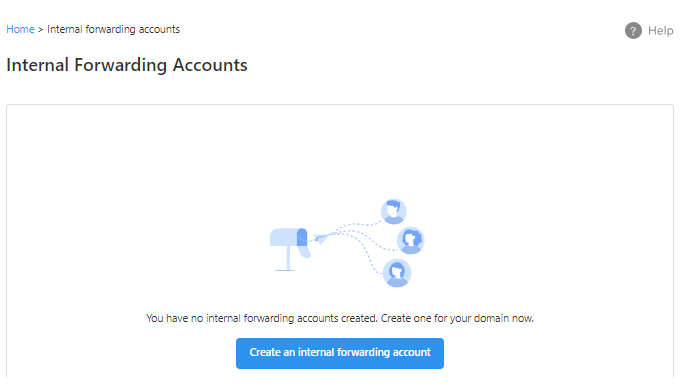
- Internal Forwarding - This section allows you to create personalized email addresses and forwarding accounts. Click on Create an internal forwarding account to get started.
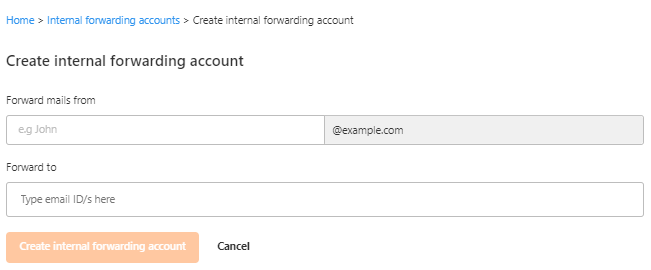
Enter the "from" and "to" email addresses, then click Create internal forwarding account.
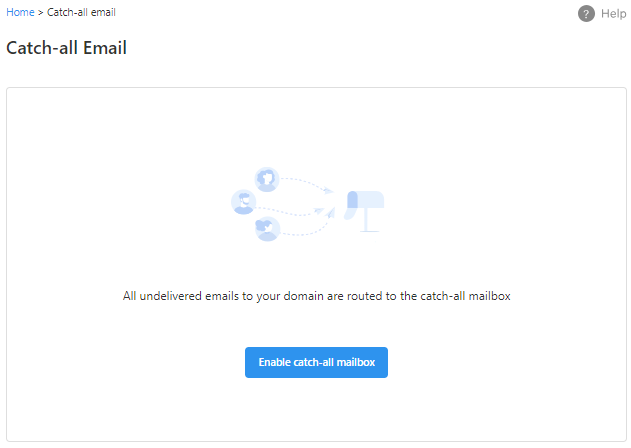
- Catch-all Email - This section allows you to set up your catch-all mailbox. Click on Enable catch-all mailbox to start setting up your catch-all.
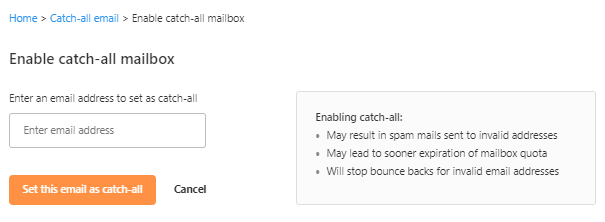
Enter the email address you want to set up as a catch-all and click on Set this email as catch-all.
- Import Email Data - This section allows you to migrate existing email data from a remote server. Click on Import a mailbox to initiate the import.
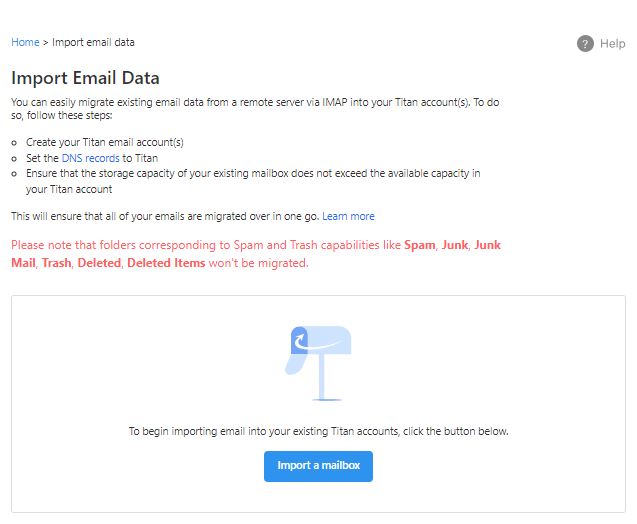
Fill out the required fields and click the Submit button.
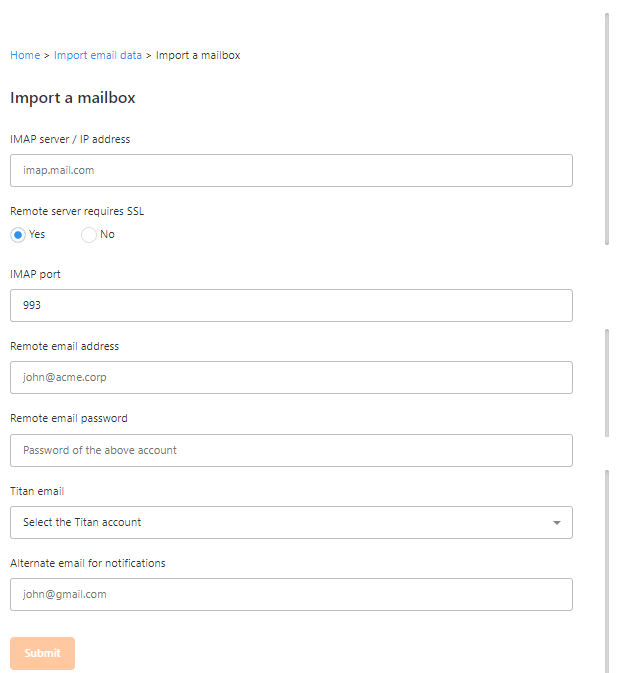
For more information about importing emails to your Professional Email account, please visit the How to Import Emails to HostGator's Professional Email article.
- Connect Domain - This section shows the current status of the domain and its DNS records connected to your Professional Email service.

If you haven't set up your MX and/or SPF records yet, please do so. Use this article to guide you in setting up your MX and SPF records: Setup Professional Email MX and TXT records.
- Email Reputation - This section shows the status of your email reputation.
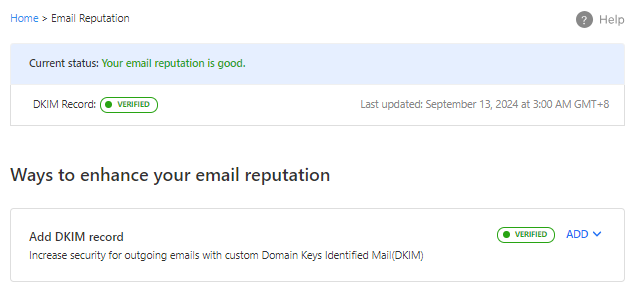
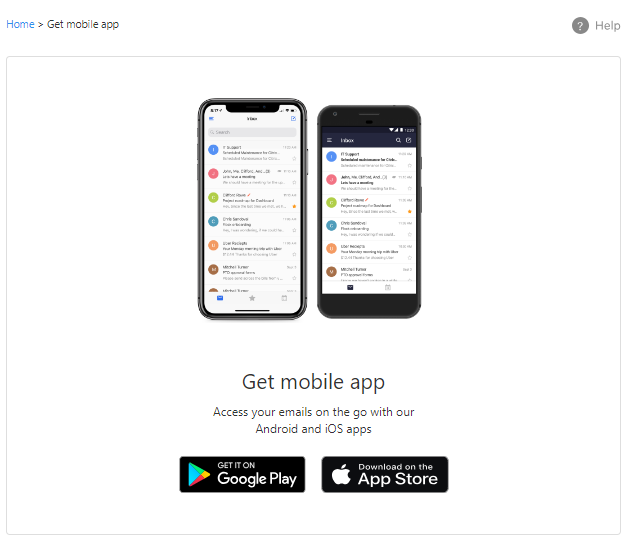
- Get Mobile App - You can access your Professional Email account on a mobile application. This section gives you the option to do so.
- Enable Titan on other apps - This section allows you to set up your email in 3rd-party email applications.
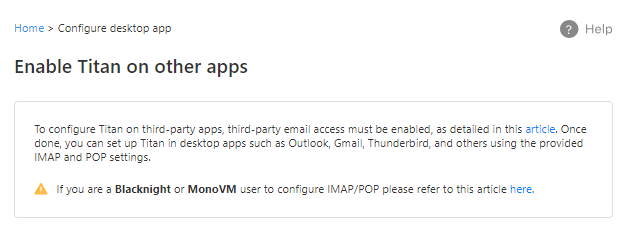
For instructions on granting permissions to 3rd-party email apps to access your emails, please visit the Enable Professional Email Settings for Third-party Email Clients article.
If you need help setting up your Professional Email to 3rd-party email clients, please visit the following articles:
Adding More Users to Professional Email
You can add additional users to your Professional Email account if your business requires it.
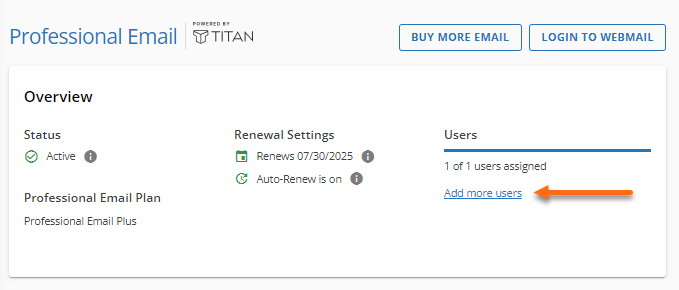
- Within your Customer Portal, click the Email & Office tab on the left-hand menu and then select Professional Email.

- In the Overview section, click the Add more users link under Users.
- Select the number of users to be added and then click the BUY NOW button.
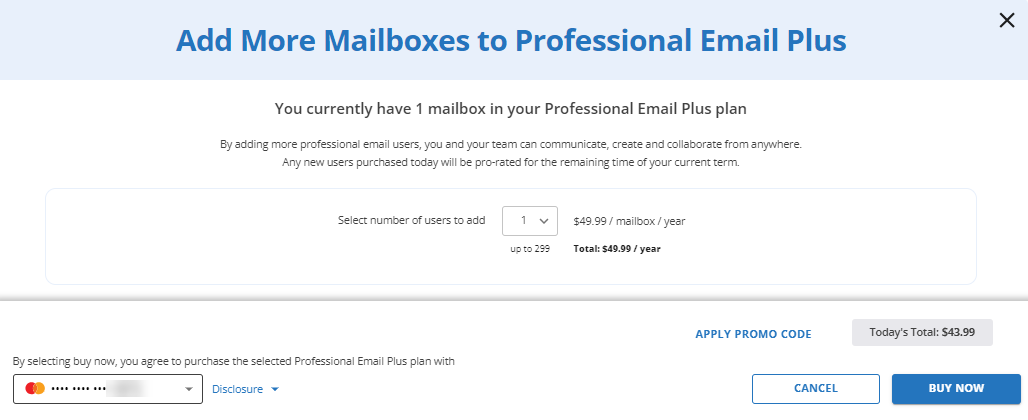
- You'll be redirected to the Checkout page. Complete the payment transaction.