Knowledge Base
Setup Professional Email MX and TXT records
In this article, we will explain how to configure the MX and TXT records for your domain and set it up for your HostGator Professional Email account.
Are you looking for support articles on enabling and setting up email access on 3rd-party email applications? Please visit the following articles.
- Enable Professional Email Settings for Third-party Email Clients
- Professional Email - How to Configure IMAP/POP on Third-Party Apps
How to Set up MX and TXT Records for Professional Email
To set up your MX and TXT records:
- Log in to your Customer Portal.
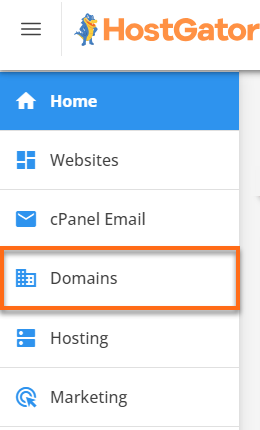
- Click Domains on the left-hand menu.

- Look for the domain you want to manage.
- If you have the Summary view in your account, locate the domain you want to use and click SETTINGS.

- If you have the Advanced view in your account, locate the domain you want to use and click the 3-vertical dots icon under the Actions column.

- If you have the Summary view in your account, locate the domain you want to use and click SETTINGS.
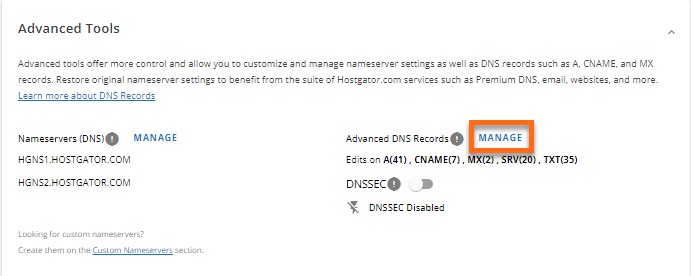
- Scroll down and click the Advanced Tools section.
- Click MANAGE beside Advanced DNS Records.

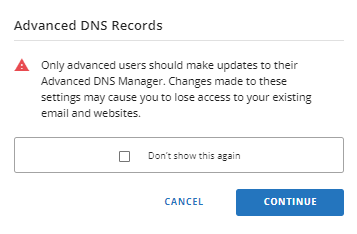
- Click CONTINUE in the pop-up window.

- You will be routed to the Manage Advanced DNS Records page. Scroll down and look for MX (Mail Exchanger). and click its BULK EDIT button.

- Enter the values below.
- Add the following items to the first line:
- Sub-Domain: @
- Priority: 10
- TTL: 14400
- Mail Server: mx1.titan.email
- Add the following items to the second line:
- Sub-Domain: @
- Priority: 20
- TTL: 14400
- Mail Server: mx2.titan.email
- Add the following items to the first line:
- Click the SAVE button to save the new MX records.
- Back to the Manage Advanced DNS Records page, scroll down to the TXT section, and click its Bulk Edit button.
- Click BULK EDIT and enter the below values.

- Enter the following TXT record values:
- Host: @
- TTL: 14400
- Text: v=spf1 include:spf.titan.email ~all
- Once done, click the CONTINUE button.
The DNS records are now updated. Please wait for 24-48 hours for the new MX and TXT records to propagate.
Related Articles
- Enable Professional Email Settings for Third-party Email Clients
- Professional Email - How to Configure IMAP/POP on Third-Party Apps
- Professional Email - How to Set up and Create an Email Account
- Professional Email Product Overview
Did you find this article helpful?