Knowledge Base
How to Setup Professional Email on iPhone or iPad
The HostGator Professional Email service allows you to configure your email account using the native Apple Mail application on your iOS device.
You need to enable third-party email access to set up the Professional Email on third-party applications. Please see the following article for instructions.
This article discusses the following topics.
Setting up Professional Email on iPhone or iPad
IMAP Setup
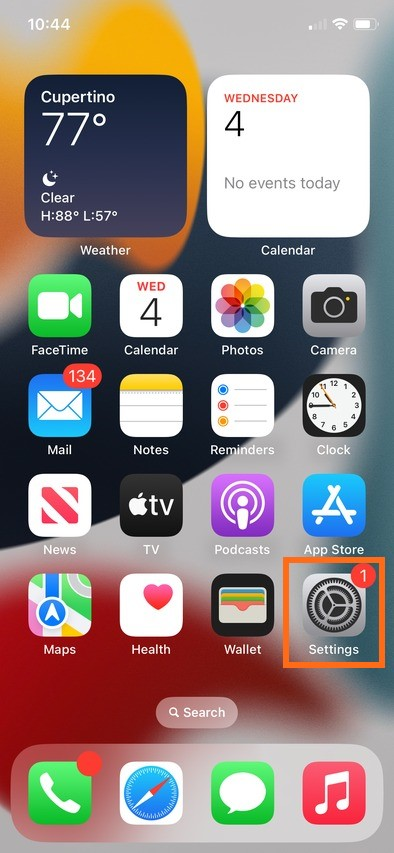
- Open the Settings on your iPhone or iPad.
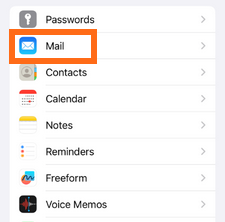
- Tap Mail.
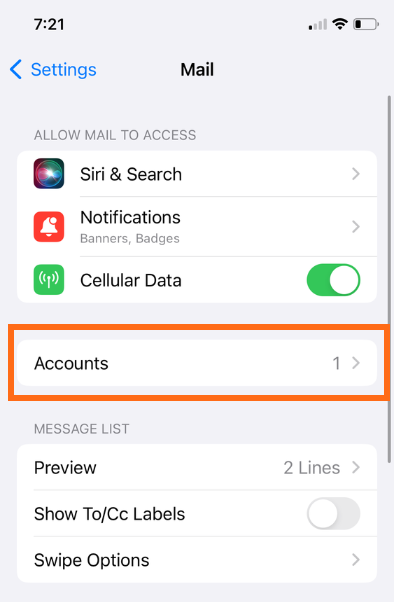
- Select Accounts.
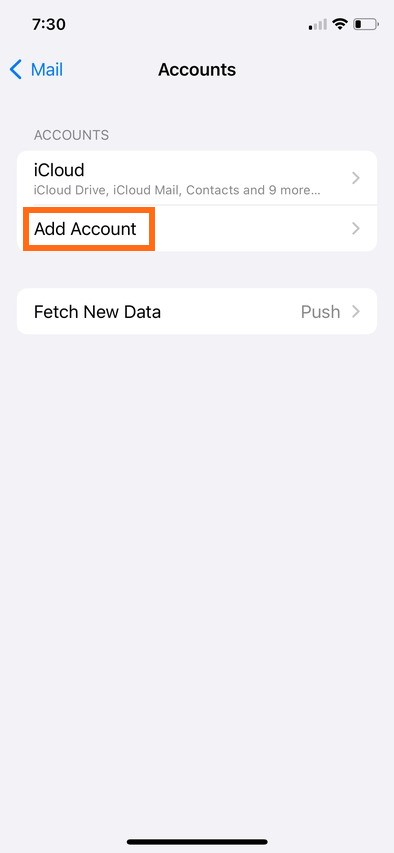
- Tap on Add Account.
- Select Other.
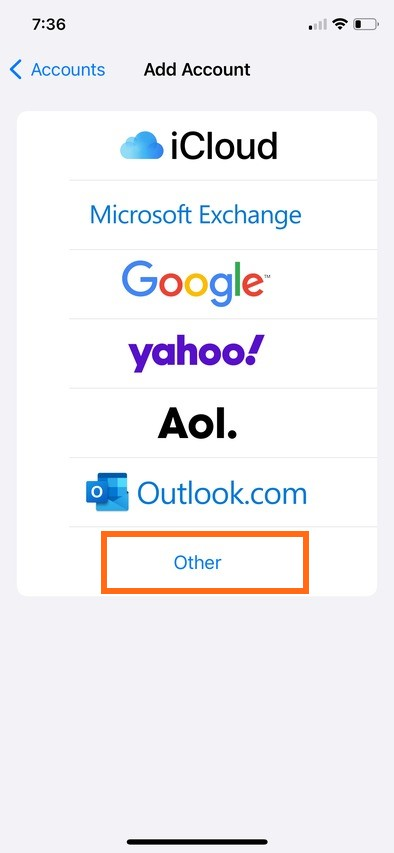
- Tap Add Mail Account and enter the account details:
- Name: This will be visible as the sender.
- Email: The email address the customer wishes to add. (Ex. [email protected])
- Password: The password you use to log in to Webmail.
- Description: Name of the account on the customer's device.
- Tap Next to continue.
- Select IMAP as the account type.
- Tap Next to continue.
- Enter the below in server settings:
- Email address: Your email address. (Ex. [email protected])
- Password: The password you use to log in to Webmail.
- Username (if asked): Your email address email address. (Ex. [email protected])
- Incoming server: imap.titan.email
- Port: 993
- Encryption method: SSL/TLS
- Outgoing server: smtp.titan.email
- Port: 465
- Encryption method: SSL/TLS
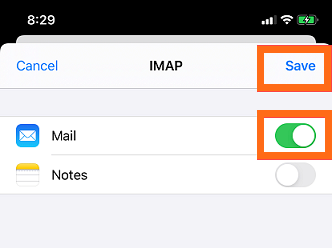
- Disable syncing of Notes if it is enabled. Tap Save.
POP Setup
- Open the Settings on your iPhone or iPad.

- Tap Mail.

- Select Accounts.

- Tap on Add Account.

- Select Other.

- Tap Add Mail Account and enter the account details:
- Name: This will be visible as the sender.
- Email: The email address the customer wishes to add. (Ex. [email protected])
- Password: The password you use to log in to Webmail.
- Description: Name of the account on the customer's device.
- Tap Next to continue.
- Select POP as the account type.
- Tap Next to continue.
- Enter the below in server settings:
- Email address: Your email address. (Ex. [email protected])
- Password: The password you use to log in to Webmail.
- Username (if asked): Your email address email address. (Ex. [email protected])
- Incoming server: pop.titan.email
- Port: 995
- Encryption method: SSL/TLS
- Outgoing server: smtp.titan.email
- Port: 465
- Encryption method: SSL/TLS
- Tap Save.
Related Articles
Did you find this article helpful?