How to Log in to cPanel Directly
Do you need help finding your cPanel login information or URL? This article will discuss how you can log directly into your cPanel using your server's IP address, server hostname, or domain name. This method will require you to log in to cPanel using your cPanel username and password.
- Step 1: Get your server information
- Step 2: Access the cPanel URL ⤵
- Step 3: Enter the cPanel username and password ⤵
For complete instructions on how to log in to your cPanel through your Customer Portal, check out the How to Log in to cPanel article.
If you're looking for a guide on how to log into your Customer Portal, please visit the How to Log in to Customer Portal article.
To learn more about what cPanel is and how it works, you can refer to the A Beginner's Guide to cPanel article.
To improve your hosting experience, HostGator has updated the Customer Portal with a new layout and added features. This update will not affect your websites, email, domains, or any other services with HostGator. If you need to make changes to your site(s), please log in using WP Admin or cPanel directly. You can find the relevant articles listed below.
Step 1: Get your server information
To retrieve your cPanel URL, you will need any of the following:
- Server's IP Address
- Server Hostname
- Domain name
(Option 1) Use your Server's IP Address
You can get your server's IP address either from your Websites tab or Hosting tab.
- Log in to your Customer Portal.
- There are several ways to get your IP address within the Customer Portal.
Via the Websites tab
- Go to Websites from the left navigation menu.
- Click Manage Site next to the website you want to manage.
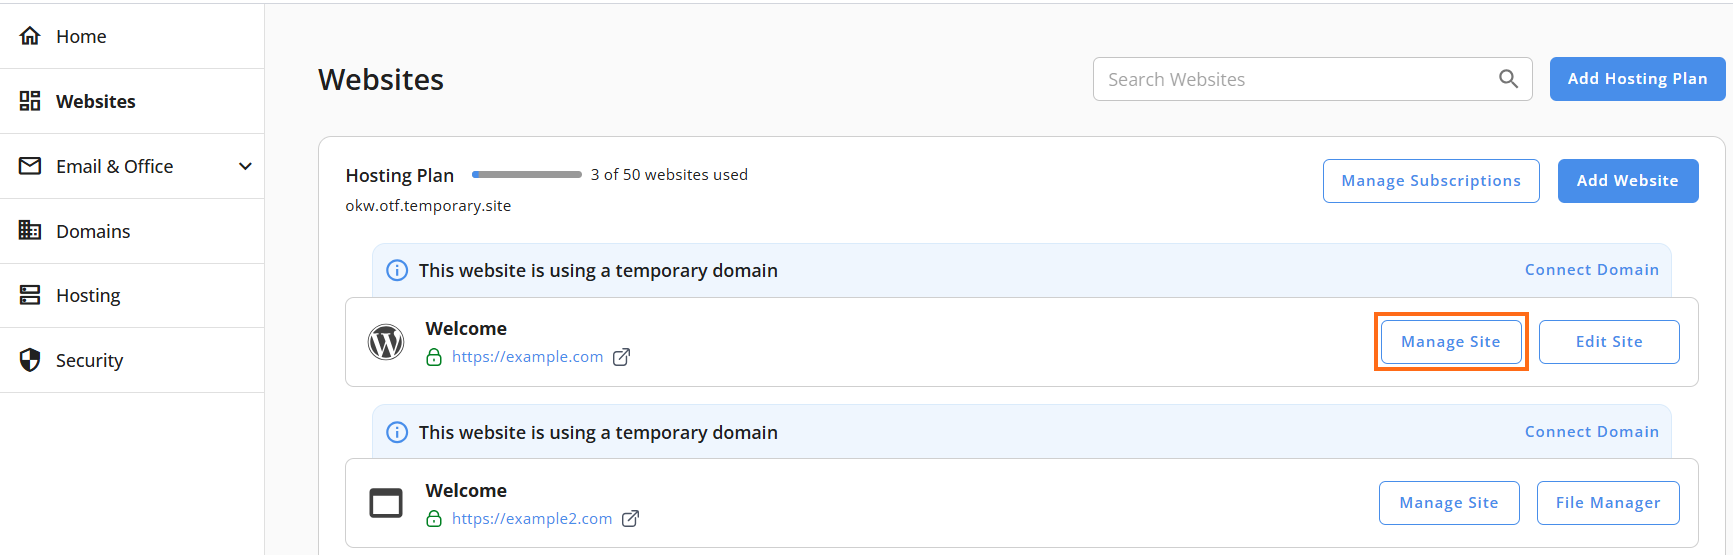
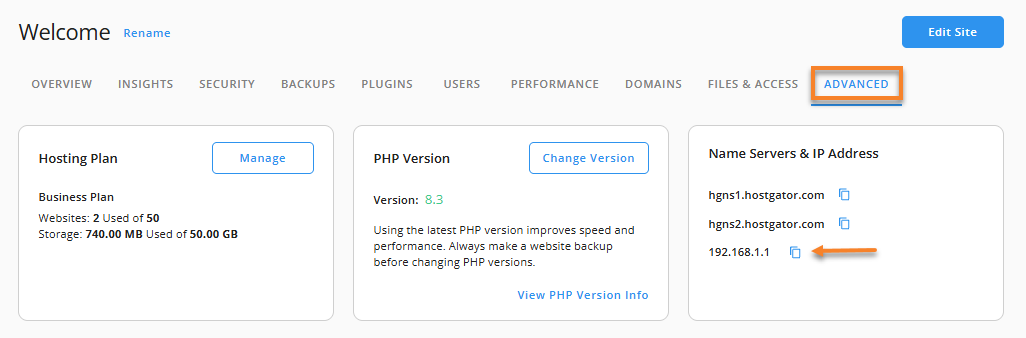
- Click the Advanced tab from the top navigation menu.
- Under the Advanced tab, locate the Name Servers & IP Address section.
- Click the copy icon for the IP Address.
Via the Hosting tab
- Log in to your Customer Portal.
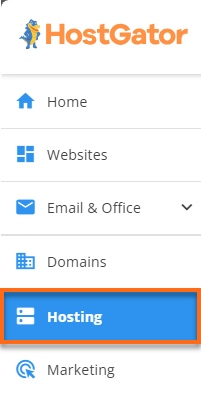
- Click Hosting on the left-hand menu.
- On the Hosting page, click View Details to expand the option.
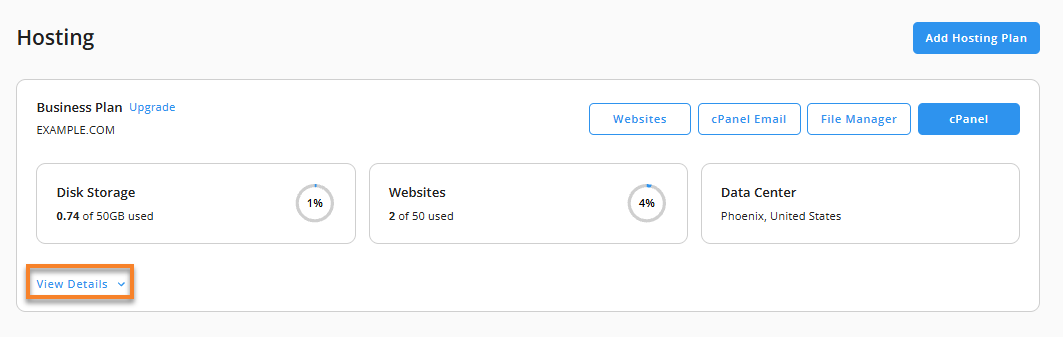
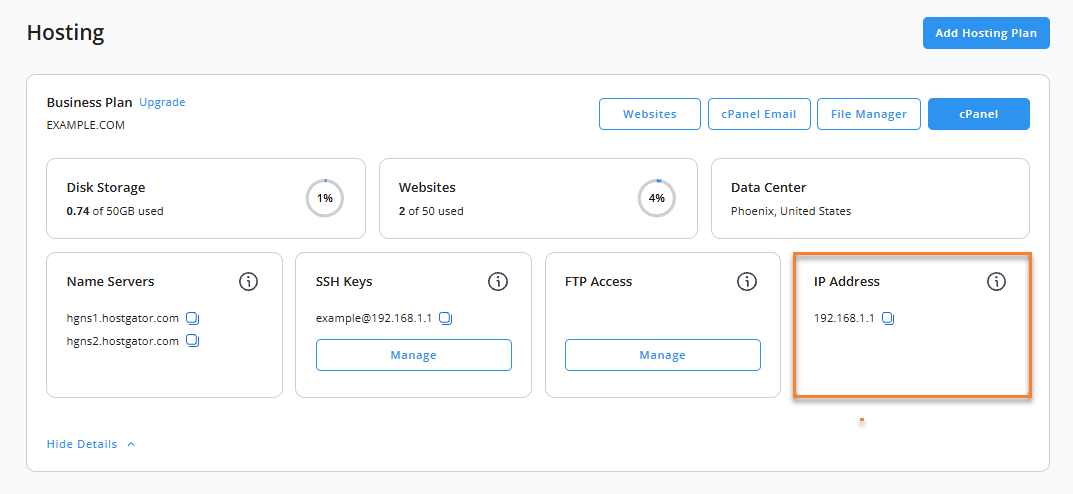
- Locate the IP address section and click the copy icon.
(Option 2) Use your Server Hostname
For this option, please note that the best place to get the server hostname is from the cPanel itself, as it is not always visible in the Customer Portal. The next time you get access to your cPanel, you may want to get your server hostname, so you can use this method the next time you log into cPanel via its URL.
Here is how to find your server hostname within cPanel.
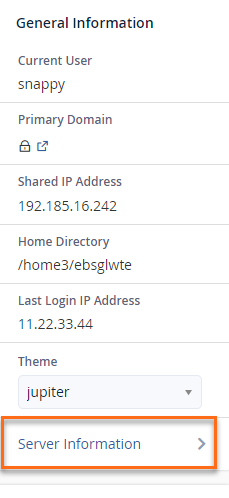
- In cPanel, look into the General Information section on the right-hand sidebar.
- Under General Information, click Server Information.
- Under the Server Information page, you will find your server name and even your IP address.
(The sample image above shows the server hostname as Server Name "gator123" and IP address as Shared IP Address "192.123.456.789.")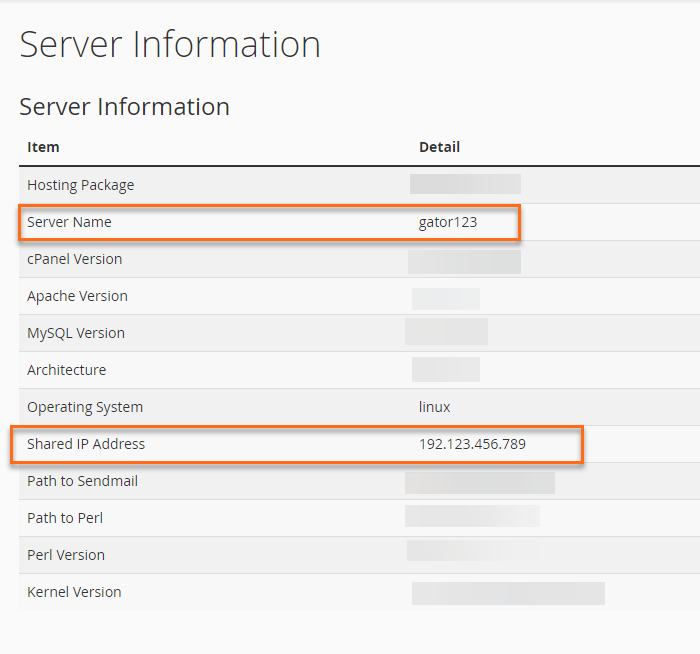
(Option 3) Use your Domain name
For this option, please make sure your domain name is connected to your HostGator server. You can do this within your Customer Portal's Domains section. Please note that once you update your name servers, there is a propagation time of 24-48 hours.
If you haven't connected your domain to your HostGator server yet, follow these instructions:
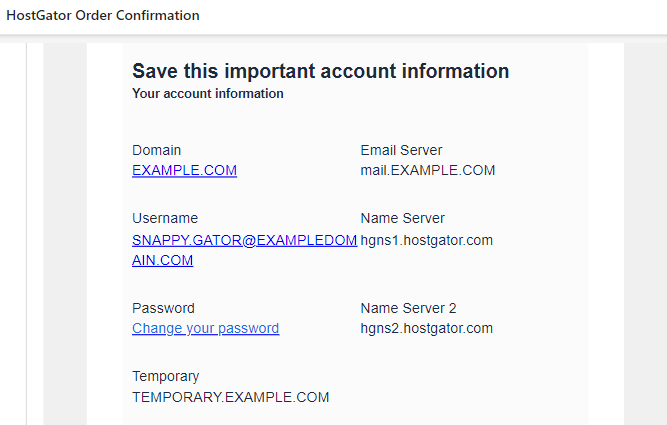
- Get your HostGator name servers. You can find them in your HostGator Order Confirmation email or Customer Portal.
Your Order Confirmation email looks like the sample image below:
There are several ways to find your name servers in the Customer Portal. For detailed instructions, please refer to Where to find my HostGator name servers.
- Once you have your HostGator name servers, you'll need to update your domain's nameservers at your current registrar.
- If your domain is registered with HostGator:
- Log in to your Customer Portal.
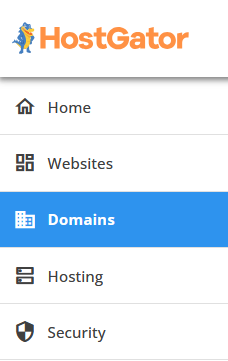
- Click Domains on the left-side menu.
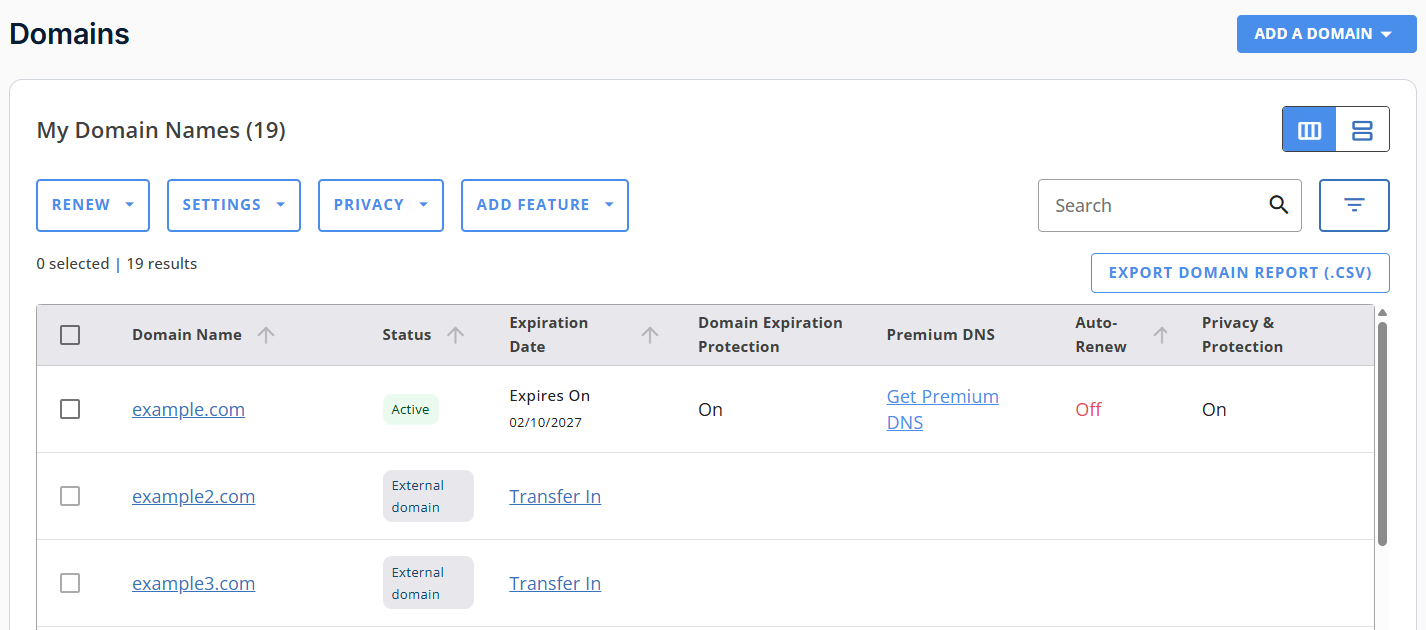
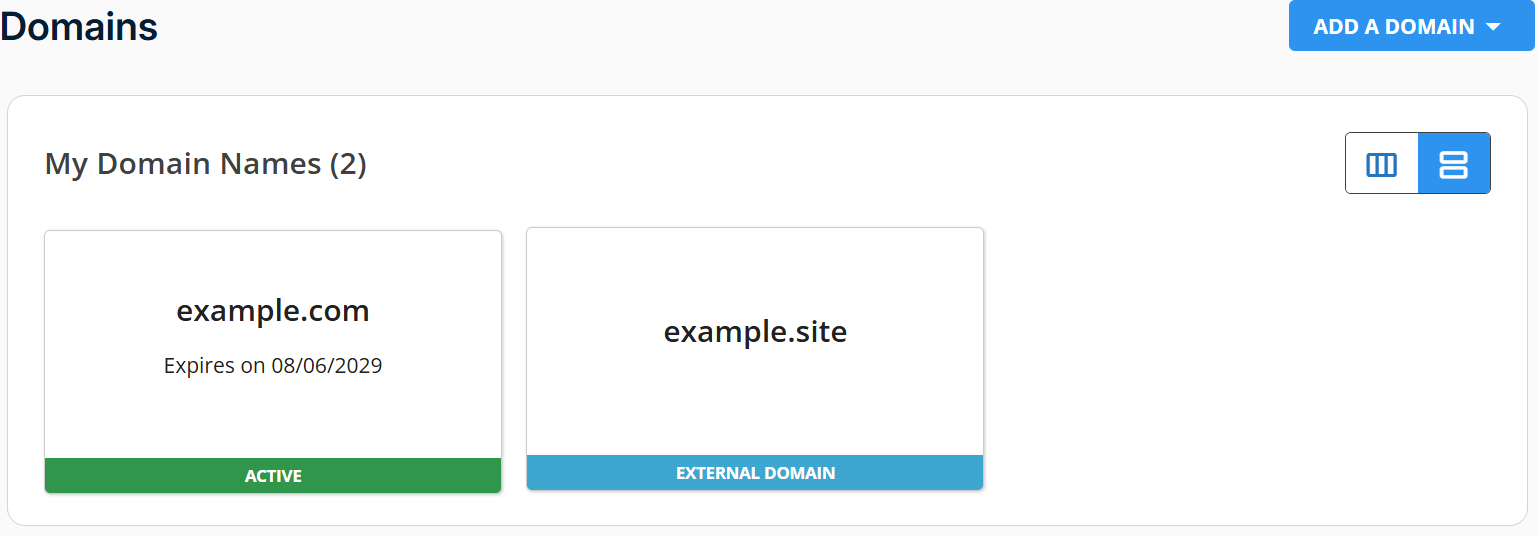
- If you have a single domain in your account, you will be redirected to the domains panel right away.
- If you have multiple domains, a list will appear. Click the domain you want to manage.
List view:
Card view:
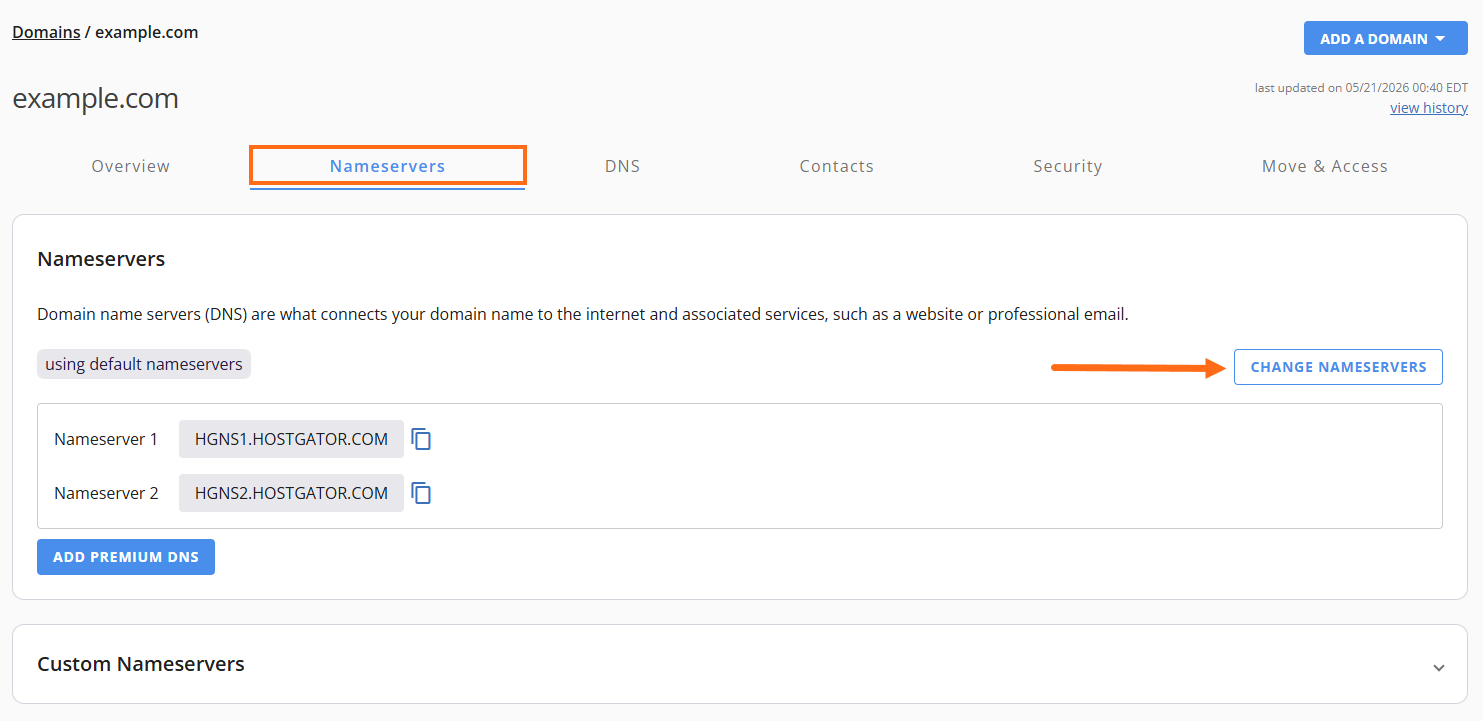
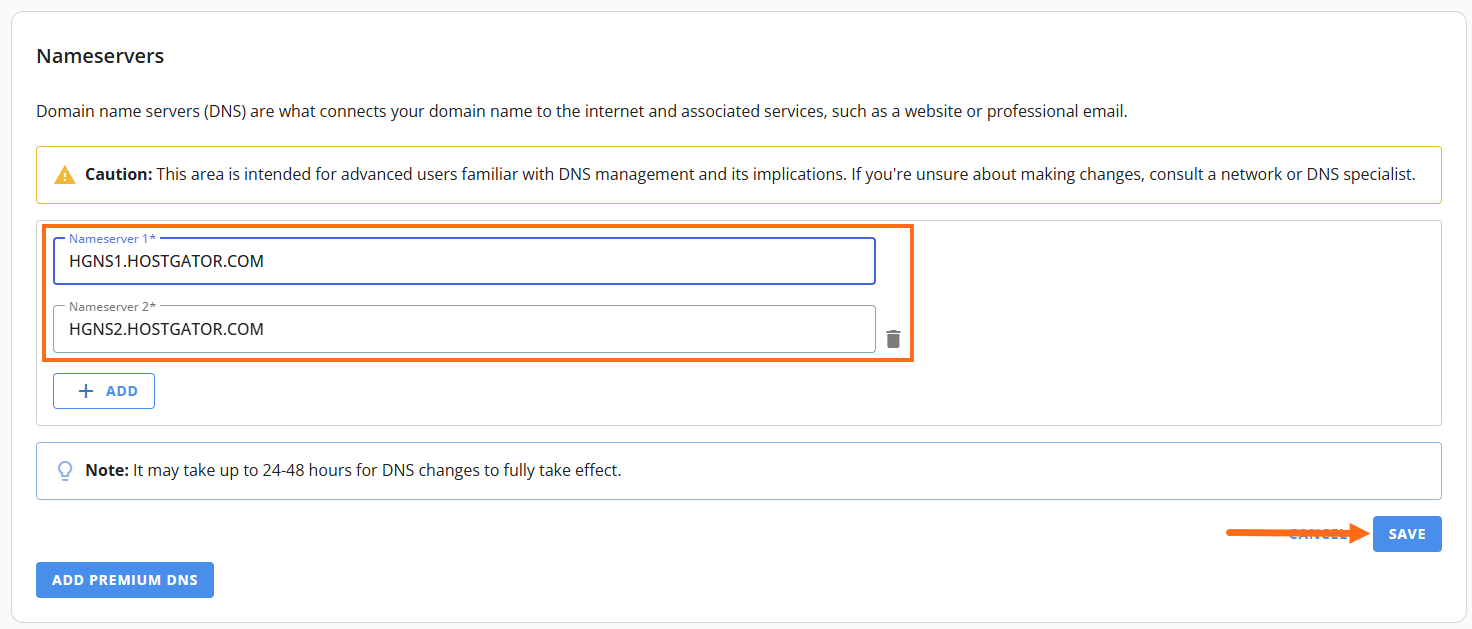
- Click on the Nameservers tab and click the Change Nameservers button.
- Enter your HostGator name servers and click Save.
- If your domain is not registered with HostGator, you will need to visit your domain registrar's control panel and update your name servers there.
- If your domain is registered with HostGator:
Step 2: Access the cPanel URL
When pulling up cPanel using URL, we always recommend using a secure connection, "https:" and the cPanel secure port number, "2083."
In your browser, type:
IP address
Please use the IP address you got from your Customer Portal (as described above). The URL in your browser's address bar should look similar to this:
https://192.123.456.789:2083
Server hostname
Please use the server name you got from your cPanel (as described above). You will also need to add "hostgator.com" to the server name to complete the server hostname. The URL in your browser's address bar should look similar to this:
https://gator123.hostgator.com:2083
Domain name
Please make sure your domain is pointed to your HostGator server, or else this method will not work. The URL in your browser's address bar should look similar to this:
https://exampledomain.com:2083
Step 3: Enter the cPanel username and password
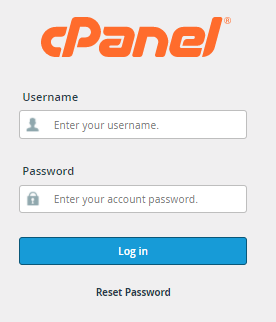
Once you pull up your cPanel using any of the methods described in Step 2, your browser will show the cPanel login page. Enter your cPanel username and password.
cPanel Username
The cPanel username is available in cPanel's General Information section.
cPanel - General Information
Within cPanel, look for the Current User in the General Information section located in the right-hand sidebar.
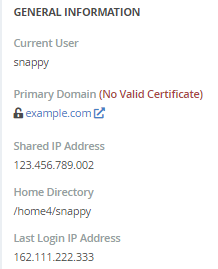
(The sample image above shows the cPanel username as "snappy" under Current User.)
cPanel Password
You may be prompted to set up or reset your cPanel password if you access your cPanel via the direct URL method. Please visit the following article to learn how to reset your cPanel password.