How do I Create and Remove an Addon Domain?
An addon domain is a secondary domain hosted on your hosting plan. Addon domains typically have their own distinct website.
Basically, for your website or email to work using an addon domain registered with HostGator or with another registrar, you need to do the following:
- Connect or point your domain to your HostGator servers
- Add the domain to your cPanel as an addon domain
- Add the domain to your Customer Portal as an "external domain"
- Update the domain's DNS records
Please note that the addon domain will not work until it is registered and connected to the server where your website content is set up, and your hosting plan can accommodate more than 1 domain.
This article will walk you through the steps to add your domain to your cPanel and Customer Portal.
How to Add an Addon Domain
Here are the steps to adding your addon domain (registered with HostGator or with another registrar) to your hosting account.
Step 1: Connect your Domain to your HostGator hosting server
If your domain was registered with us, your name servers and DNS records are automatically connected to your HostGator servers.
After registering a domain with another registrar, or if you already own a domain you would like to host with us, you need to connect it to your HostGator server. For more information on how to connect your domain to your server, please see the following article.
Step 2: Create an addon domain in your cPanel
For VPS and Dedicated hosting, WHM users cannot create an addon domain in cPanel unless you set Max Addon Domains to more than zero in your WHM packages. You must also have subdomains set to a number equal to (or greater than) the number of addon domains you wish to allow. Please visit the following article for more details.
To create an addon domain in cPanel:
- Log in to cPanel. There are two ways to access your cPanel.
- Option 1: Go to your cPanel directly.
- Option 2: Go to your cPanel via your Customer Portal.
- Log in to your Customer Portal.
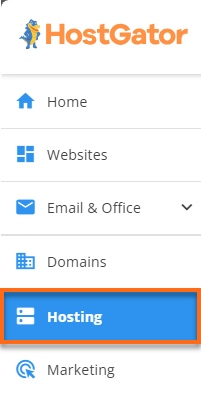
- Click Hosting on the left-side menu.
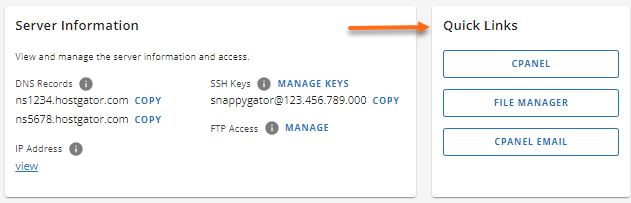
- If you have a single hosting package in your account, scroll down to the Quick Links section and click the cPanel button.
If you have multiple hosting packages in your account, locate the hosting package you want to manage on the Hosting Packages page, then click its Manage button.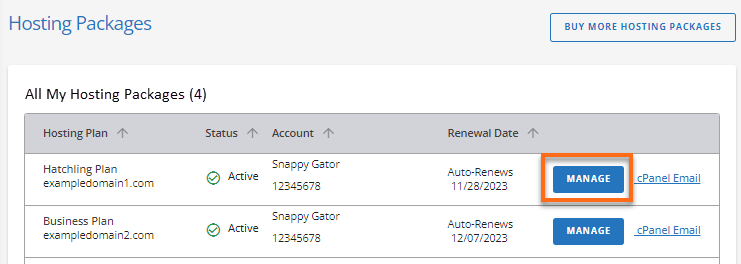
- Under the Quick Links section, click the cPanel button.
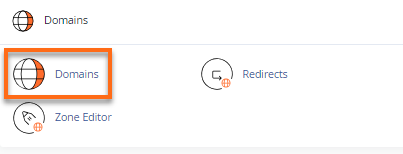
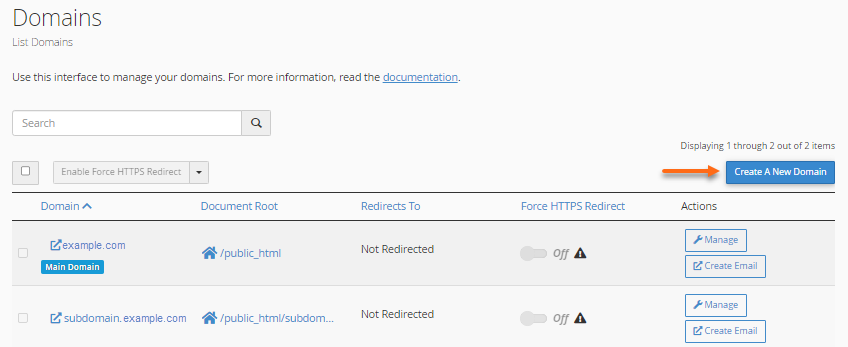
- In the Domains section, click on the Domains icon.
- On the next page, click the Create A New Domain button.
- Enter the new domain into the Domain field.
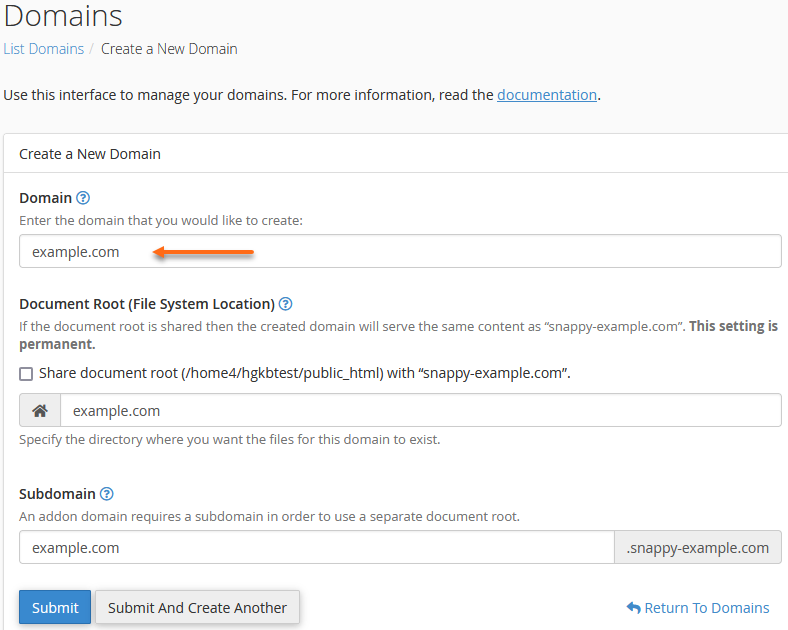
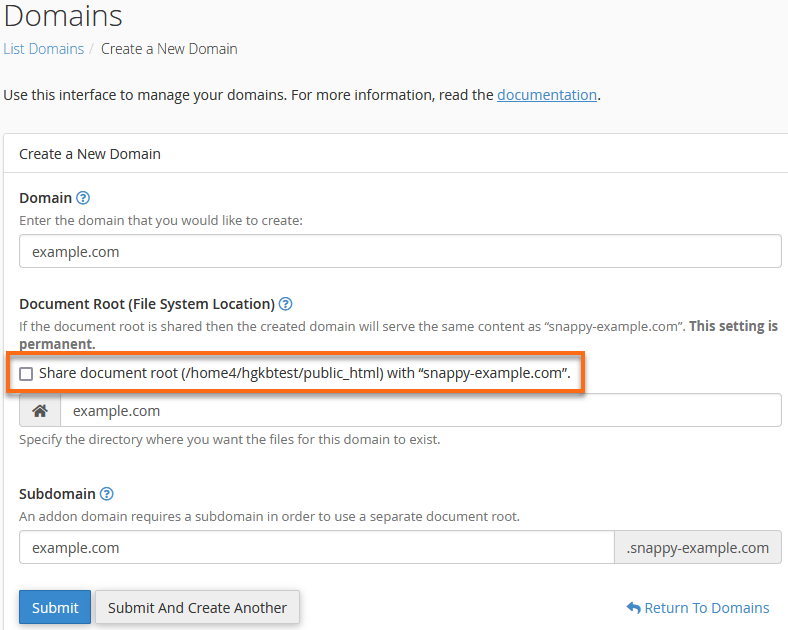
- Make sure NOT to select the "Share document root (/home/username/public_html) with “domain.tld." option.
- Enter a directory name for the domain. Please note that this is the folder where the site files/contents of the domain (your website) will be saved, also called the "document root."
- Once done, click the Submit button.
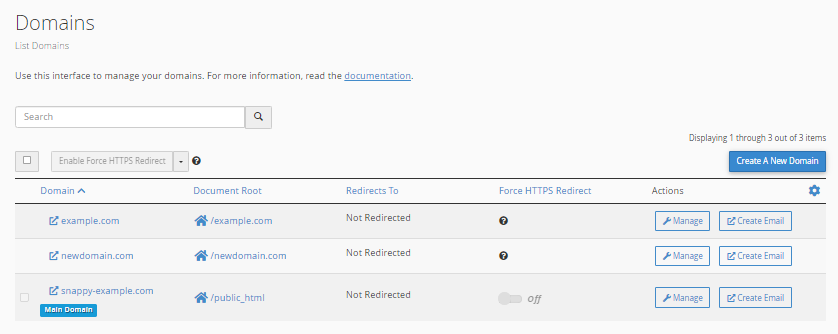
Your new domain is now successfully added!
Tip: You can go to your addon domain's folder by clicking the link under the domain's Document Root.
Step 3: Add the domain to your Customer Portal
If your domain was registered with us, it is automatically added to your Customer Portal's Domains section. This is where you can manage the WHOIS information, name servers, and other domain functionalities for HostGator domains. For more information about managing the domain you registered with us, please visit the following article.
If you're hosting your website using a domain not registered with us, you need to add your domain to the Customer Portal as an "external domain." To do so, follow the steps below.
- Log in to your Customer Portal.
- Click Domains in the left-hand menu.
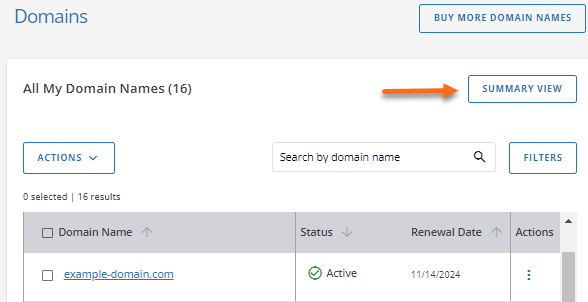
- If you have a single domain in your account, you will be redirected right away to the domain management page.
If you have multiple domains in your account, make sure you're in the Summary view. If not, click the Summary View button on the right.
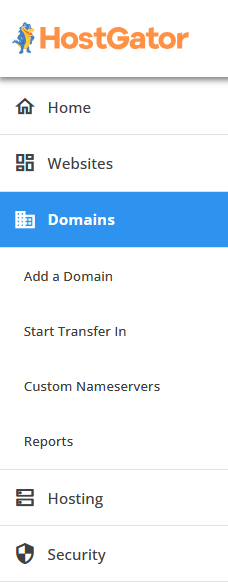
- When you click Domains on the left menu, a dropdown will appear. Click Add a Domain.
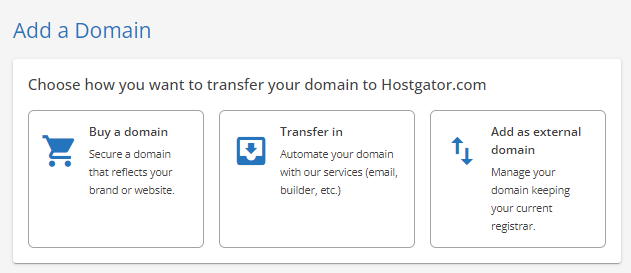
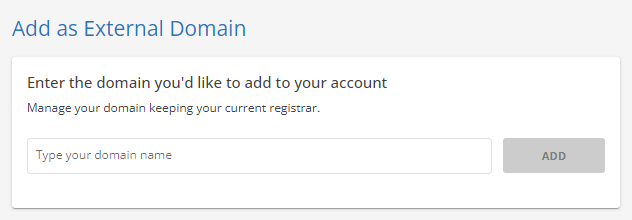
- Click the Add as external domain option.
- Enter the domain you want to add to your account, then click on Add.
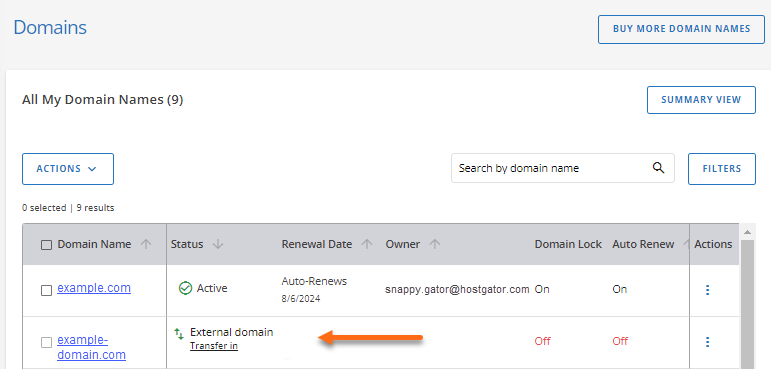
- You may need to log out of your Customer Portal and then log back in after a couple of minutes. When you log back in, the domain should now be displayed in your Domains tab as "External Domain."
Step 4: Update the domain's DNS records
If your domain was registered with us, it is automatically added to your Customer Portal's Domains section. If you need to make changes to your domain's DNS, you can do so within the Advanced Tools section. For more information, please visit the following article.
If you're done adding your "external domain" (Step 3 ⤴) to your Customer Portal, you can now manage its DNS records.
- Within your Customer Portal's Domains section, you should now see your "external domain."
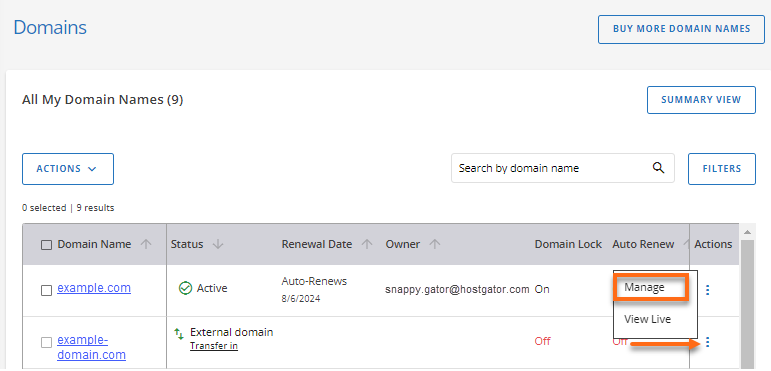
- Click the domain, or you can click the vertical ellipsis on the right and then select Manage to go to the domain's management page.
- On the domain management page, you can perform the following actions:
Domain Overview
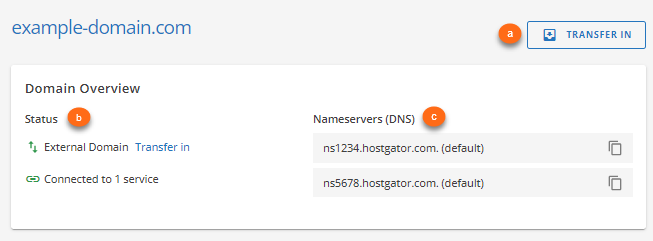
- Transfer In - You have the option to transfer your domain to your HostGator account, so you can manage your domain and website all in one place.
- Status - This section allows you to view your domain's status as an "External Domain" and the number of connected service(s).
- Nameservers (DNS) - The domain's name servers are displayed here.
Domain Connections
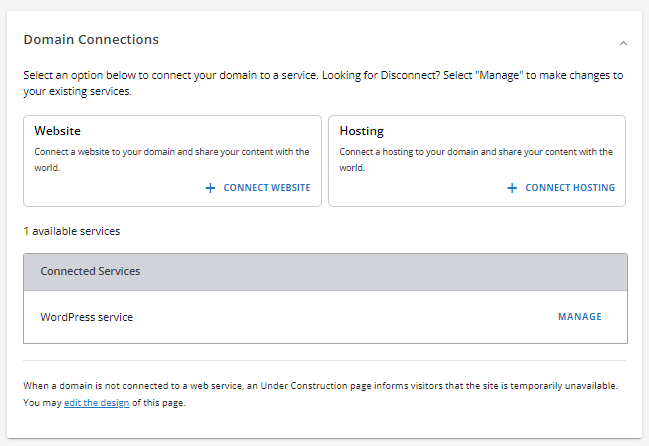
- + Connect Website - Click this link to connect your domain to your website.
- + Connect Hosting - Click this link to connect your domain to a hosting plan.
- Manage - Click this link if you want to disconnect or make changes to your existing services.
Advanced DNS Records
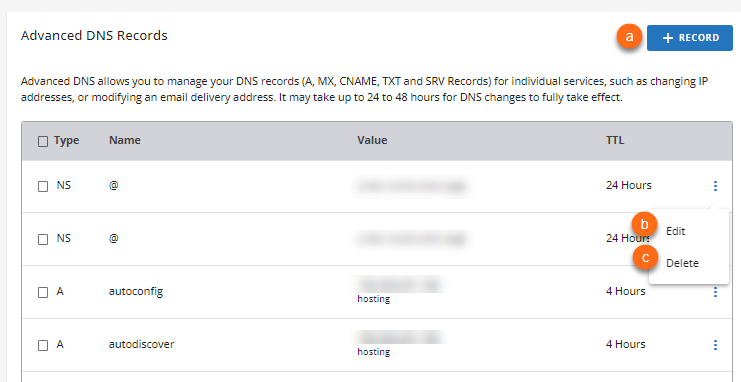
- + Record - Click the + Record button if you need to add a DNS record. A pop-up window will appear, where you need to fill out the required fields and then click Add to save your changes.
- Edit - Click the ellipsis icon on the right to edit a DNS record. A pop-up will appear, reminding you that only experienced users should update the Advanced DNS records. Click Continue, fill out the required fields in the pop-up menu, and then click Edit to save your changes.
- Manage - Click this link if you want to disconnect or make changes to your existing services.
Remove Domain

If you need to remove the domain from your Customer Portal, click the Remove Domain link. A pop-up will appear, notifying you of the risk of removing the domain. You will no longer be able to access its DNS settings, which may cause disruptions to your website or email services.
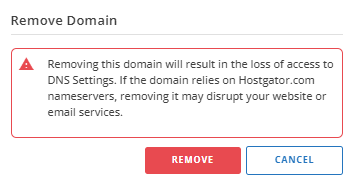
If you want to proceed, click Remove.
How to Remove an Addon Domain
Removing the addon domain only removes the domain from the DNS and server configuration. It does not affect the deleted domain's files and databases. While you can no longer access the affected files through the deleted domain name, you can still see them in your File Manager.
cPanel
To delete an addon domain in cPanel:
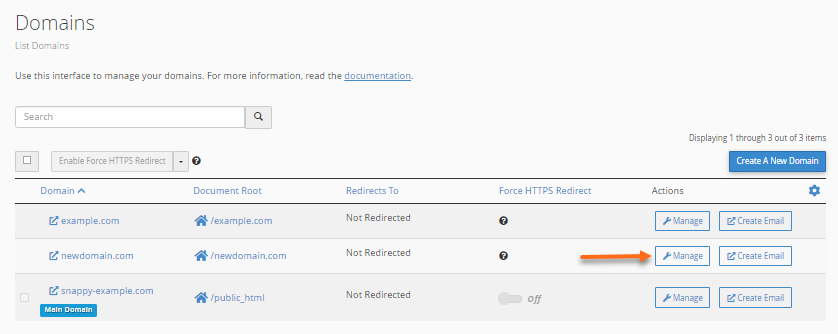
- In the Domains section, look for the addon domain you want to delete, then click on Manage.
- Click on the Remove Domain button.
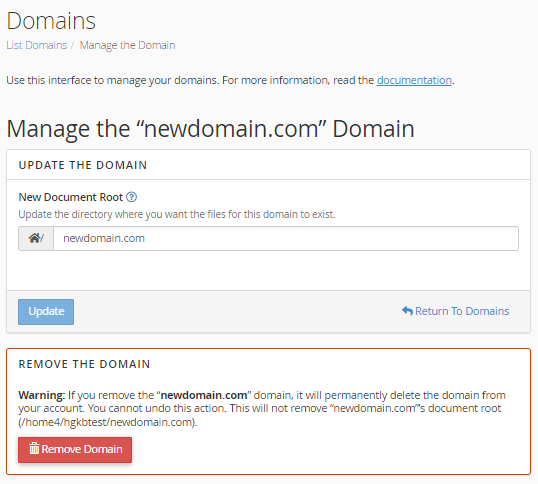
- Click Yes, Remove This Domain to confirm.

You should no longer see the domain in your cPanel's Domains section.
Customer Portal
To remove your addon domain from the Customer Portal:
- Log in to your Customer Portal.
- Click Domains in the left-hand menu.
- Click the domain, or you can click the vertical ellipsis on the right and then select Manage to go to the domain's management page.
- On the domain management page, scroll down to the bottom and click the Remove Domain link.
- A confirmation pop-up will appear. Click Remove to confirm the deletion of the domain.
You should no longer see the domain as an "External Domain" in your Customer Portal's Domains tab.
How to Change an Addon Domain's Folder or Directory in cPanel
Sometimes, you already have content uploaded to a specific folder on your account, or you want the content to be in a different folder or directory than the default. In that case, you would specify the correct folder in the Document Root field of your domain.
If the folder already exists, it may give you a warning. In this case, you entered something that already exists on purpose. You can safely ignore this warning since you intend to point the addon domain to that folder.
For instructions on updating the document root of your domain, please visit the following article:
Please note that there are some folders or directories you cannot use for your addon domain(s) as a document root directory. Here is a list of those folders/directories.
- The account’s Home directory itself (/)
- Directories outside of the account’s home directory (./ and ../)
- .cpanel
- .trash
- etc
- ssl
- tmp
- logs
- .cphorde
- spamassassin
- .htpasswds
- var
- cgi-bin
- ssh
- perl5