What is a Package?
A Package is a collection of preset specifications that define what a user or domain may have access to. By using a package in WHM, you can assign how much space, traffic, bandwidth, disc space, etc., a cPanel account can use, so it won't use up all of your server's resources.
To create a package, you'll need access to the Web Host Manager (WHM), which is only available in our VPS and Dedicated hosting plans.
In this article, we will discuss the following topics.
Benefits of Using a Package in WHM
Creating packages at WHM speeds up the cPanel account creation process and helps you manage and control resources in several cPanel accounts at once. For example, you want to manage the disc spaces of the 5 cPanel accounts on 1 package. To do that, you can modify the disc space settings in the package assigned to those cPanel accounts.
How to Create a New Package in WHM
Packages and accounts in WHM are among the most important functionalities of WHM, and they go hand in hand. When you create a new cPanel account in WHM, you can assign a specific package to it. This way, you can easily manage the cPanel account(s)
You need at least one (1) package to create a new account in WHM. You may also have multiple sites installed on one package.
Here is a video tutorial to guide you in creating a new package in WHM.
*The buttons, links, and icons in your WHM may look slightly different from the video above; however, their functionalities should remain the same.
To create a package in WHM:
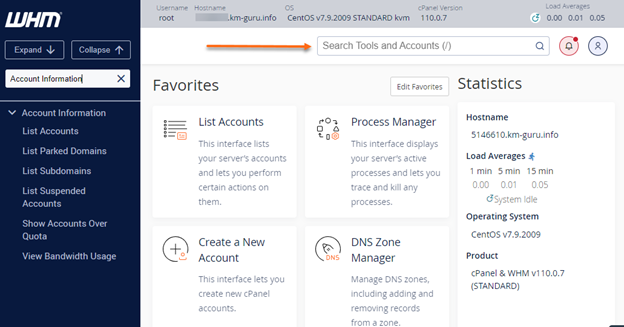
- Log in to WHM.
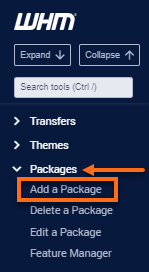
- Look for the Packages section. The quickest way is by typing the keyword in the Search box on the left-side panel.

Alternatively, you can use the Search box at the top.
- Select Add a Package.
You can also manually locate and expand the Packages section on the left-side panel, then click Add a Package from the list.
- Fill out the required fields. Enter the new Package Name.
Please note that you cannot modify the package names. For this reason, avoid using package names that include details you may want to change later.
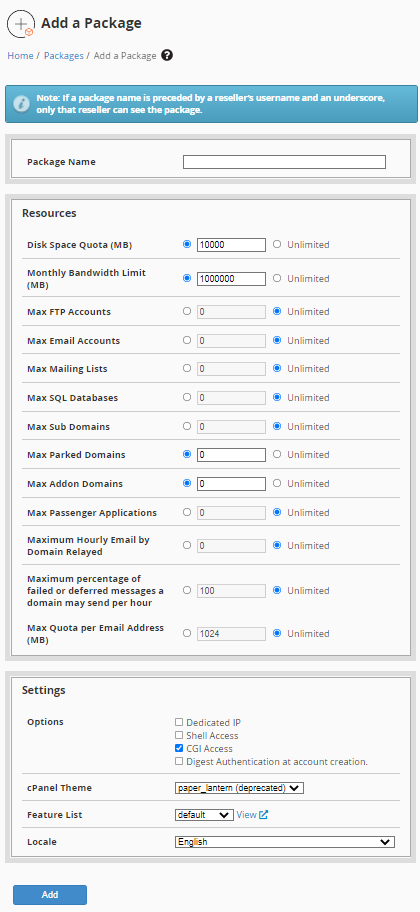
- Specify the values you want to assign to the new package. Remember, the values you will provide to this package will be used by the accounts you will assign to it. You may check the Package Resources and Package Settings sections below for the details.
Below are the suggested values for a basic WordPress site:
- Disk Quota: 1000 - 5000
- Monthly Bandwidth: 5000 - 10000
- Click the Add button. A Success prompt will appear at the bottom of the page, notifying you that the Package was successfully created.
- Once done, search for Upgrade/Downgrade an Account to access the next portion.
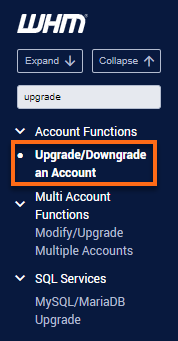
- Select your cPanel username (with its associated primary domain name) and click the Modify button.

If you have multiple accounts in your WHM, you can search for your username or primary domain name using the search box and filter your search by Users or Domains.
- You will see your cPanel's current Package. You can change it by selecting the name of your new Package from the Available Package list and clicking the Upgrade/Downgrade button.
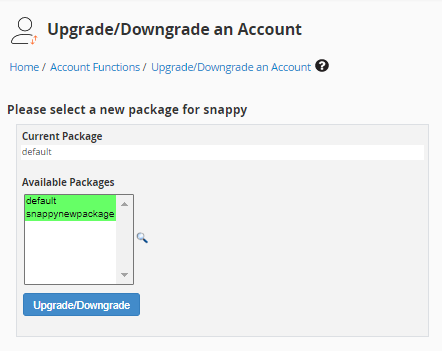
All done!
Package Resources
Packages define the limitations of cPanel accounts that you create. The limitations that you may set under the Resources options are as follows:
- Disk Quota (MB) - Disk space in megabytes available for the cPanel account.
- Monthly Bandwidth (MB) - Data transfer in megabytes available for the cPanel account.
- Max FTP Accounts - Allowed accounts that can be created to connect via FTP.
- Max Email Accounts - Total email addresses that can be created on the account.
- Max Mailing Lists - Set the number of mailing lists that can be generated in the cPanel.
- Max SQL Databases - Maximum MySQL databases the account can have.
- Max Sub Domains - The allowed number of subdomains that can be added.
- Max Parked Domains - Total parked domains that can be created.
- Max Addon Domains - Total additional domains that can be added to the cPanel.
Package Settings
When creating a package in WHM, you can configure the following settings.
- Dedicated IP - It is the static IP address that the account will not share with other accounts unless specified by the user. This option cannot be edited after the package creation.
- Shell Access - This allows users to use a command-line interface to access the server.
- CGI Access - Allows the cPanel account to execute Common Gateway Interface (CGI) scripts.
- Digest Authentication at account creation - Enables Digest Authentication support for Web Disk access over a clear text or unencrypted connection.
- cPanel theme - Select a theme for your cPanel (if available).
- Feature List - Defines which cPanel features are accessible to the user. Click the View link to go to the Feature Manager section, where you can select the features that you want users to access.
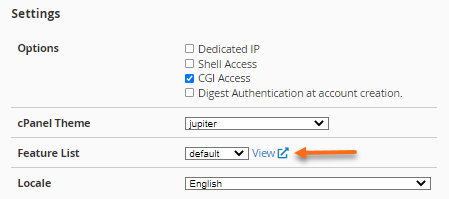
- Locale - Select your preferred language for the cPanel account from the menu.
For more information about the resource options for WHM packages, please visit cPanel's documentation.
How to Create Multiple WHM Packages
As a reseller, it is a good idea to create multiple packages of different sizes. This strategy gives potential customers more options to choose from when they sign up with you. Also, with several packages, your existing customers will have options for upgrading as their hosting needs increase.