WordPress Home Fix
If the links in your WordPress site show the wrong domain, redirect to another site, or are missing images or styling, this is typically due to an improperly configured URL in the database for your WordPress blog.
To resolve the issue, you must update your domain in WordPress. This update will also be necessary to make your blog display and function properly with your temporary web address or secure web address.
HostGator recommends making a full cPanel backup before making any major changes to your account.
Are you looking for a backup of your website to rely on? If yes, then CodeGuard is here for you. CodeGuard protects your website with daily, automatic backups against viruses, hackers, and broken codes.
Please choose from the links below for instructions on how to update your WordPress domain:
- Option 1: via Softaculous ⤵
- Option 2: via wp-admin (WordPress Dashboard) ⤵
- Option 3: via database access ⤵
- Option 4: via File Manager or FTP ⤵
Option 1: via Softaculous
You can use Softaculous for WordPress simple administration management. You can easily modify database entries in a comprehensive environment, allowing you to change the target domain of your installation in just a few steps.
- Log in to cPanel. There are two ways to access your cPanel.
- Option 1: Access your cPanel directly.
- Option 2: Access your cPanel via your Customer Portal.
- Log in to your Customer Portal.
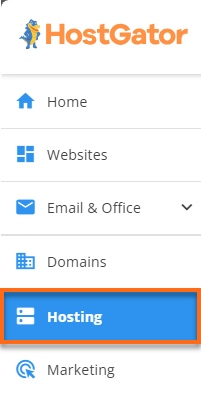
- Click Hosting in the left-side menu.
- If you have a single hosting package in your account, scroll down to the Quick Links section.
If you have multiple hosting packages in your account, locate the hosting package you want to manage on the Hosting Packages page, then click its Manage button.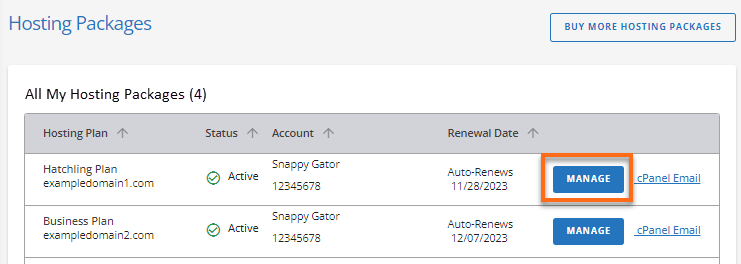
- Under the Quick Links section, click the cPanel button.

- Look for the Software section, then click on Softaculous Apps Installer.

- In the Softaculous dashboard, click on the Installations box.

- Under Scripts Installations, locate your WordPress installation from the list and click its Edit (pencil) icon.

- On the next page, you can edit several settings for the installation, such as the directory, URL, database information, auto-upgrade settings, etc.
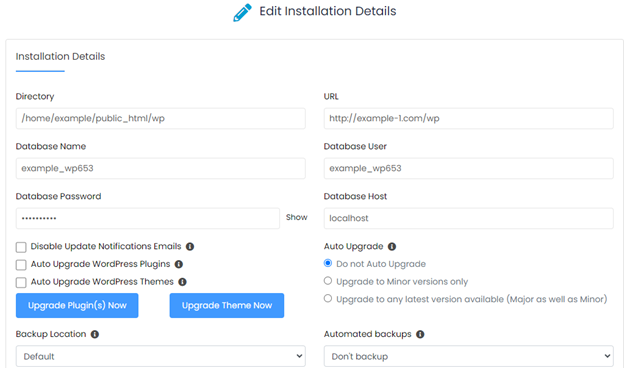
- Make sure the Directory and URL fields are showing the correct details.
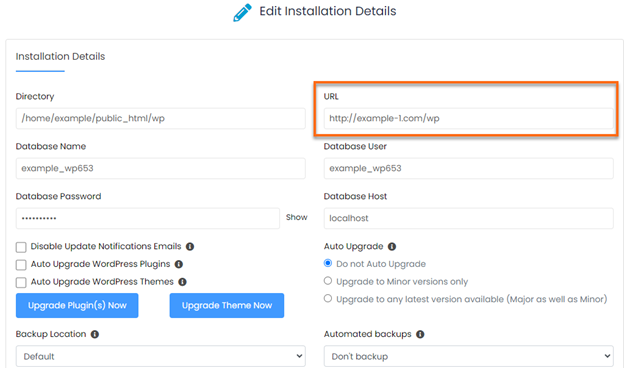
- Once done with the update, click Save Installation Details at the bottom of the page.
Option 2: via wp-admin (WordPress Dashboard)
WordPress allows users to update their domain name through the administrative access panel; however, this should be done cautiously. This method is best for users who wish to update the domain before a directory change.
To change a WordPress domain via wp-admin (WordPress Dashboard):
- Log in to your WordPress Dashboard (For example, http://yourdomain.ext/wp-admin/. Make sure to replace 'yourdomain.ext' with your actual domain name).
- Hover over Settings from the left menu, then select General Settings.
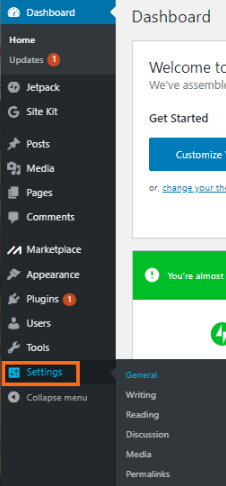
- Under General Settings, enter the correct domain in the WordPress address (URL) and Site Address (URL) fields.

- Scroll down to the bottom and click Save Changes.
Here are support articles to assist you in logging into your WordPress Dashboard (wp-admin) and resetting your WordPress password if you forgot it.
Option 3: via database access
To update an improperly configured WordPress domain or a secure web address for your WordPress domain via your database, follow the steps below:
- Log in to cPanel. (See options above on how to log into your cPanel)
- Look for the Files section, then click on File Manager.

- Navigate to your WordPress site's document root or directory.
- In your site's directory, look for the wp-config.php file to get the WordPress database name.
To find your database name:
- Look for the wp-config.php file within your site's directory.
- Right-click and select View.
- Find the lines:
/** The name of the database for WordPress */
define( 'DB_NAME', 'dbname_wrdp1' );
- Take note of the database name (for example, dbname_wrdp1).
- Exit the File Manager and return to the cPanel homepage.
- Once you have your database name, go to the Databases section of cPanel and click on the phpMyAdmin icon.

- Click on the plus (+) icon to expand the list of database names in the left menu.
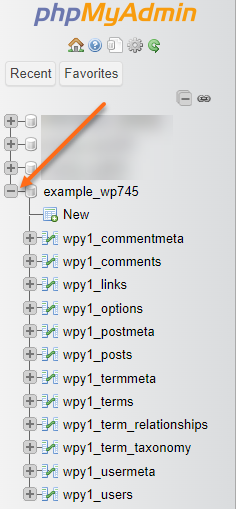
- Look for the database name associated with your WordPress blog (the database name from the wp-config.php file).
- In the left menu, click on the wp_options table.
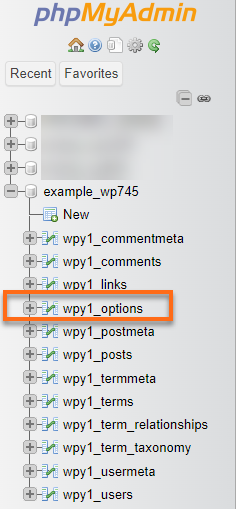
- Under the option_name column, look for the siteurl and home variables.

- Click the Edit (pencil) icon or double-click the siteurl and home fields.

- Type in your site's correct URL in both fields and hit Enter.
Option 4: via File Manager or FTP
If you cannot update your WordPress domain using the methods above, you can try the following method instead.
To update your WordPress domain:
- Log in to cPanel. (See options above on how to log into your cPanel)
- Look for the File Manager icon or connect via FTP.

- Navigate to your WordPress directory.
- Look for the wp-config.php file, then right-click and select Edit. Click the Edit button to continue.
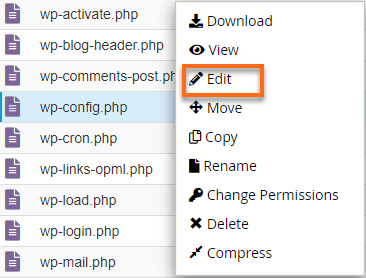
- Update (or add) the following lines to the code:
Note: Make sure to change the 'desired url address' to the correct URL.define("WP_SITEURL","desired url address"); define("WP_HOME","desired url address"); - Click on the Save Changes button located at the top right.
- Refresh your browser to check your WordPress site.
If the links or webpages on your WordPress site redirect to the home page instead of showing the page requested, please check out the article, Links on WordPress All Redirect Back to Home Page.