How to Generate & Download a Website Backup
All of our accounts can keep a full backup of their hosting package. This is advised as a best practice in case your content needs to be replaced or restored. The method necessary for creating a backup depends on your hosting type.
This article covers the following topics.
CodeGuard
Customers with critical business information or data are STRONGLY encouraged to use CodeGuard to protect their websites against unforeseen circumstances. CodeGuard provides more fine-grained control over backup and restore operations and allows customers to tailor the process to suit their site's specific requirements. It allows customers to back up cPanel accounts over the backup limits imposed by HostGator.
To manage your backups via CodeGuard:
- Log in to your Customer Portal .
- There are two ways to access your CodeGuard.
- Via the Websites tab:
- Click Websites in the left-side menu.
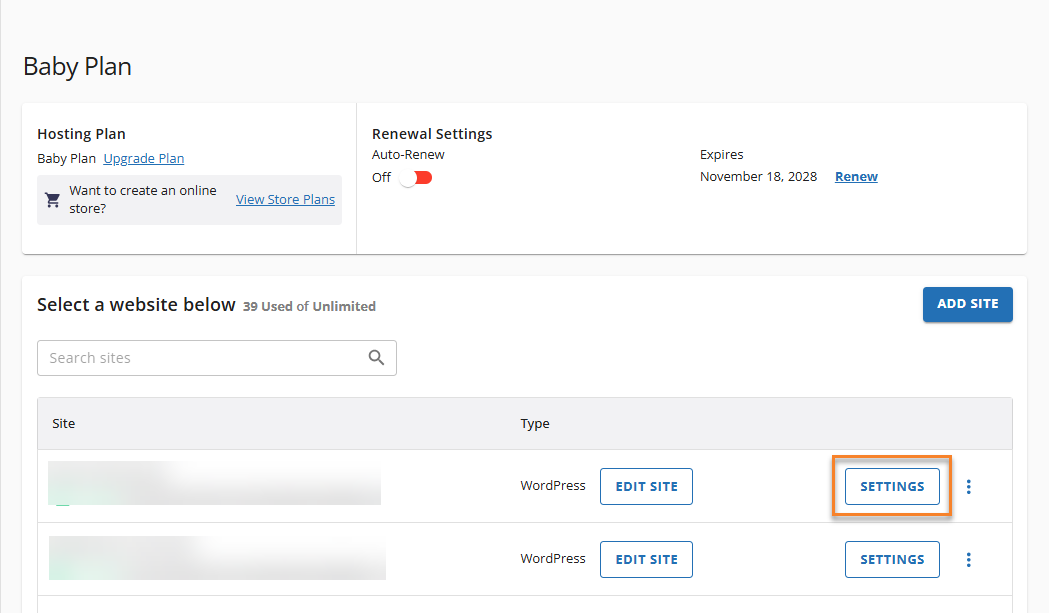
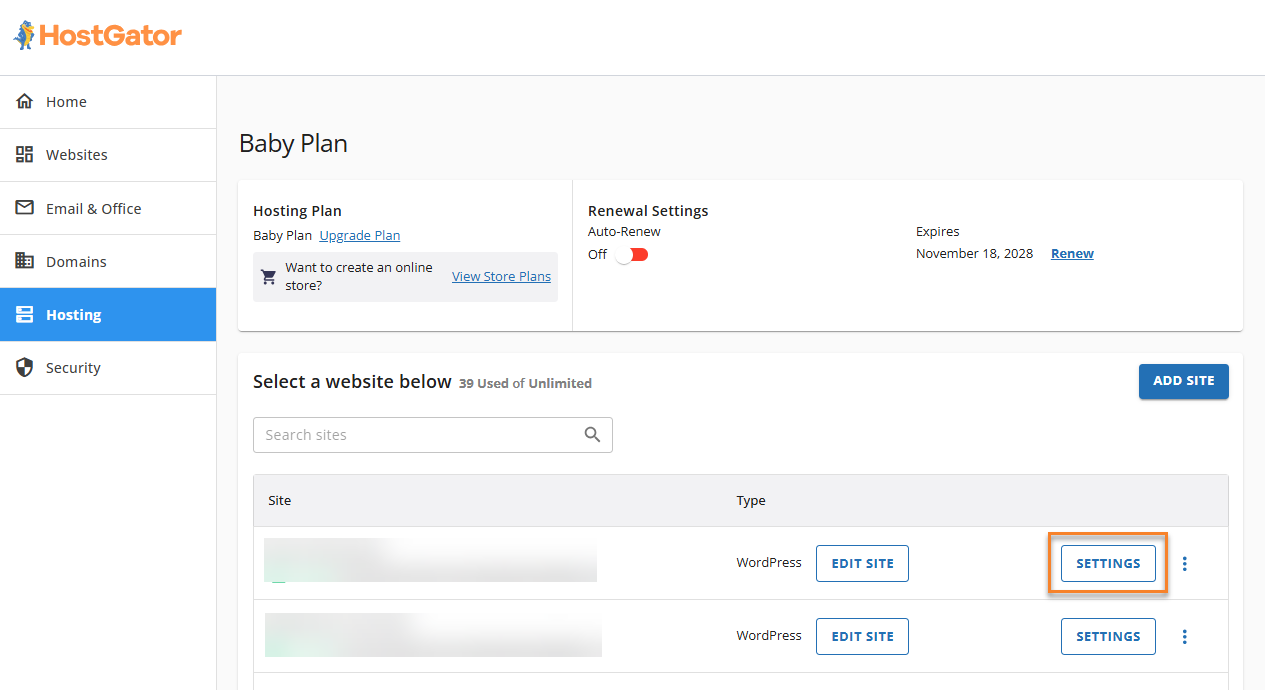
- Locate your website from the list, then click Settings.
- Click Websites in the left-side menu.
- Via the Hosting tab:
- Click Hosting from the left-side menu.
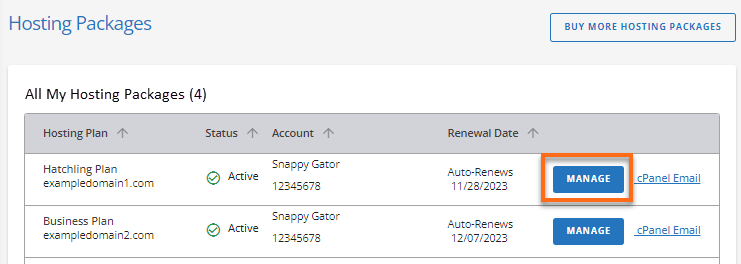
- Locate your website's hosting plan with CodeGuard, then click its Manage button at the far right.
- Locate your website, then click its Settings button.
- Click Hosting from the left-side menu.
- Via the Websites tab:
- Click the Backups tab.
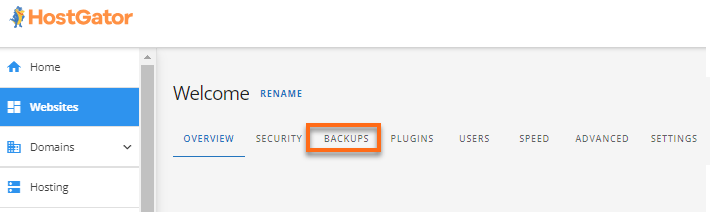
- Under the Backups section, you can manage your backups using CodeGuard by logging into its Dashboard, where you can restore a version of your backup or download a copy of your backup on your computer.
For more information about CodeGuard, please visit the following article.
Managing Full cPanel Backups
A full cPanel backup makes a copy of all of your files, email, databases, etc. Once initiated, you must allow the backup time to perform. The server can send you an email to an address you specify once the backup is ready to download. The steps for generating, downloading, and restoring a full backup are explained below.
How to generate a full backup in cPanel
To generate a full backup in cPanel:
- Log in to cPanel. There are two ways to access your cPanel.
- Option 1: Access your cPanel directly.
- Option 2: Access your cPanel via your Customer Portal
- Log in to your Customer Portal .
- Click Hosting in the left-side menu.
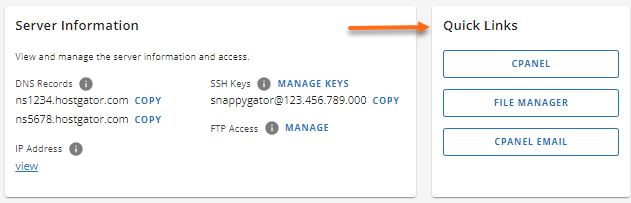
- Scroll down to the Server Information section.
- Under Quick Links, click the cPanel button.
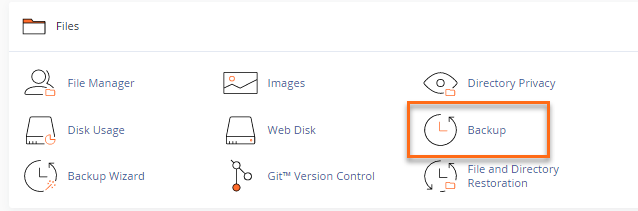
- Within cPanel, go to the Files section and click on the Backup icon.
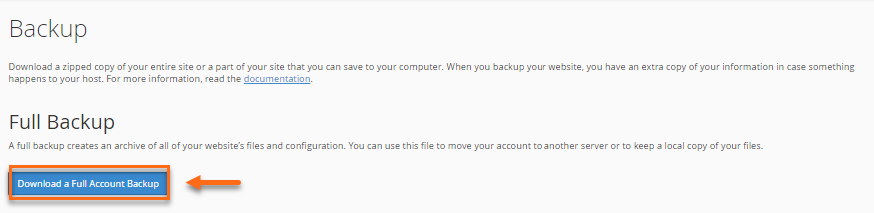
- Under Full Backup, click Download a Full Account Backup.
- On the next page, select the Home Directory option from the Backup Destination dropdown menu.
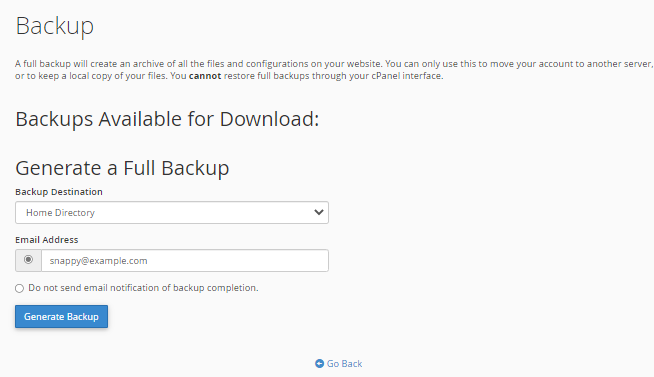
- For the Email Address field, enter the email address where you want to receive notification once the backup is complete. You may also choose not to receive any notification by selecting the Do not send email notification of backup completion radio button.
- Once done, click Generate Backup.
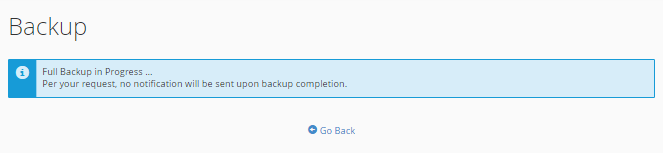
- You will see the progress of the backup. Click Go Back.
This will generate your backup and place the tar.gz file within your home directory. Once completed, you can download the backup via cPanel, FTP, or SSH.
How to download a full backup
To download the backup from cPanel:
- Log in to cPanel. (See options above on how to log into your cPanel.)
- In the Files section, click on the Backups icon.
- Under Full Backup, click Download a Full Account Backup.
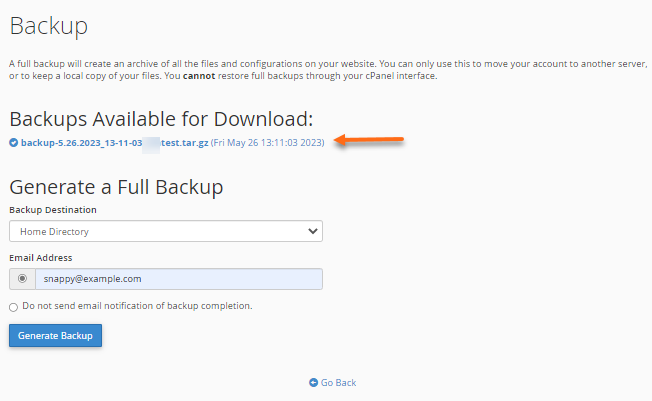
- Under Backups Available for Download, click the link for the backup file you wish to download.
- Select a destination on your computer where you would like to save the backup.
How to restore a full backup
The root user must restore a full backup for the server. We will restore your full backup as long as the backup was for an account previously existing on the server and you have provided the backup in the user home directory.
If you have server root access (which will be the case for VPS and Dedicated hosting customers) and wish to restore your cPanel yourself, the instructions below will walk you through the prerequisites and the steps in the installation:
Warning: It is strongly recommended that this process only be used for backups created by the same account from the same server.
If the cPanel username or primary domain is different from those contained in the backup, the restore will encounter errors that will not be eligible for HostGator support.
If either of these two circumstances applies to your restore request, HostGator will consider your request to be a migration. If any HostGator assistance is required due to these issues, please submit a migration request.
cPanel restore prerequisites
To restore a cPanel account, the filename of the backup must use one of the following formats:
- cpmove--{USER}
- cpmove--{USER}.tar
- cpmove--{USER}.tar. gz
- {USER}.tar
- {USER}.tar.gz
- backup-{BACKUP-DATE_TIME}_{USER}.tar
- backup-{BACKUP-DATE_TIME}_{USER}.tar.gz
- backup-{MM.DD.YYYY}_{HH-MM-SS}_{USER}.tar
- backup-{MM.DD.YYYY}_{HH-MM-SS}_{USER}.tar.gz
Additionally, the file must reside in one of the following locations:
- /home
- /usr/home
- /web
- /home2
- /home3
- /root
- /usr
The file may also be selected from your local file system during restoration.
cPanel restore with root access
To begin the full restoration of a cPanel account:
- Log in to WHM as root.
- Search for Transfer or Restore a cPanel Account using the search function on the left-hand side.
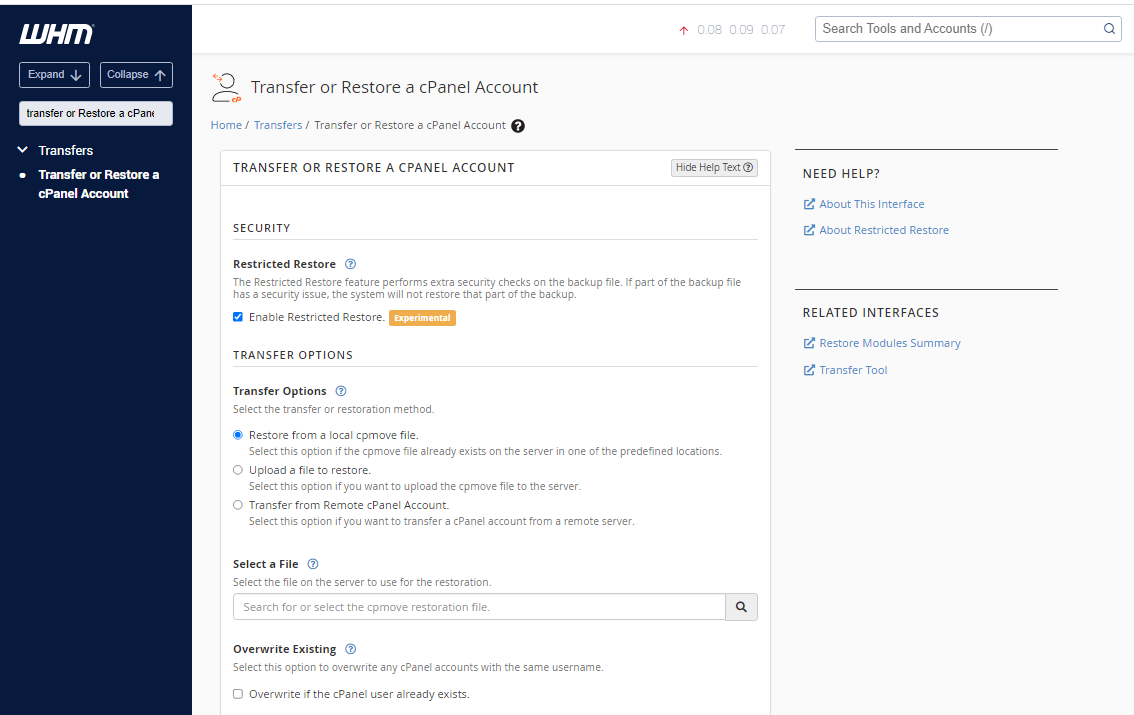
- Select Restore from a local cpmove file or Upload a file to restore, depending on where the file is stored.
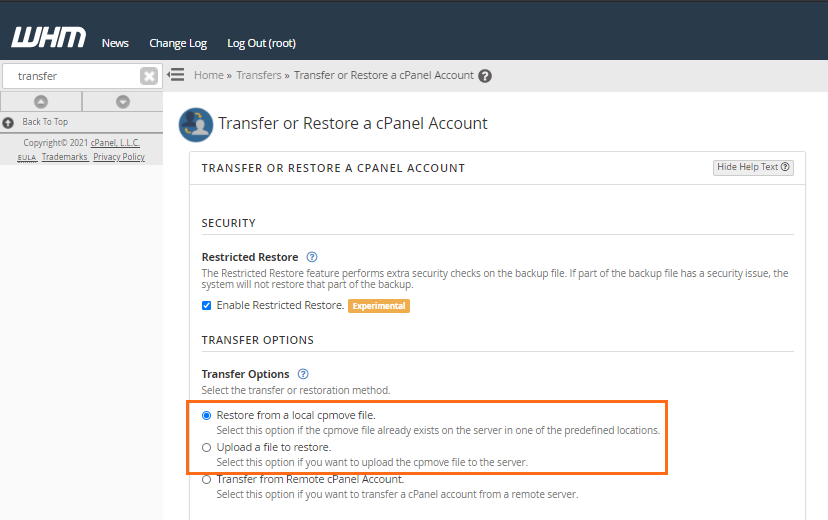
- Restore from a local cpmove file - Select this option if the cpmove file already exists on the server in one of the predefined locations.
- Upload a file to restore - Select this option if you want to upload the cpmove file to the server.
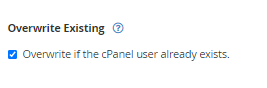
Warning: If you have a different account on this server with the same cPanel username, it WILL be overwritten, destroying the account's contents.
- Place a check mark next to Overwrite the existing user to allow cPanel to overwrite the existing cPanel account.
-
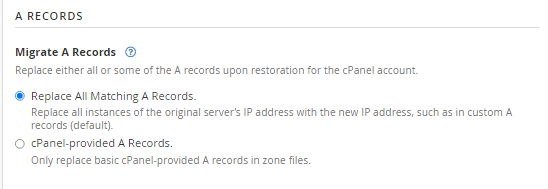
Select whether to replace all instances of the original server's IP address with the new address or only replace basic cPanel-provided A records in the zone files (either option should be sufficient if you are not attempting to migrate data).
-
Click the Restore button.
The restoration process will now begin. Please be aware that the process requires the active use of multiple applications, such as MySQL. Do NOT shut down or restart any processes on the server during the restore process.
Compatibility Concerns
Because of changes cPanel has made to the backup system and other system features between cPanel versions, there are several compatibility issues in the restoration process that you should be aware of:
- MySQL and PostgreSQL database passwords
In cPanel & WHM version 11.42 and later, the system restores MySQL and PostgreSQL databases to the account but does not restore the user's password. This action locks the user out of the databases.
The next time the user manages a database with the phpPgAdmin or phpMyAdmin program, the system refreshes the user's privileges and restores their access.
- Horde
The Horde webmail client has been removed from cPanel as of version 108. If a backup was created under earlier versions of cPanel, then the user will not have Horde available, but all calendars and contacts should be automatically migrated into the Roundcube webmail client.