Knowledge Base
Professional Email - How to Set Up the Branding Feature
Elevate your Professional Email experience with HostGator by seamlessly integrating your company’s logo and colors. This branding feature highlights your brand identity and also ensures a consistent, polished look across all your mailboxes. With HostGator, professional communication has never looked better!
In this article, we will walk you through the process of setting up the branding feature of your Professional Email account.
Setting up Professional Email's Branding Feature
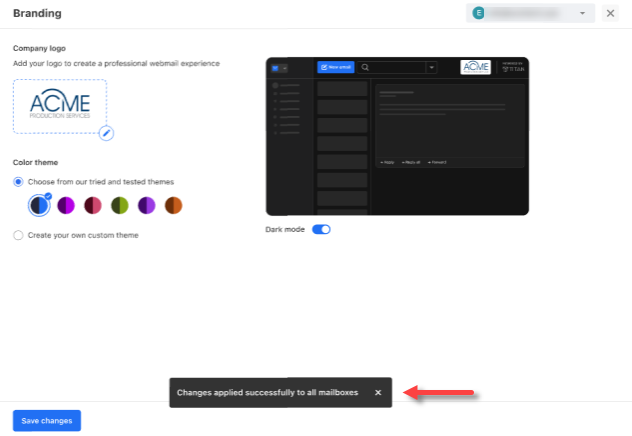
Please note that only users with the Admin role can utilize the Branding feature of Professional Email, and any customizations made will be applied automatically to all mailboxes.
- Log in to your Customer Portal.
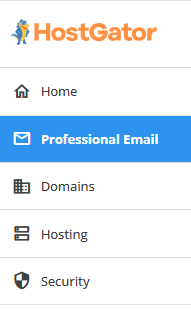
- Click Professional Email on the left menu.
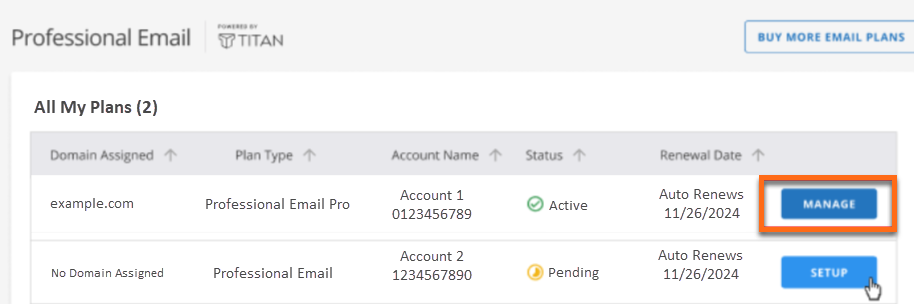
- Locate your Professional Email plan from the list (if you have multiple plans) and then click the MANAGE button.
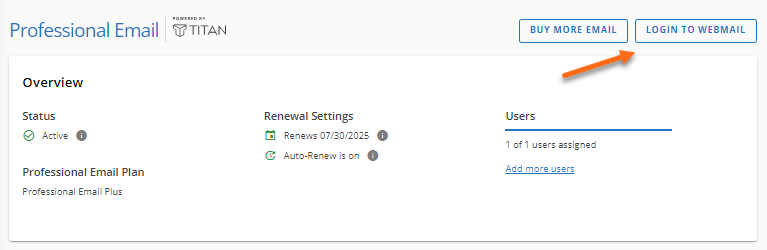
- On the Professional Email management page, click the LOGIN TO WEBMAIL button in the top-right corner.
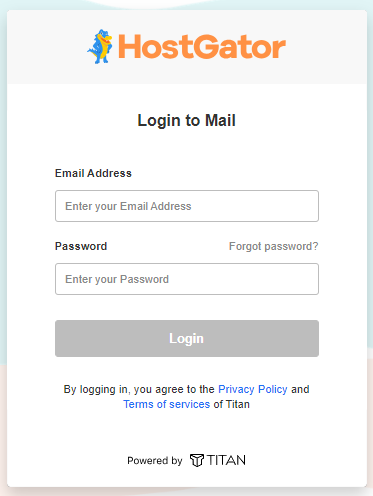
- You'll be redirected to the login page. Enter your email address and password.
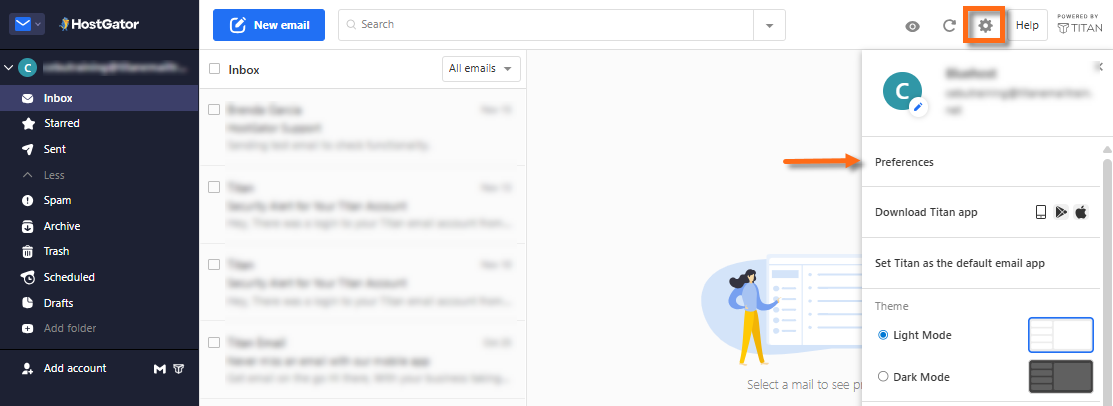
- On your Professional Email dashboard, click the Settings (gear) icon in the top menu, and then select Preferences.
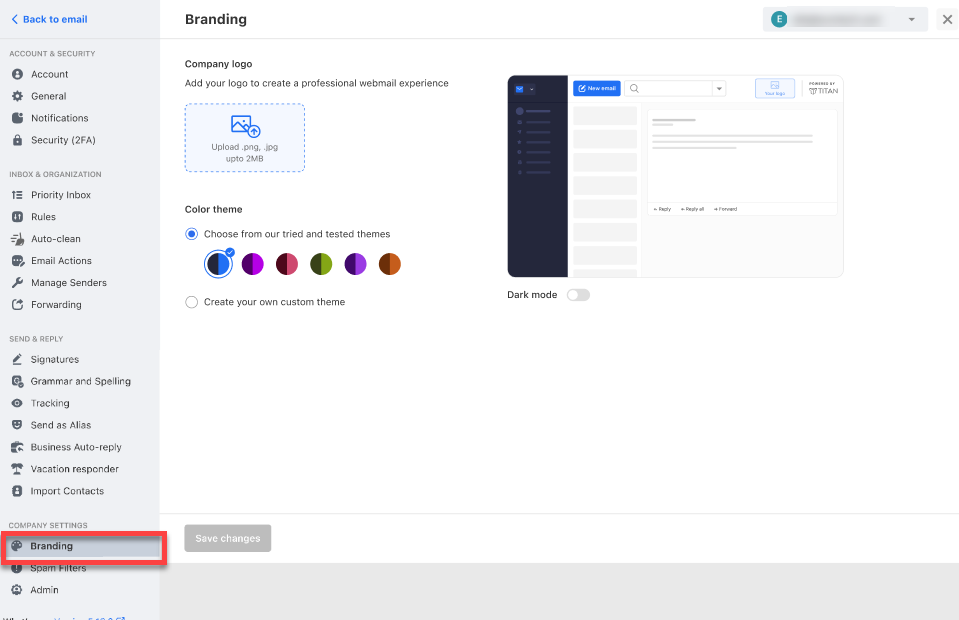
- On the Settings page, click Branding under COMPANY SETTINGS in the left menu.
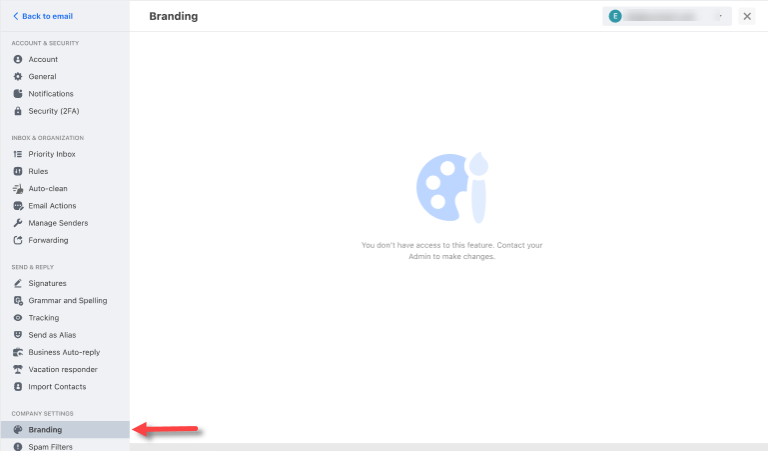
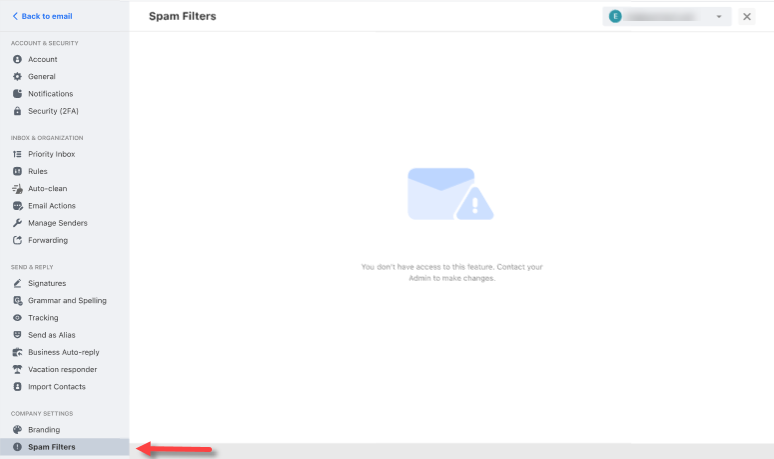
- If you're on a non-Admin role, the COMPANY SETTINGS sections—Branding and Spam Filters—will be empty.
Branding:
Spam Filters:
To upload your company logo:
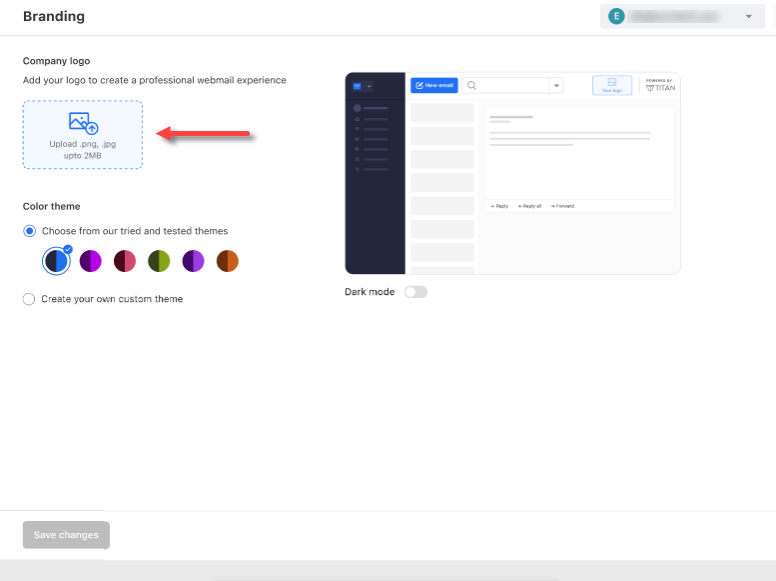
- In the Company logo section, click the "Upload .png, .jpg up to 2MB" link.
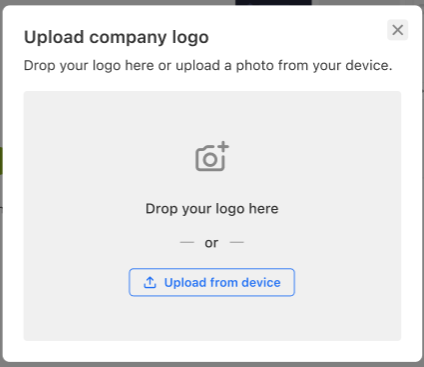
- Drop or upload your company logo from your device.
- Adjust your logo as needed. The visible portion of the image will be used as your logo. You can make adjustments by panning or zooming in and out.
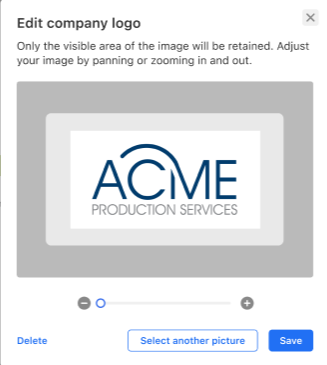
- Once done, click Save.
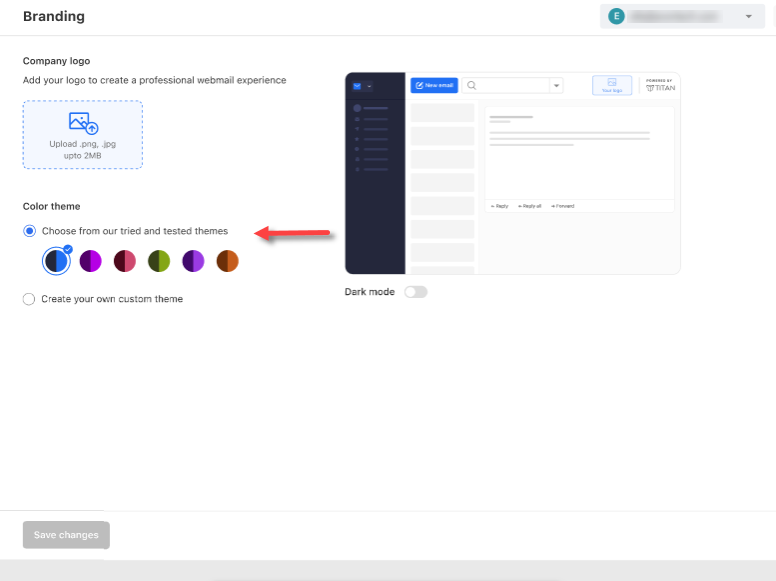
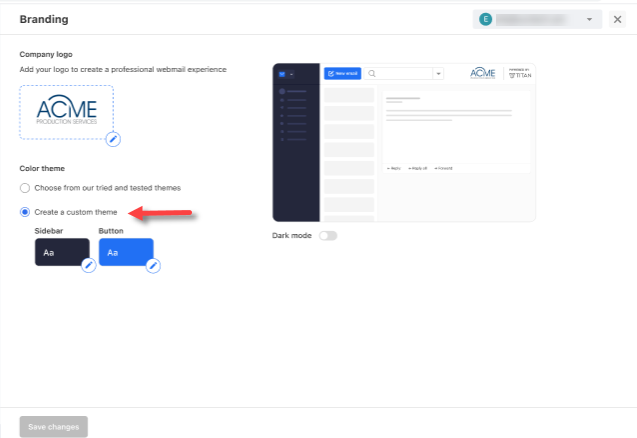
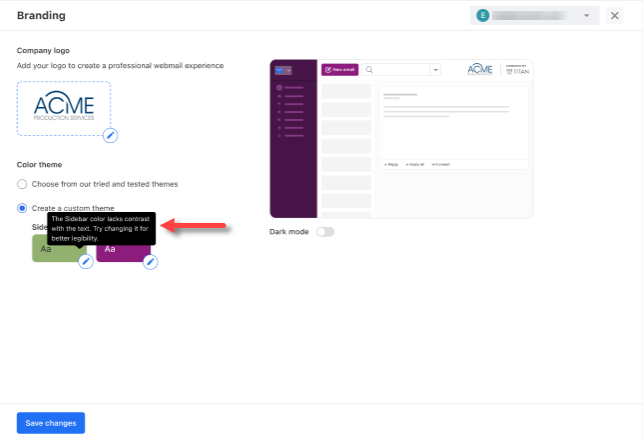
To set up the color theme:
- In the Color theme section, you can do the following:
- Choose your company's color from the preset (default) themes.
- Create your own custom theme by selecting the "Create a custom theme" option.
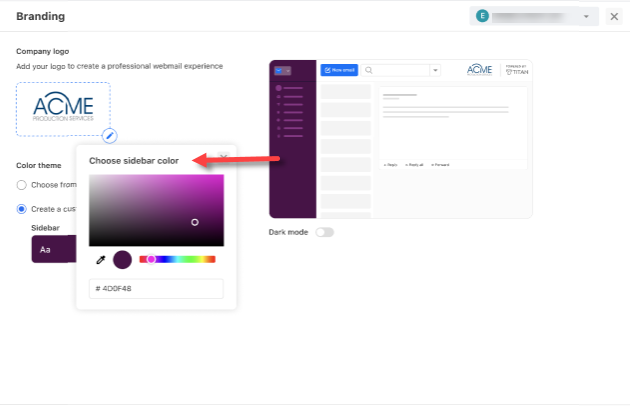
- Click the Sidebar eye drop icon.
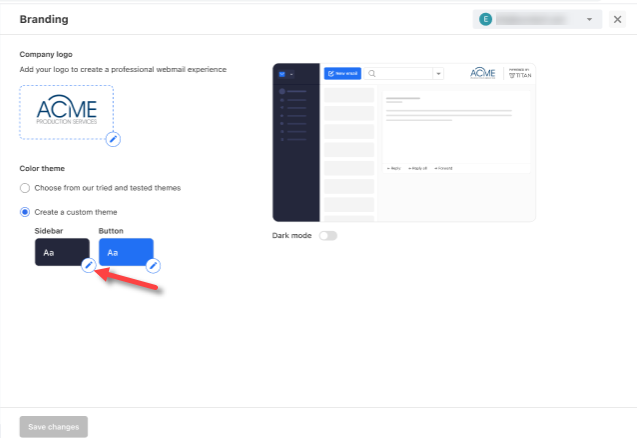
- Select your preferred color for the Sidebar.
- Choose your preferred color for the Button.
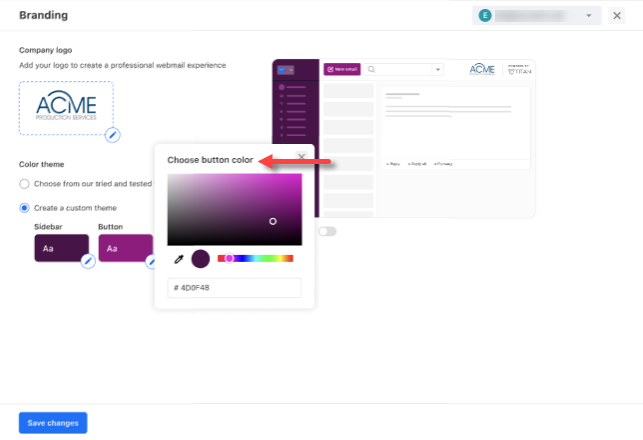
- The system will analyze the selected colors. If it lacks contrast with the sidebar or button text, it will prompt you to change it for better legibility.
- Click the Sidebar eye drop icon.
- Use the Dark mode setting.
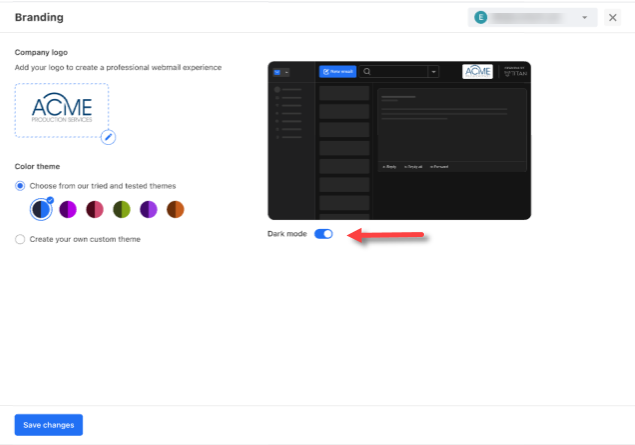
- Choose your company's color from the preset (default) themes.
- Click Save changes.
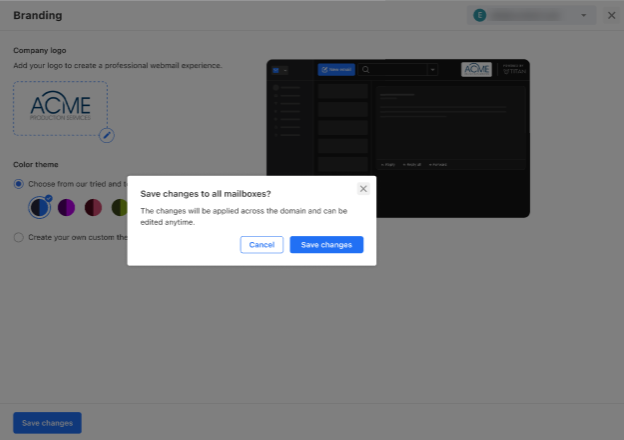
- A prompt will appear, indicating that the changes will apply to all mailboxes.
Related Articles
Did you find this article helpful?