How to Fix Error After MultiPHP Update
This article will discuss the workaround for your WordPress website if you encounter an issue similar to this one:

The error will begin with:
"Warning: Use of undefined constant WP_CONTENT_DIR - assumed 'WP_CONTENT_DIR' (this will throw an Error in a future version of PHP) in"
Followed by a location in your cPanel directory and then:
"Your PHP installation appears to be missing the MySQL extension, which WordPress requires."
This fix requires you to navigate the File Manager and modify files. If you are not comfortable doing this, our Support team will assist you via phone or chat.
How to fix the "Missing MySQL Extension" error
In the video below, we will walk you through identifying the "Missing MySQL Extension" error and the steps to resolve it.
Here are the steps outlined in the video guide.
- Log in to cPanel.
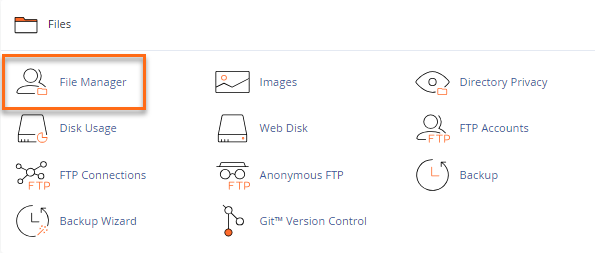
- Go to the Files section, then click on the File Manager icon.
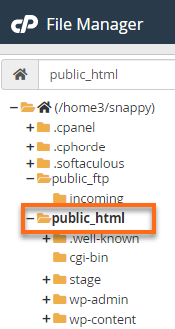
- Locate and open your website's document root. (For this example, we will use the public_html folder.)
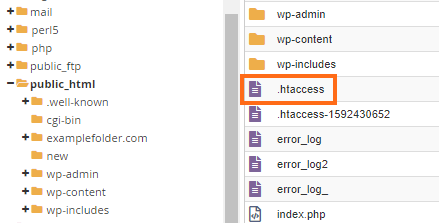
- Locate the .htaccess file, right-click on it, and select View.
- In your .htaccess, you should see the PHP handlers entries. First, you'll have to identify and remove the old PHP handler.
The old PHP handler you'll want to remove will look similar to one of these:
# Use PHP81 as default
AddHandler application/x-httpd-php81 .php
<IfModule mod_suphp.c>
    suPHP_ConfigPath /opt/php71/lib
</IfModule>
or
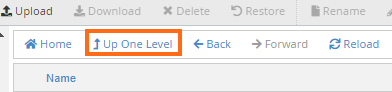
#Use PHPedge as default
AddHandler application/x-httpd-php-edge .php
<IfModule mod_suphp.c>
    suPHP_ConfigPath /opt/phpedge/lib
</IfModule>
Suppose you did not see any of the two old PHP handler entries in your .htaccess file. Try checking other .htaccess files outside the public_html by clicking the Up One Level link in the top menu.
The PHP handler you want to keep will look like the one below. You will notice that it says "cPanel-generated handler, do not edit," created by the MultiPHP Manager.
# php -- BEGIN cPanel-generated handler, do not edit
# Set the “ea-php81” package as the default “PHP” programming language.
<IfModule mime_module>
  AddHandler application/x-httpd-ea-php81 .php .php81 .phtml
</IfModule>
# php -- END cPanel-generated handler, do not edit
These PHP handlers are conflicting with each other, which is why your site is showing an error. You will need to remove the old PHP handler so the MultiPHP handler code will take effect instead.
- Once you've identified these PHP handlers, create a backup of your .htaccess file before making any changes.
To create a backup of your .htccess file:
- In your directory, locate the .htaccess file.
- Right-click on it and select Copy.
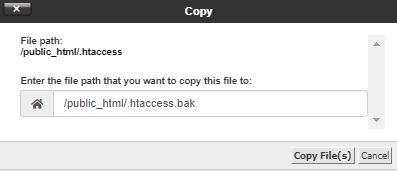
- The pop-up window will provide the beginning of where to store the backup. Enter the file name so that it reads /public_html/.htaccess.bak, then click Copy File(s).
- You'll see the backup file, .htaccess.bak, in public_html.
- In your directory, locate the .htaccess file.
- Right-click on the .htaccess and select Edit.
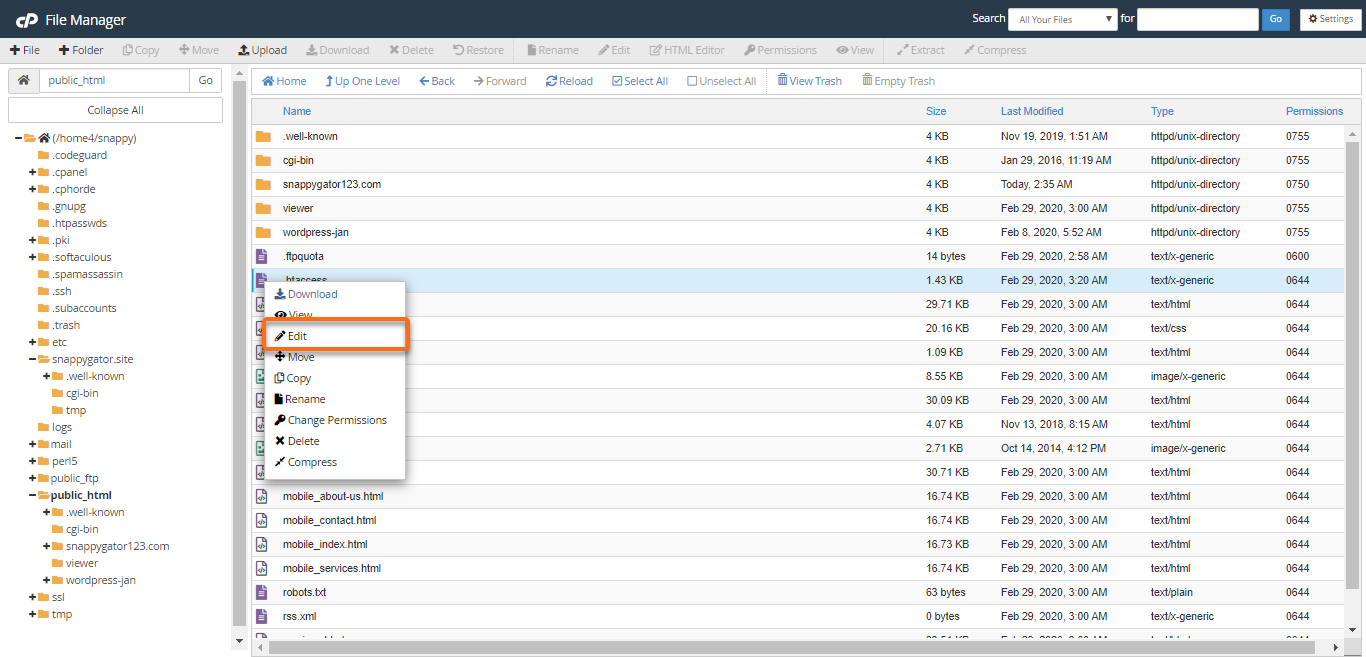
Alternatively, you can click on the .htaccess file and then click on the Edit icon at the top of the page.
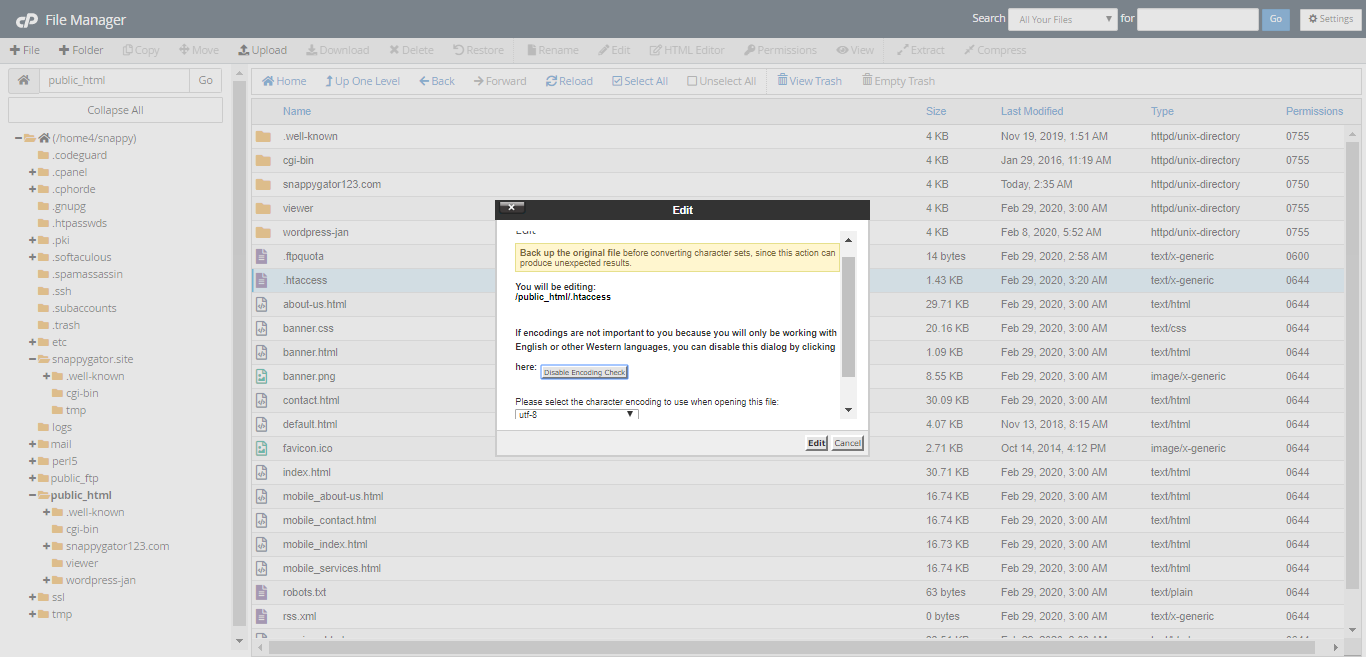
- A dialogue box will appear. Click Edit to continue. The editor will open in a new window.
- Do the necessary updates. To disable the PHP handler you don't want, add a "#" at the beginning of each line, as shown in the example below.
#Use PHPedge as default #AddHandler application/x-httpd-php-edge .php #IfModule mod_suphp.c> # suPHP_ConfigPath /opt/phpedge/lib #/IfModule>Note: There may be more than one old PHP Handler entry in your .htaccess file. Continue adding "#" to any additional entries. You should only have one entry that begins and ends with:# php -- BEGIN cPanel-generated handler, do not edit # php -- END cPanel-generated handler, do not edit
- Once done, click Save Changes in the upper right-hand corner.
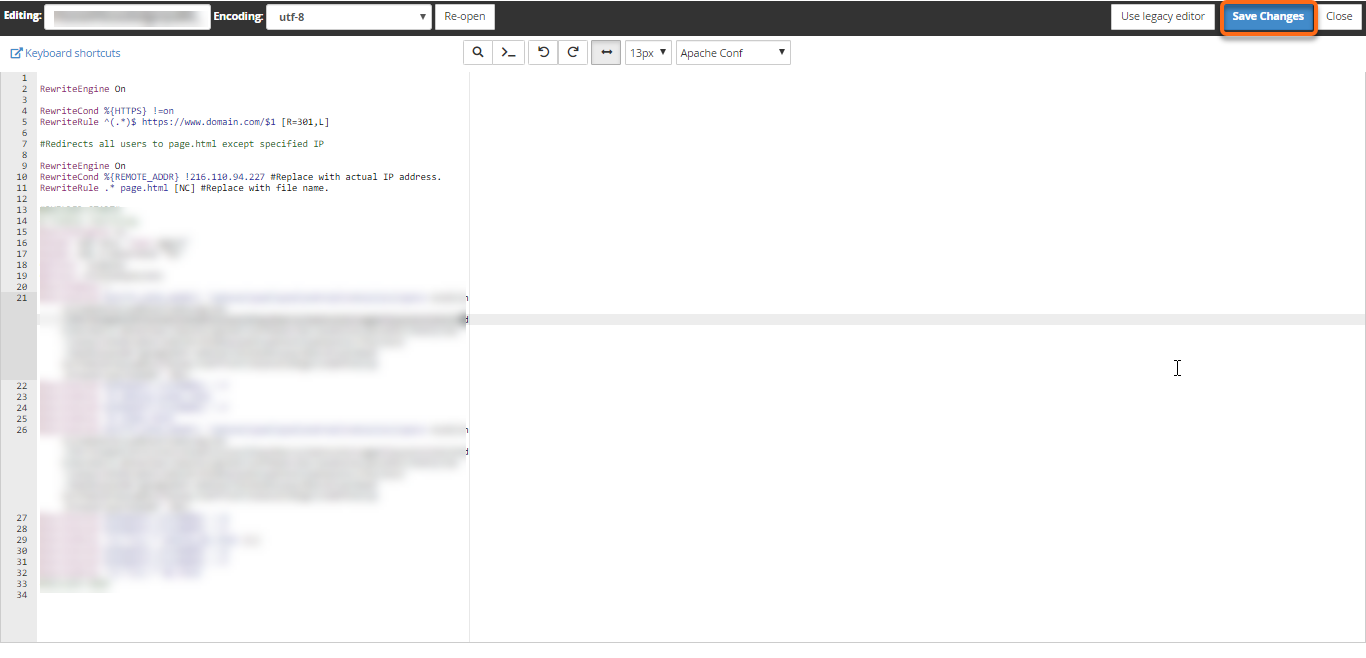
- Click Close to exit the editor.
- Pull up your site to check if the error is already gone.
Still, getting the "Missing MySQL Extension" error?
It is possible to have multiple .htaccess files that you may need to edit. If you find you are still getting this error after editing the .htaccess file in the public_html folder, you need to check your root directory.
Try and continue with these steps.
- Navigate to the root directory by clicking on the top folder in the left-hand panel that starts with (/home#/user), where the user is your cPanel username.
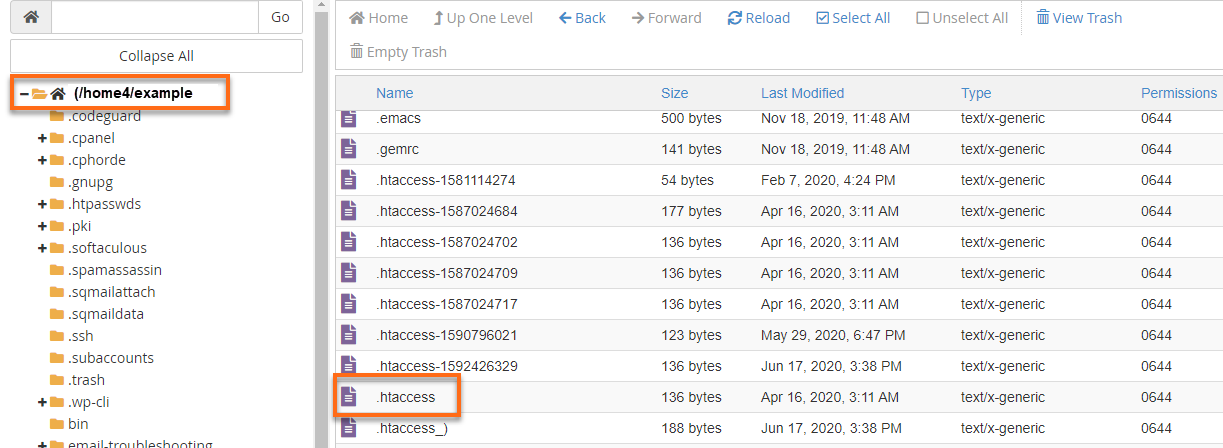
- Scroll down the right-hand panel until you locate another .htaccess file. Any .htaccess file with a string of numbers or characters is disabled and disregarded.
- Open the .htaccess file and check if there is an old PHP handler. Continue with the rest of the steps as discussed above.
- Once done, reload your website.
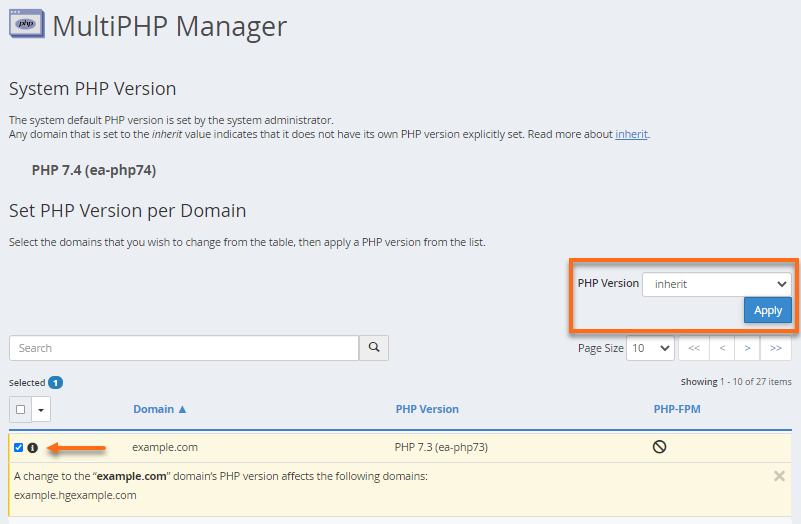
If the error is still there, go to your cPanel's MultiPHP Manager and select your website name. Then, set your PHP version to inherit from the dropdown menu.
Frequently Asked Questions (FAQs)
What is the easiest way of viewing and updating the PHP version of my website?
The cPanel has a MultiPHP Manager that allows you to view and update your websites' PHP versions. Please refer to this article to know more about this feature: What Version of PHP Are You Using?
We also have a video guide discussing the use of the MultiPHP Manager.
Where is my File Manager?
All website files are stored inside your File Manager. To learn how to access your File Manager, please visit this article: How to Navigate Through File Manager.
How can I edit my files inside the File Manager?
Your website files can be created, modified, or removed from your File Manager. Please visit the article, How to Create/Edit/Delete a File Using the File Manager, for detailed instructions on managing your website files.
I am done with the steps above, but my site now shows a different error page (403, 404, or 405 Error). How to resolve it?
There are many possible causes why your website is showing an error page. Troubleshooting depends on the error page code (403, 404, 500, etc.) you are seeing. Please visit these helpful articles for more information on error page codes and how to resolve them.
Related Articles
- Default files .htaccess and php.ini
- How to update the PHP version (How to Fix "Missing MySQL Extension" Error is in this article as well)
- What is php.ini?