What is php.ini?
The php.ini file is a special file for PHP. It is where you declare changes to your PHP settings. The server is already configured with standard settings for PHP, which your website will use by default. Unless you need to change one or more settings, there is no need to create or modify a php.ini file. If you would like to make any changes to the settings, you can do so through the MultiPHP INI Editor.
This article will discuss the following topics.
How to Modify PHP Settings
There may be times when you need to change some of the default PHP settings, and below we've outlined those steps. However, keep in mind that there are PHP settings that cannot be changed on our Shared and Reseller hosting plans.
To modify the PHP settings:
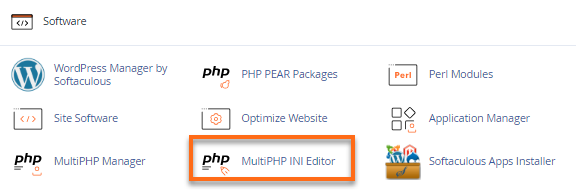
- Log in to cPanel.
- In the Software section, click on the MultiPHP INI Editor icon.
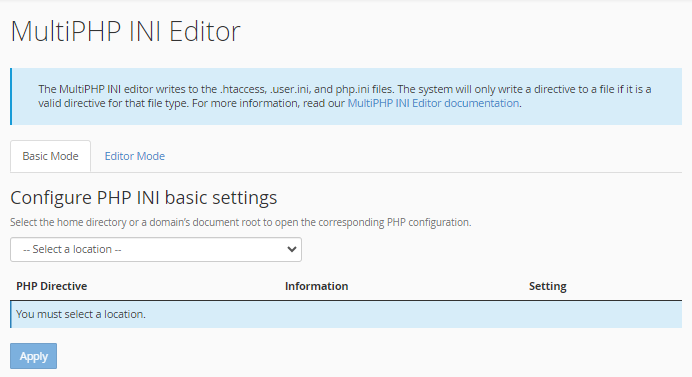
- On the MultiPHP INI Editor page, select Home Directory or the specific domain you wish to update from the Configure PHP INI basic settings dropdown.
- Select the new setting for each PHP directive you would like to change.
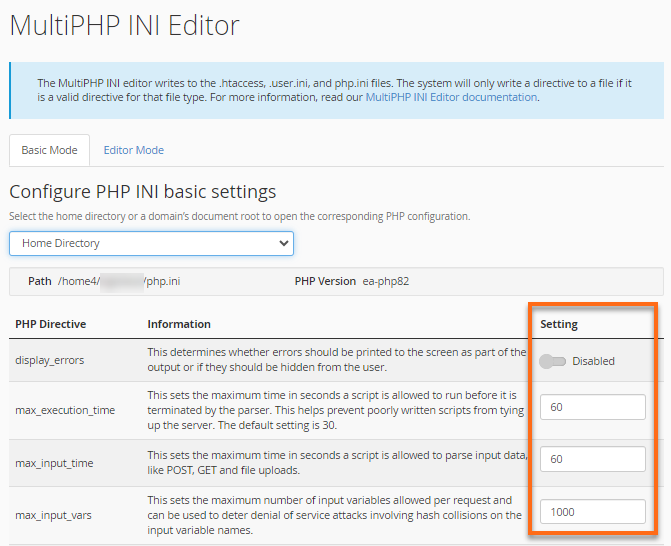
- Click Apply to save your changes.
How to Create a New php.ini File
- For cPanel, this file should be created in your Home directory (
/home/username/). The 'username' is your actual cPanel username, - For Plesk users, the file should already exist in the directory /var/www/vhost/$DOMAIN/etc/php.ini. The '$DOMAIN' is your actual domain.
To create a new php.ini file in your cPanel:
- Log in to cPanel.
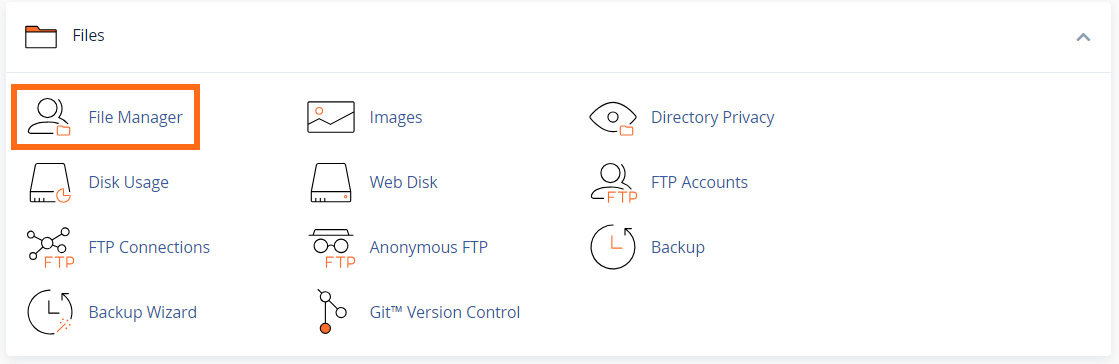
- Under the Files section, click on the File Manager icon.
- Select the root directory for your site. The default for the primary domain is public_html.
- Click the + File button at the top left of the page.
- In the pop-up box, enter php.ini in the New File Name field. Make sure the root directory is in the bottom box.
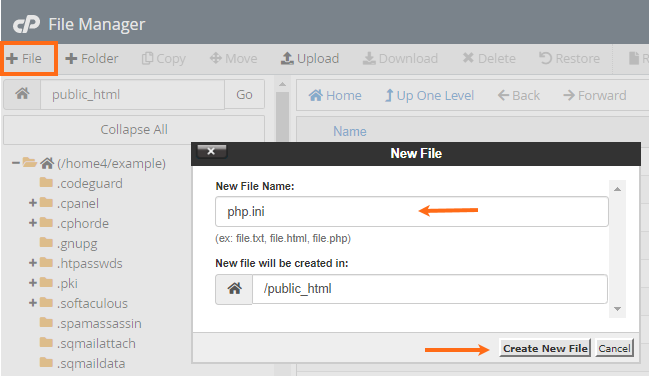
- Click Create New File.
- Locate and right-click the new php.ini file, and select Edit, then click the Edit button again.
- You can now input the contents of your php.ini file. Click Save to save your changes.