How to Create a Staging Website with Softaculous
Once your website is live, you will get to a point where you want to update the design or functionality. Softaculous offers you the ability to create a duplicate of your existing website so that you can test out changes before you commit to making them to your live site.
Having this ability allows you to test whether your website is compatible with the latest version of WordPress or PHP. You can also test out new themes, plugins, or layouts so that when you are ready to update your live site, you already know how it will look and function.
How to create a staging site
- Log in to cPanel. There are two ways to access your cPanel.
- Option 1: Access your cPanel directly.
- Option 2: Access your cPanel via your Customer Portal.
- Log in to your Customer Portal.
- Click Hosting in the left-side menu.
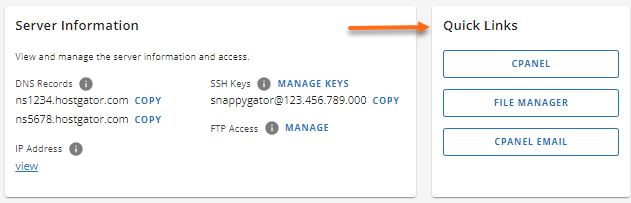
- If you have a single hosting package in your account, scroll down to the Quick Links section.
If you have multiple hosting packages in your account, locate the hosting package you want to manage on the Hosting Packages page, then click its Manage button.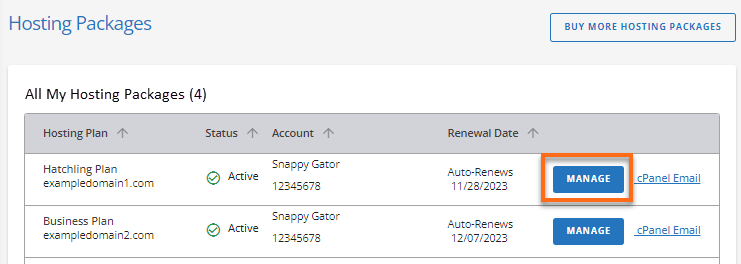
- Under the Quick Links section, click the cPanel button.
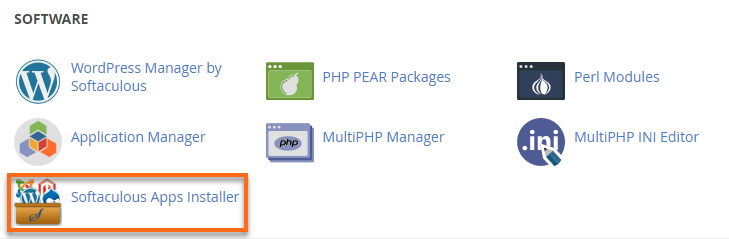
- Navigate to the Software section, then click on the Softaculous Apps Installer icon.
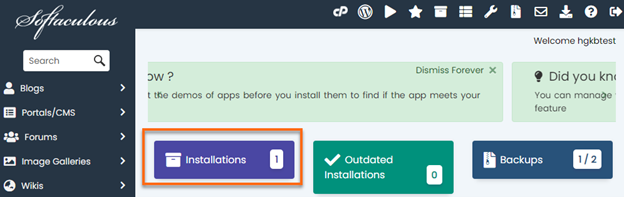
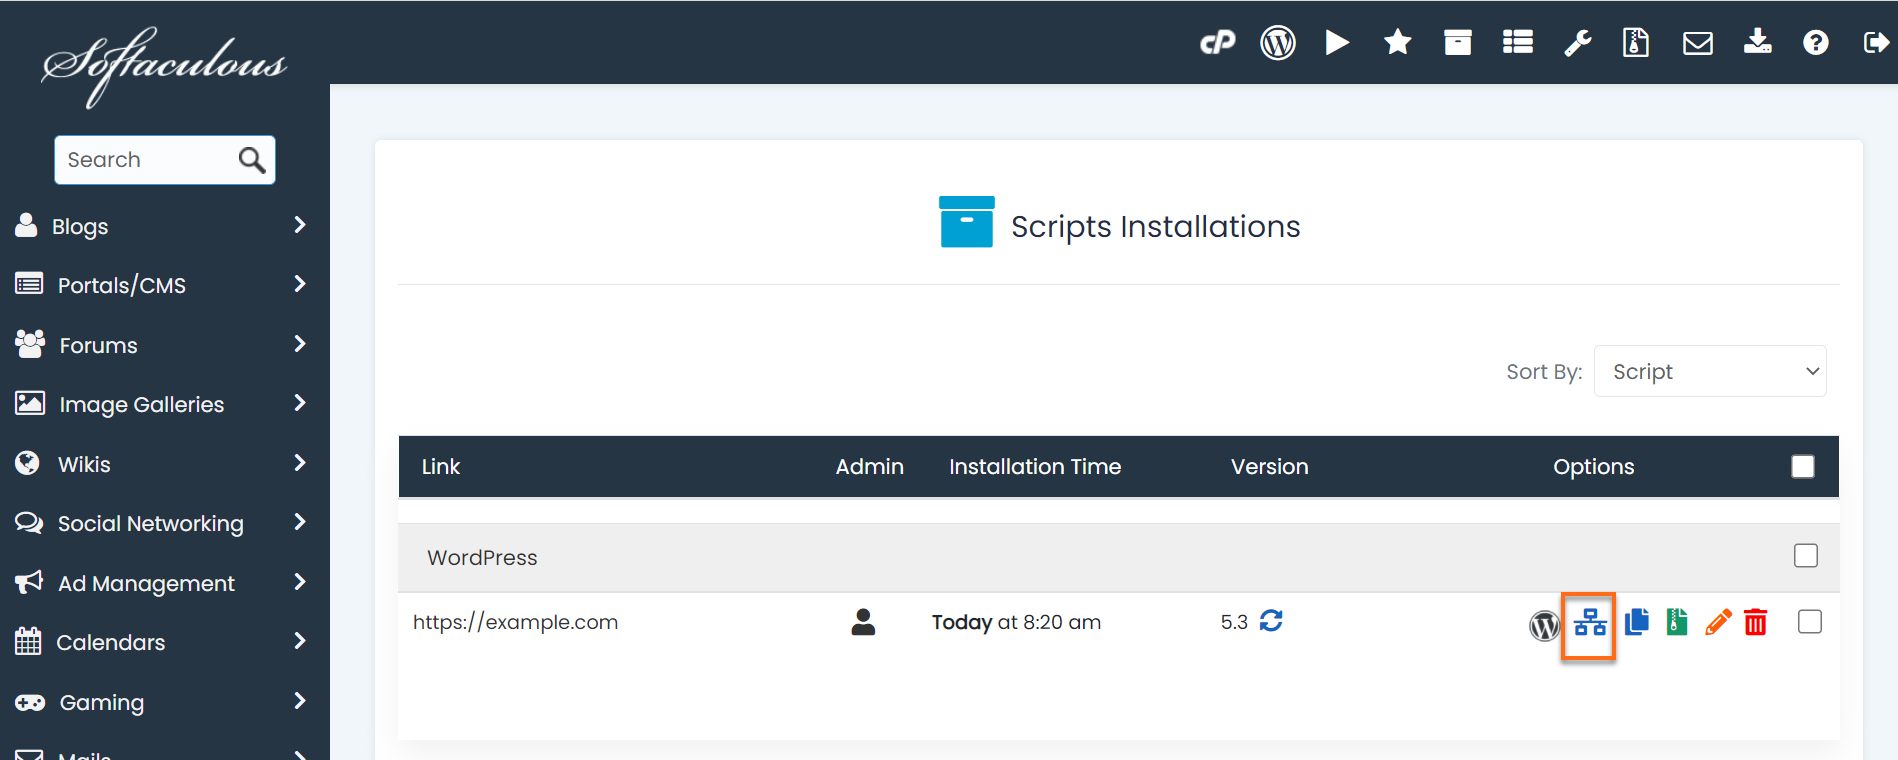
- At the top of the page, you see options for your installed scripts. Click on the Installations box.
- Locate the domain that you want to stage and click the Create Staging icon.

- Across from Choose Installation URL, select the domain you want to use for your staging site or enter a directory name in the last box labeled In Directory.
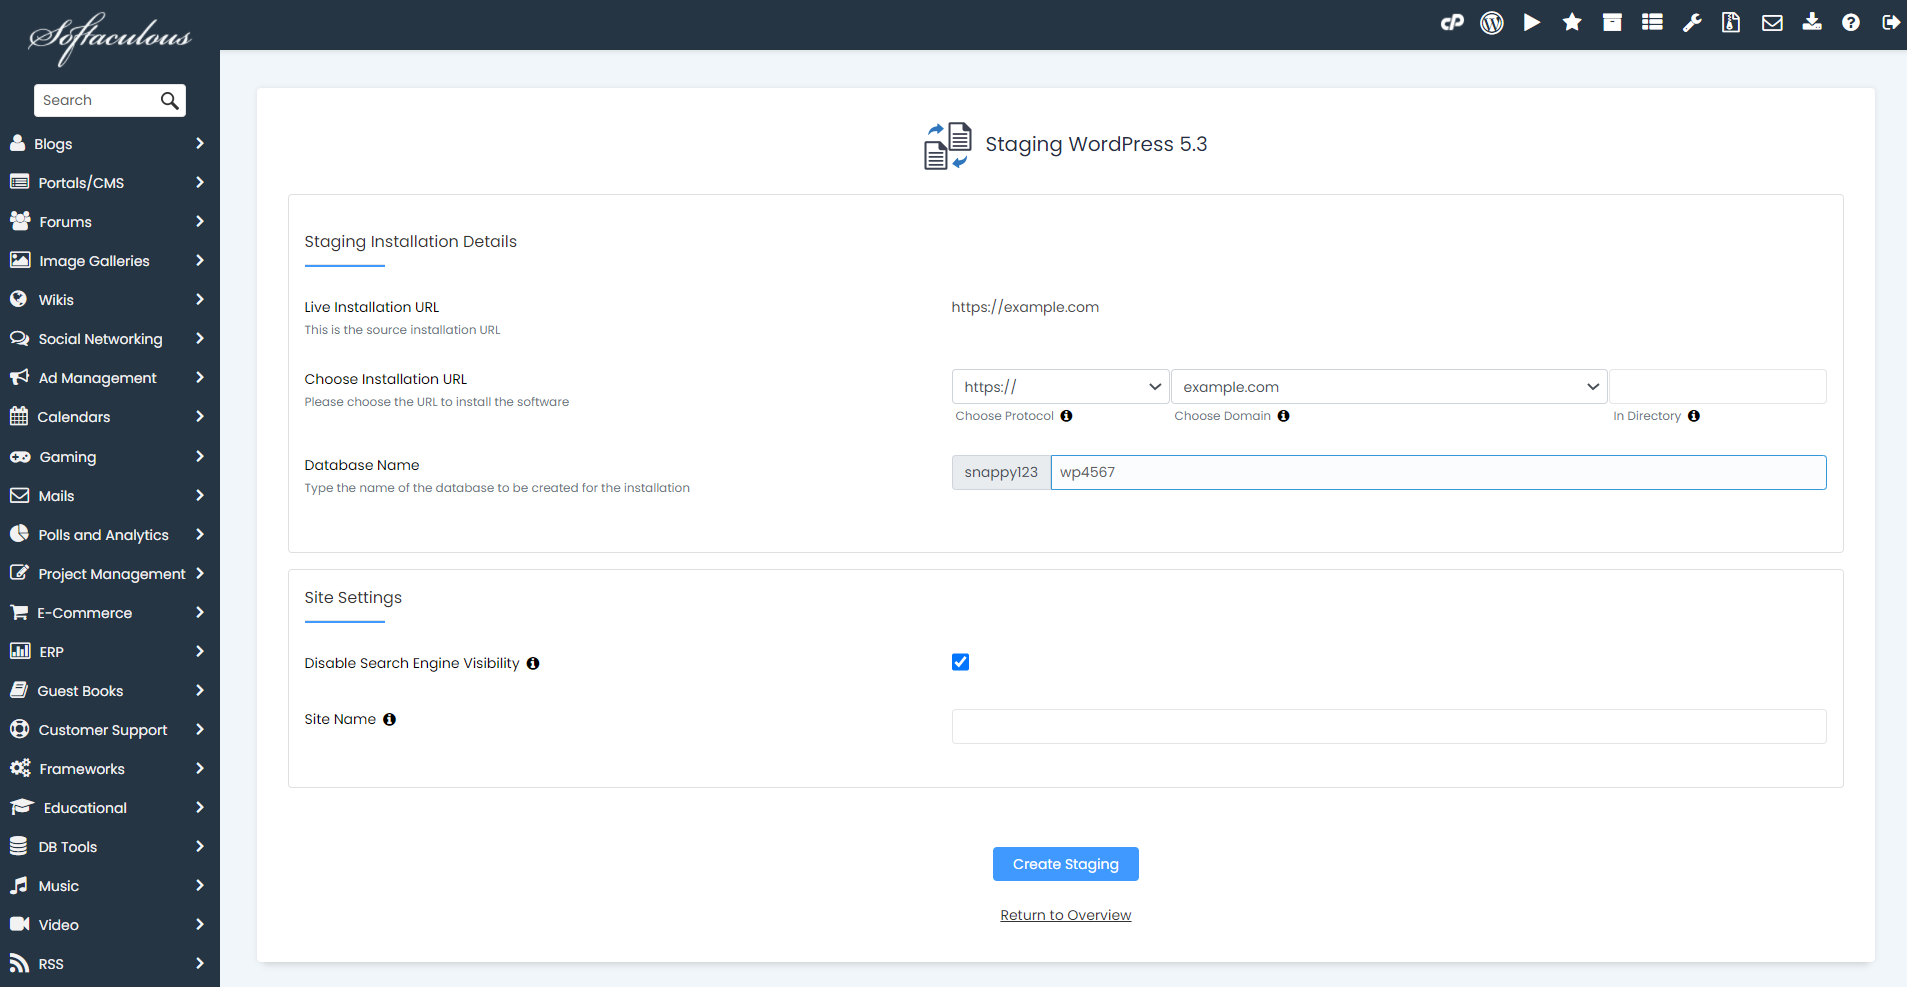
- Check the Disable Search Engine Visibility box if you do not want your staging site to show up in search engine results.
- If you want your staging site to be an exact duplicate of your live site, leave the Site Name box blank and click the Create Staging button.
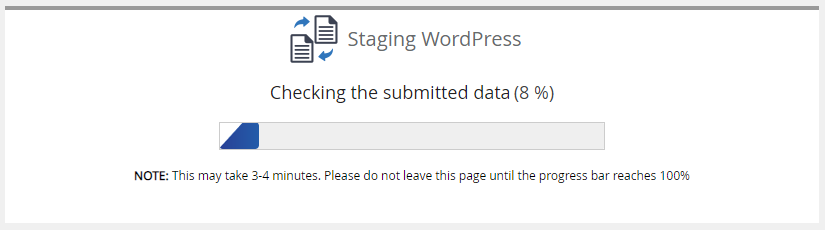
- A progress bar will appear while it creates the staging site.
- You will then be presented with a Congratulations message and links to the staging site and its admin dashboard.
- Click on the link next to the Administrative URL to begin editing your staging site.
The admin login details are the same as the admin login details of the source account.
Can’t find your installation on the list? Let’s scan and import your installation
- Log in to cPanel. (See options above on how to log into your cPanel)
- Navigate to the Software section, then click on the Softaculous Apps Installer icon.
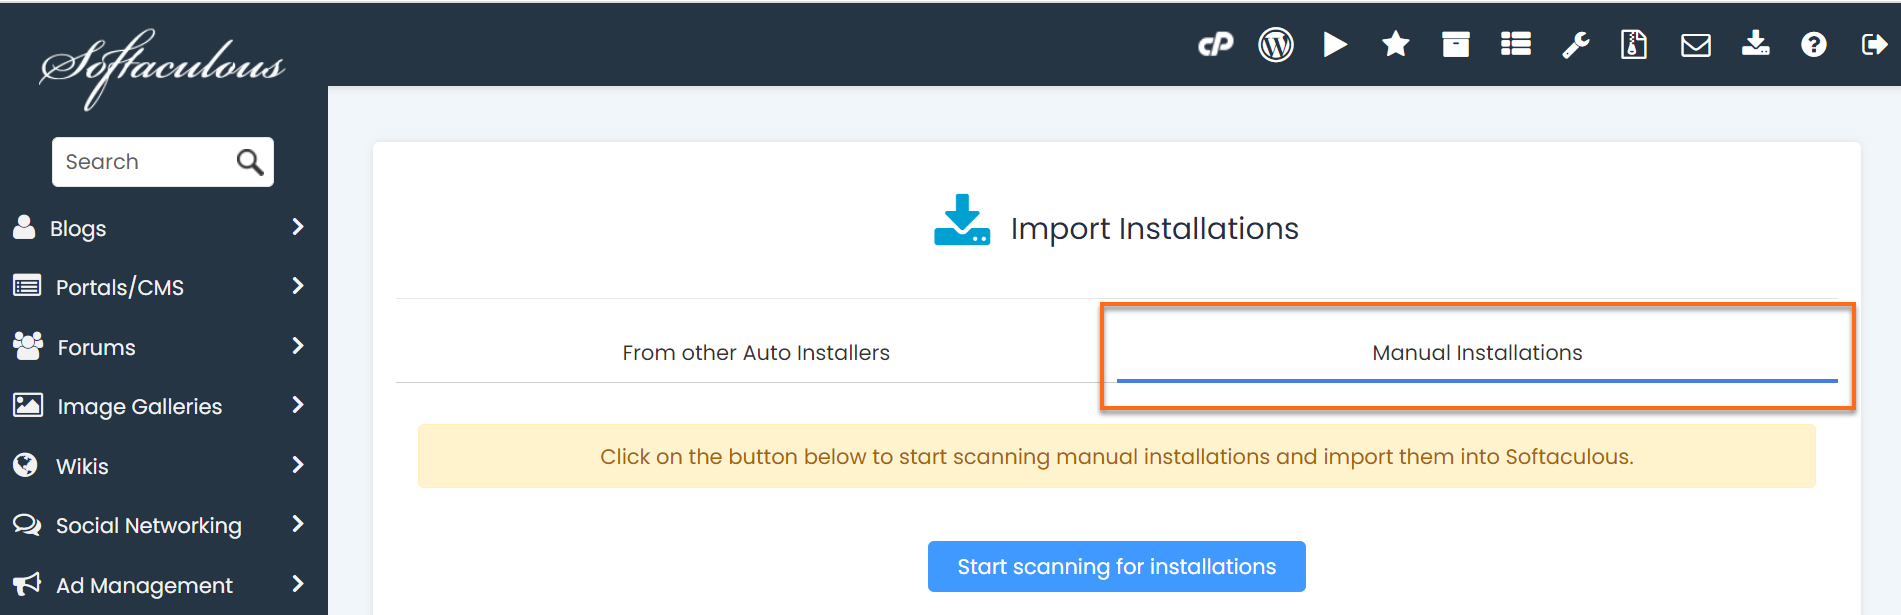
- On the Softaculous Apps Installer page, click on the import Installations button found at the top-right corner.

- On the new page that will appear, click on the Manual Installations button.
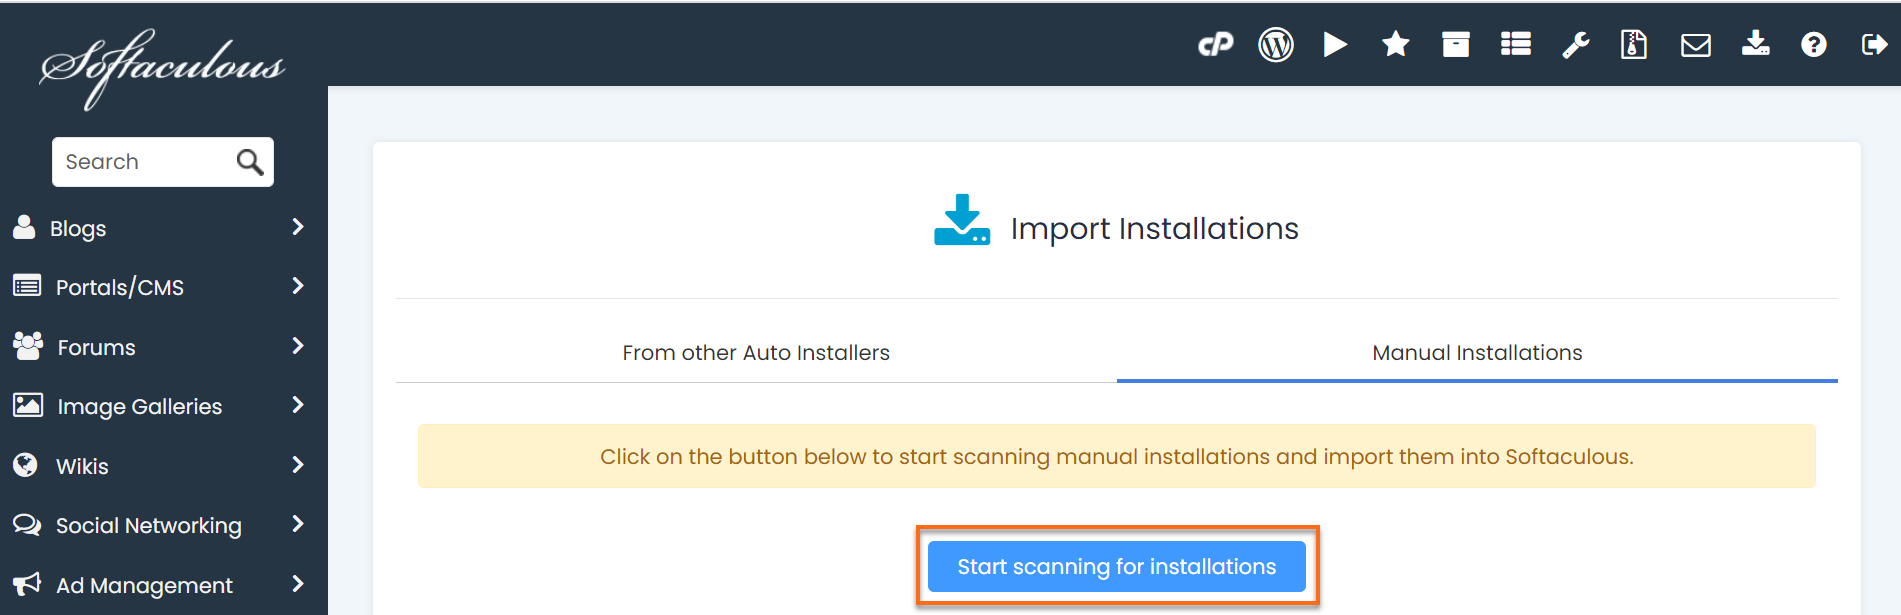
- Once in the Manual Installations section, click on Start Scanning for Installations. The scanning takes about 3-5 minutes, depending on the number of your installations.
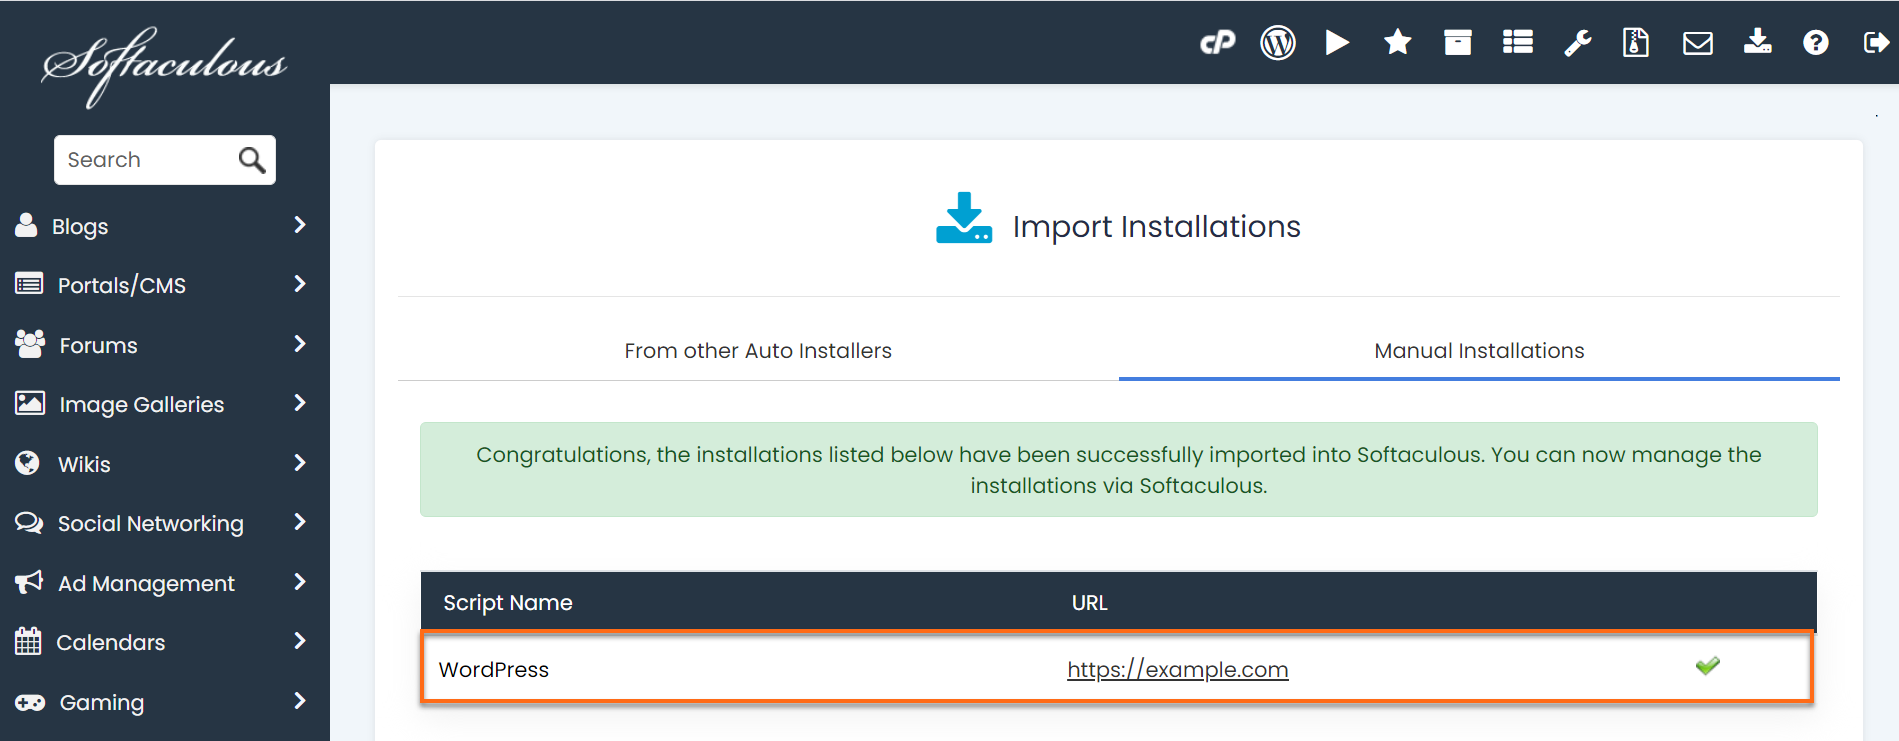
- Once the scan is complete, your manual installation will appear on the page.
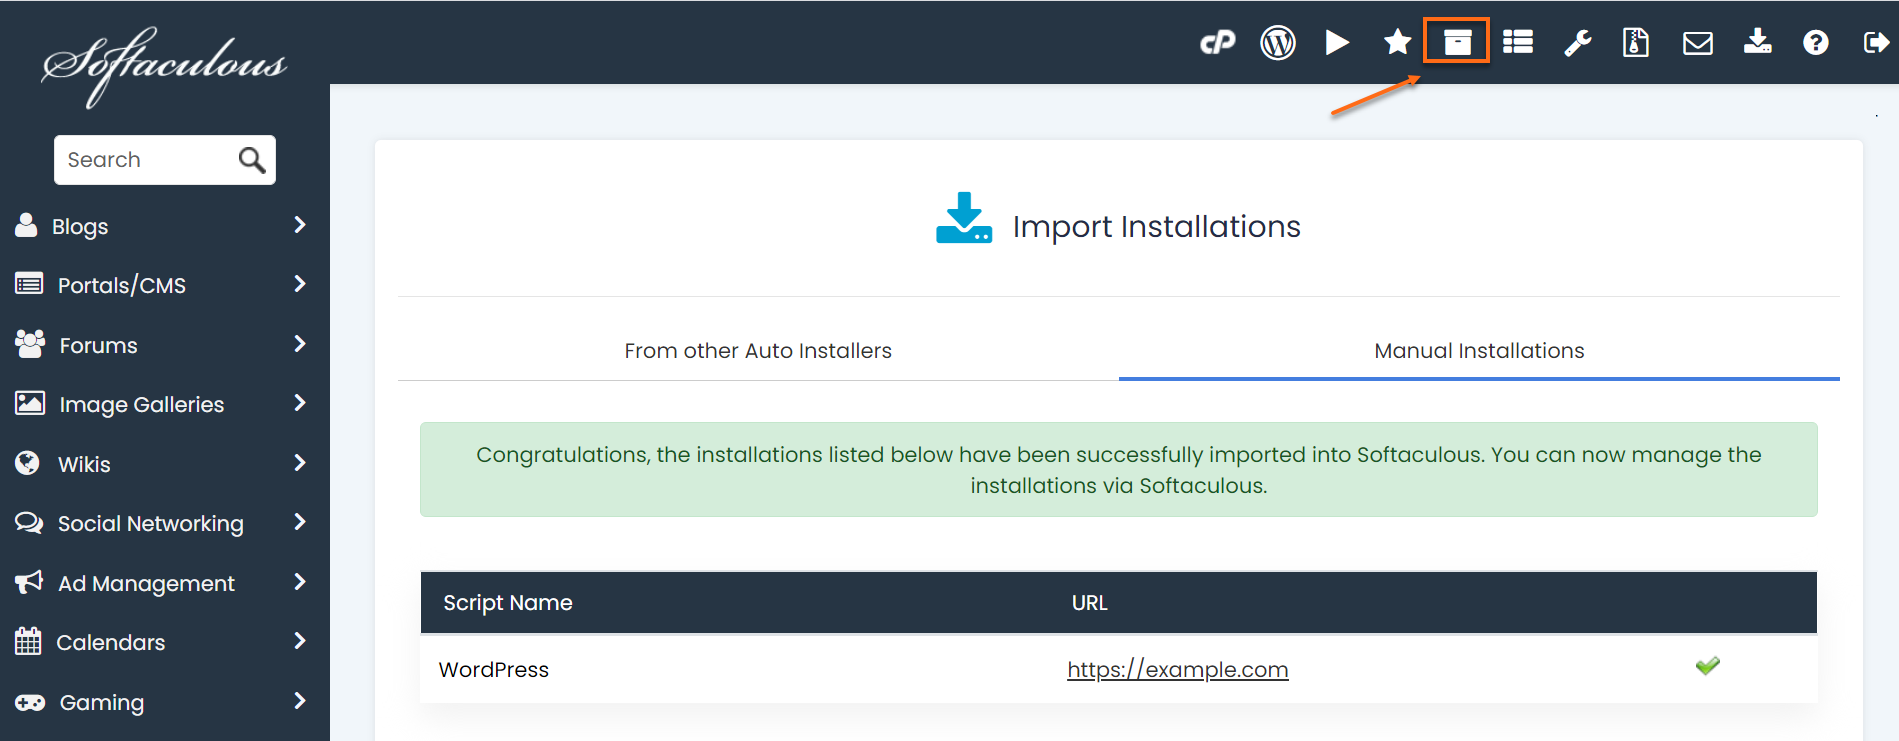
- You will then click on the Installations icon on the top right. And this time, you will now see your installation.
- Click on the Staging icon and follow the instructions above.
Here are some helpful articles to guide you if you are getting an error with your WordPress site: