Changing the Domain of your WordPress Site
As a business entity, you may want to promote a popular product known by more than one name, and you would like to use separate domains for each product. This is when you may need to duplicate your WordPress site's content and use it on a different domain name.
Instead of designing a new separate site for each domain, you may use the existing content in your current domains. The following guide will assist you in duplicating a WordPress site.
Here are the steps you need to take to change the domain of your WordPress website
Step 1: Copy files to the new domain
Before proceeding to the steps below, ensure your new domain is already added to your cPanel.
To copy website files to your new domain:
- Log in to cPanel.
- Open the public_html (or the domain's document root where the source files come from).
- Click Select All found at the top of the screen.
- Press and hold the Ctrl key while clicking (un-selecting) the following files/folders in your public_html folder:
- cgi-bin
- .qidb
- addon domain directory
- With the files still highlighted, click Copy in the top menu of the File Manager. A pop-up will open, showing the file path:
/public_html - Type the name of the addon domain directory to which you are copying the files. This box should now look similar to:
/public_html/youraddondomain.comReplace "youraddondomain.com" with the actual domain being used. - Click Copy File(s).
If you are unfamiliar with the File Manager and would like to learn more about how to use it, please read:
Step 2: Create a new MySQL database
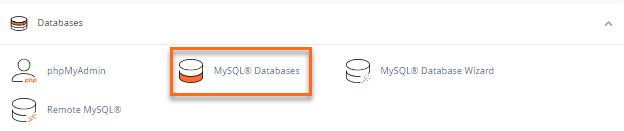
Once the files have been copied over to your addon domain directory, click the MySQL® Databases icon in the cPanel to create a new MySQL database.
Step 3: Modify the wp-config.php file for your new WordPress site
To edit the wp-config.php file for WordPress:
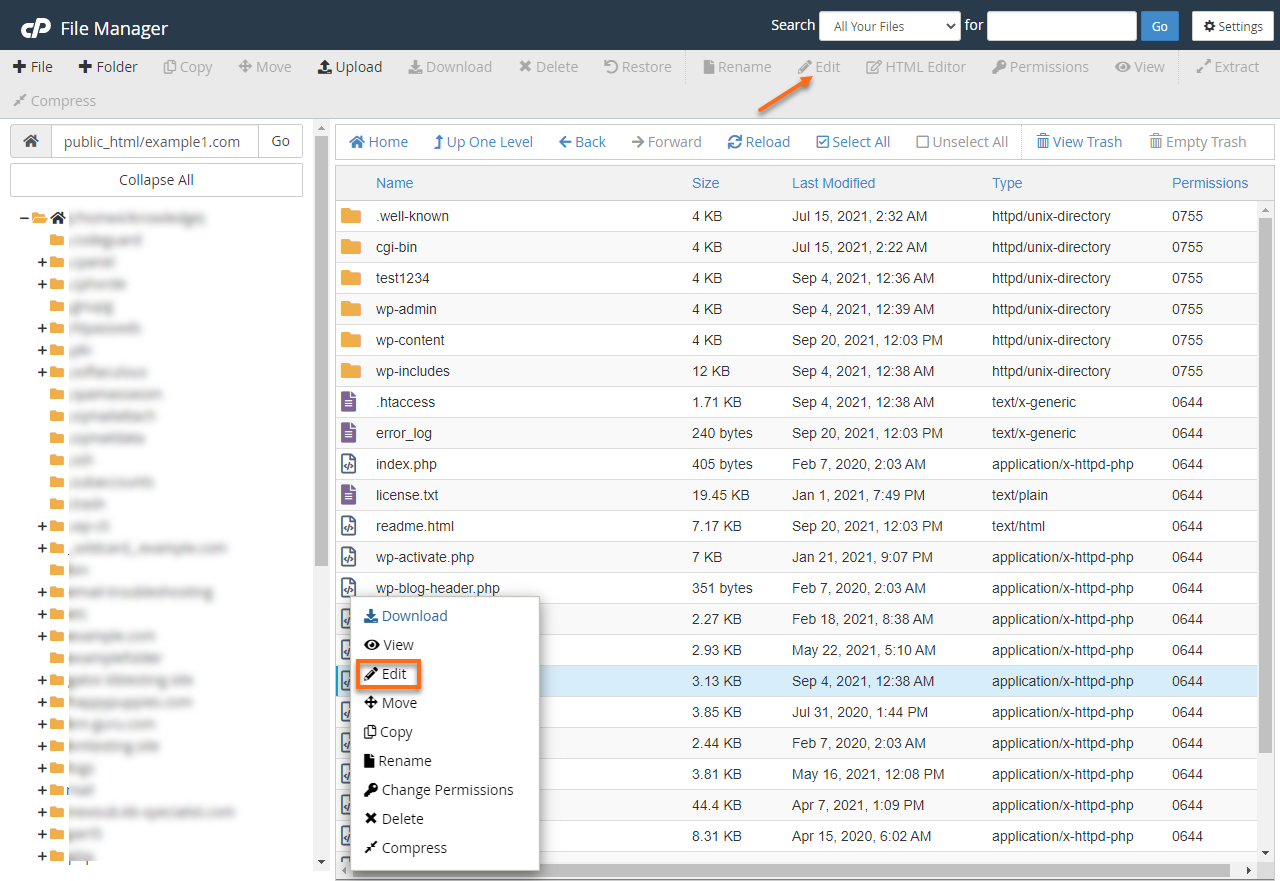
- Go to your cPanel's File Manager.
- Go to public_html to find the wp-config.php file. (If you have other domains, access that domain's document root.).
- Right-click on the wp-config.php and click Edit from the options. Alternatively, you can select the wp-config.php file and click Edit in the top menu.
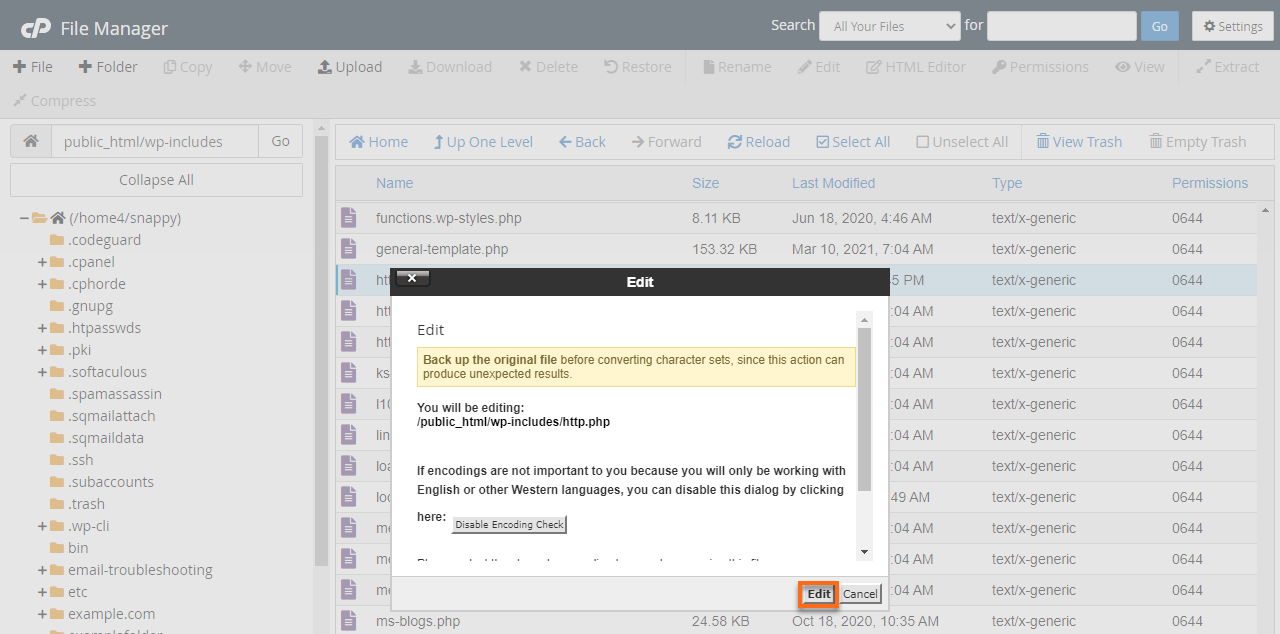
- A dialogue box may appear asking you about encoding. Just click Edit to continue. The editor will open in a new window.
- A new page will open where you need to edit the following information to reflect the values assigned to the new database created in Step 2 ⤴.
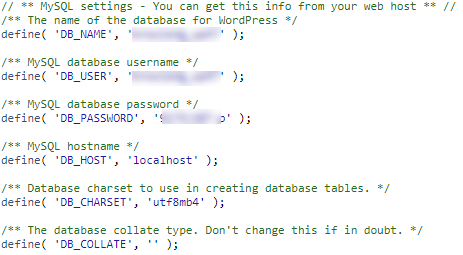
- DB_NAME
- DB_USER
- DB_PASSWORD
- Click Save Changes.
Your wp-config.php file should now reflect the correct database name, database user, and database password. This is essential for WordPress to know which database to obtain the information from.
Step 4: Export the database
Export the database from the primary domain and import it into the newly created database. For help with this process, please refer to the following articles:
Step 5: Update the database
The database settings must be updated to reflect the new domain name information.
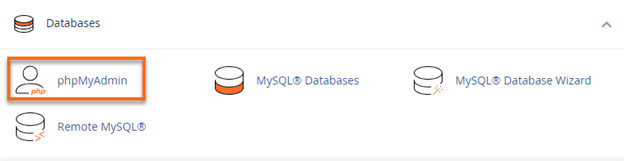
- Look for the Databases section, then click the phpMyAdmin.
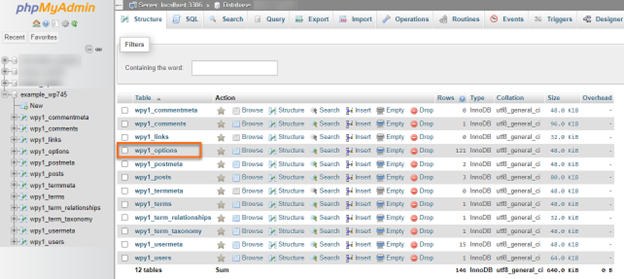
- On the next page, click on the newly created database name.
- Click wp_options.
- Click Edit on the site URL and home URL line.
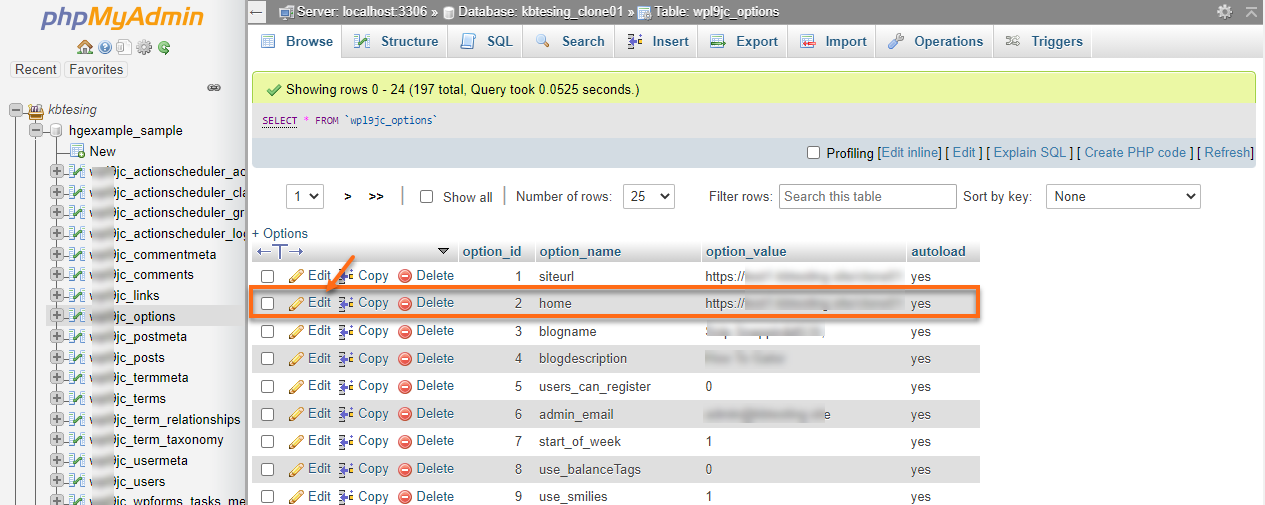
- Change the option_value to your new addon domain name or use a temporary URL if your addon domain is not pointed to HostGator yet.
- Click Go to save the changes.
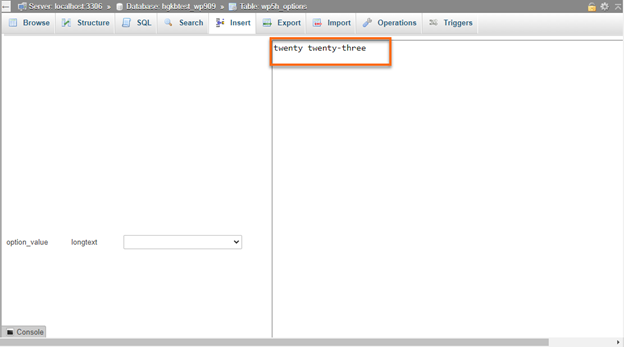
- Click Edit on the blog name line.
- Change the blog name to reflect your new blog.
- Click Go.
- Click Edit on the blog description line.
- Change the blog description to reflect your new blog.
- Click Go.
- In the left navigation panel, click wp_users.

- Click Edit on the user_login line, and change the user name to reflect a new login username of your choice.
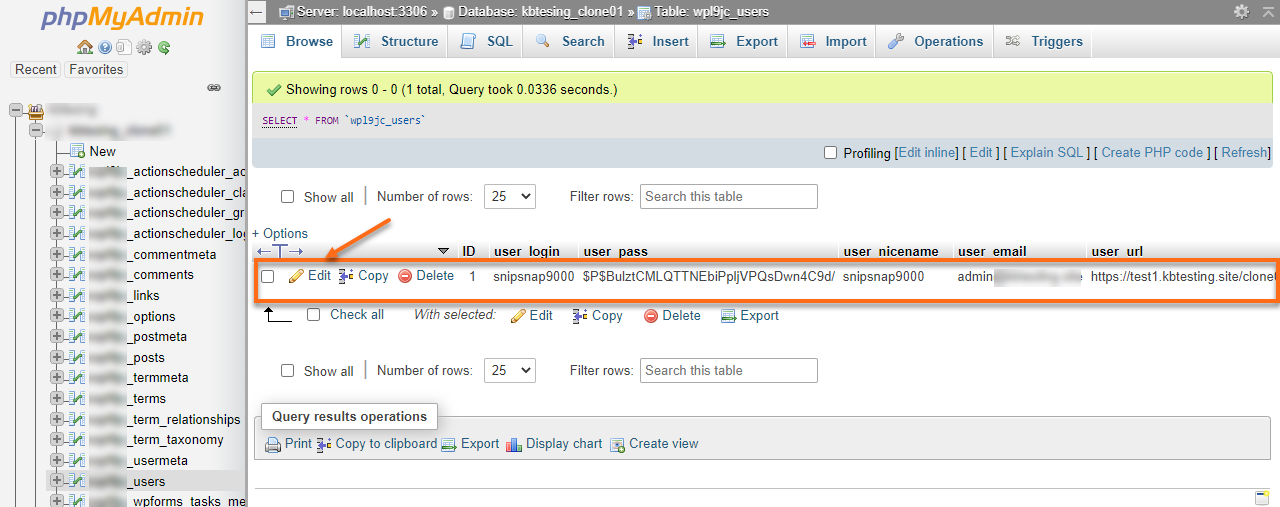
- On the user_nicename line, change it there as well. For security purposes, do not use Admin as either username.

- On the user_pass line, highlight and delete the characters already in that box.
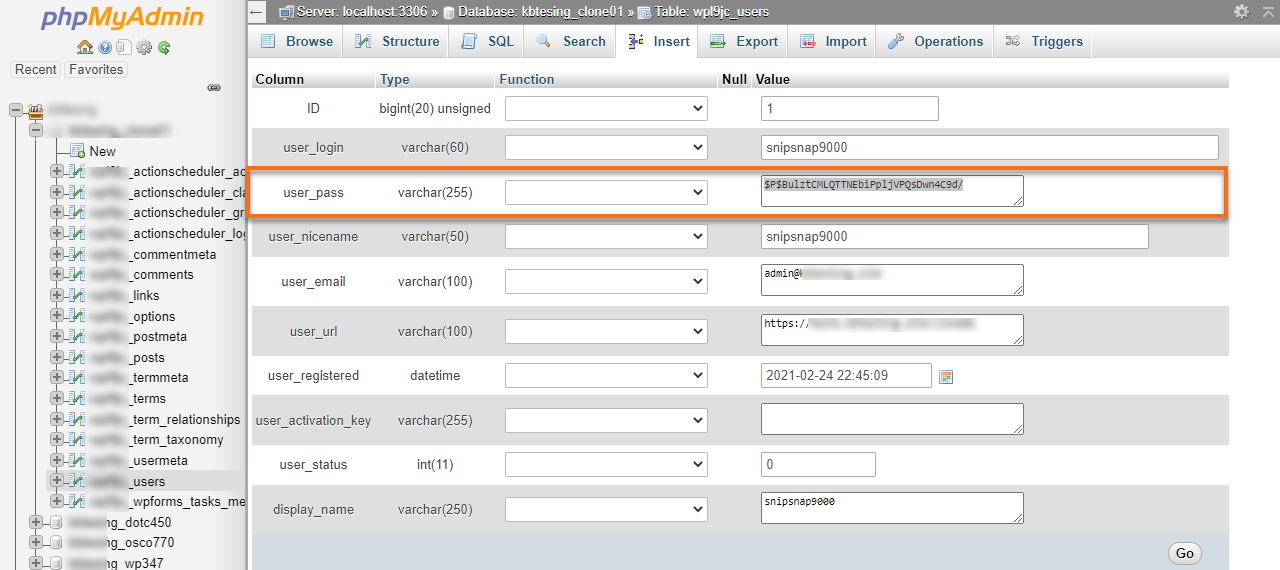
- Click the down arrow, select MD5, and create the password of your choice.
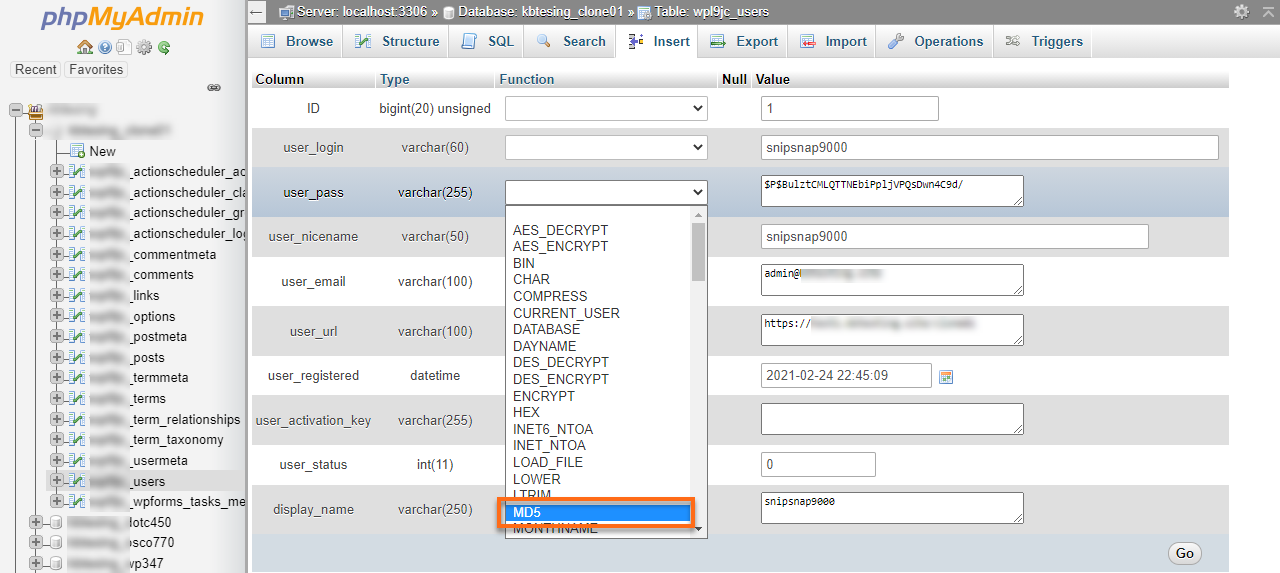
- Click Go.
- Test these changes by visiting http://youraddondomain.com/wp-login.php (replace youraddondomain.com with your actual domain name).
You should now be able to log in to your newly imported blog.
Step 6: Update the database tables
Once the domain is working, and you can log in to the WordPress Dashboard of the new site, install the Search and Replace plugin. It will allow you to search all the database tables, search for your old domain, and replace each instance with your new domain. You can uninstall the plugin after the tables have been updated.
In addition to the database, you should check your site for links hardcoded into widgets, etc. Those links must be manually edited to reference your new site address.
For additional information on using this plugin, please review the following article:
Step 7: Update WordPress
- Log in to your WordPress Dashboard.
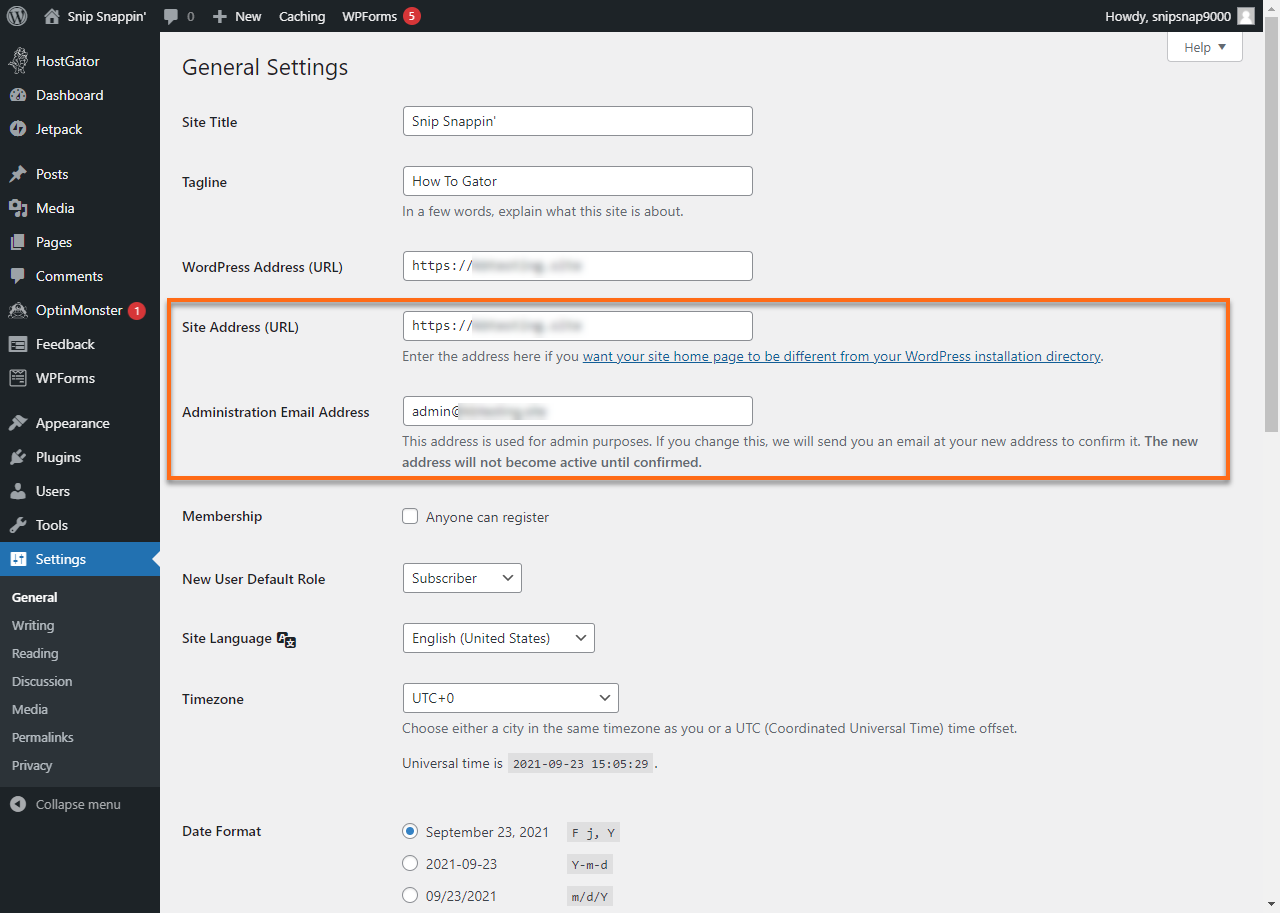
- In the left navigation menu, go to Settings and click General.
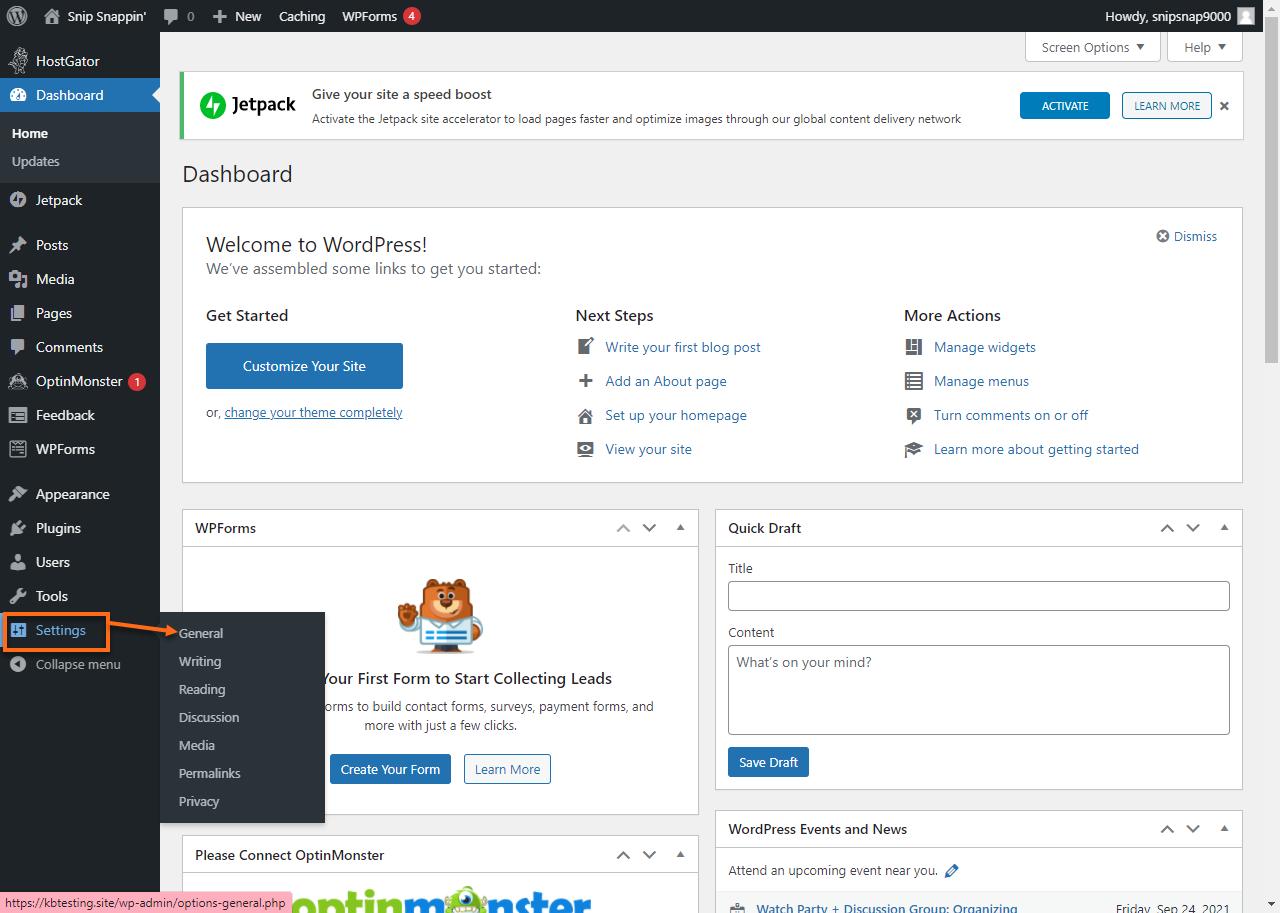
- Be sure that each of the following fields displays your new domain name and not the old one:
- WordPress Address (URL)
- Site Address (URL)