YITH - Shippo Shippings (WooCommerce)
Streamline your shipping process with YITH Shippo Shipping for WooCommerce. Connect your Shippo accounts and manage all your shipping needs in one place. Get real-time rate calculation, label printing, and order tracking, whether you're shipping locally or internationally.
This article will discuss the following topics:
- Connecting a Shippo Account⤵
- Managing Shipping Rates According to Different Shipping Zones ⤵
- Setting the Sender Info ⤵
- Setting the shipping rate options ⤵
- Creating Shipping Rules ⤵
- Shipping Tracking Options ⤵
- Setting Default Parcel Adjustments ⤵
- Setting the Boxes to Use to Ship Products ⤵
- Setting the Default Info about the Content of Shipments ⤵
- Setting the Correct Info in Products ⤵
- Creating a Shipment for an Order⤵
Additionally, HostGator offers YITH WooCommerce products through the Marketplace in your Customer Portal. To learn how to add these products to your WordPress website, please visit the following article.
Connecting a Shippo Account
- Enable the YITH Shippo Shipping plugin in the General Options tab. You have the option to set the plugin in the following mode:
- Test mode - This is for testing mode only. No payment will be required to create a shipment.
- Live mode - Payment will be required to create a shipment.
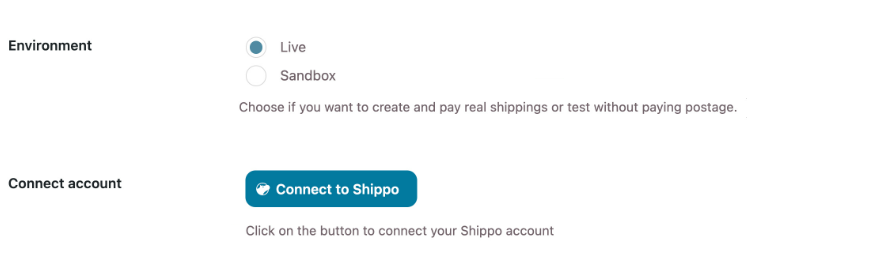
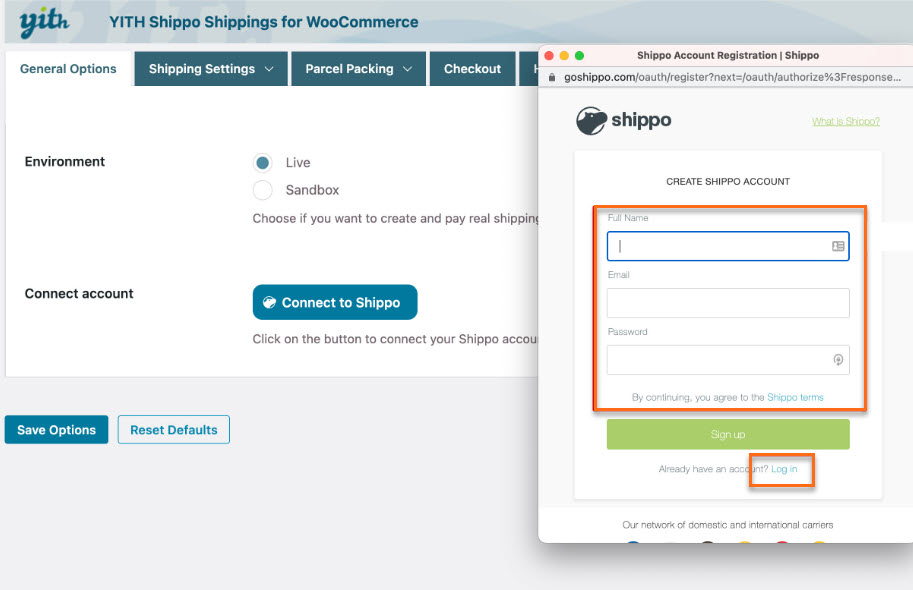
- Click on the Connect button.
- A new window will open, asking you to create an account on Shippo. If you already have one, click on the Login link below the Sign Up button.
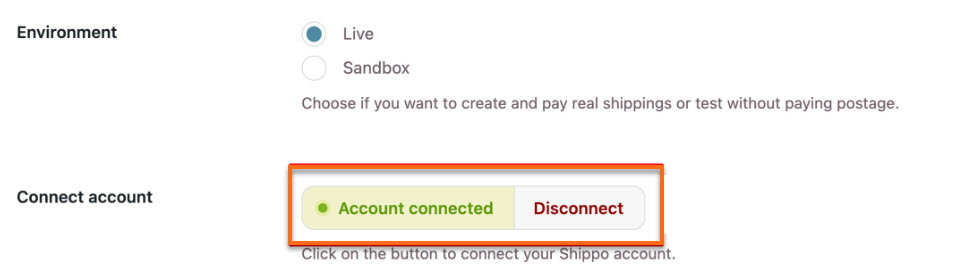
- This notice will replace the connect button once your account is successfully connected to your store.
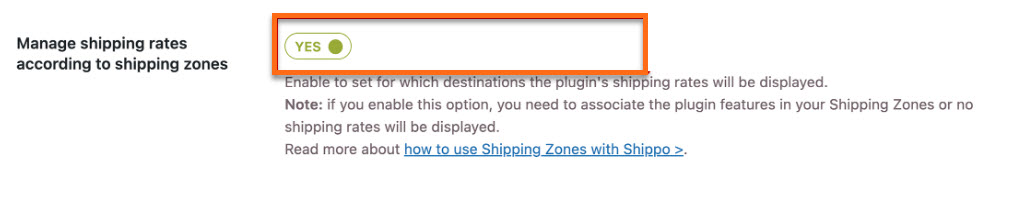
Managing Shipping Rates According to Different Shipping Zones
You can use shipping zones to set different shipping costs or carriers for specific countries to manage your shipping rates. For example, you can provide free shipping, UPS for national shipping, $25, and DHL for international shipping.
To set up the shipping process, you must first create the shipping zones and then enable the corresponding option in the Shipping Options » Shipping Rates tab.
Setting the Sender Info
To set the default Sender address for your shipping, go to Shipping Settings > Sender Info tab. You can either use the Store address set in WooCommerce > Settings or fill out a different address in the provided form.
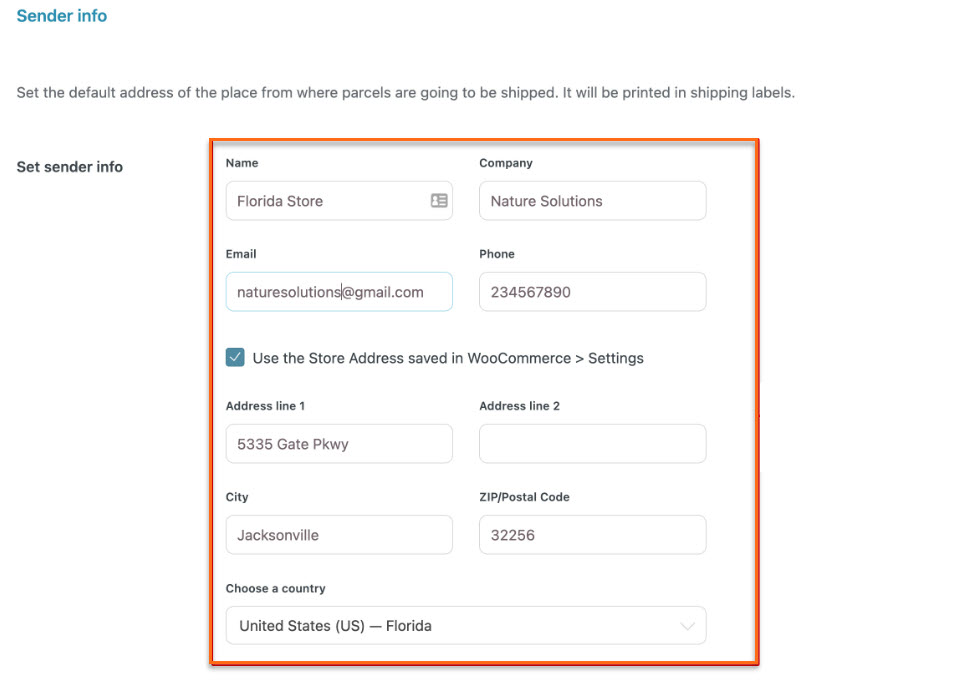
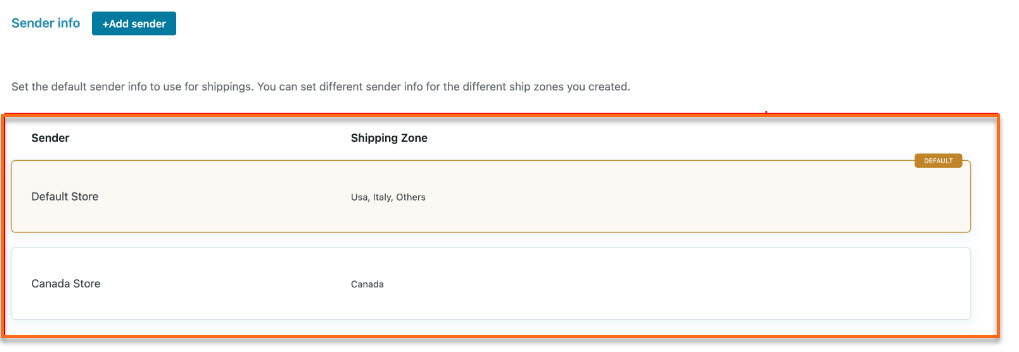
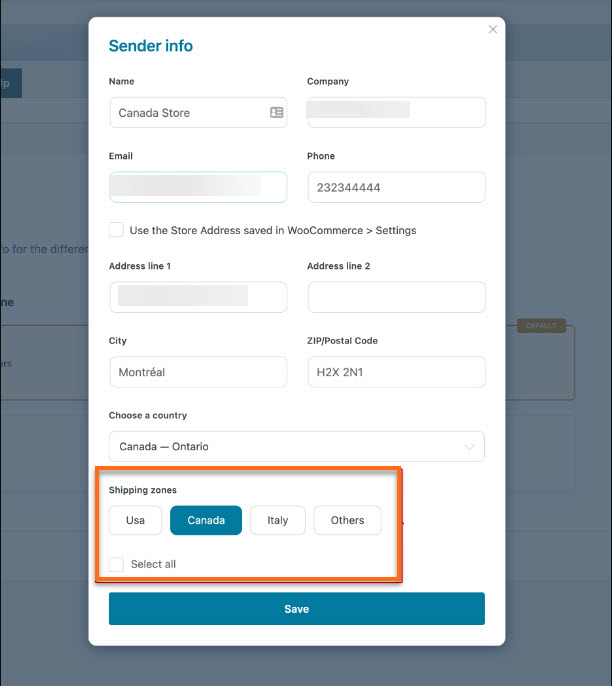
Enabling shipping zones lets you set multiple senders and associate specific sender info to distinct zones.
Setting the Shipping Rate Options
In the Shipping Settings » Shipping Rates tab, you can set up shipping methods, rates, and zones for customers.
- Validate products - Live shipping rates need product weight and dimensions. Use this to verify or update your product info.

- Manage shipping rates according to shipping zones - Enabling this option allows you to create rules, set carriers, and charge costs for shipping.

- Show live shipping rates on Cart and Checkout pages - Select this option to display shipping rates to customers during the Cart and Checkout process.

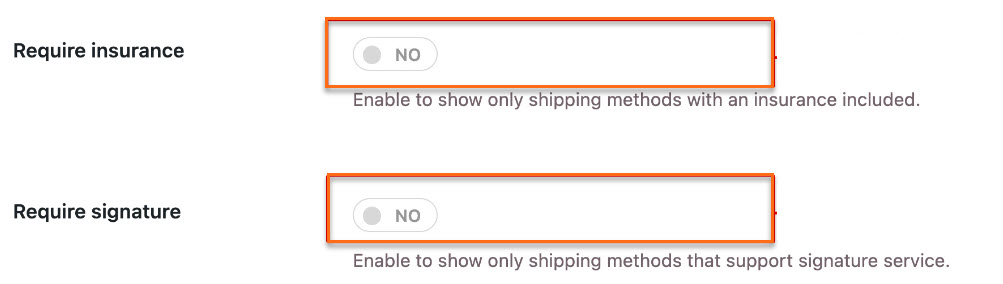
- Require insurance and Require signature - Enabling these options will show only the shipping services that offer insurance and signature options.
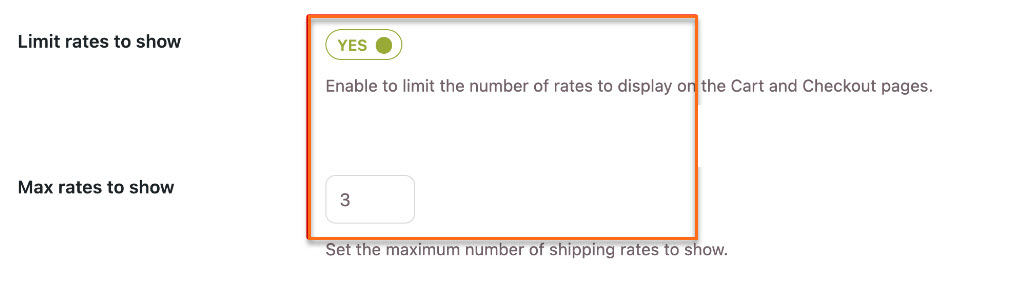
- Limit rates to show - Enable this option and set the maximum number if you want to limit the number of shipping rates displayed (for example, Max rates to show is "3").
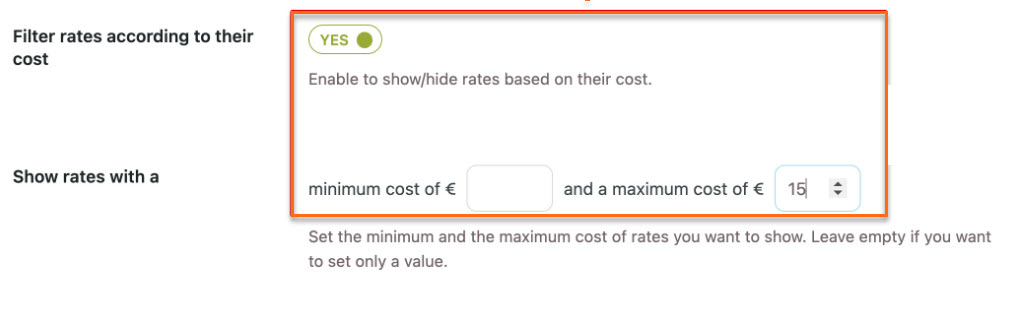
- Filter rates according to their cost - To set a minimum and/or maximum cost for the shipping rates to show, you can enable this option in the Shipping Settings » Shipping Rates tab. By doing so, the other services will be hidden, and you can choose to show only shipping rates with a maximum cost of a certain amount, such as $15.
-
Show delivery time - Enable this option if you want to provide your customers with estimated delivery time information.

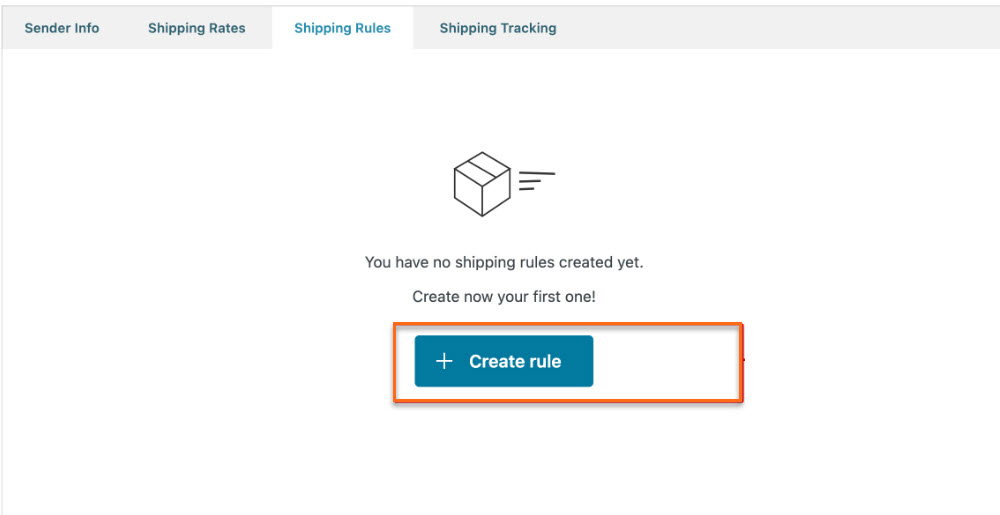
Creating Shipping Rules
Shipping Rules can control shipping rates based on specific criteria, making it easier to manage costs and charge the appropriate amount for shipping.
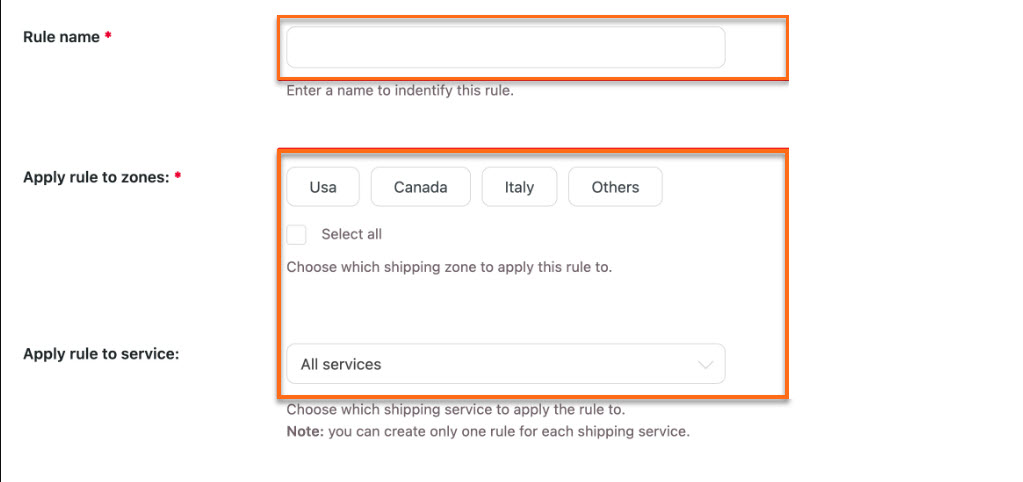
- Click the + Create rule button.
- To create a new shipping rule, give it a name and select the appropriate shipping zones and services. This is to ensure that the rule is applied only where needed.
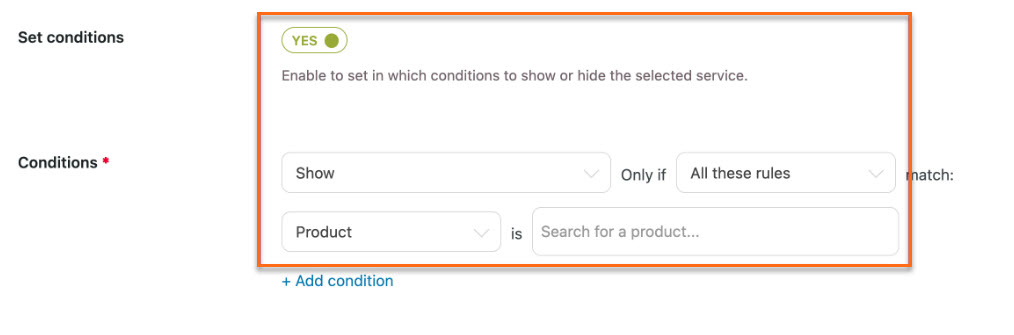
- When creating a shipping rule, you can add a product or category condition to show or hide a specific shipping service based on the items in the cart.
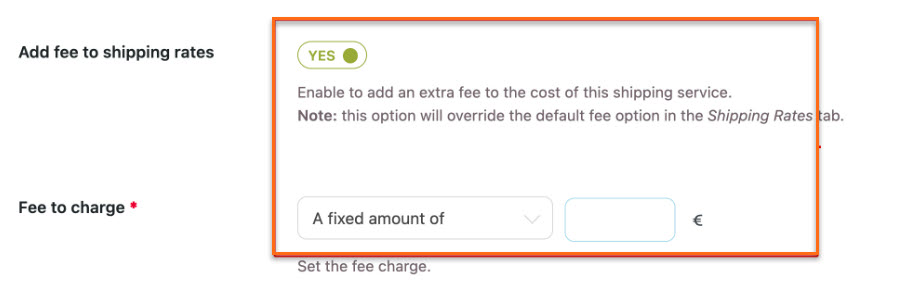
- Set the Fee to charge option if you want to charge an extra fee for the shipping services selected.
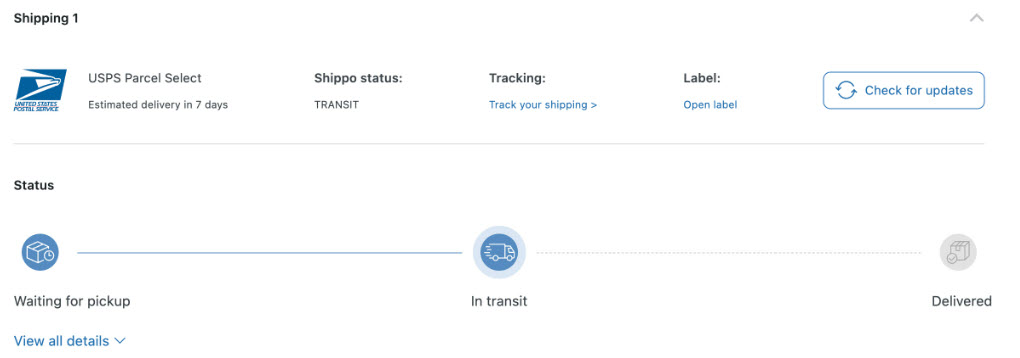
Shipping Tracking Options
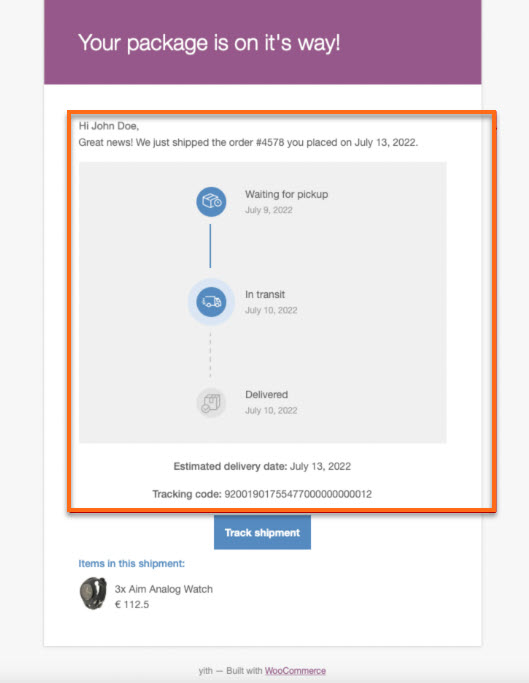
Shipping tracking allows customers to track the status of their orders during shipping.
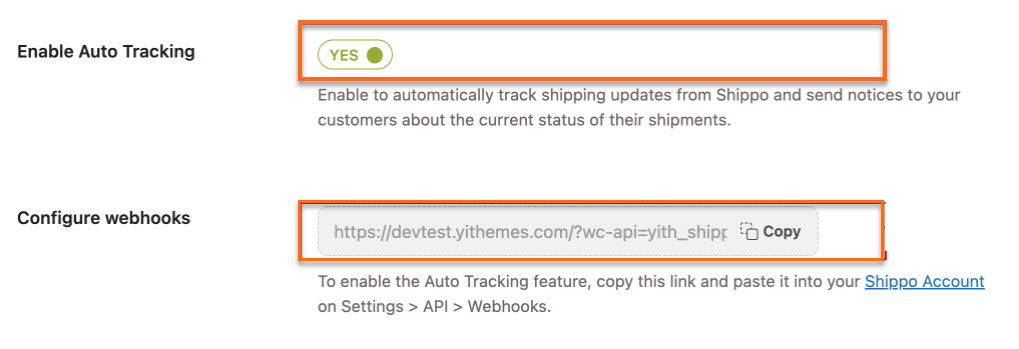
- Enable the Auto Tracking feature - Set this feature to see Shippo's current shipping status. The customer will receive updates about the current status of their shipments. To activate this option, you need to get the code and add it to your Shippo account (Settings » API » Webhooks).
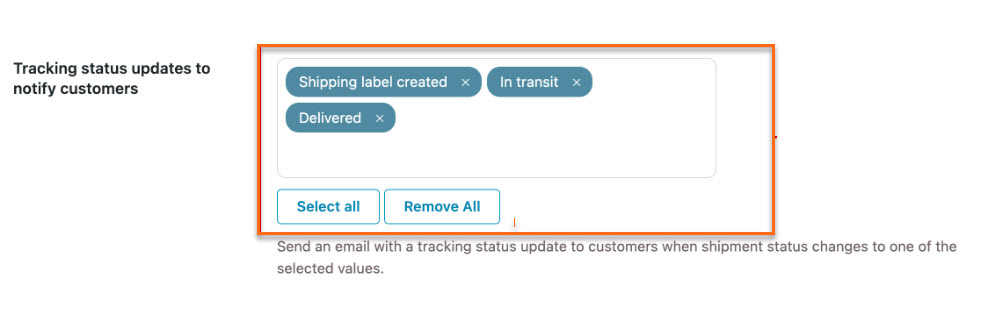
- Tracking status updates to notify customers - Select up to 24 shipping statuses to notify your customers via email about their shipping updates.
- Complete orders with this tracking status - You can choose which shipping status you want to set as Completed for the related order.
Setting Default Parcel Adjustments
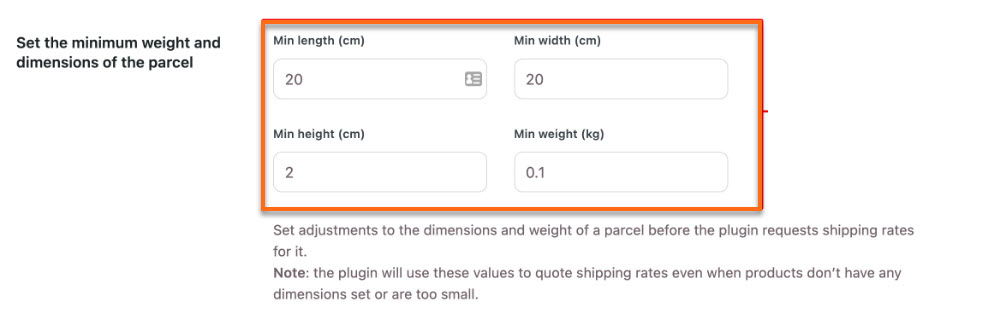
- In the Parcel Packing » Parcel Adjustments tab, you can set minimum weight and dimensions of the parcels. These values are required for accurate shipping rate quotes and will be used for products without weight or dimensions set.
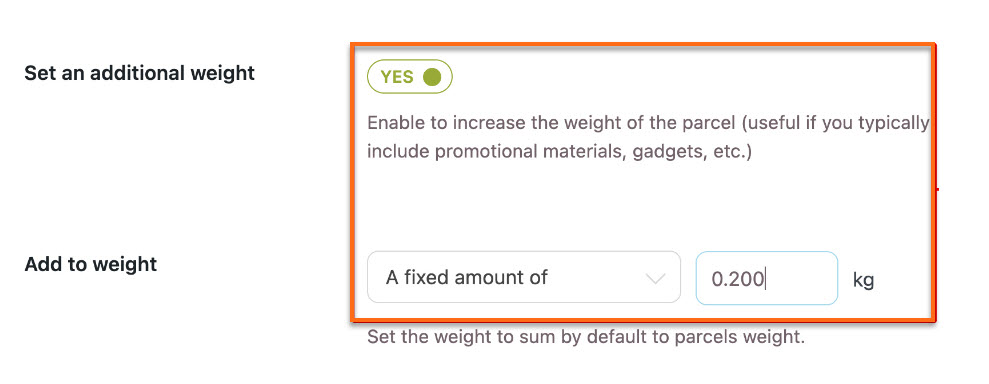
- You can also add an additional weight to all your parcels in the Parcel Packing » Parcel Adjustments tab. This is helpful if you include items like gadgets, flyers, instructions, or promotional materials in all your parcels. You can set this weight as a fixed amount or a percentage.
Setting the Boxes to Use to Ship Products
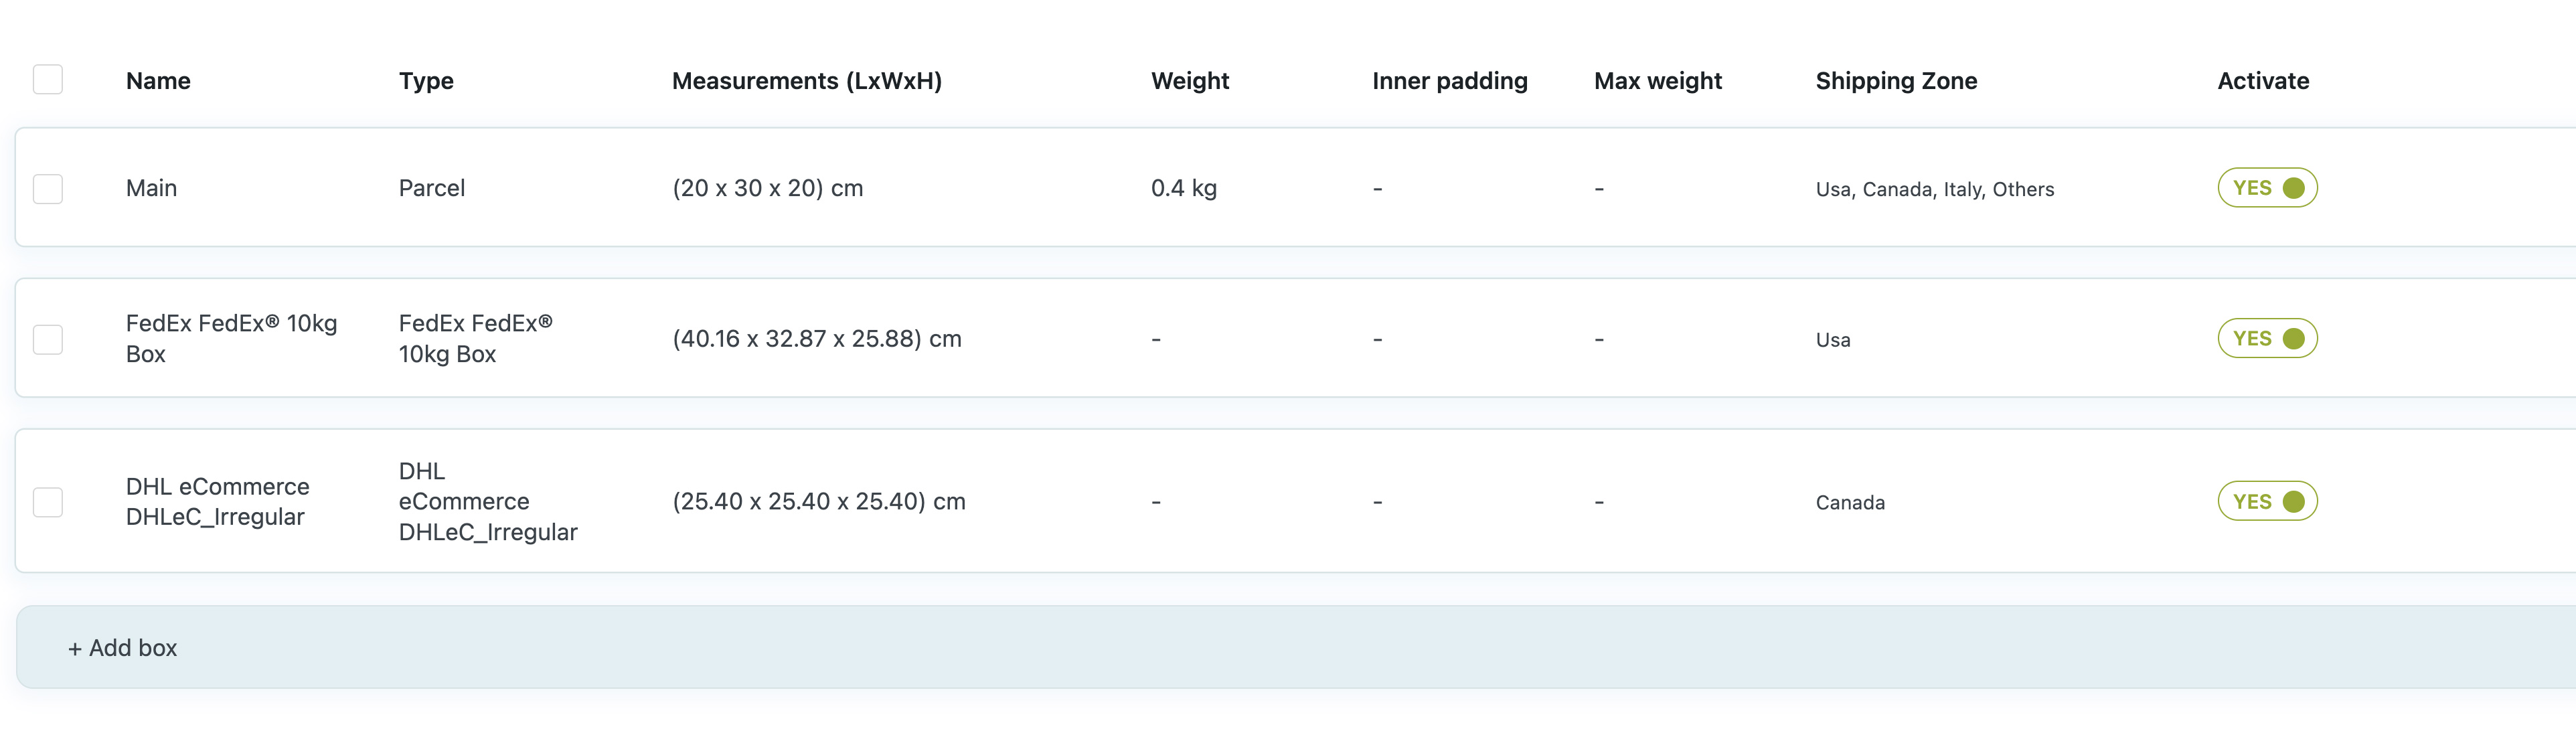
- In the Parcel Packing » Parcel Boxes tab, you can configure the table with the boxes you will use to ship your items.
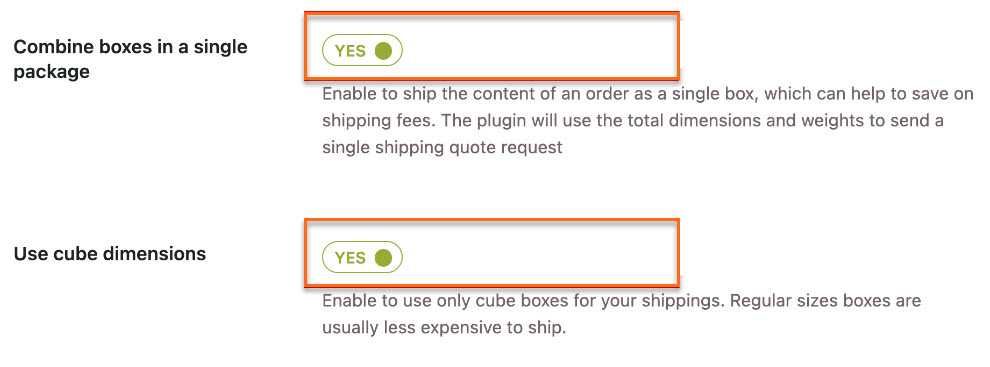
- Combine boxes in the Extra Options section for accurate and cost-saving shipping quotes.
- To minimize shipping costs, enable the use of cube dimensions when combining boxes in a single shipment. This calculates equal dimensions for boxes based on volume since irregularly sized boxes are more expensive to ship.
Setting the Default Info about the Content of Shipments
- In the Parcel Packing » Postage Options section, enter default shipment info for customs declarations. Override it for each order.
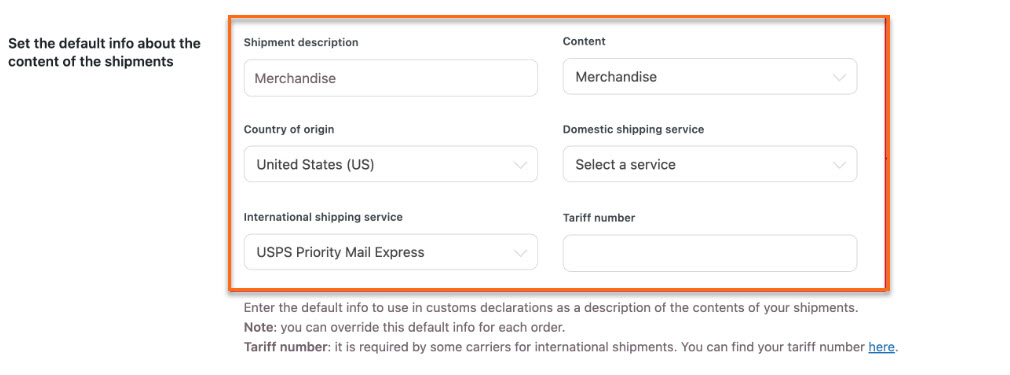
- Some carriers require a tariff number for international shipments. You can find your tariff number on the HTS website. Make sure your products are shipped correctly. Set the appropriate tariff number on each product if you sell different products in your store.
Setting the Correct Info in Products
For the plugin to work properly, enter the correct info for all products you sell and ship.
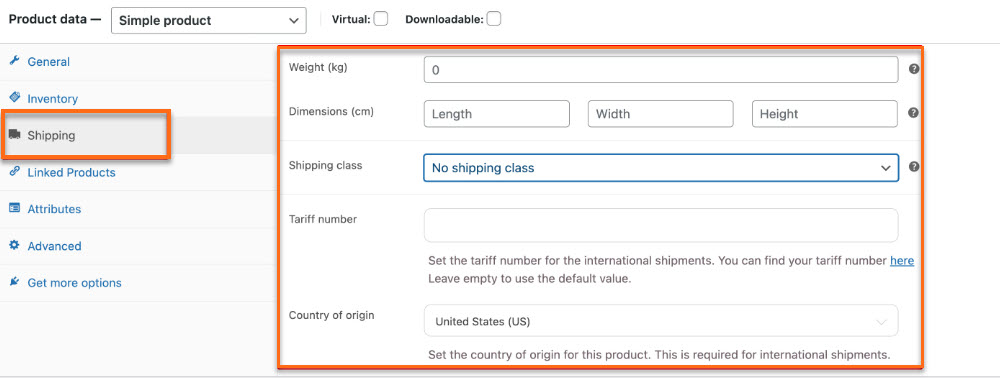
In the Product Data section's Shipping tab, you should:
- Set the correct weight and dimensions for the product.
- Enter the correct tariff number (required for international shipping)
- Set the country of origin.
Creating a Shipment for an Order
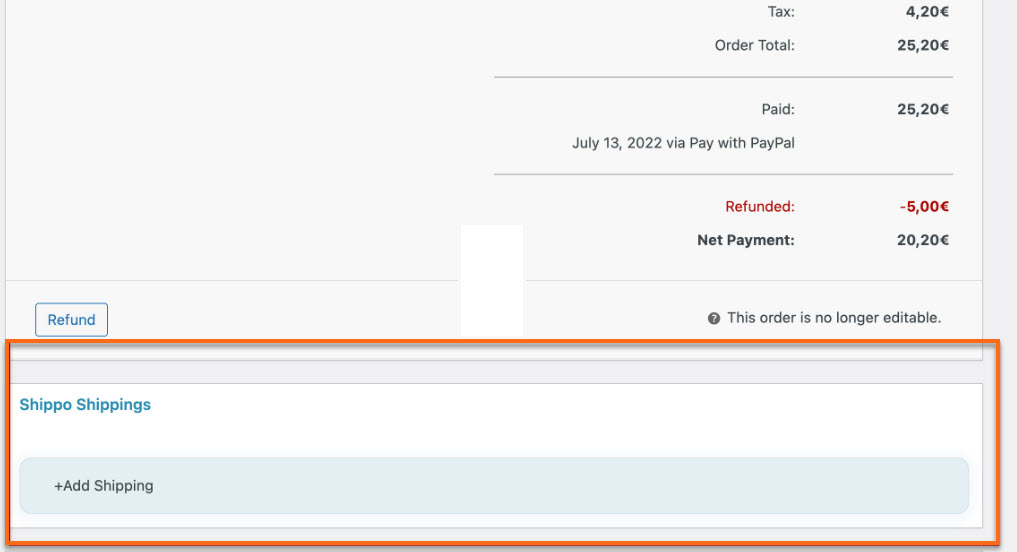
- Find the Shippo shipping section below the order details.
-
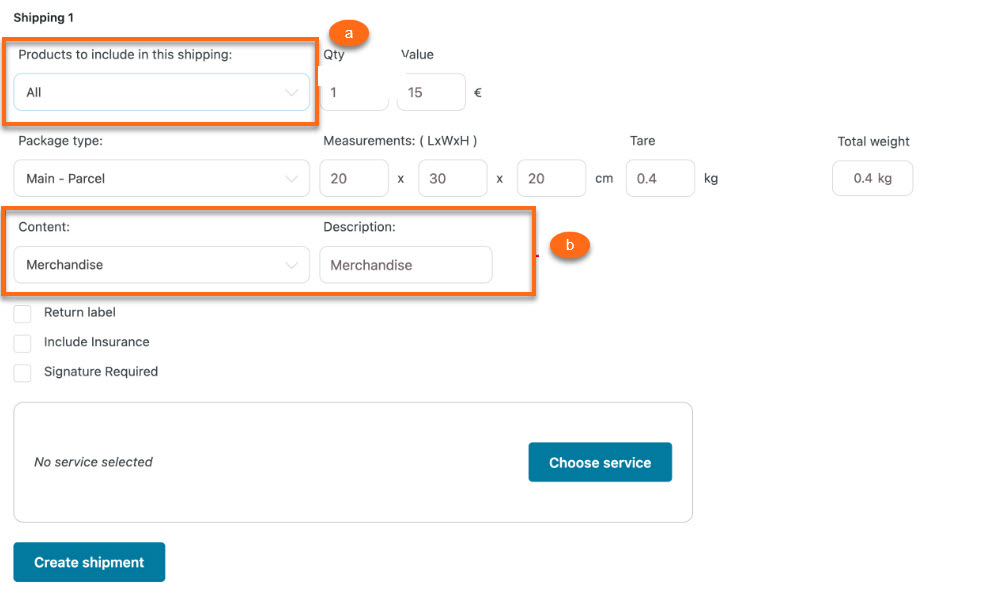
To create a shipping for the related order, click the +Add shipping button. You can do the following:
- Enable if you want to include a specific or all products in this shipping.
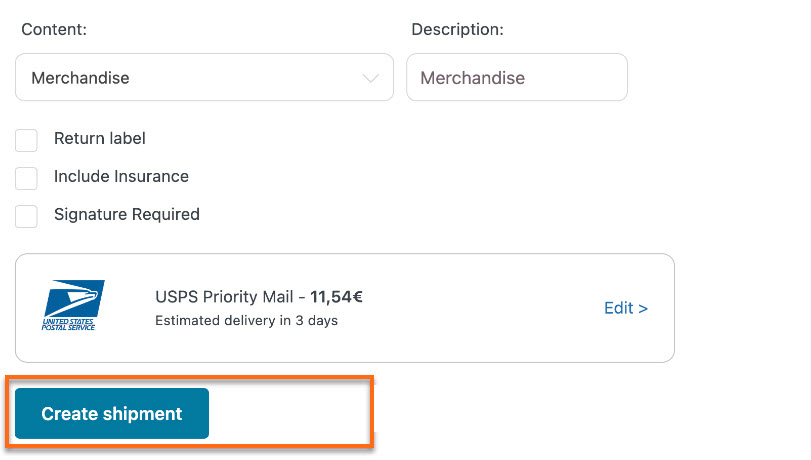
- Enable the package type and set the content and description.
-
Select the following items if you want to see only shipping services that include return labels, insurance, and signature.
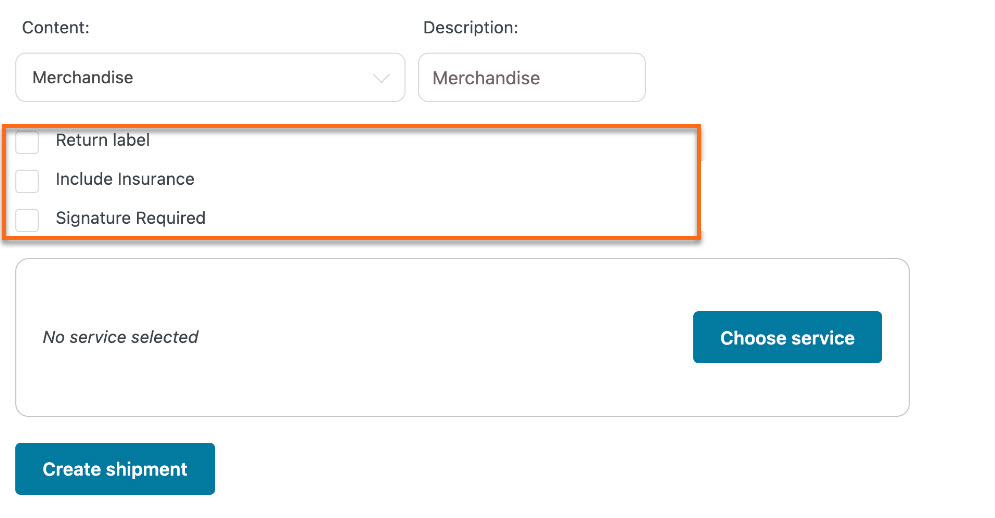
-
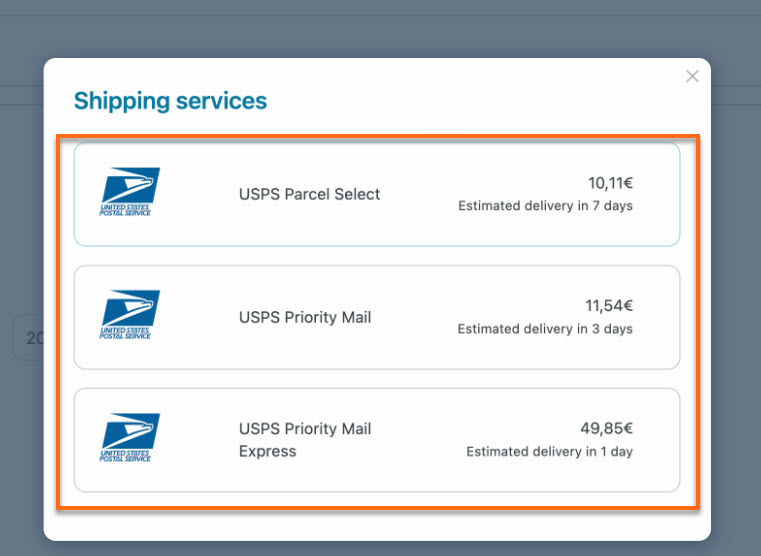
To view the list of available services, click the Choose Service button.
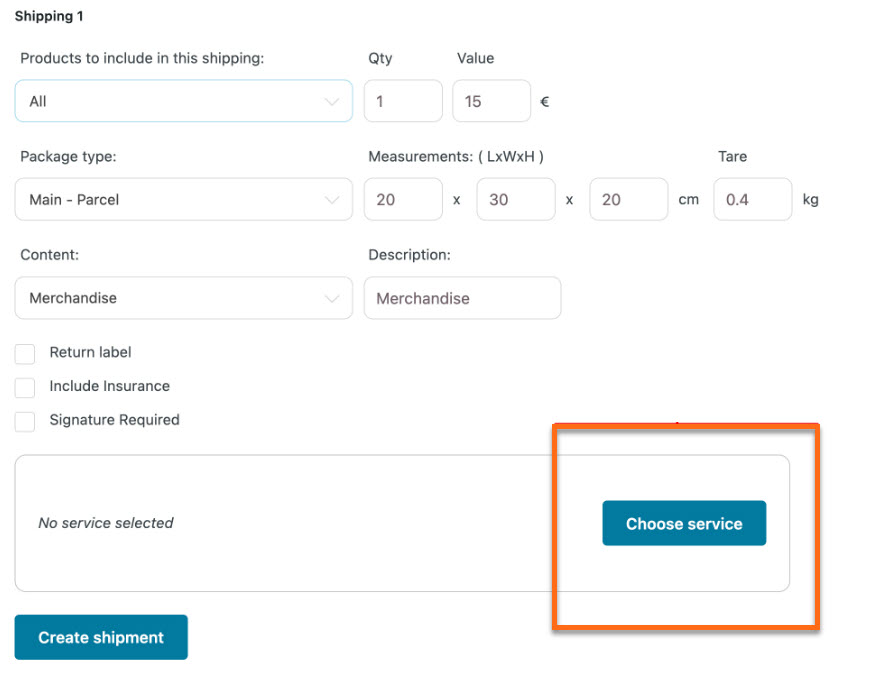
- The price and the estimated delivery time for each service will be displayed.
- Click on the Create shipment button.
- You can pay for the shipment by clicking the Pay button.

- After payment, you can track and check all shipping information.