YITH PayPal Payments (WooCommerce)
YITH Payments for WooCommerce allows you to accept your store's PayPal and credit card payments. To use it, you need a PayPal business account. Sign up on PayPal before proceeding.
This article will discuss the following topics:
- How to Install the WooCommerce PayPal Payments Plugin ⤵
- How to Connect a PayPal Account ⤵
- PayPal Payments Options ⤵
- PayPal Button Options ⤵
- Credit Card Payment Option ⤵
Additionally, HostGator offers YITH WooCommerce products through the Marketplace in your Customer Portal. To learn how to add these products to your WordPress website, please visit the following article.
How to Install the WooCommerce PayPal Payments Plugin
To get started, we need to make sure that the WooCommerce PayPal Payments plugin is installed.
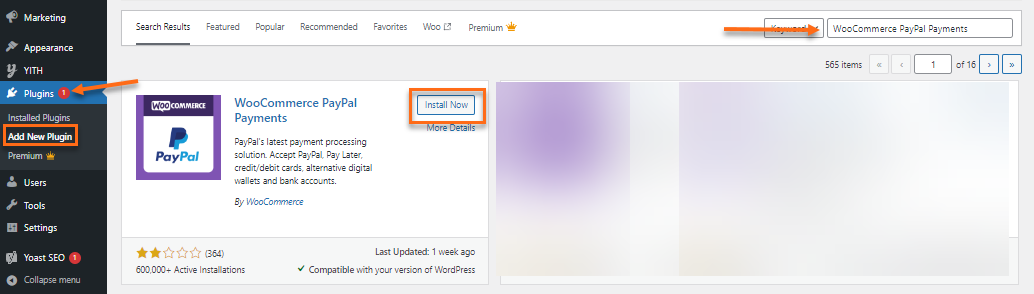
- Go to Plugins and then click Add New Plugin.
- Search for the WooCommerce PayPal Payments plugin.
- Click Install Now.
- Click Activate.
How to Connect a PayPal Account
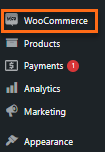
- Go to the WoooCommerce tab in the WordPress dashboard.
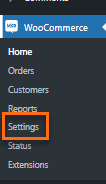
- Click Settings.
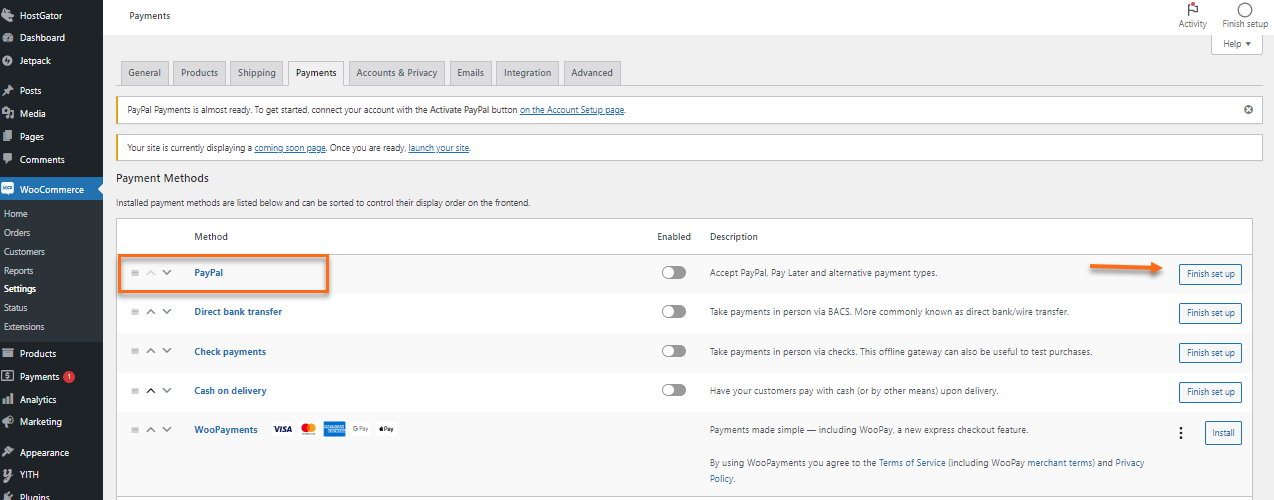
- On the right pane, click the Payments tab.

- The next page will show all available payment methods. Select PayPal from the list and then click the Finish set up button.
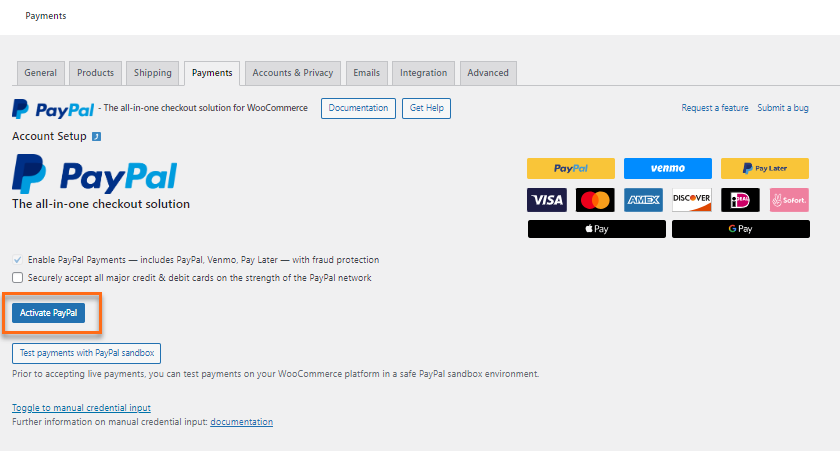
- Click the Activate PayPal button.
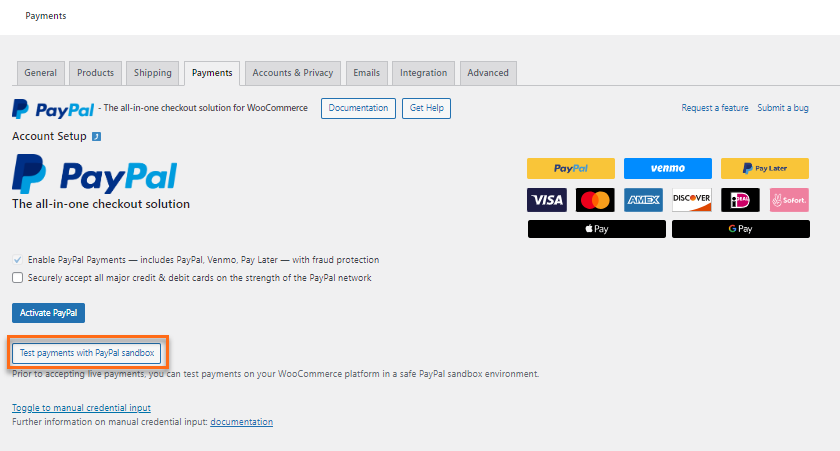
- Click the Test Payments with PayPal sandbox button to test payments before accepting them on your WooCommerce shop.
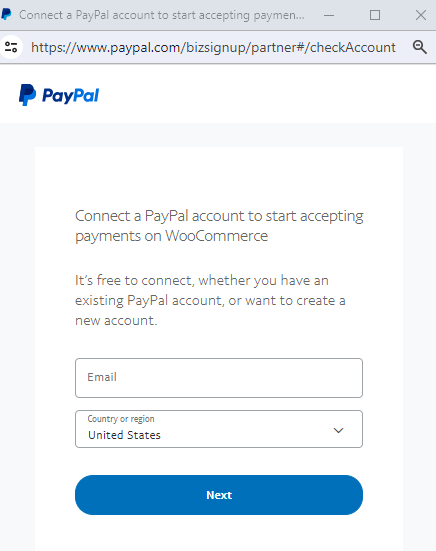
- A new window will open. You will be prompted to enter the PayPal account credentials (address and password associated with your PayPal account).
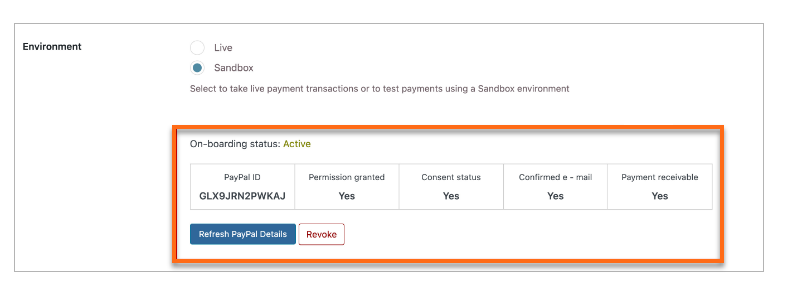
- Once the account is successfully connected, you will be able to set up the plugin.
PayPal Payments Options
In the Settings tab, there are options related to the plugin's configuration.
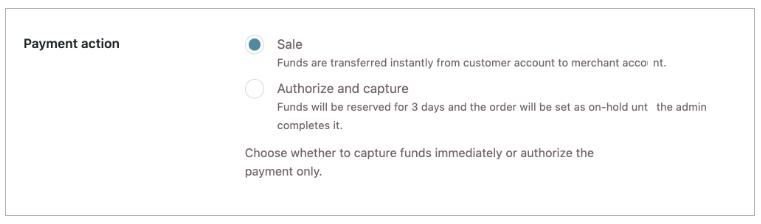
- Select the Payment Options - You can choose between:
- Sale - The funds will automatically transferred from the customer account to a merchant account.
- Authorize and capture - The admin needs to complete the transaction. The fund will be on reserved status for three days, and the product is set to be on hold.
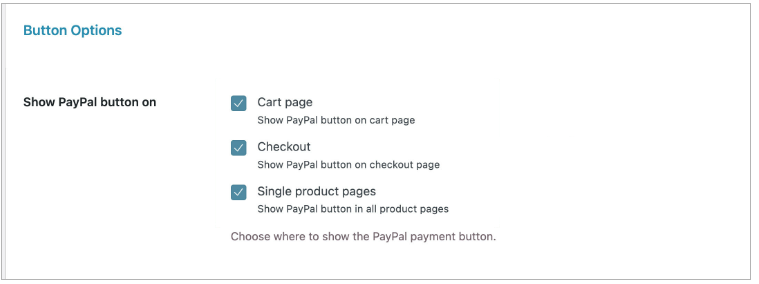
- Set up Show PayPal button - You can choose to set up the payment button on the Cart, Checkout, and Product pages.
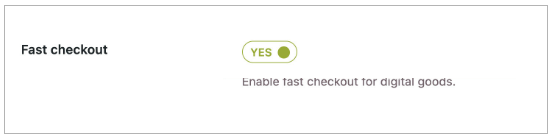
- Enable Fast Checkout - Display the PayPal button on the Cart and/or Single product page to enable Fast Checkout for digital goods. This allows customers to pay for products directly from those pages without visiting the standard Checkout page.
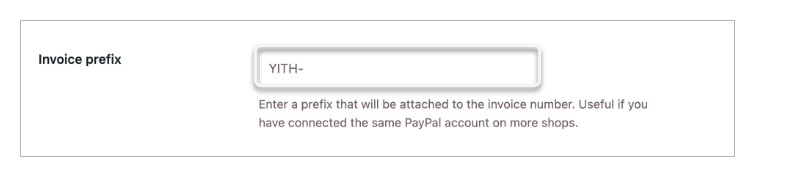
- Invoice Prefix- Add a unique prefix to each store's PayPal account to easily identify payments and keep records organized for multiple stores connected to the same account.
PayPal Button Options
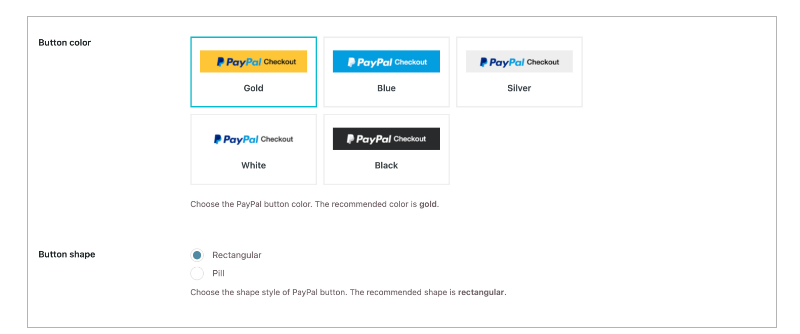
Customize your payment button on the Checkout and product pages. Go to the Button tab to adjust the color, size, and shape, and add custom text or images.
- Navigate to the Button options tab to choose the shape and color of your payment button.
- In the Additional Payments buttons, select the alternative payment to appear by default in the PayPal wallet.
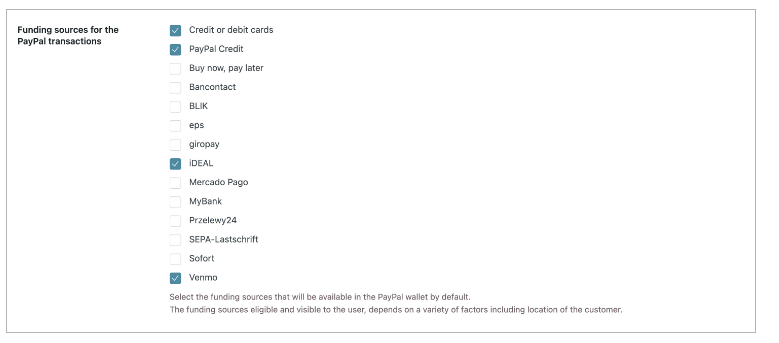
- Enabling certain sources will cause an additional button to appear alongside the PayPal option.
- Enabling certain sources will cause an additional button to appear alongside the PayPal option.
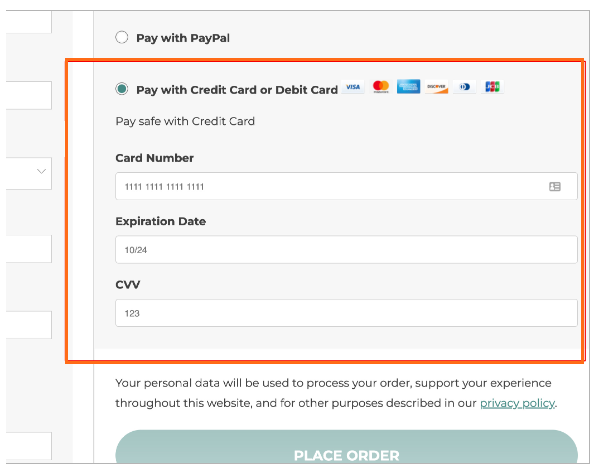
Credit Card Payment Options
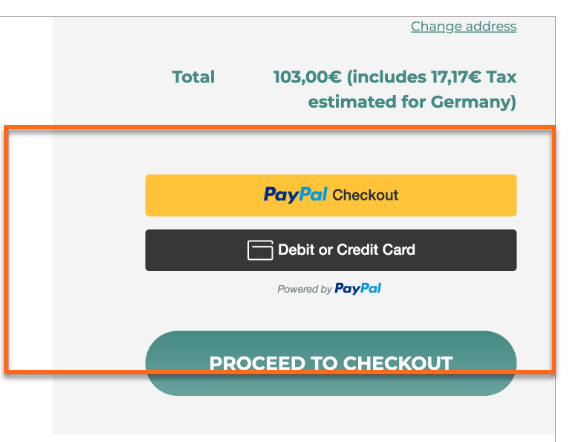
Enable credit card payments in the Custom Credit Card tab of the WooCommerce PayPal Payments plugin to provide your customers with a convenient and secure way to pay during checkout.
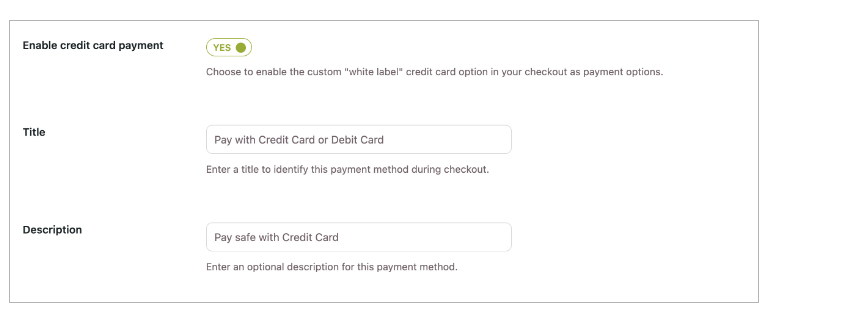
For example, the checkout page has a credit card payment option enabled in the WooCommerce PayPal Payments plugin.