Guide to WordPress Pages and Posts
Post over pages? Or pages over posts? Creating content for your WordPress website may be challenging, especially with pages and posts being similar at first glance. However, learning the differences between the two saves time thinking about what to use when creating content. Remember that creating content with the correct structure is important as specific functions and features are associated with a page or a post.
What's the difference between a page and a post?
WordPress, by default, comes with 2 different content types - a page and a post.
- Page - Use a page if you need to create static or informational content that will not change. Pages are where we store content, such as forms and galleries. The best examples are the About or Contact Us pages of a website.*
- Post - If you need to create dynamic news, announcement, or blog content, use a post. The posts, by default, are arranged in reverse chronological order, with the newest one showing at the top of the list.*
* See more details in the Pages and Posts section below.
This article will discuss how to add a page or blog post and how to manage them. The steps are quite similar, with a few differences in their functionalities. Click the links to know more about the following topics:
- Creating a new page or post ⤵
- Managing a page or post ⤵
- Customizing a post ⤵
- Pages or Posts? ⤵
- Additional Information ⤵
Here is a video we created to guide you in creating and managing your WordPress page or post.
Creating a new page or post
To create a new page or post:
- Log in to your WordPress dashboard.
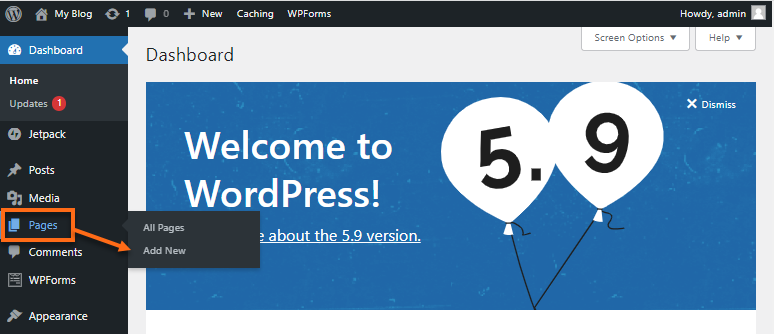
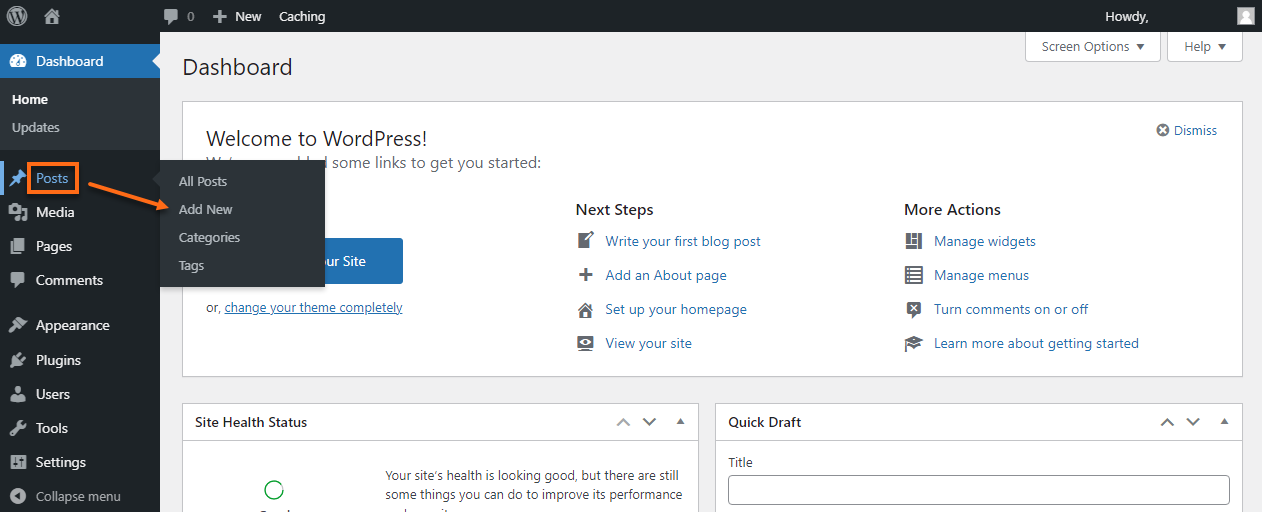
- In the left-hand side menu, hover over Pages or Posts and click Add New.
Pages:
Posts:
- Alternatively, click on the '+ New' icon in the header. You can choose to select Page or Post.
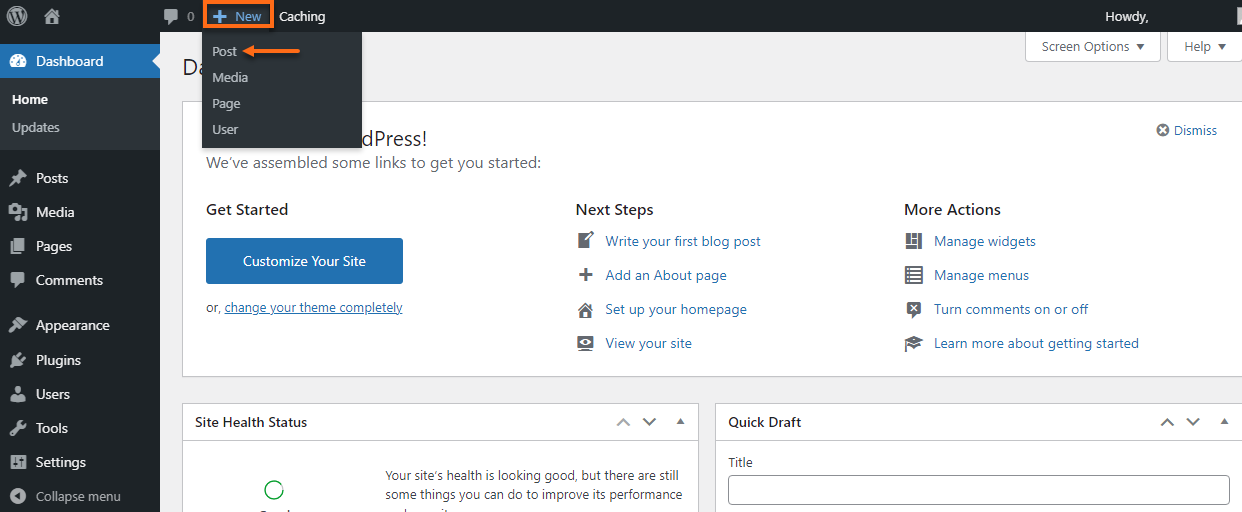
- Alternatively, click on the '+ New' icon in the header. You can choose to select Page or Post.
Managing a page or post
In this section, we will discuss the following:
Adding title and content
The page or post's title and content are essential to the website's Search Engine Optimization (SEO).
To add title and content:
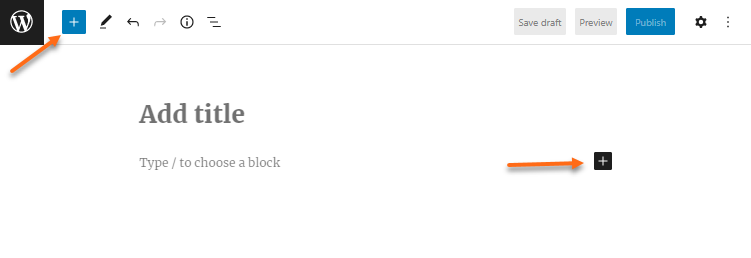
- At the top, enter your post's title.
- Right below the title field, add any content using blocks. If you're starting with a text, begin writing.
- Click on the + (Inserter) icon next to the WordPress logo on the top left or the + icon in the workspace area to add other blocks.
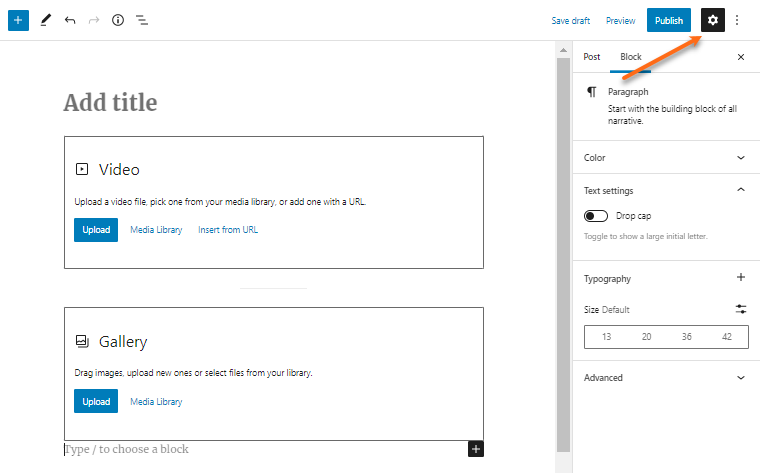
- There are blocks for all common content types, including a Colum, Heading, and Paragraph. You can also add widgets with these blocks, such as Search and Latest Comments. Blocks designed to embed third-party content are also available.
- Click the cog icon in the top-right corner, then select the Block tab for more editing options.
Adding images, videos, & other media
There are two block options for images – Image for a single upload and Gallery for multiple images.
To add images, videos, or other media:
- Option 1: Click and drag the media directly from your computer into the chosen block (Image block, for example).
- If you want to have a text and image next to each other, you can use the Media & Text block. This helps wrap texts around the image.
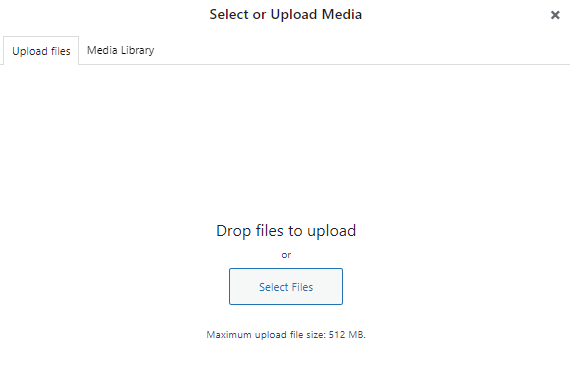
- Option 2: Another way to use images in an Image block is to Upload files or select images from your Media Library.
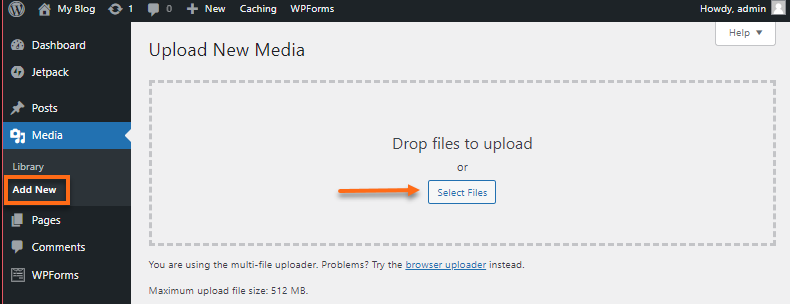
- Option 3: You can also add a new image by going to the Dashboard, selecting Media from the left-hand menu, and clicking Add New, then Select Files.
To edit an image, video, or gallery:
- Select the media's block within a page or blog post. The format toolbar at the top of the block will appear.
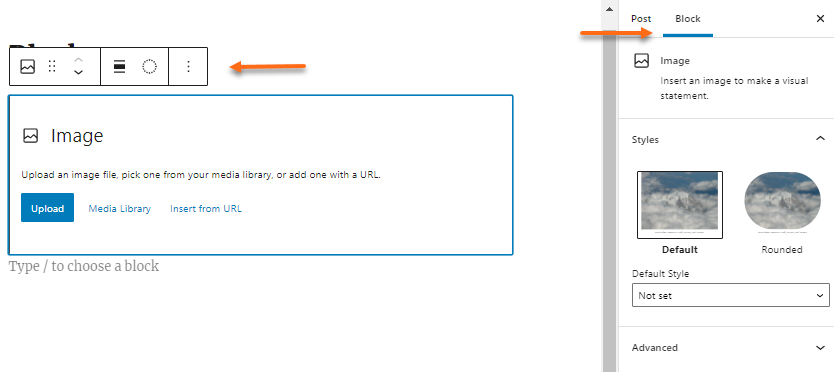
- More editing options will be displayed on the right-hand side under the Block tab.
To add a featured image:
A featured image is a picture that will show on search engines when sharing the blog post on social media. It attracts visitors, improves SEO rankings, and increases content value.
- Select one of your pages or blog posts, then click the Page or Post tab.
- Scroll down the sidebar to the Featured image.

- Click the Set featured image field. You'll be redirected to the Media Library, where you can select an image or upload a new image.
Page or post tab settings
More settings can be found in the right-hand sidebar. Here are the options when you click the Page or Post tabs.
| Settings | Description |
|---|---|
| Status and visibility |
You can change who can see the content by updating the Visibility option in the Post tab settings. Click the link Public next to Visibility under Status & Visibility.
Once you are done updating your post or page visibility settings, make sure to click the Update or Publish button to push the changes live. |
| Changing post URL slug or permalinks |
Permalinks or slug or URL slug are the blog post URLs found after the backslash of your domain name and are auto-generated by default based on the post title. This can be edited on the Permalinks under the Post settings. |
| Adding categories and tags |
The Block Editor allows you to sort posts into categories and tags, which helps viewers to find the topic or article they're looking for. The categories and tags meta are located under the Post tab on the right sidebar. |
| Adding excerpts |
Sometimes, the title and featured image are not enough to attract the viewers' attention. An excerpt is a teaser or post used to convince viewers to read further. Click on the cog icon, look for Excerpt under the Post tab, and write in the box. |
| Choosing the author |
You can change a post's author and assign it to a different author. The option to change the author is under the Post tab's Status and Visibility in the right sidebar. |
| Turning comments on or off |
The Block Editor comes with a built-in commenting system that allows users to leave comments on your blog post. You can turn off comments for individual posts from the Discussion section under the Post tab. |
Customizing a post
Now that you have created a blog post, let us go over some of the features you can use to manage and customize them further. These options are located under Posts in the left-side menu of the WordPress dashboard.
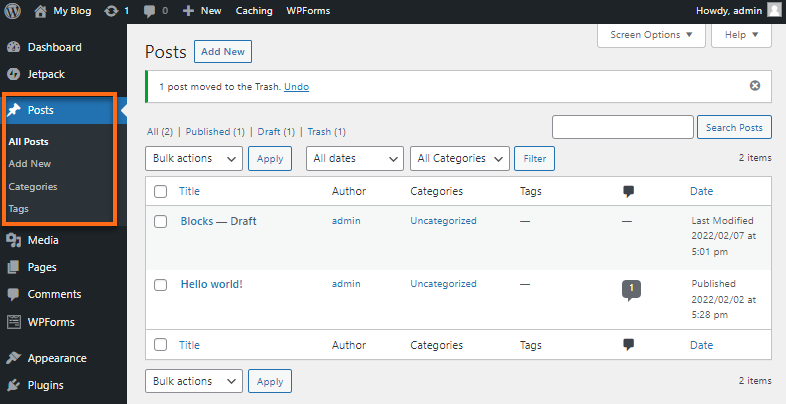
- All Posts - This will show you all of the posts created on the WordPress website. It provides a quick outline and lists each post title, author, assigned category, tags, comments, and date published or last modified. You can customize what items are displayed for a post by clicking the Screen Options in the upper right-hand corner.
- Add New - This is what you use to add new posts.
- Categories - The Categories option allows you to categorize your posts as you see fit. You can choose the name of your category, customize how the URL looks, and even create parent categories. To clarify parent categories, you can have the main category of 'Houses' and sub-categories underneath that (referred to as child categories), such as 'Cabins,' 'Apartments,' 'Mobile Homes,' etc. A post can be assigned to multiple categories as well. For example, you might have an apartment with a cabin that you could assign to both categories. Categories are a broad way of structuring one's posts and making it easier for viewers to find the content they are looking to read.
- Tags - Tags are used on posts to focus on a specific topic, unlike categories that could have an extensive range of topics and items. For example, in the category 'Movies,' you could tag a post with 'Drama' and 'Academy Award Winning' to further outline the post's contents. Tags are useful in organizing your content and helping your viewers find what they're looking for.
Pages or Posts?
Depending on your website, you can both have pages and posts which have their own functionalities and uses.
Pages
Pages contain information that does not often change; that's why they're called "static." The Terms and Conditions, the About, and Contact Us are a few examples of pages. These are typically located in your website's main navigation menu so your viewers can find them with ease.
Posts
Using a post creates dynamic content that allows the reader to search through the various post articles and categories created. The posts are what make up a blog. Essentially, a blog is an online diary or journal of information. It is displayed in chronological order, with the most recent entry appearing first.
Key differences
We have highlighted the key differences between a page and a (blog) post. Check out the table below.
| Pages | Posts | |
|---|---|---|
| How often do you make updates? | Pages are rarely changed (though you may still edit some parts from time to time). | The blog posts are typically updated often with new posts. |
| There's a saying that goes like this, "Posts are timely while Pages are timeless." | ||
| How to include details, such as publication date and author? | Pages do not show their publication date or their author. They are universal. | Posts can be personalized and include details, such as the author's name (this may change if you have contributors on the site) and publication date. |
| What can you do to organize your website's content? | Pages do not use categories. You may search for a plugin to add them, of course. With pages, you can organize hierarchically, meaning you can have parent and subpages (child pages). | Posts can be categorized into groups with similar content, which is very helpful in making your content organized, and it's easier for visitors to find what they're searching for. |
| Are you looking into using social media to establish your online presence? | Pages cannot be shared on social media. For example, your About or Terms and Conditions pages are not supposed to be shared on social media platforms. | Posts can be shared on social media. Social media buttons can be used to share your posts. This is one way of increasing traffic to your site. |
Additional Information
Are you new to WordPress, or would you like to familiarize yourself with the basics and how-tos in WordPress? We've got you covered! Here are the links to our "Building your First WordPress Website" videos to get you started.
- How to Choose and Install a WordPress Theme - Ep 1 Workin' with WordPress
- How to Customize a WordPress Theme - Ep 2 Workin' with WordPress
- How to Create and Edit a Page in WordPress - Ep 3 Workin' with WordPress
- WordPress Navigation Menu and Widgets - Ep 4 Workin' with WordPress
- Building your Homepage with WordPress Block Editor - Ep 5 Workin' with WordPress
- How to Install and Activate WordPress Plugins - Ep 6 Workin' with WordPress
- How to Create WordPress Blog Post - Ep 7 Workin' with WordPress
- How to Build an Online Store with WooCommerce - Ep 8 Workin' with WordPress