How to Install and Uninstall WordPress Plugins
There are several ways to install a WordPress plugin via the WordPress Dashboard—either by using the plugin search or uploading a plugin .zip file. You can also manually install WordPress plugins via FTP by placing the plugin folder inside your site’s wp‑content/plugins directory.
This article discusses the following topics:
- Install a WordPress plugin via the WordPress dashboard ⤵
- Install a WordPress Plugin manually via FTP ⤵
- Deactivate a WordPress plugin ⤵
- Uninstall a WordPress plugin permanently ⤵
- Remove extra files added by WordPress plugin ⤵
Install a WordPress plugin via the WordPress dashboard
There are two options for installing and activating WordPress plugins. You may also watch our webinar about WordPress plugins below.
- Option 1: WordPress Admin Plugin Search ⤵
- Option 2: WordPress Admin Plugin Upload ⤵
- Video Tutorial (WordPress Plugins and Widgets) ⤵
Option 1: WordPress Admin Plugin Search
- Go to your WordPress admin panel.
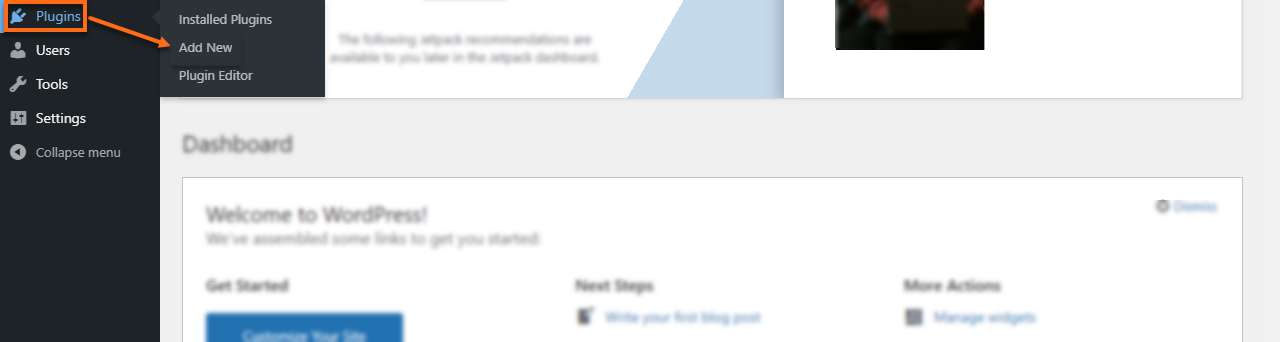
- On the left-side menu, click Plugins, then select Add New.
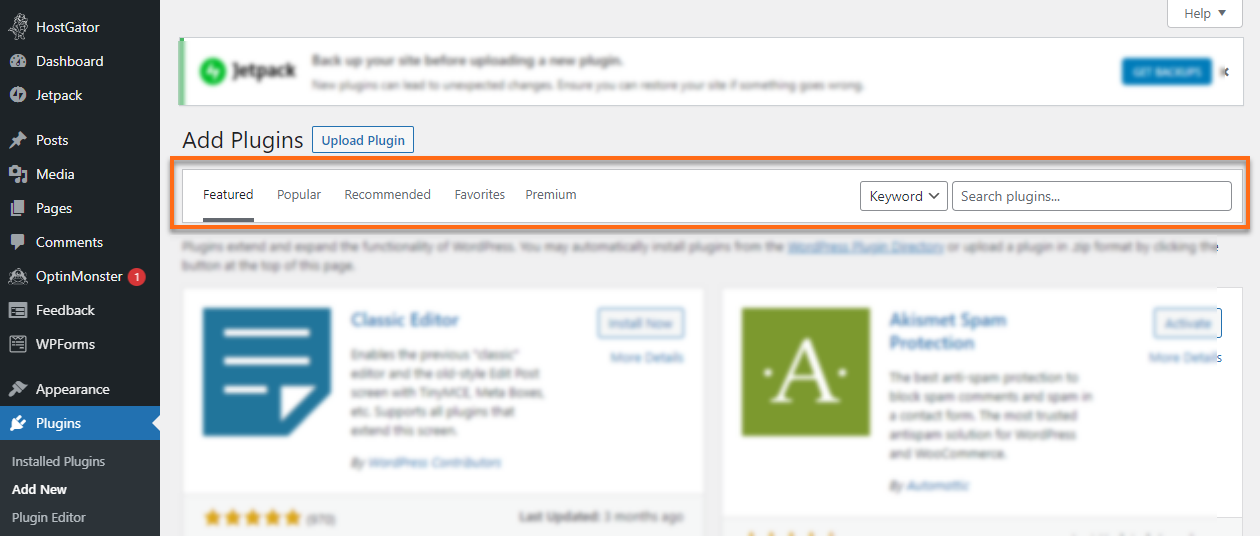
- Using the Search field, type in the name of the WordPress plugin. To narrow your search, you can select options from the Keyword dropdown, then type a descriptive keyword, author, or tag in the search field. You can also use the categories tabs - Featured, Popular, Recommended, or Favorites - to search for your preferred plugin.
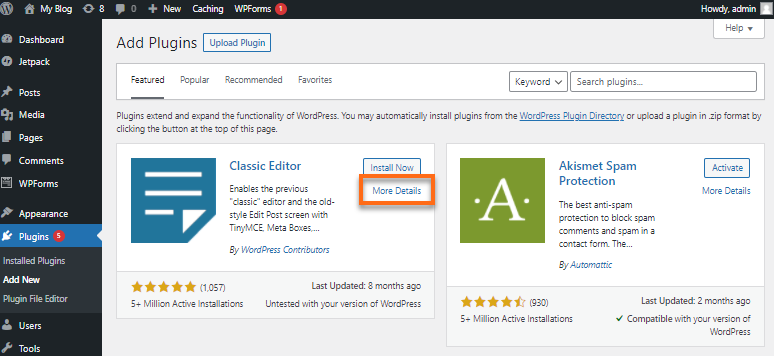
- Select your preferred plugin, then click More Details for more information about the plugin and instructions you may wish to print or save to help set up the plugin.
- Click Install Now to download and install the plugin.
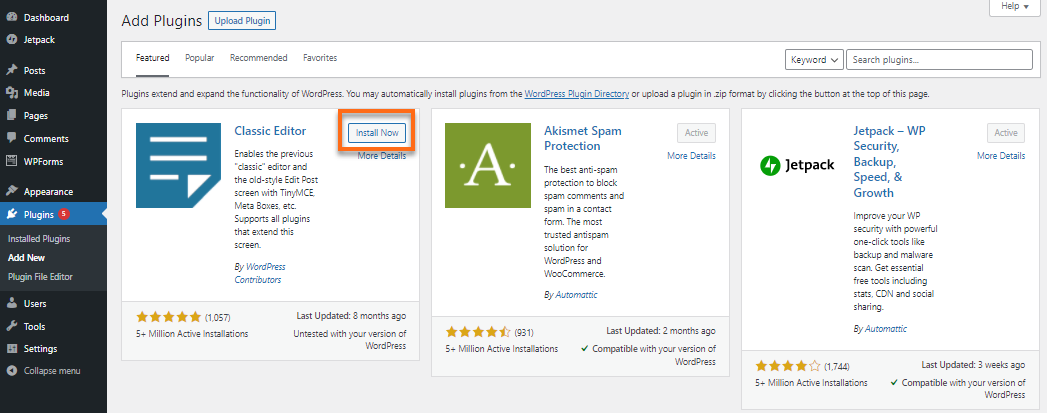
- The button will show an Installing status.
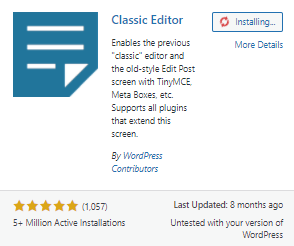
It will show Activate once installed.
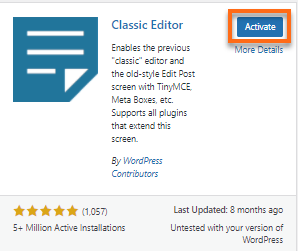
- Click Activate. Once installed, some plugins will return you to the Installed Plugins page or redirect you to a new tab to set up or begin using the new plugin.
Option 2: WordPress Admin Plugin Upload
There are some plugins, especially the paid ones, that come in a .zip file. To install this plugin, make sure that you get the complete plugin core files from a reliable source. You need to upload it to your WordPress admin area while still in a .zip file, then activate it within your dashboard.
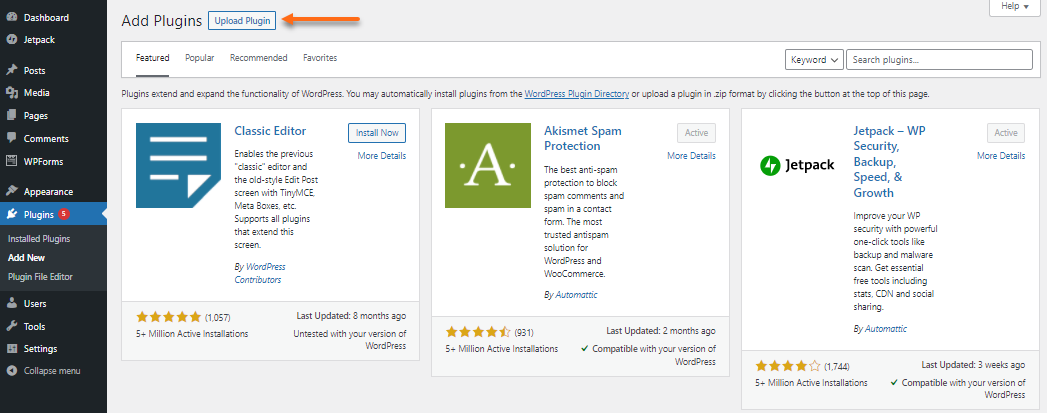
- In your WordPress dashboard, click Plugins from the left menu, then select Add New.
- Click the Upload Plugin button at the top.
- The upload form will be displayed. Click Choose File, then select the plugin's .zip file.

- Once the file is uploaded, click Install Now.
- WordPress will initiate the upload and installation of the plugin. A status message will be displayed with the Activate Plugin and Return to Plugin Installer buttons.
- Click Activate Plugin to start using the plugin.
You may need to set up or modify some settings on your plugin depending on your website's needs. These settings may vary for each plugin.
Video Tutorial
Our team created this great webinar about WordPress Plugins and Widgets. We've queued up the portion about finding and installing plugins, but you can start it from the beginning to learn that and much more!
Install a WordPress Plugin manually via FTP
Manual installation of a WordPress plugin requires FTP familiarity and the awareness that you may put your site at risk if you install a WordPress plugin that is incompatible with the current version of WordPress or if it's from an unreliable source.
- Download the WordPress plugin to your desktop.
- If downloaded as a zip file, extract the plugin folder to your desktop. This is very important as files must be extracted to be uploaded properly to the wp-content/plugins folder.
- Read through the Details "readme" file thoroughly to ensure you follow the installation instructions.
- With your FTP program, upload the plugin folder to the wp-content/plugins folder in your WordPress directory. Make sure you're in the document root of your website.
For more information on how to upload a file using an FTP client, please check out the FTP Settings and Connection and How to Transfer Files with FileZilla articles for the complete set of instructions.
- Once uploaded, log in to your WordPress dashboard.
- On the left menu, click Plugins, then select Installed Plugins to find the newly uploaded plugin in the list.
- Click the Activate button to activate it.
As always, be sure to check the readme file (usually in a .txt file) for customization instructions and further information.
Deactivate a WordPress plugin
Deactivating a plugin without permanently deleting it is usually for debugging and bug fixes, or when the plugin is not in use at the current time. It keeps your website settings and configuration just in case you decide to reactivate it.
Please note that deactivating a plugin means you are not using that plugin temporarily. Deactivated WordPress plugins can make a website vulnerable, as they can be used to run malicious code on your website. If you have no plans to use a plugin any time soon, we suggest uninstalling the plugin.
To deactivate a plugin:
- Log in to your WordPress admin panel.
- Go to Plugins.
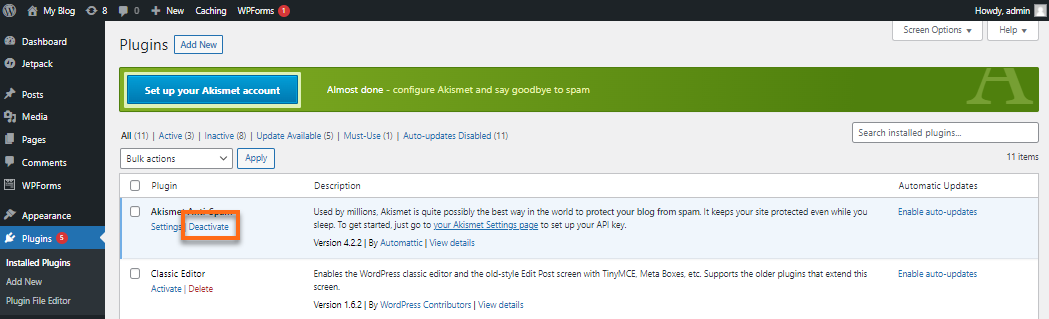
- Click Installed Plugins, then locate the plugin you wish to deactivate.

- Click Deactivate underneath the name of the plugin. The plugin will initiate the deactivation on its own.
Uninstall a WordPress plugin permanently
Most plugins can be removed by following the steps below, but you may need to check the plugin's readme file's instructions to learn how to uninstall some plugins correctly. For instance, if the WordPress plugin installation requires adding code to the WordPress theme, then you may have to edit the theme files manually.
To uninstall a plugin:
- Log in to your WordPress admin panel.
- Go to Plugins.
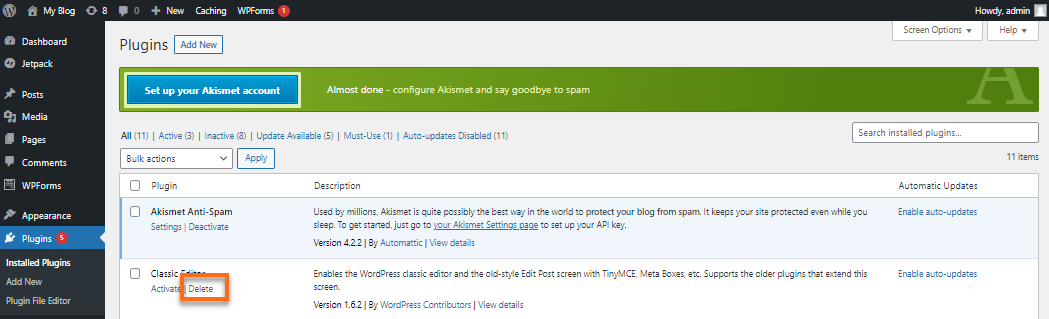
- Click Installed Plugins, then locate the plugin you want to uninstall.
- Click Delete below the plugin name.
- A pop-up warning box will appear. Click OK to proceed.

Remove extra files added by the WordPress plugin
Most of the time, uninstalling a WordPress plugin removes the plugin completely. However, there are some plugins that create files, folders, or extra databases or tables outside the plugins folder. They were already created in your server, and simply uninstalling the plugin will not delete these files. This is especially so for WordPress backup plugins and gallery plugins, which store files inside the wp-content folder. To completely remove these files, you may need to remove them manually through your File Manager or FTP.
The steps below are optional and are not recommended if you are not familiar with your WordPress core files. You would not want to make any changes to your core files if you are unaware of their use.
Option 1: via the File Manager
- Uninstall the plugin. (See instructions above.)
- Log in to your cPanel.
- Look for the File Manager icon, then navigate to your website's document root and look for the wp-content folder.
For databases, click the MySQL Databases icon. For more details, please refer to the article, How To Delete a MySQL Database. - Once the file(s) are located, select the file, then click the Delete button on the top menu, or right-click, then select Delete.
Option 2: via FTP
- Uninstall the plugin. (See instructions above.)
- Log in to your server via your FTP program.
- Look for your website's document root.
- Access the wp-content folder and locate the folders or files you need to delete.
- Delete the WordPress plugin folder and/or files from your server.
Tips for removing plugins
The following tips can help you minimize unwanted changes to your site while removing plugins:
- Upgrading WordPress may change the code, which could conflict with your WordPress theme modifications. Use a child theme or manually check the plugin's code to ensure it is still active.
- Your changes will not automatically carry over to the new theme if you change themes. You will need to copy or add them manually to the new WordPress theme (even if you use a child theme, since it is not associated with the new theme).
- Updates to the WordPress theme may remove the plugin modification code. Use a child theme or make notes to remind yourself to re-add the plugin code to the updated theme.
- As always, make sure to create a backup of your website before making ANY changes to ensure you have something to restore in case something unexpected happens. You can rely on CodeGuard, our trusted professional backup partner, as your automatic backup solution.