Setting Private Name Servers as Default to All Accounts in WHM
The following instructions will only set the nameserver entries in the DNS zones. Your customers must still update their nameservers with their registrar. Read more in the following related articles:
Reseller, VPS, and Dedicated hosting
This sets up the default nameservers for the entire server (or the entire account, if Reseller). This will only affect new accounts. Existing accounts will keep their current nameservers.
- Log in to WHM.
- Look for the Server Configuration section. The quickest way is by typing the keyword on the Search box on the left-side panel.

Alternatively, you can use the Search box at the top.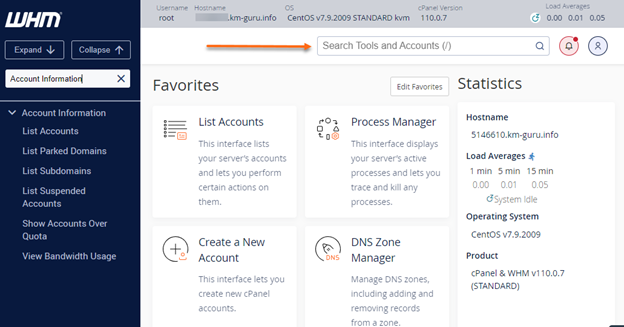
- Select Basic WebHost Manager® Setup.

- At the bottom of the interface, enter the desired name server names in the text boxes.
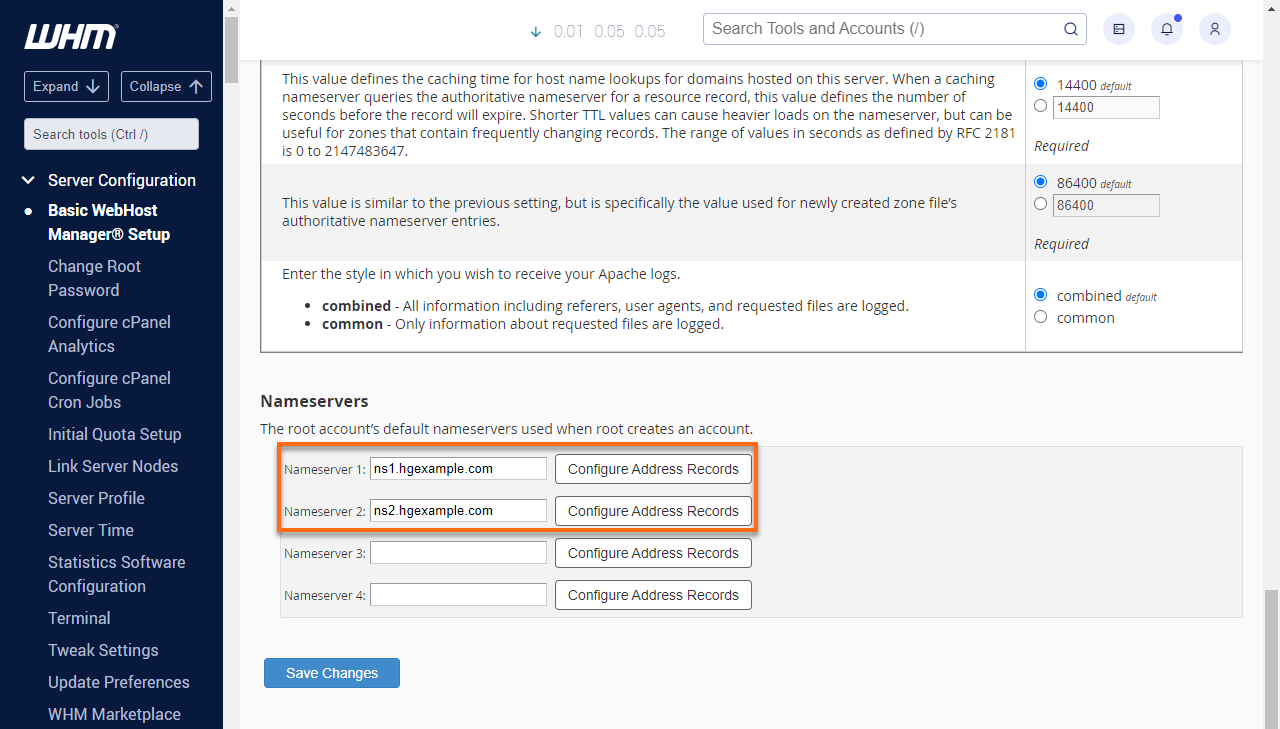
- In the Nameserver 1: field, enter your primary private name server information. For example, ns1.domain.com.
- In the Nameserver 2: field, enter your secondary private name server information. For example, ns2.domain.com.
-
Click on Save Changes.
VPS and Dedicated hosting with Reseller accounts
On Dedicated Servers and VPS, you can create reseller accounts. The following instructions will guide you in setting the default name servers on an individual reseller account created in WHM. Individual reseller accounts can have different default name servers from the default ones set for the entire server.
Like the default name servers for the entire server, this will only affect new accounts. Existing accounts will keep their current name servers.
- Log in to WHM.
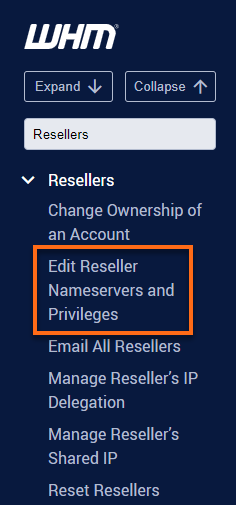
- Look for the Reseller section in the category list and click Edit Reseller Nameservers and Privileges.
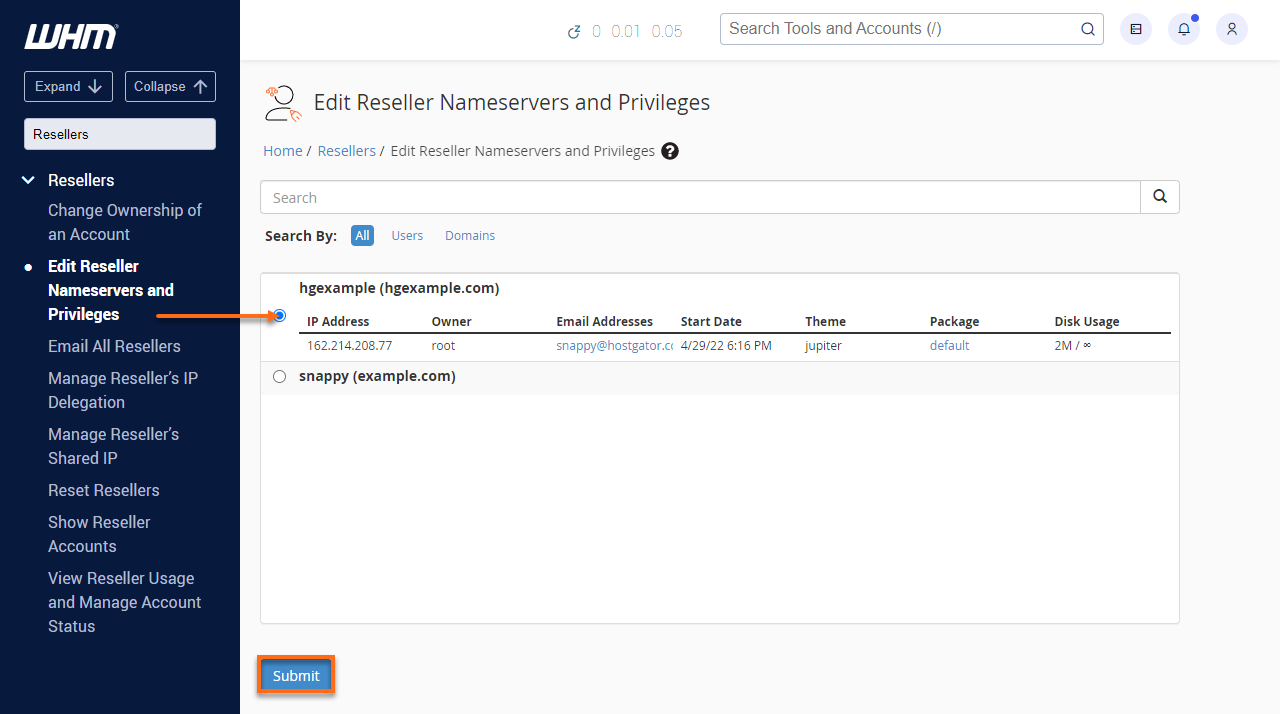
- Select the user/domain from the list and click Submit.
- Scroll down to the Nameservers section and select Explicitly Set the Nameservers.
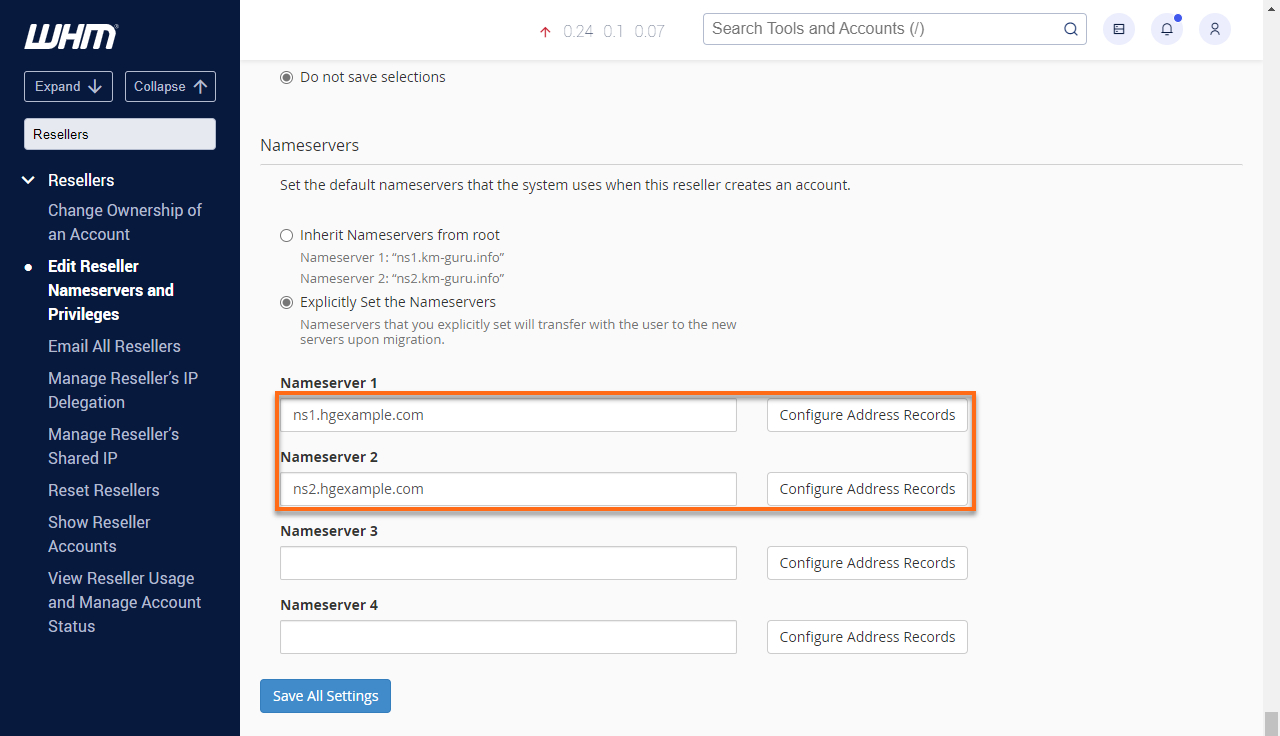
- Replace the information after Nameserver 1: field with your primary private name server—for example, ns1.domain.com.
- Replace the information after Nameserver 2: with your secondary private name server—for example, ns2.domain.com.
- Click Save All Settings.