Knowledge Base
Categories: Weebly
Adding a Divider in Weebly
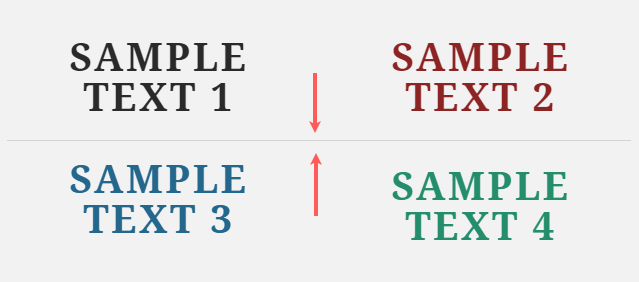
The Divider element allows you to add a horizontal line divider between elements on your Weebly webpage, emphasizing that particular section. While Weebly does not offer a vertical divider by default, its drag-and-drop horizontal dividers can make your contents look neat and organized.
Example:
How to Use the Divider Element
To add a Divider element:
- Log in to your Weebly homepage.
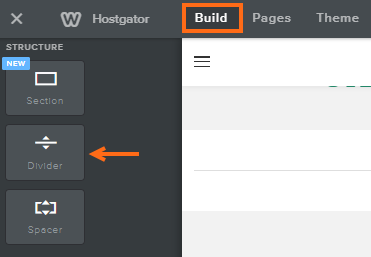
- Under the Build tab, locate the Structure section from the left-side menu.
- Drag the Divider element on your workspace.
- Once you select the Divider element, you will see three options:

 - Click the arrow icon on the left side to copy or move the Divider element to other pages of your Weebly website.
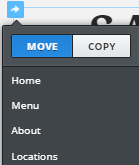
 - This icon enables you to move the Divider on your workspace.
 - This icon allows you to delete the Divider.
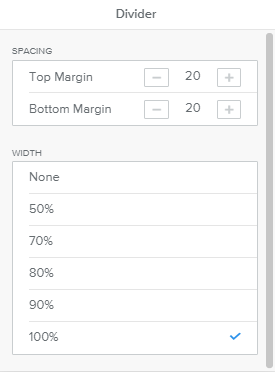
- Click the Divider element to see more options for customizing its spacing and width.
- Once done, you may want to check your site's mobile version to view how the dividers look on mobile devices.
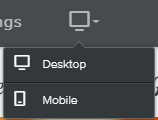
To check the mobile version of your website:
- On your Weebly homepage, click the monitor icon on the top menu.

- Select Mobile.
- On your Weebly homepage, click the monitor icon on the top menu.
- Click the Publish button located in the top right corner to save your changes.
Additional Resources
Did you find this article helpful?