How to Configure your WordPress Coming Soon page
While you're building your WordPress website, it's important to enable the WordPress Coming Soon page for visitors. This temporary WordPress landing page can be activated using the HostGator plugin within your WordPress Dashboard.
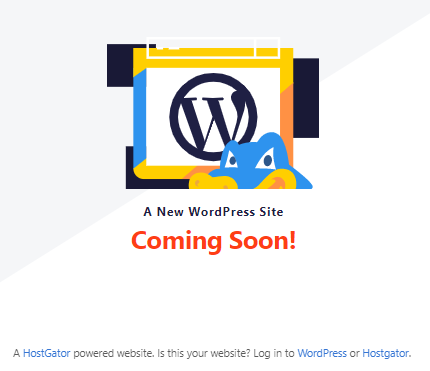
When people visit your website and see the Coming Soon page, you're telling them that something exciting is being built behind the scenes. This helps increase brand awareness and build hype around your website launch. Instead of an empty page or theme demo content, visitors will see that something new is coming soon and will be encouraged to return once your site is ready.
This article covers the following topics:
How to manage your WordPress Coming Soon page
HostGator makes it easy to enable the Coming Soon page on your WordPress website. The HostGator plugin is pre-installed in your WordPress Dashboard, activated by default, and simply requires turning on the Coming Soon feature.
To enable your WordPress Coming Soon page:
- Log in to your WordPress Dashboard.
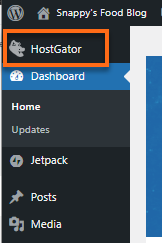
- Go to the HostGator plugin section. There are a few ways to get to the Coming Soon settings, but the quickest way is to click on HostGator in the left-side menu.
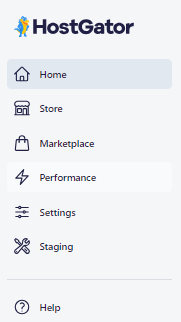
- You will be redirected to the HostGator plugin section, where you'll see the following tabs: Home, Store, Marketplace, Performance, Settings, Staging, and Help.
- There are two ways to enable/disable the Coming Soon feature.
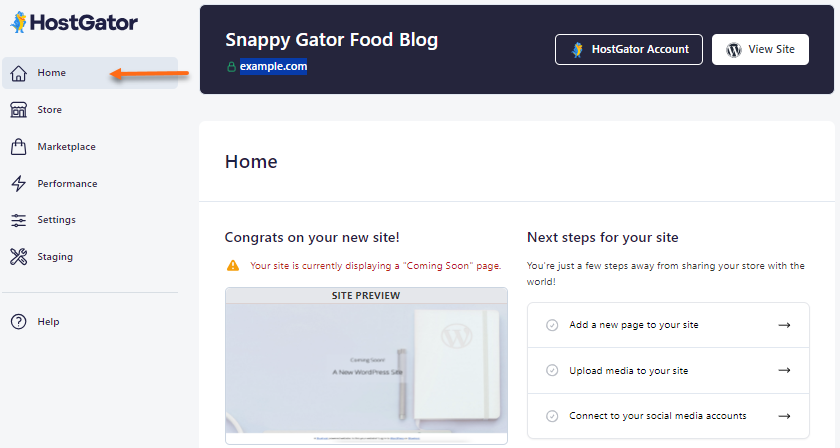
- Option 1 - via the Home tab
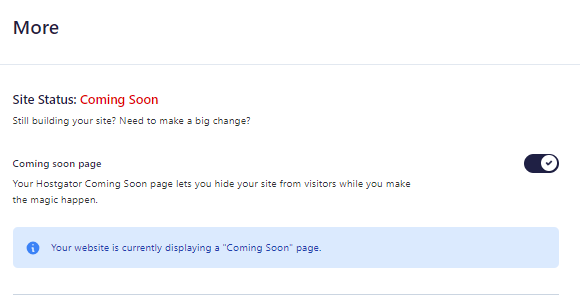
- Under the Home tab, scroll down to the More section.
- In the More section, you will see your website's status and the toggle button for the Coming Soon feature. Toggle on the Coming Soon page button to enable this feature.
- Option 2 - via the Settings tab
- On the HostGator plugin dashboard, click the Settings tab.
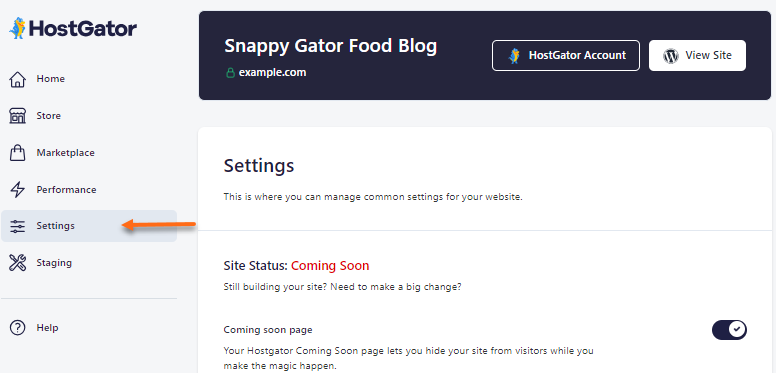
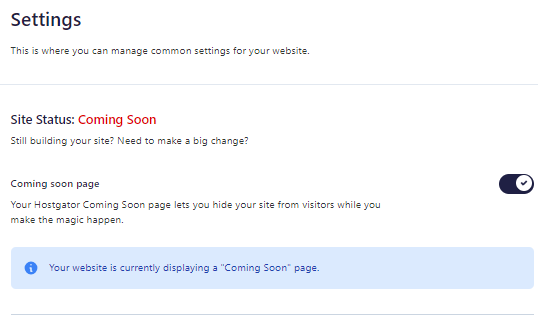
- Under Settings, toggle on the Coming Soon page button to enable this feature.
- On the HostGator plugin dashboard, click the Settings tab.
- Option 1 - via the Home tab
- The Coming Soon page is now activated. Visit (or refresh) your website to see the Coming Soon landing page.
- You'll also notice the Coming Soon Active notification displayed at the top menu of your WordPress Dashboard, showing you that your Coming Soon page is up and running.

- When you're ready to show the world your website, toggle the Coming Soon feature off to put down the Coming Soon landing page.
What to do once you're ready to launch your website
After finishing your website, you can easily take it live using the HostGator plugin.
To launch your WordPress website:
- On the HostGator plugin dashboard, go to the Home tab. (Alternatively, you can also click the Store tab.)
- Scroll down a little bit until you see the Ready to go live? section.

- Click the Launch your site button. Your site has been launched! Visit (or refresh) your website. You should now see your published posts and pages.
- Make sure to disable the Coming Soon feature by disabling the Coming Soon page toggle under the Home or Settings tab, as described above.
Troubleshooting FAQ
I've turned off the Coming Soon page and refreshed the page, but I do not see my changes. How do I see my website?
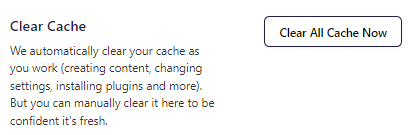
Don't panic! Your updates are still there, and clearing the cache will help you see your hard work. One awesome functionality of the HostGator plugin is clearing the cache. Depending on what you want to cache and how often you want to keep your website's cache, you can select your preferred cache options within the HostGator plugin section.
To clear cache using the HostGator plugin:
- In the WordPress Dashboard, click HostGator from the left-side menu.
- On the HostGator page, click on the Performance tab.
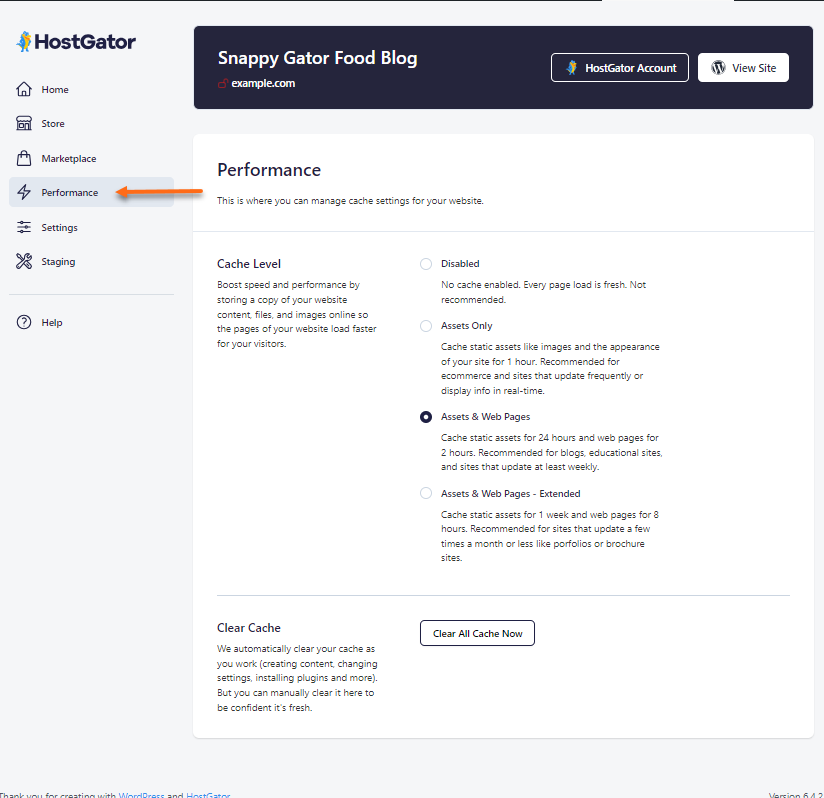
- Select your preferred caching options from the Cache Level section.
- Once done, click the Clear All Cache Now button.
For more information about the HostGator plugin, you may also check this support article.