How to Adjust Email Quota in cPanel
When creating email accounts in cPanel, users can set the email quota (mail storage) for each email account. It can also be adjusted manually if a user expects an influx of incoming emails or is about to exceed the allotted quota.
Shared hosting plans allow unlimited disk space, bandwidth, and email quota; VPS or Dedicated hosting plans, however, must be mindful not to exceed their allotted resources.
In this article, we will discuss the following topics.
- How to Change an Email Account's Quota in cPanel (For Shared hosting) ⤵
- How to Change an Email Account's Quota in WHM (For VPS/Dedicated hosting) ⤵
For more information on what to expect when the email quota for an account is about to be exceeded, please refer to the following article:
How to Change an Email Account's Quota in cPanel
For Shared hosting
The steps below will provide a quick and easy walkthrough of updating the quota for an email account through your cPanel's Email Accounts section.
- You can access the Email Accounts section either through your Customer Portal or by directly logging into your cPanel.
- Via the Customer Portal
- Log in to your Customer Portal.
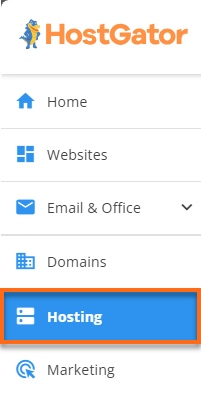
- Click Hosting on the left-hand menu.
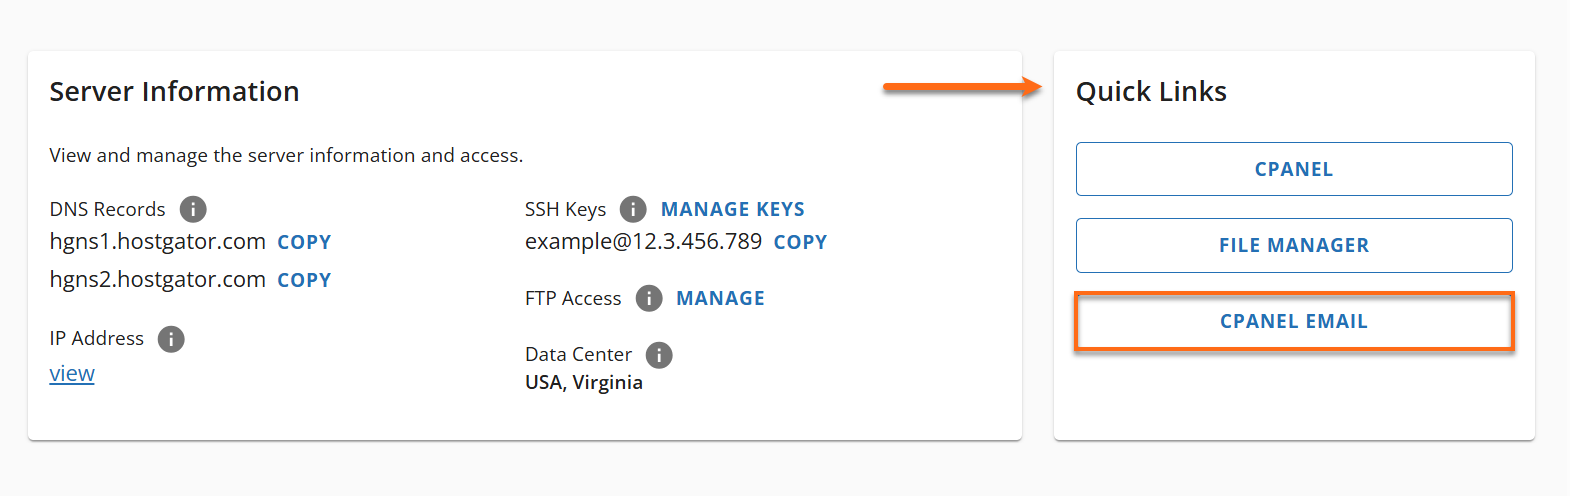
- If you have only one hosting plan in your account, you will be automatically redirected to the hosting panel. Under the Quick Links section, click the cPanel Email button.
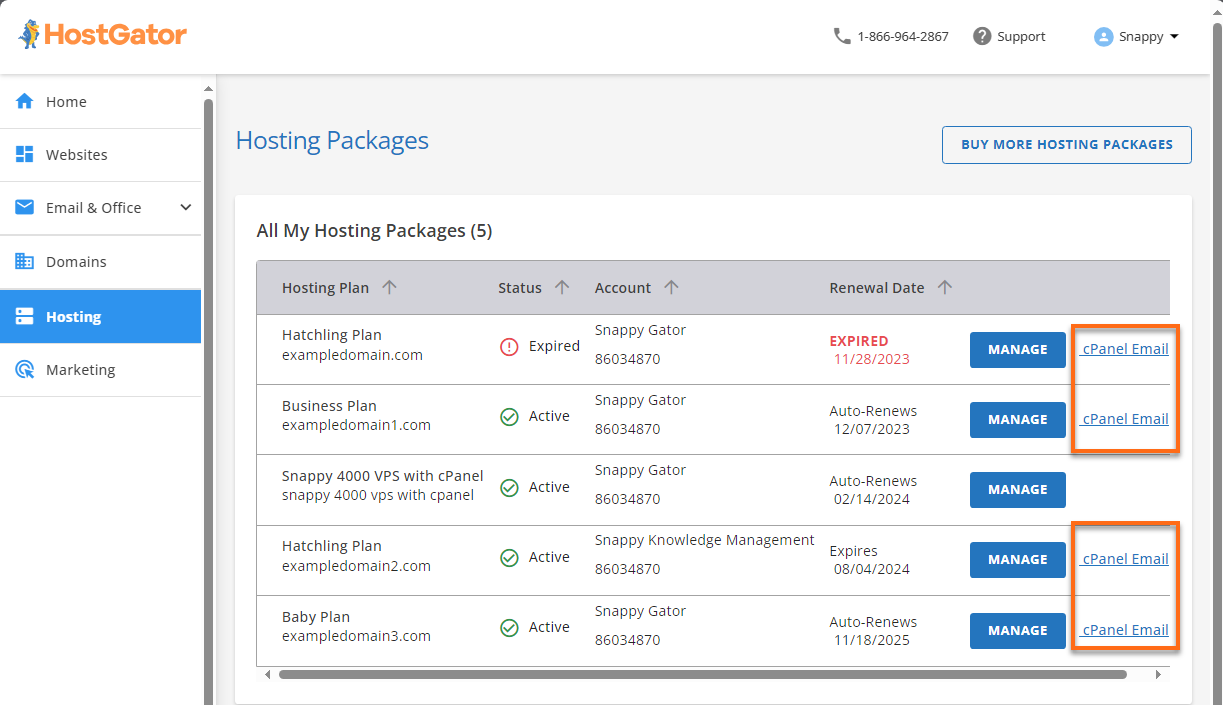
- If you have multiple hosting plans, a list will appear. Click the cPanel Email link you want to manage.
- If you have only one hosting plan in your account, you will be automatically redirected to the hosting panel. Under the Quick Links section, click the cPanel Email button.
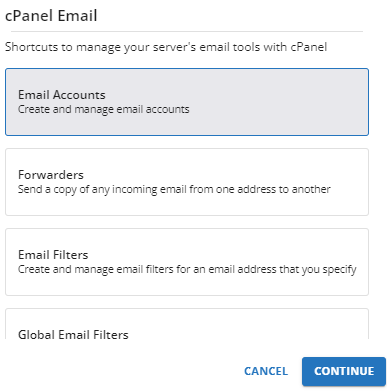
- In the pop-up, select Email Accounts and click Continue.
- Via direct login to cPanel
- Log in to cPanel.
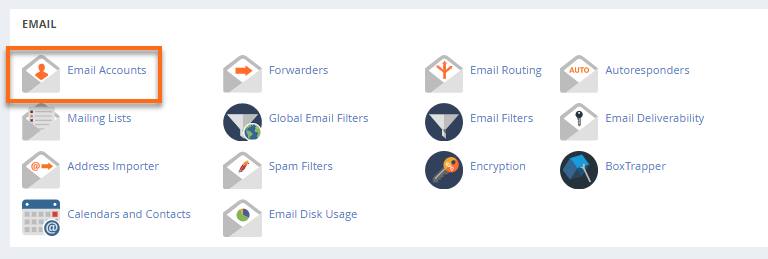
- Go to the Email section and click on the Email Accounts icon.
- Via the Customer Portal
- A list of every email account hosted on your server will be displayed. Look for the email address you need to manage and click its Manage button.
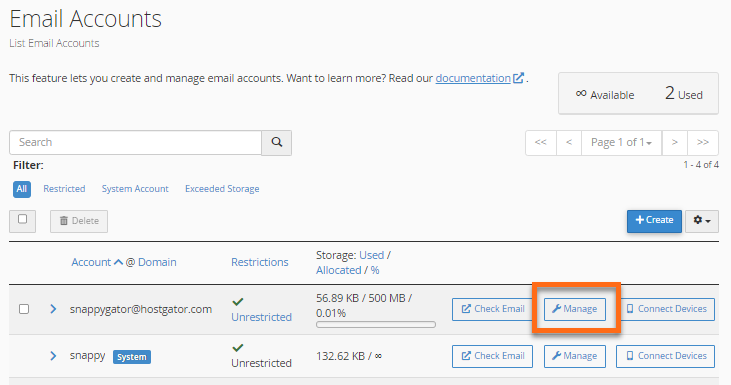
- Navigate to the Allocated Storage Space. Enter the new preferred quota or select the Unlimited option.

- Scroll down, then click the Update Email Settings button to save the changes.
The changes to your Shared hosting will be implemented immediately once you have completed the steps above.
How to Change an Email Account's Quota in WHM
For VPS and Dedicated hosting
If you're on a VPS or Dedicated hosting, you have the option to limit the number of emails a domain can send per hour. This is usually done to prevent sending large amounts of spam and damaging the reputation of your server.
- You can access your WHM either through your Customer Portal or directly using your WHM URL.
- Via the Customer Portal
- Log in to your Customer Portal.
- Click Hosting on the left-hand menu.
- If you have only one hosting plan in your account, you will be automatically redirected to the hosting panel.
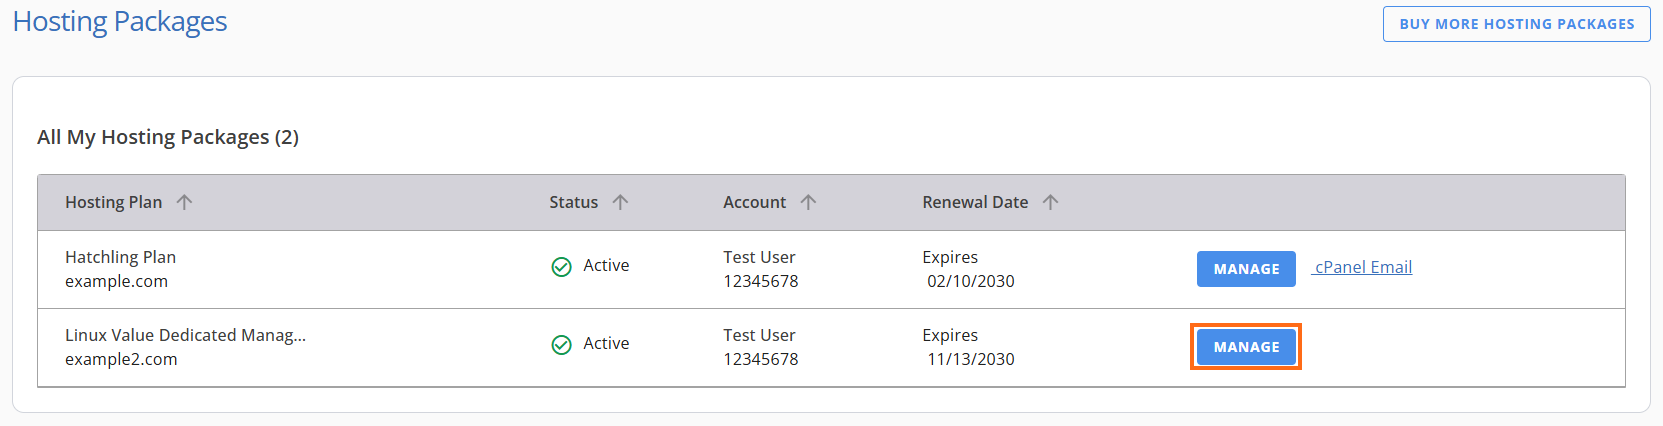
- If you have multiple hosting plans, a list will appear. Click the Manage button for the hosting plan you want to manage.
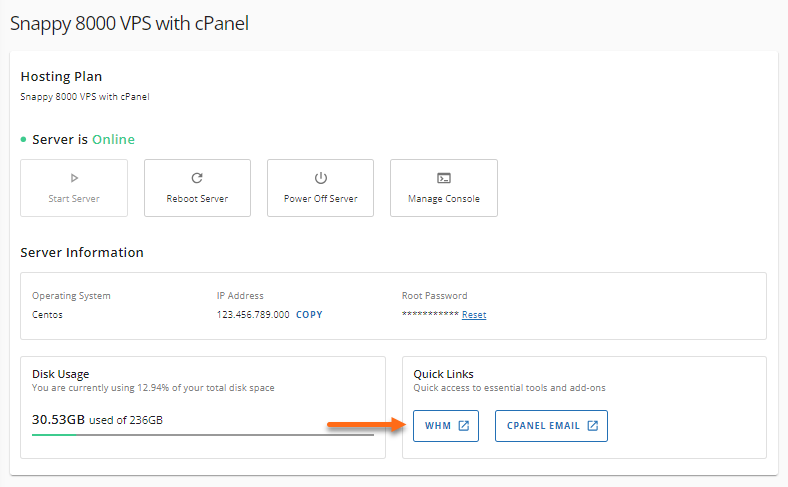
- Click the WHM button under your Quick Links.
-
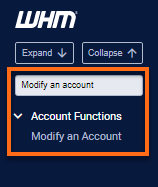
Your WHM will open in a new tab. Search for Modify an Account under the Account Functions section.
- Via direct login to WHM
- Log in to WHM.
- Navigate to Modify an Account under the Account Functions section using the search bar at the top or left pane of WHM.
- Via the Customer Portal
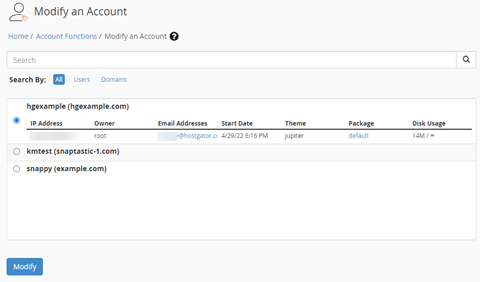
- On the right pane, select the account to modify and click the Modify button.
- Scroll down to the Resource Limits section and look for the Maximum Hourly Email by Domain Relayed setting.
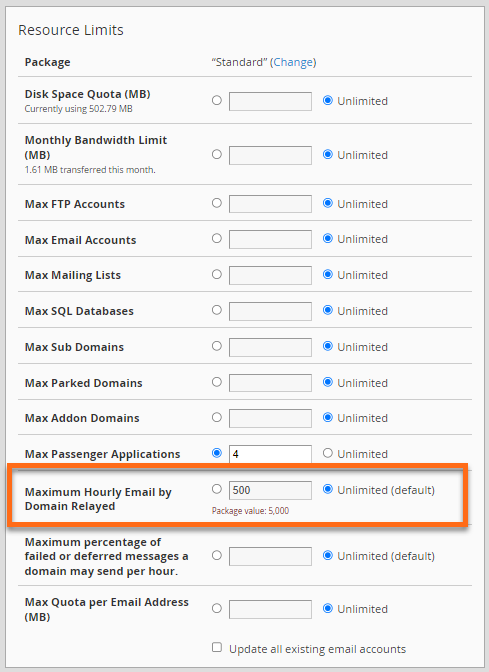
- Enter the maximum number of emails each domain under this account can send per hour. You can also set it to Unlimited if necessary. (Please note that a zero "0" is interpreted as "no limit" by the server.)
- To save the changes, scroll down and click the Save button.