How Do I Upgrade My Account to a Better Plan?
You can upgrade your hosting plan at any time—there is no contract requiring you to remain on your current hosting package. Upgrades can be completed directly from your Customer Portal.
This article covers the following topics:
- How to upgrade your hosting plan ⤵
- How to upgrade your hosting package to a different hosting package type ⤵
- Related Articles ⤵
Before upgrading, you may want to compare our available hosting plans:
How to upgrade your hosting plan
Example: Shared Business → Shared Pro
To upgrade your hosting plan:
- Log in to your Customer Portal.
- From the left-hand menu, navigate to Hosting and select My Plans.
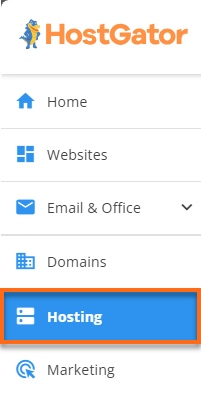
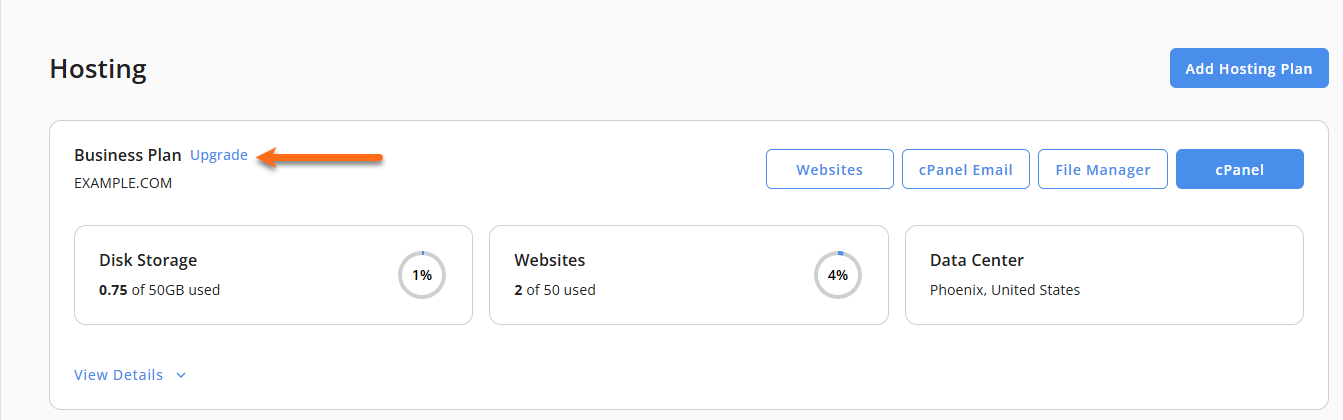
- Locate the hosting plan you want to upgrade.
- Click Upgrade next to the hosting package.
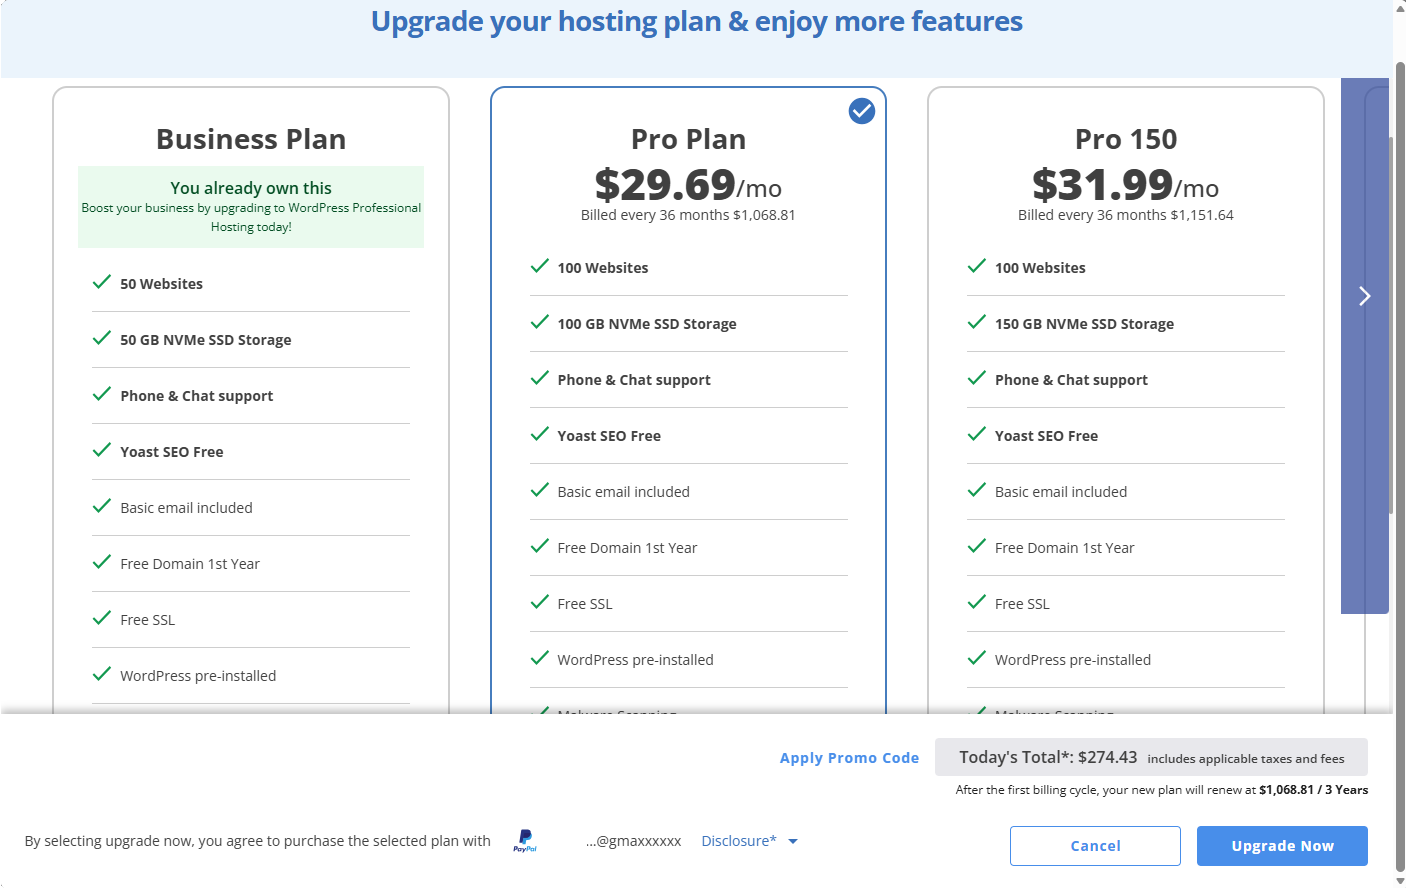
- In the pop-up window, select the plan you want to upgrade to.
For Pro Hosting plans:
If you're already on a Pro plan, you can upgrade to a higher Pro tier. Use the arrow on the right side of the menu to view additional options, then select your preferred plan (Pro 150, Pro 200, or Pro 250).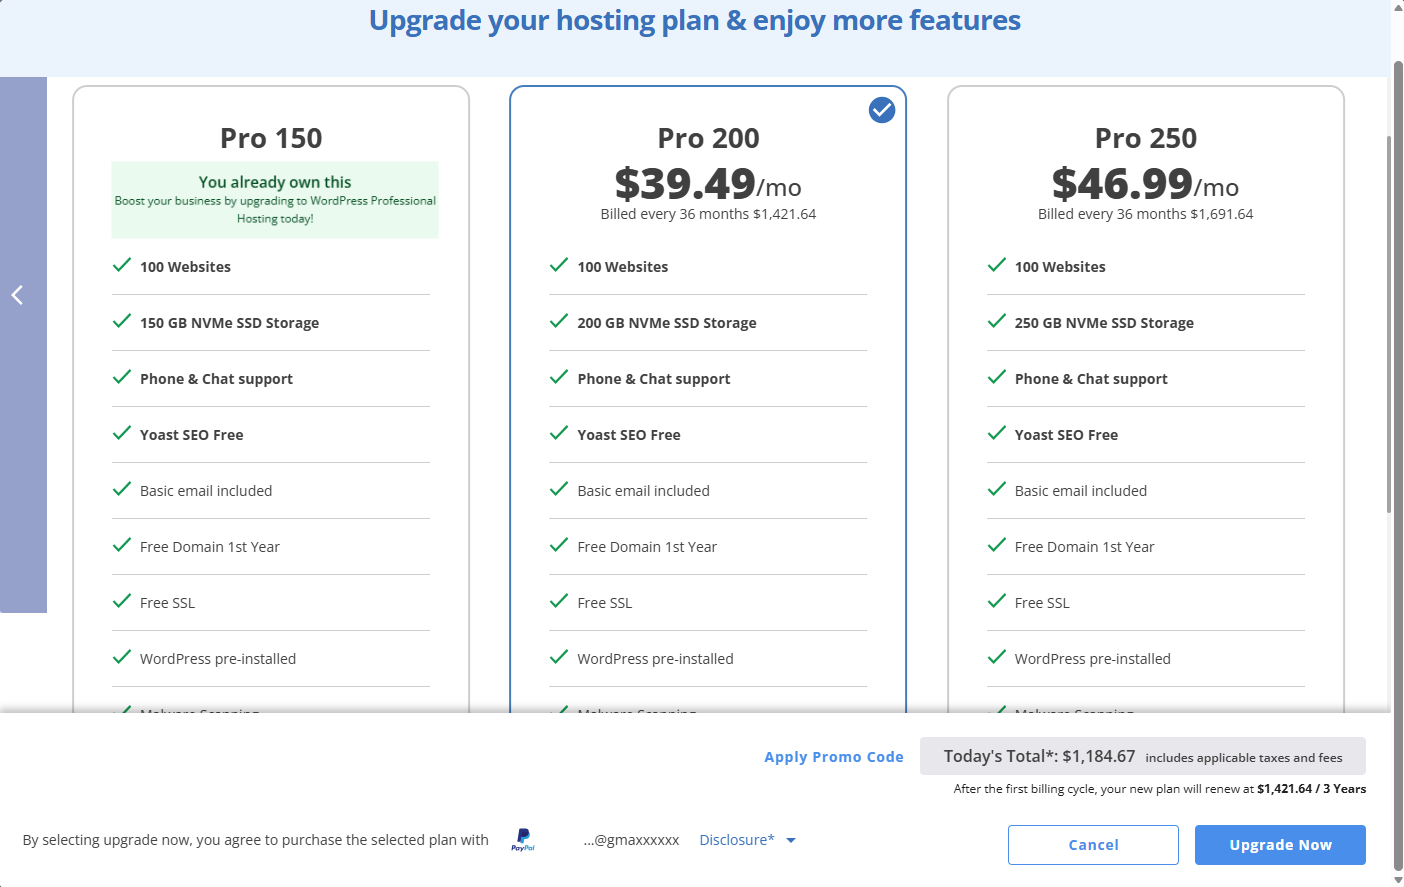
- Verify that you have a valid payment method on file. If applicable, enter a promotional code.
- Click Upgrade Now.
- Complete the payment process to finalize the upgrade.
How to upgrade your hosting package to a different hosting package type
Example: Shared Hosting → VPS Hosting
Yes, you can upgrade to a different hosting package type. However, moving between different hosting environments requires a website migration to a new server.
To upgrade to a different hosting package type:
- Purchase your preferred hosting plan (the destination package).
- Submit a request to migrate your data to the new hosting account.
Do not cancel your current hosting plan during the migration process.
- Once the migration is complete, your migration administrator will provide instructions for updating your nameservers or DNS records and reviewing your site on the new server.
- Allow time for DNS propagation.
- Review your website thoroughly after propagation is complete.
- If everything is working as expected, you may then cancel your previous hosting plan.
Do not cancel your existing hosting account until the migration has been completed and your website has been fully tested on the new server.
For additional migration guidance, see: