How to Add Audio to WordPress
Audio files are often used for Podcasts. They include: .mp3, .m4a, .ogg, and .wav files.
There are three ways to add MP3 files to your WordPress posts manually. Click on the links below to jump to a section.
Option 1: Upload Individual Audio Files (MP3) Directly to a WordPress Post
If you only have a handful of audio (MP3) files to upload, this method is the best option.
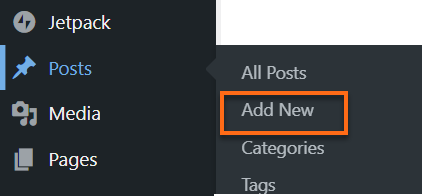
From the left-hand navigation menu in WordPress:
- Log in to your WordPress Dashboard.
- Check out this article for more information: How to Log in to WordPress
- Navigate to the Posts section, then click Add New.
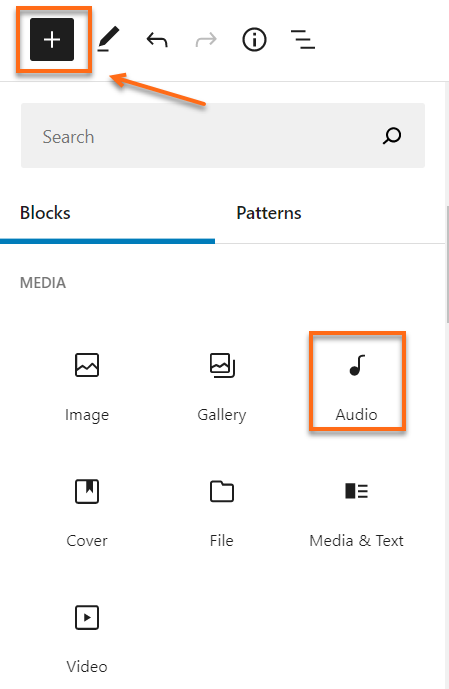
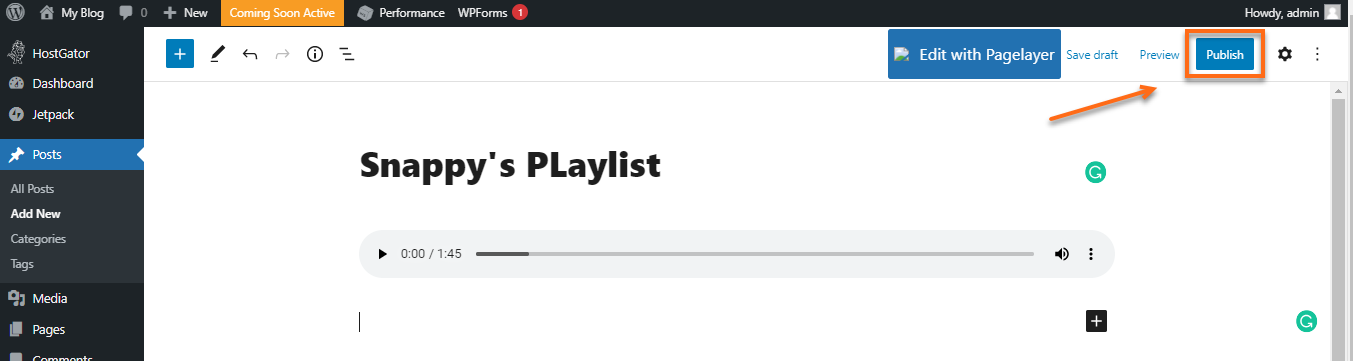
- Click the + symbol at the top left corner, then select Audio.
- Click on the Upload button, then drag the file(s) from your computer and drop them into the WordPress upload screen, or click Select Files.
- Once the audio (MP3) files are uploaded, click on Write Caption, then select the URL icon.
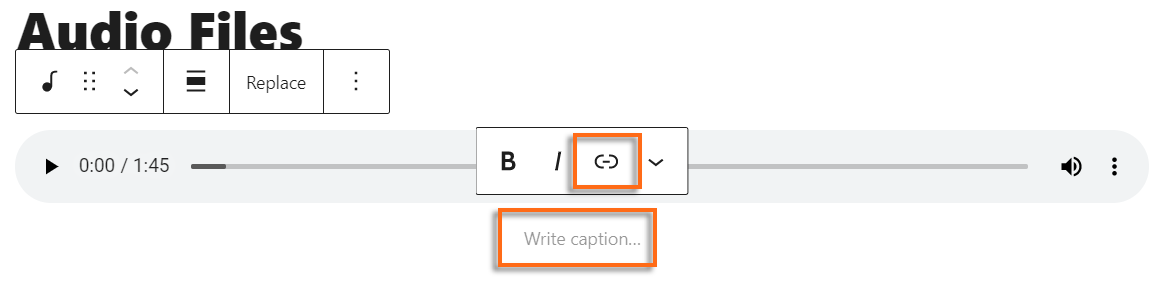
- Create your desired URL for the audio file.
- When desired audio files have been added, click Publish.
Option 2: Upload Multiple Audio Files (MP3) through File Manager
If you have multiple audio (MP3) files to upload, follow these instructions:
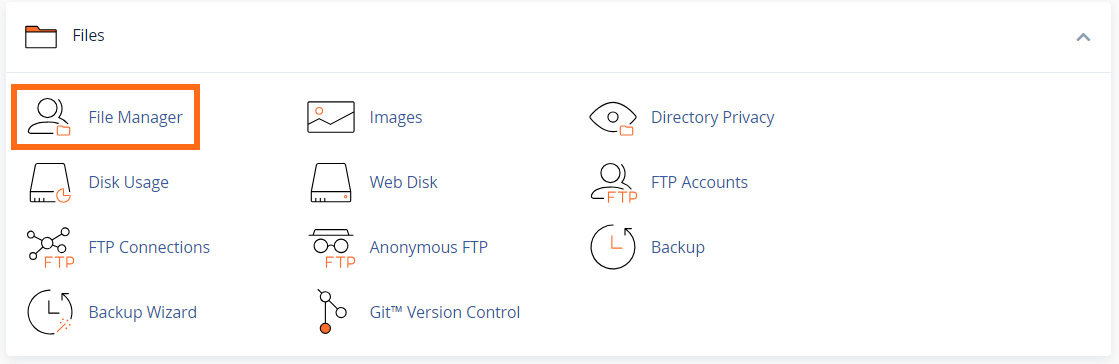
- Log in to cPanel.
- In the Files section, click on the File Manager icon.
- Select public_html or the document root of the domain where WordPress was installed.
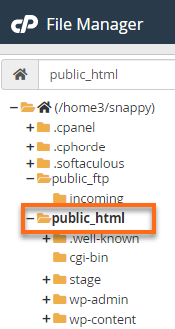
- Click to expand the public_html folder, navigate to the wp-content folder, and double-click it.
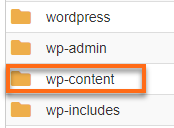
- At the top left corner of your File Manager screen, click on the New Folder icon.
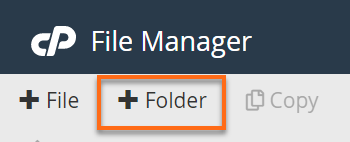
- In the pop-up window, enter "audio" (all lowercase) as the folder name, then click Create New Folder.
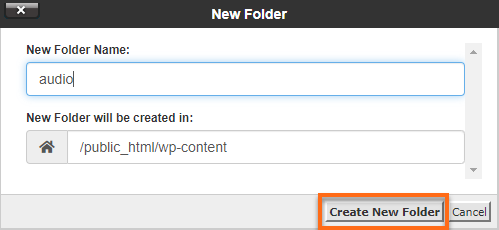
- Your new folder will be created in the file path /public_html/wp-content.
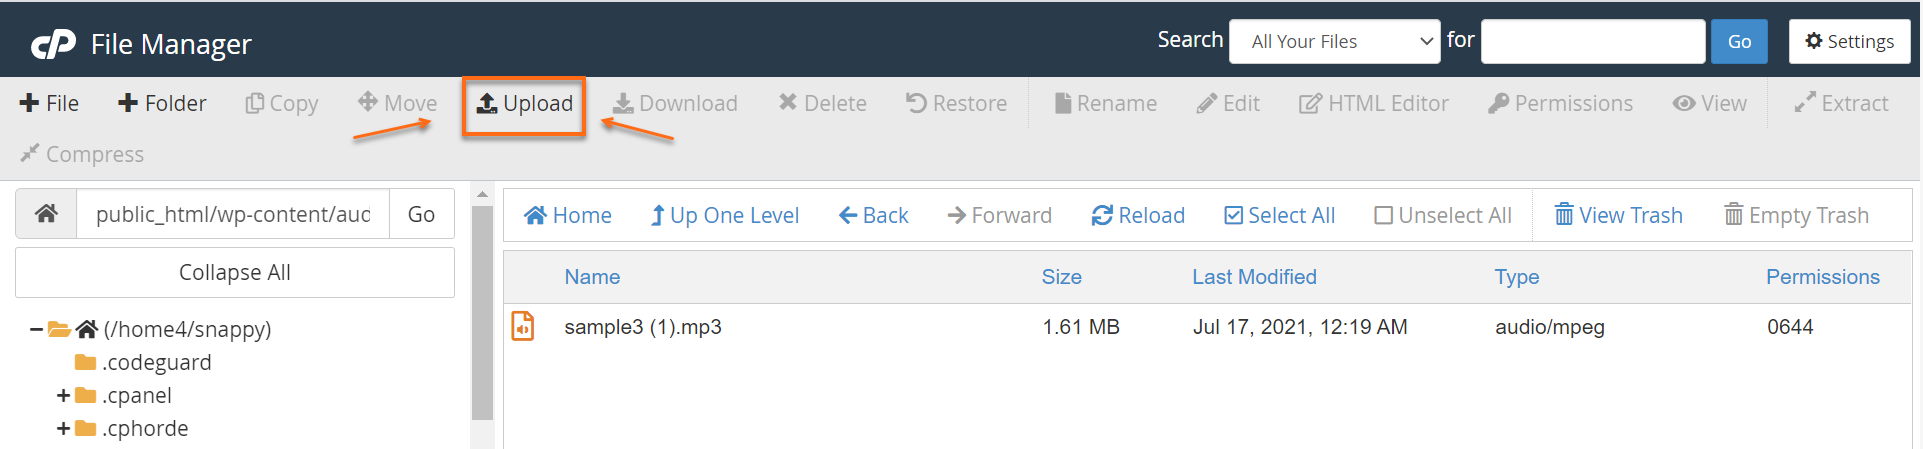
- You may now bulk upload your audio (MP3) files to this folder by clicking on the Upload button in the File Manager or transfer via FTP.
Tip: When naming your MP3 files, it is best to remove any spaces from the file names and name them all in lowercase letters.
Example: Instead of This Is A Great Song.mp3, use: thisisagreatsong.mp3
After uploading, the resulting link would be:
www.yourdomainname.com/wp-content/audio/thisisagreatsong.mp3
Option 3: Using WordPress Plugins for Audio (MP3) Files
Audio files can be added to WordPress with various plugins, but %%BRAND%% does not recommend using a plugin to do this unless there are specific features you need from that plugin, as some plugins have been known to cause resource issues.
Please refer to this article for more information: Plugins Advice.
How to Add Audio Links to a Post
To use MP3 links in your WordPress post:
- Log into your WordPress Dashboard.
- Navigate to Posts, then click on Add New.
- Write your post.
- Highlight the words that you want to turn into a hyperlink to the audio (MP3) file and click the Link icon from the text box toolbar.
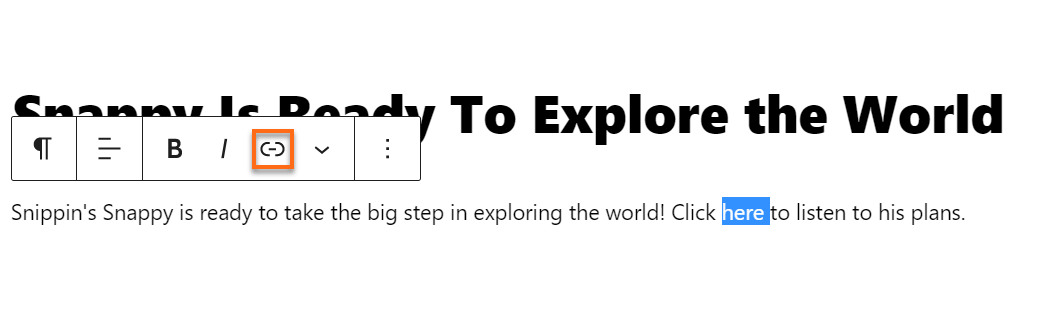
- In the URL field, enter the URL of the MP3 file.
- In the Title field, name the audio (MP3) file.
- Put a checkmark in the box for Open link in a new window/tab.

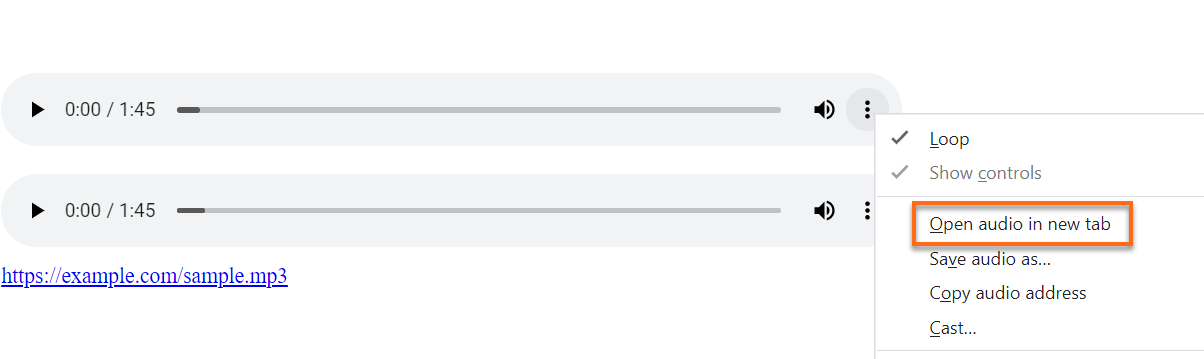
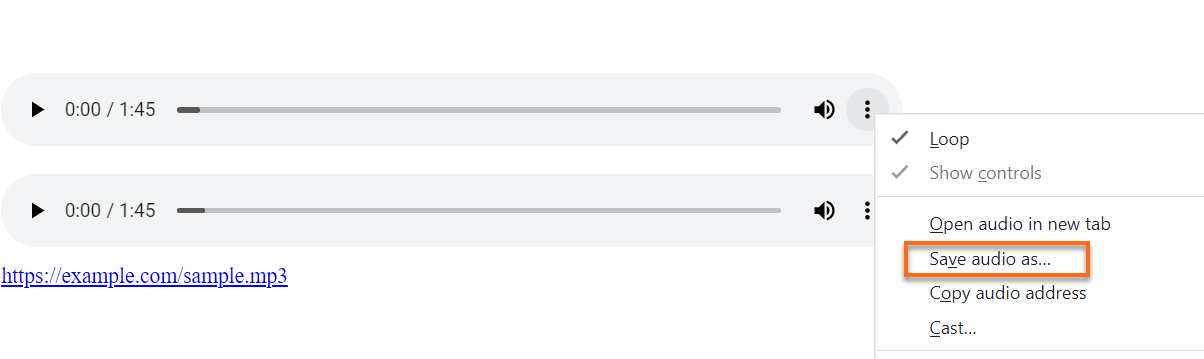
How to Download and Play Audio (MP3) Files in WordPress
- To download the audio file, right-click on the 3 dot icon and select download, then choose Save As.
- To play the file, right-click on the newly created link and choose Open in New Tab. The audio file should play automatically.