Knowledge Base
Categories: WHMCS
WHMCS Configuring Automation Settings
The video guide below will show you where you can configure your Automation Settings in WHMCS.
How To Create Automation Settings
- Log in to your WHMCS account.
- Click the Setup tab from the top menu.
- Select Automation Settings. This is where you can see various options to configure how WHMCS invoices customers and actions to be taken upon non-payment.
- Once you have determined the automation settings for invoices and non-payment, select Save Changes at the bottom of the page.
- You will see a message Changes Saved Successfully, and you will be given a cron command.
- Copy the cron command.
How To Set Up Automation Settings
- Log in to cPanel .
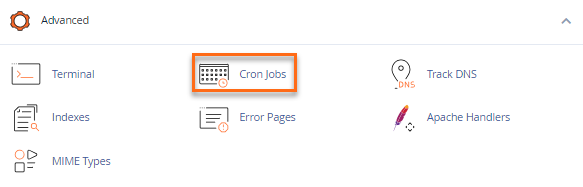
- Look for the Advanced section, then click on the Cron Jobs icon.
- Once inside the Cron Jobs settings, you will want to set the Common Settings dropdown to Once Per Day.
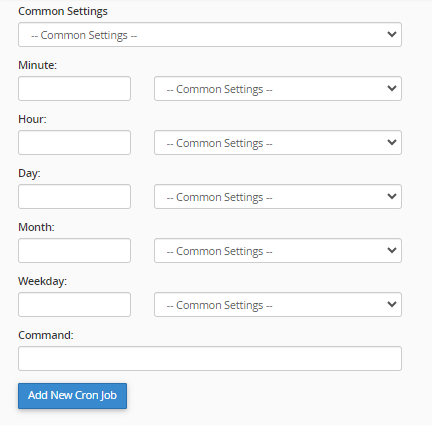
- In the Minutes and Hour fields, enter 0 to run your cron exactly at midnight.
- In the Command field, paste the cron command you copied from WHMCS.
- Click the Add New Cron Job button.
You have now completed setting up your Automation Settings!
Did you find this article helpful?