How to Uninstall a WordPress Site
Understanding how to uninstall your WordPress site is helpful if you decide to start a fresh or completely remove your website. In this article, we will walk you through on how to uninstall your WordPress site.
- The options discussed below—Delete content only, Delete site permanently, and Remove WordPress entirely–do NOT cancel the hosting plan or domain name registration.
- The process of deleting a WordPress site is irreversible! We recommend creating a backup of your website before deleting it. Visit your CodeGuard Dashboard for your backup settings.
In this article, we will discuss the following topics.
Uninstalling a WordPress Site
To uninstall your WordPress website:
- Log in to your Customer Portal.
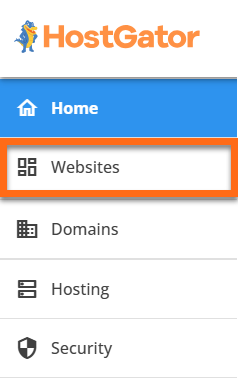
- Click on the Websites tab on the left-hand menu.
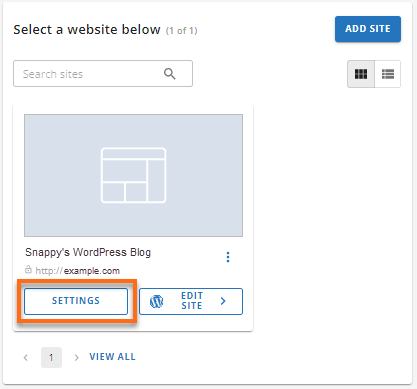
- Click the SETTINGS button of the WordPress website you want to uninstall.
- Click the SETTINGS tab on the top menu.

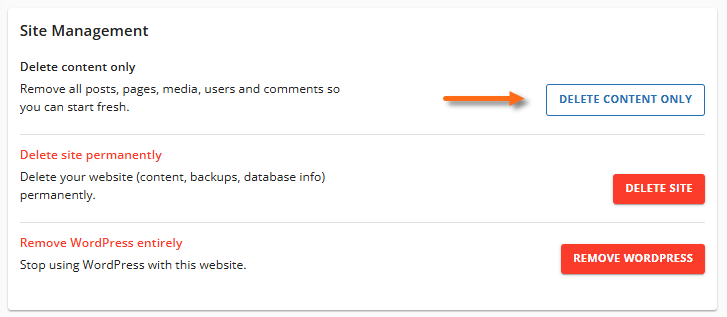
- Scroll down to the Site Management section.
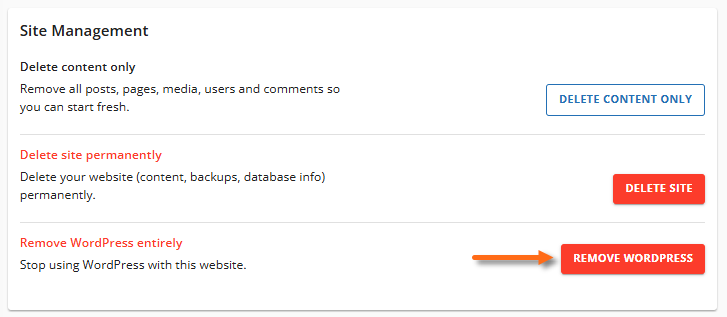
- Click the REMOVE WORDPRESS button to uninstall your WordPress website entirely. This option will delete the current WordPress instance, which will be ready for a fresh, new install.
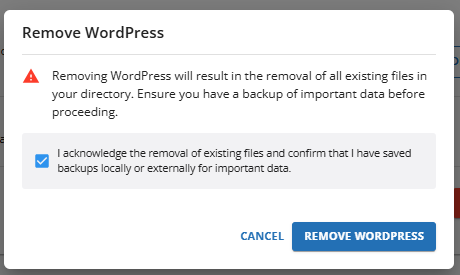
Please note that this will delete all current data related to this installation, resulting in data loss for the site instance, and it is irreversible. - A pop-up will appear, notifying you that this option will result in removal of all existing files in your directory. Select the checkbox to acknowledge and then click REMOVE WORDPRESS.
The WordPress website and its files will be uninstalled completely.
Other Options - Delete Content or Delete Site
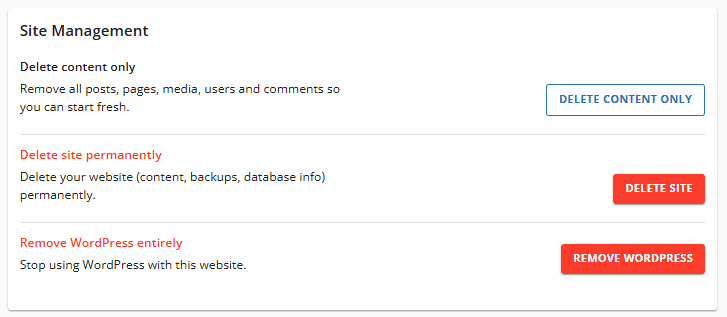
Under the Site Management section, you'll notice there are two other options—Delete Content Only and Delete Site Permanently.
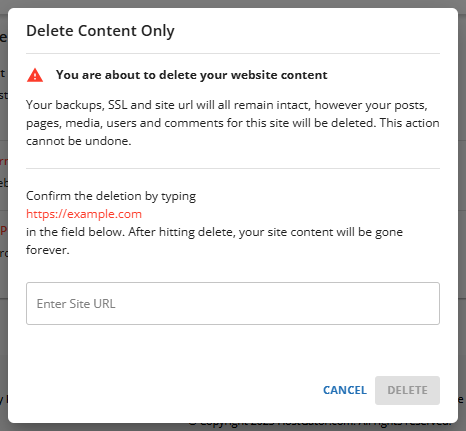
- Delete Content Only - This option will delete your site content, including posts, pages, media, users and comments, but will keep your backups, SSL, and site URL.
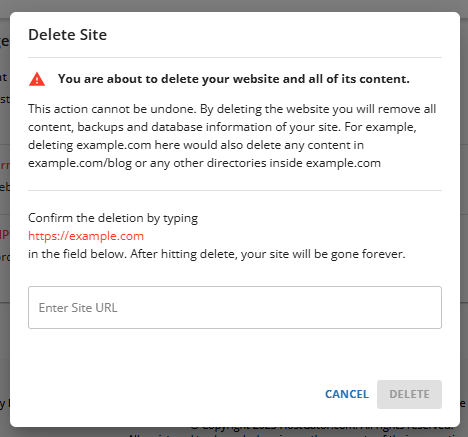
Confirm the deletion by typing the domain associated with your website, then click on DELETE.
- Delete Site Permanently - This option will remove your website's content, backup, database information, and any other directories inside your site folder.
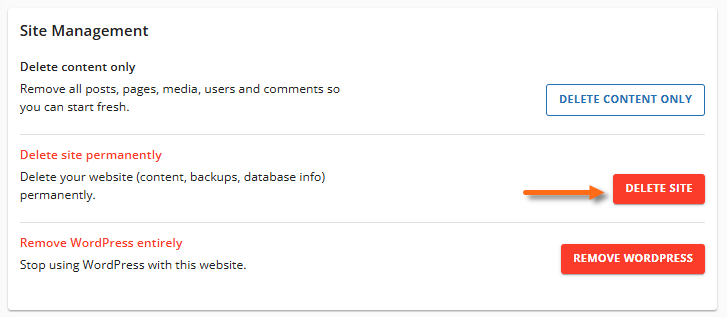
Confirm the deletion by typing the domain associated with your website, then click on DELETE.
Removing a Staging Site
Follow the steps below to remove a staging site through your WordPress dashboard.
- Log in to your Customer Portal.
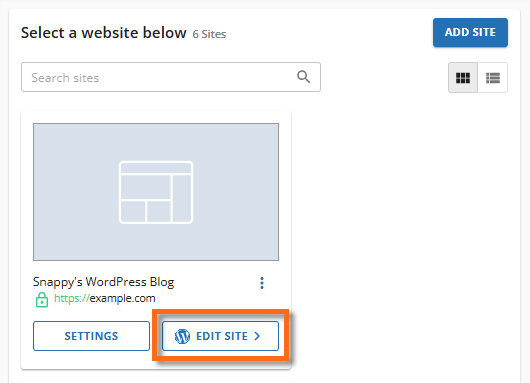
- Click on the Websites tab on the left-hand menu.
- Click the EDIT SITE button of your WordPress website.
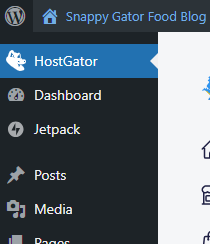
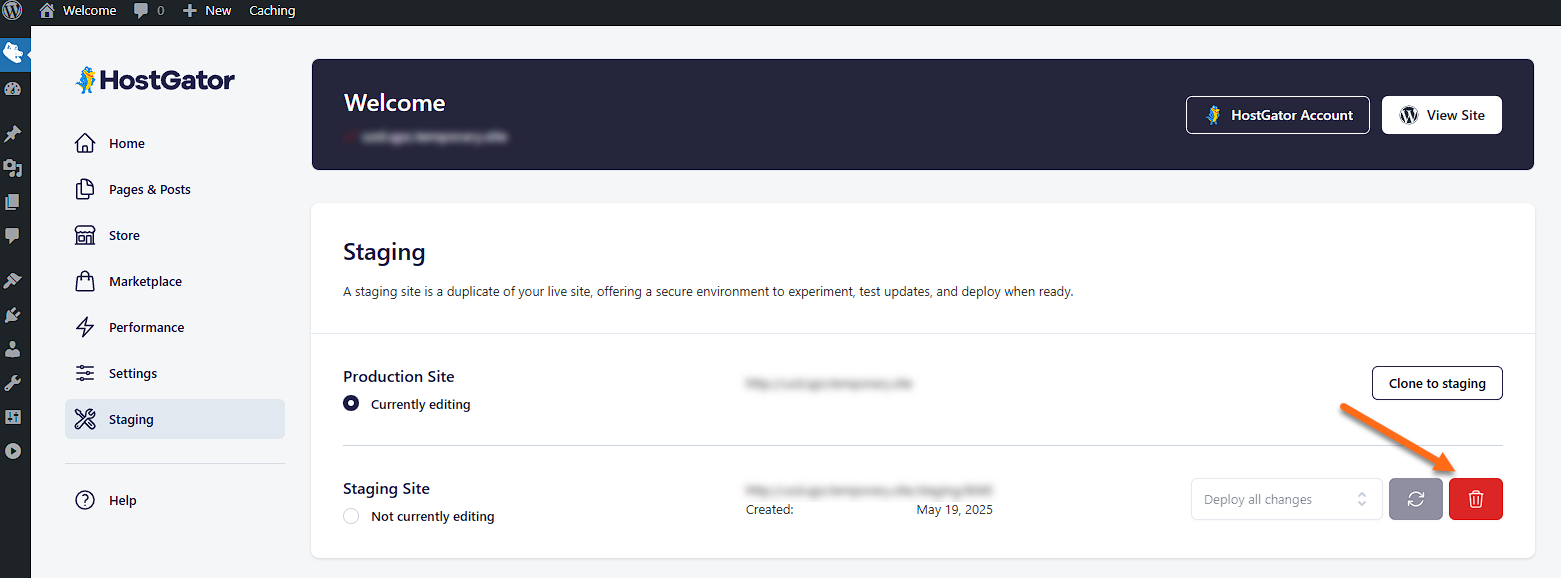
- Within the WordPress dashboard, click HostGator on the left menu.
- Click Staging from the list of options.
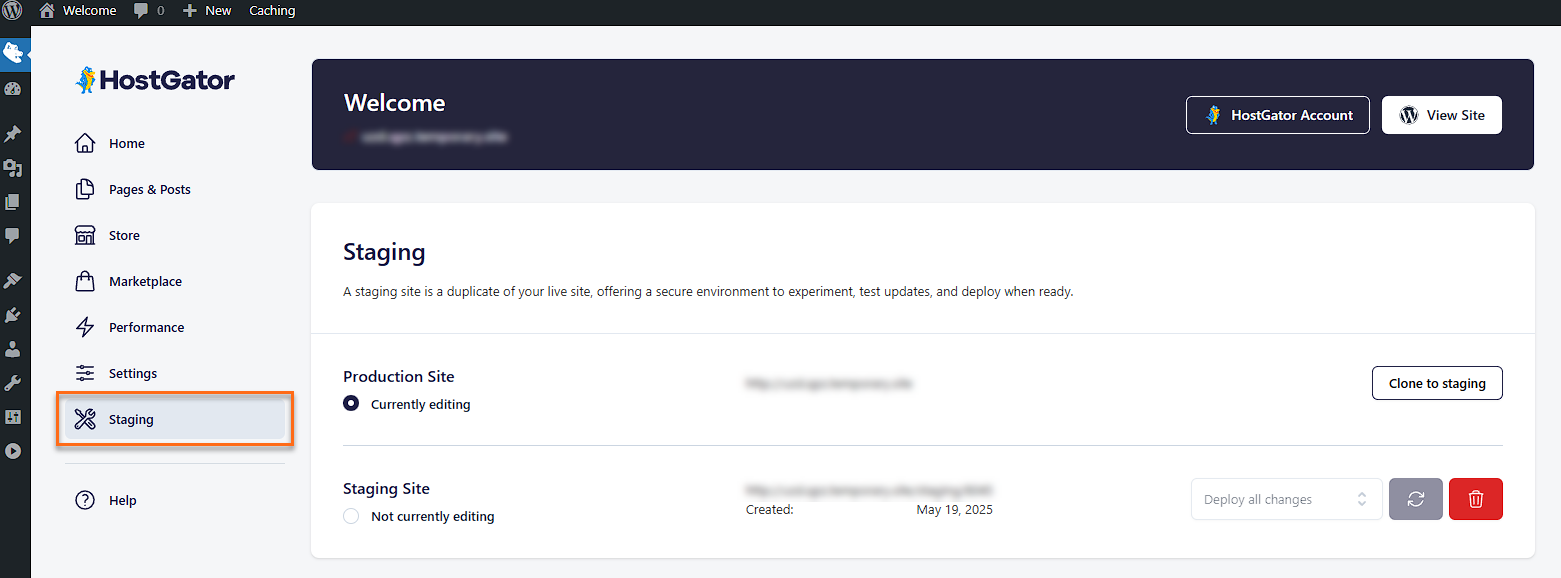
- Click the trash bin icon in the lower-right pane.
- To confirm the deletion, click the Delete button in the pop-up window.
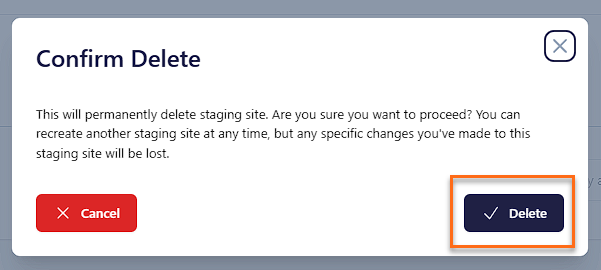
You have successfully removed your Staging site.