Xcitium Backup Settings Guide
Configuring Xcitium Backup Settings is essential for ensuring secure website backups, protecting your files, databases, and overall functionality. A well-optimized website backup configuration guarantees your data is safely stored, automatically updated, and easily recoverable.
With proper Xcitium backup setup, you can:
- Securely connect using FTP, SFTP, or SSH
- Perform database backup (MySQL or PostgreSQL)
- Set up an automated backup schedule
- Reduce storage using backup exclusions optimization
- Enable backup notifications setup
Access Xcitium Backup Settings
- Log in to your Customer Portal.
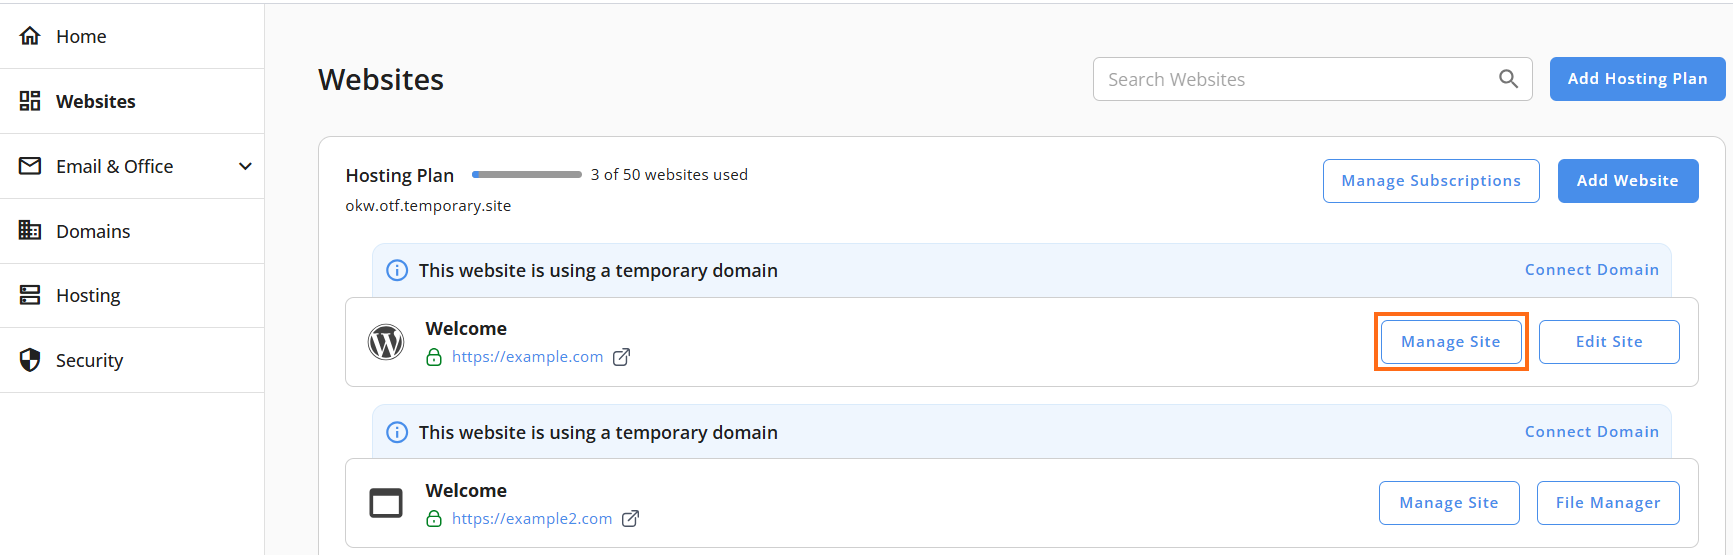
- Go to Websites from the left navigation menu.
- Click Manage Site next to the website you want to manage.
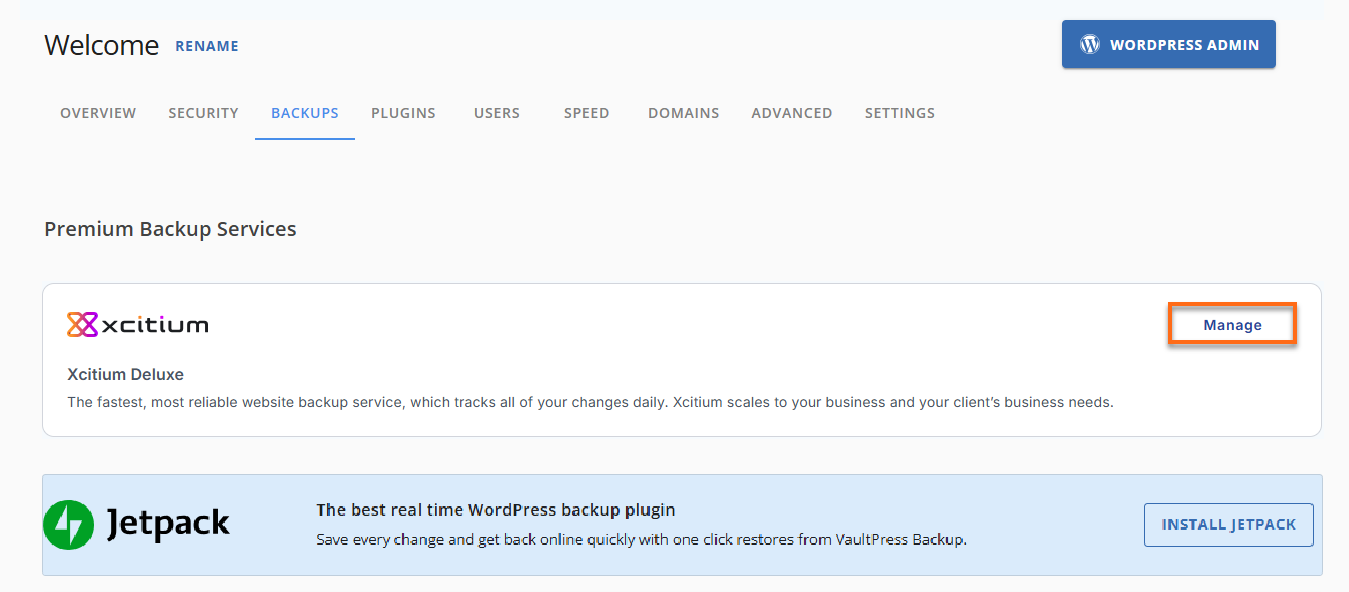
- Click Backups in the top menu.
- Under Premium Backup Services, click Manage for Xcitium.
- In the dashboard, click Settings (bottom-left corner).
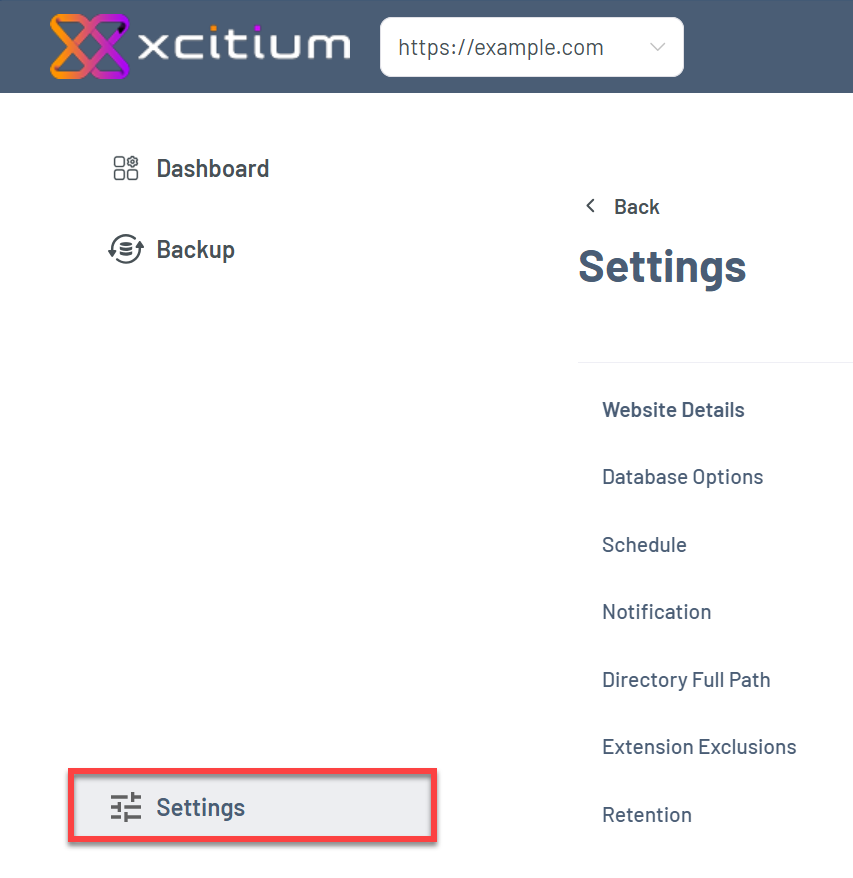
You will find the complete backup and recovery solution settings:
Website Details
Configure your secure website backup connection:
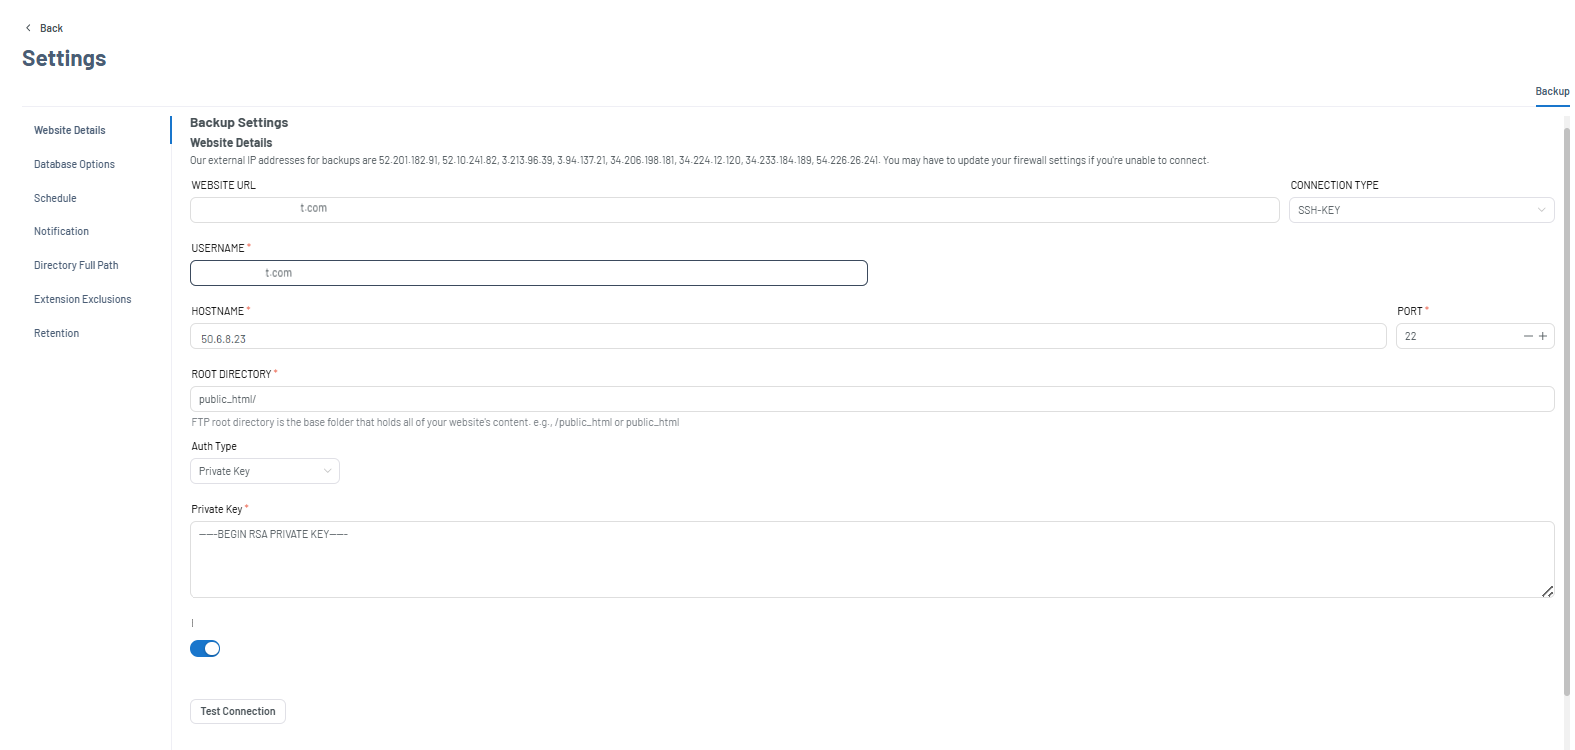
- Confirm your domain.
- Choose connection type:
- SFTP (recommended for security)
- FTP
- SSH Key (advanced)
Add SSH Key to
authorized_keys file.
- Enter login credentials:
- Add Hostname.
- Confirm the Port Number:
- FTP: 21
- SFTP/SSH: 22
- Define Root Directory.
- Select the Auth Type.
- Enter the Private Key.
- Click Test Connection.
- Test Success confirms connection
- Test Failed means credentials need verification
Database Options
Set up your database backup configuration:
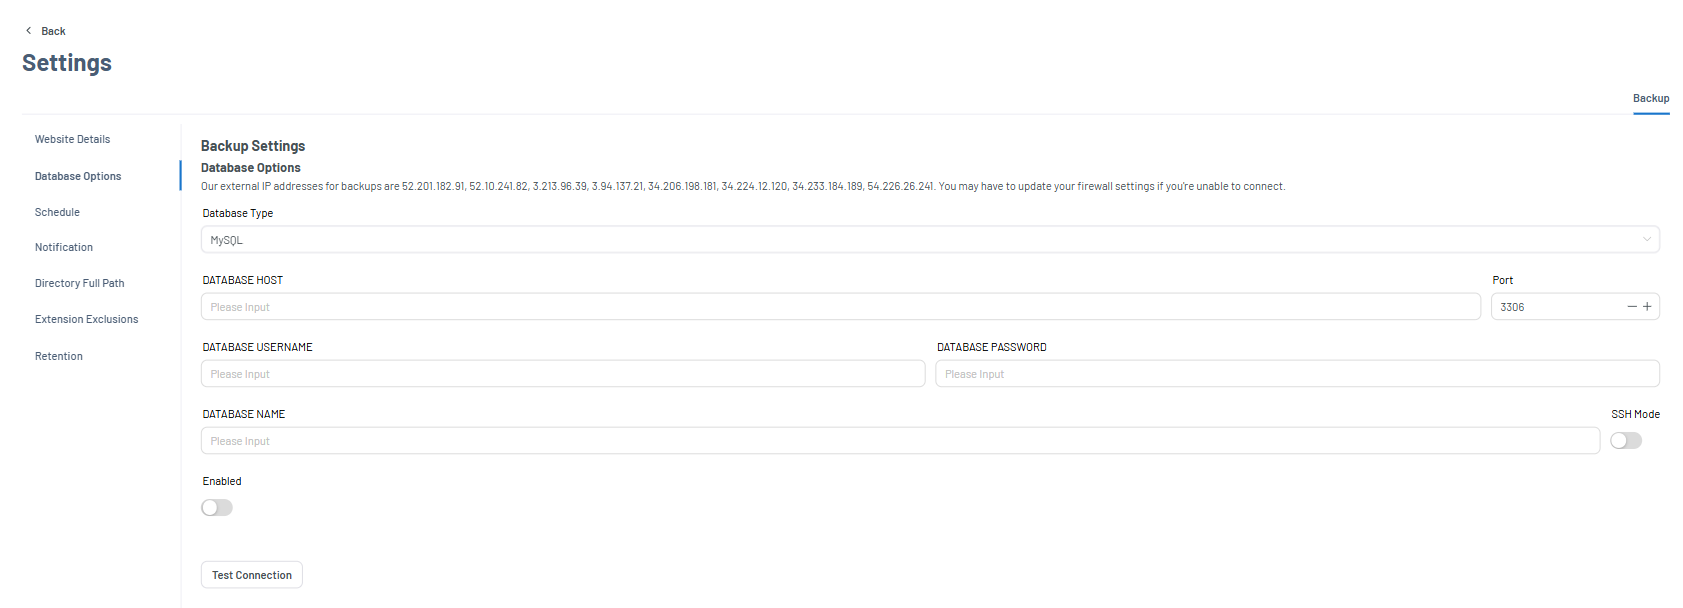
- Select database type.
- MySQL (most used)
- PostgreSQL
- Enter host.
Default:localhost - Check the Port Settings:
- MySQL: 3306
- PostgreSQL: 5432
- Enter your Database Credentials:
- Database username
- Password
- Database name
- (Optional) Enable SSH Mode.
Use only if direct access is restricted. - Click Test Connection.
Schedule
Define your automated backup schedule:
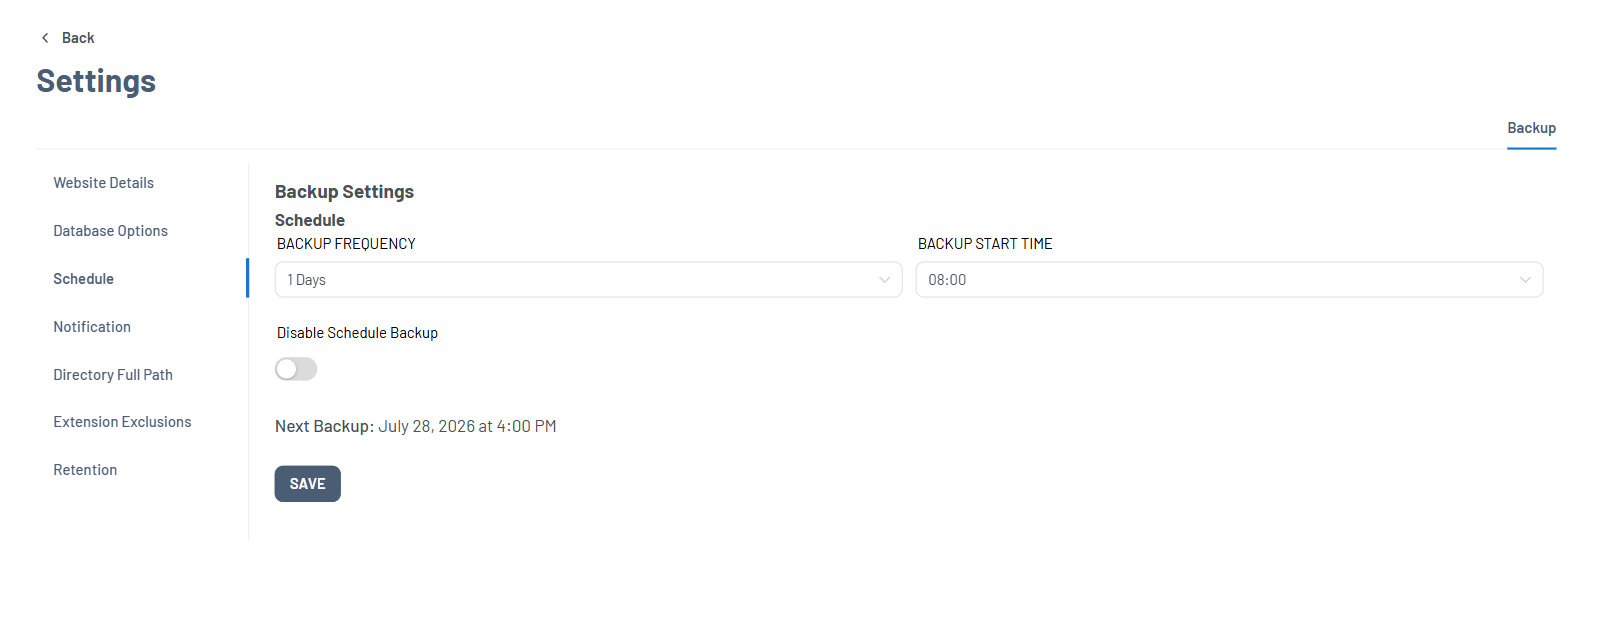
- Frequency options:
- Daily
Daily backups ensure maximum data protection. - Every 2–3 days
- Weekly or monthly
- Daily
- Set backup start time (off-peak recommended).
- Toggle Schedule Backup ON/OFF.
- Verify the next backup time.
- Click Save.
Notification
Stay informed with backup alerts:
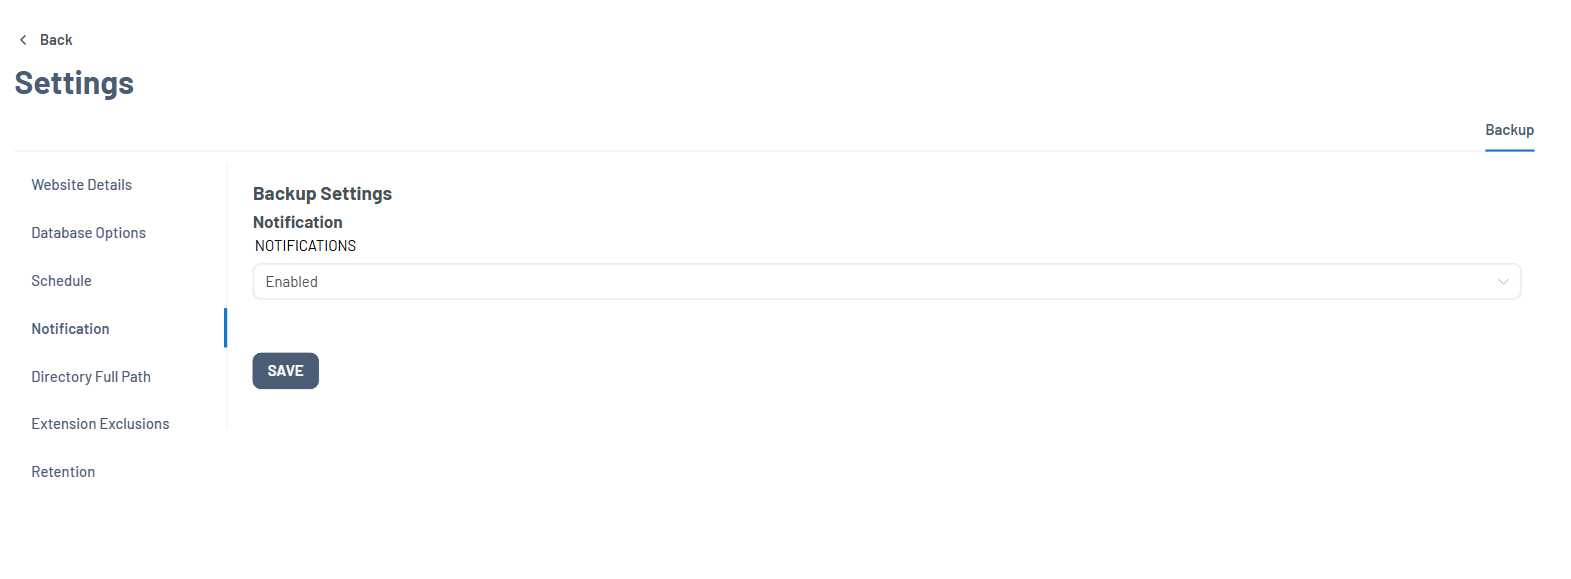
Options include:
- Disabled
- Success & Failure
- Failure Only (recommended)
Click Save after selection.
Directory Full Path
Use backup exclusions optimization to improve performance:
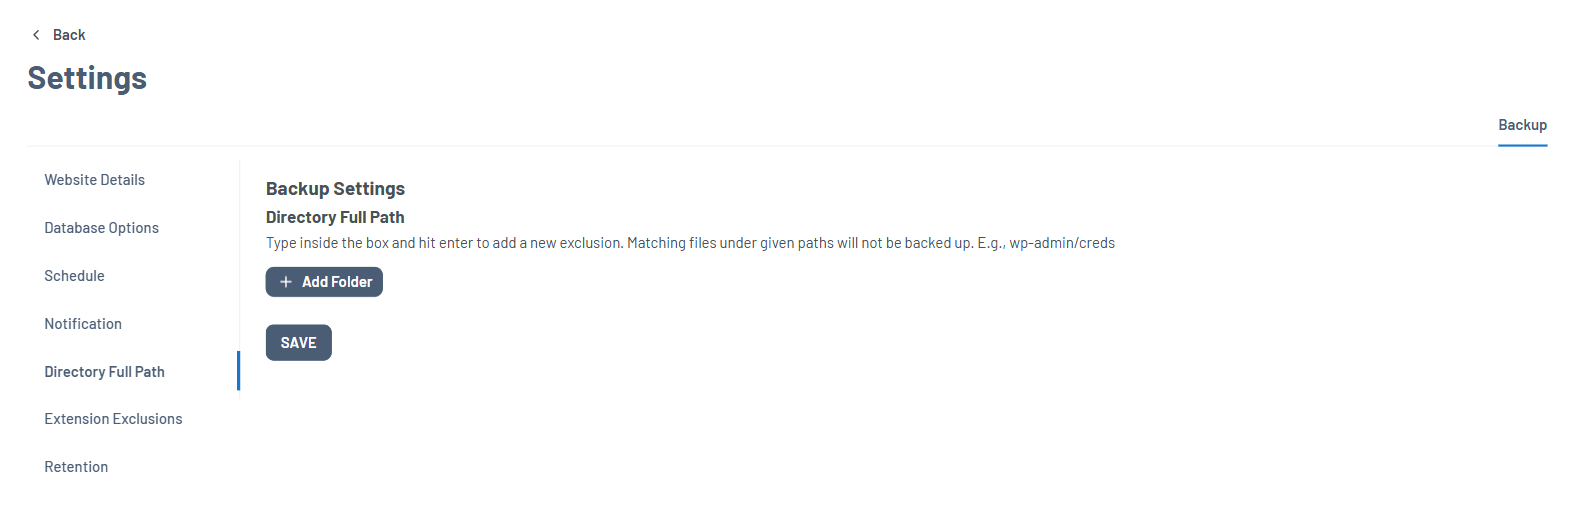
- Click + Add Folder.
- Enter directory paths such as.
cache/
tmp/
logs/
wp-admin/creds
Avoid excluding critical directories like:public_html/ wp/content - Click Save after adding exclusions.
Extension Exclusions
Exclude unnecessary file types:
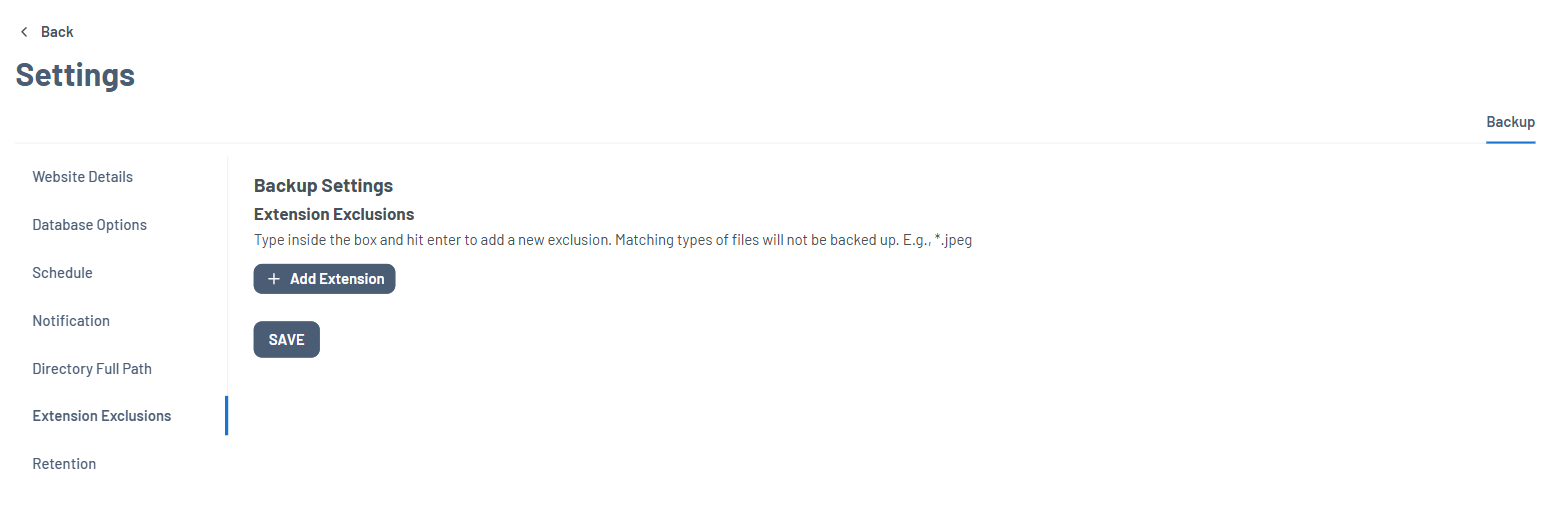
- Click + Add Extension.
- Enter patterns like:
Extension should start with *. characters.
*.log *.tmp *.jpg *.png *.zip - Repeat as needed and click Save.
Retention
Decide how long your backups will be stored before they are automatically removed. Setting a retention period helps you manage storage space and keep only the backups you need.
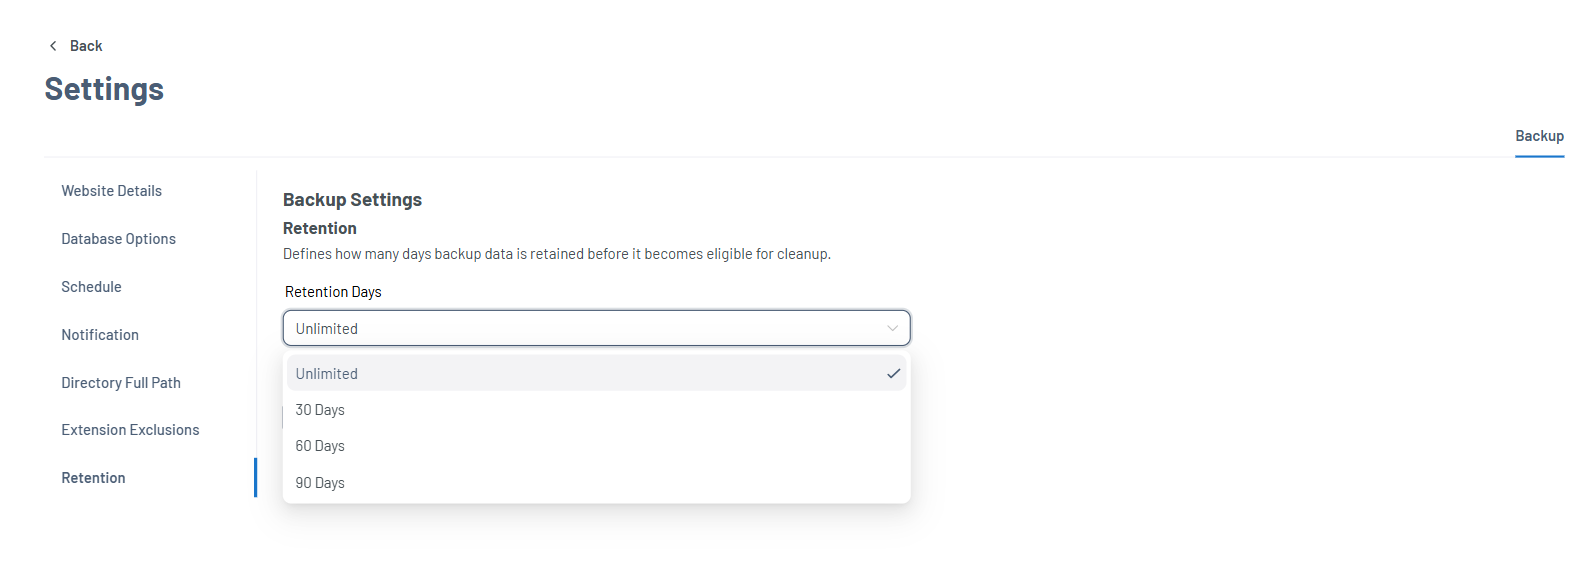
- Choose your desired retention option:
- Unlimited (default)
- 30 days
- 60 days
- 90 days
- Click Save to confirm your retention settings.