Setting Up Private Name Servers
Custom nameservers provide a variety of advantages when managing domain names, especially for businesses or individuals with multiple websites or those offering hosting or resold services. Here's a rundown of the key benefits:
Branding and Professionalism: Having your own nameservers, such as ns1.yourdomain.ext and ns2.yourdomain.ext enhances your brand's professionalism. It hides third-party nameservers, offering a cleaner, more branded experience when your clients conduct DNS lookups on their domains.
Reduction in Propagation Time: Since you manage your DNS records directly, changes can propagate faster compared to using the nameservers of a domain registrar, which might have longer update intervals.
However, it's essential to understand that managing your own nameservers comes with a certain amount of responsibility. You need to ensure their reliability, security, and performance, tasks that typically are handled by domain registrars or managed DNS service providers.
Why Use Custom Name Servers?
Not all websites require custom name servers (private name servers), but there are advantages to having one. By using custom name servers, you can improve your branding, easily switch to hosting providers, and have greater control over your DNS, privacy, and security.
- If you purchased your domain from HostGator, you could manage your domain name servers through your Customer Portal. Remember that any updates to your name servers can take up to 48 hours to propagate.
- If you did NOT purchase your domain from us, you cannot change the name servers here because we don't control the domain. Please contact the domain's registrar (where you bought the domain) and ask how to update the name server. Most domain registrars have a tool that you can use to do this yourself. Simply remove the current nameserver and change them with the name servers from your welcome email.
How Do I Create/Update Custom Name Servers?
To create or update custom name servers, follow these steps:
- Log in to your Customer Portal.
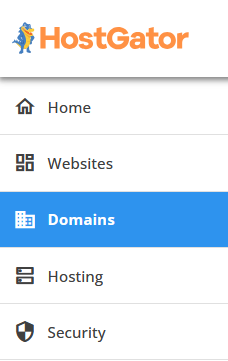
- Click the Domains tab on the left side of your Customer Portal homepage.

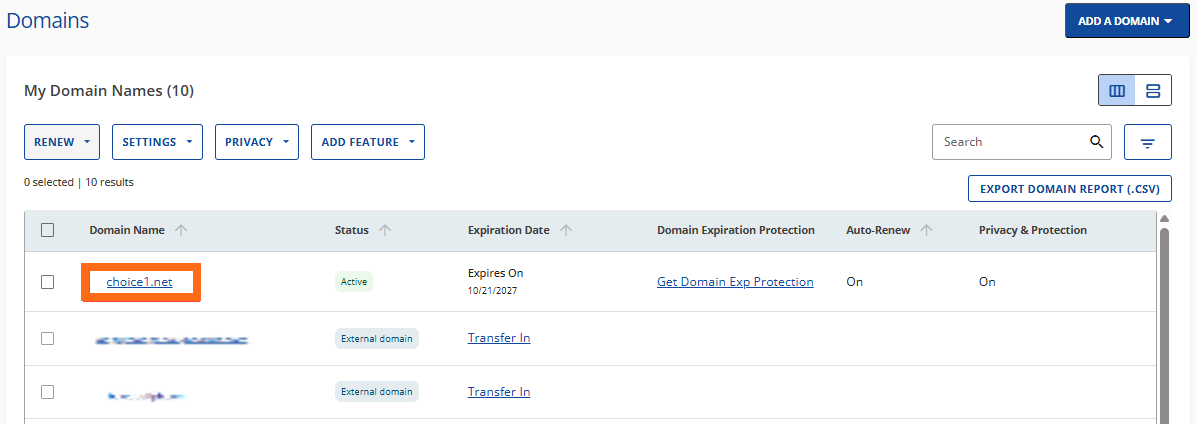
- Select the domain you want to manage.

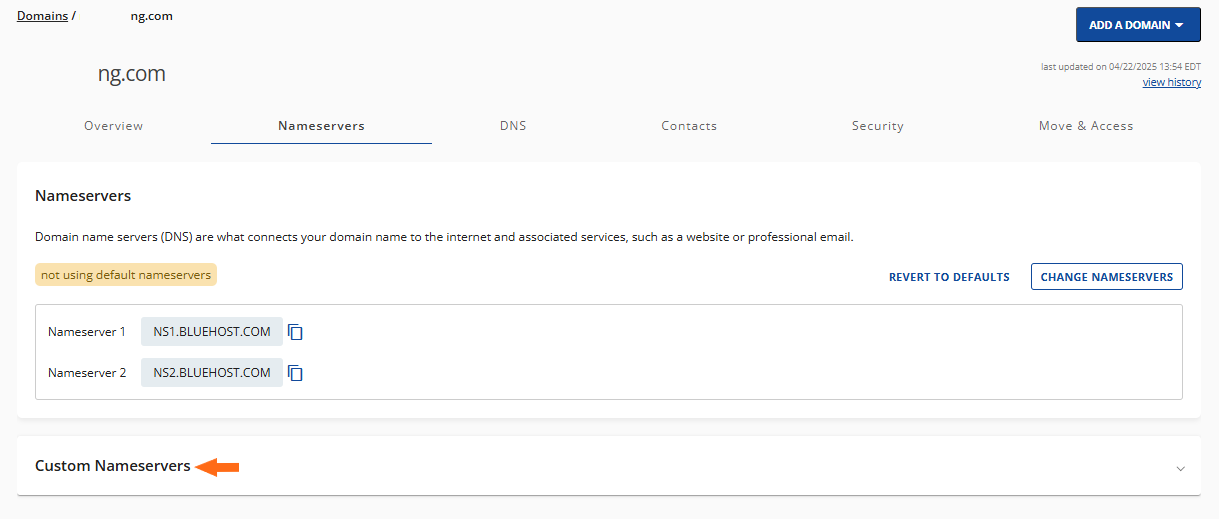
- Go to the Nameservers tab.

- Click Custom Nameservers.

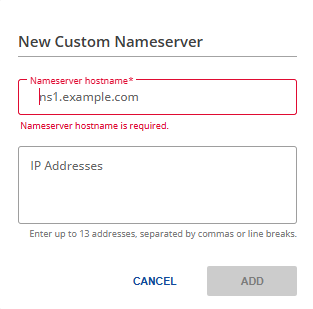
- Click +ADD.

- Enter the customized nameserver and make sure to include the IP address. Click ADD.

What to expect after the setup
For more information about propagation, you may visit the following article.
Related Articles
- Customer Portal - Domains - This article introduces the different actions you can do on your domain within your Customer Portal.
- Domain How-To's - For streamlined content, you may visit our go-to articles for domain management.