Knowledge Base
Categories: Plesk Client Side
How to Use the Backup Manager - Plesk
This article covers the following procedures for using the Backup Manager in step by step detail:
Note: These examples are using Plesk 18. The steps will be the same for other versions of Plesk; however, the button locations may differ.
Create a Backup of the Plesk Control Panel
To create a new backup:
- Go to the Websites & Domains tab:
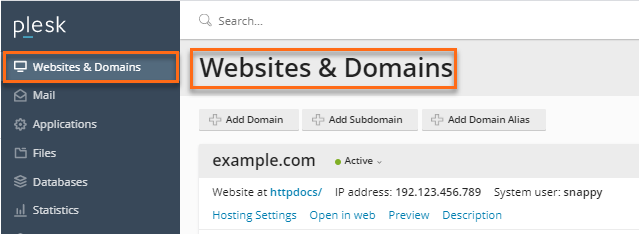
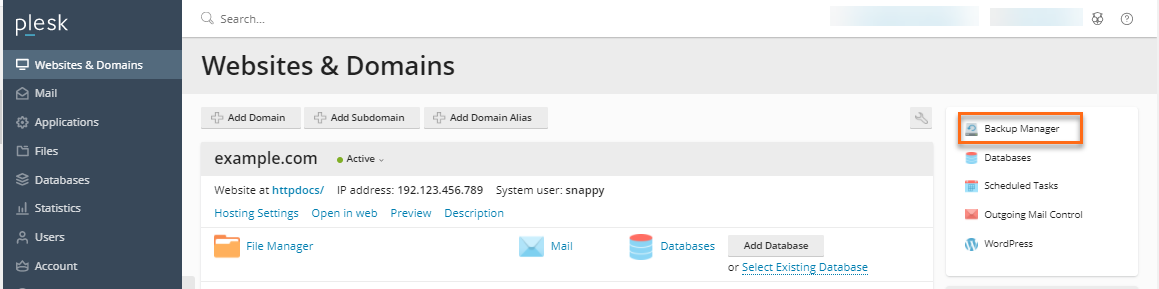
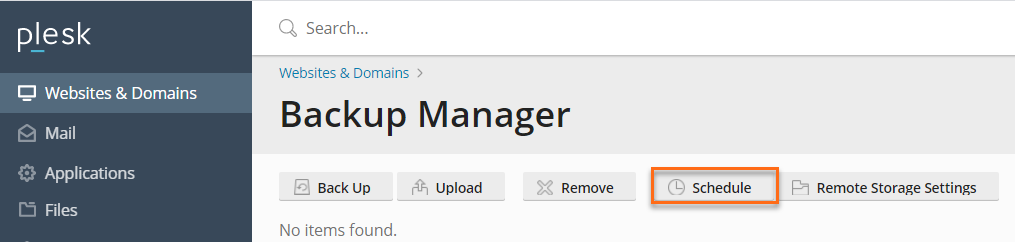
- Select Backup Manager:
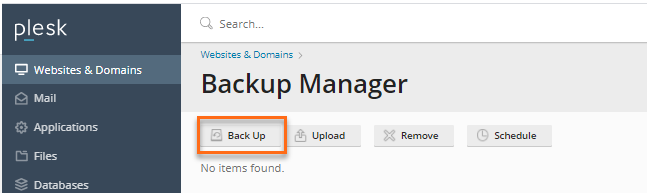
- From the Tools menu, select the Back Up icon:
- Configure the following settings:
- Choose the Backup type, if it is Full or Incremental backup.
- Email address to be notified upon completion of the backup task
- Whether just the domain configuration should be backed up or the domain configuration and site content.
- Choose whether to use the native MS SQL function.
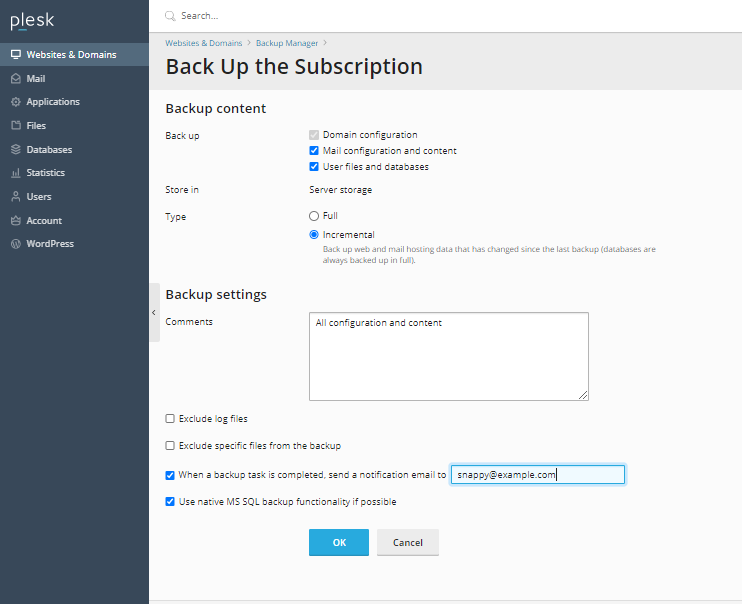
- Click Back Up.
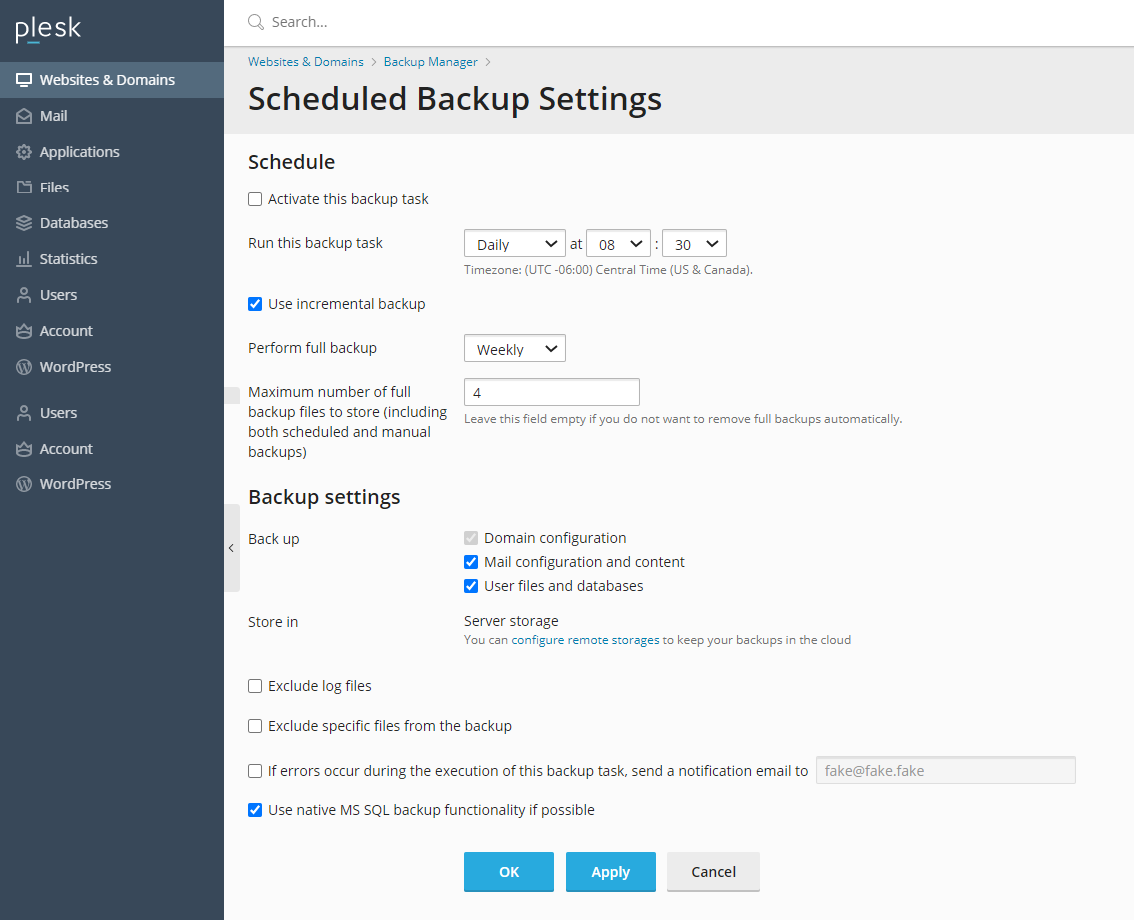
Scheduled Backup Settings
To change the settings for your scheduled backups:
- Go to the Websites & Domains tab:
- Select Backup Manager:
- Select the Schedule tab.
- Check the box to Activate this backup task.
- Configure the following options:
- Backup period (daily, weekly, or monthly).
- Start backup creation time.
- Set the Backup Settings.
- Store backup in the Server Storage, or you can configure remote storage.
- Email address to be notified should any errors arise during the backup task.
- Choose whether just the domain configuration should be backed up or the domain configuration and site content.
- Select if native MSSQL backup functionality of possible.
Upload Backup Files from Your Local Computer to the Server Storage
Note: The files to be uploaded are only specific to backups generated in Plesk.
To upload a file to the Server Storage:
- Go to the Websites & Domains tab:
- Select Backup Manager.
- Click on the Choose File button :
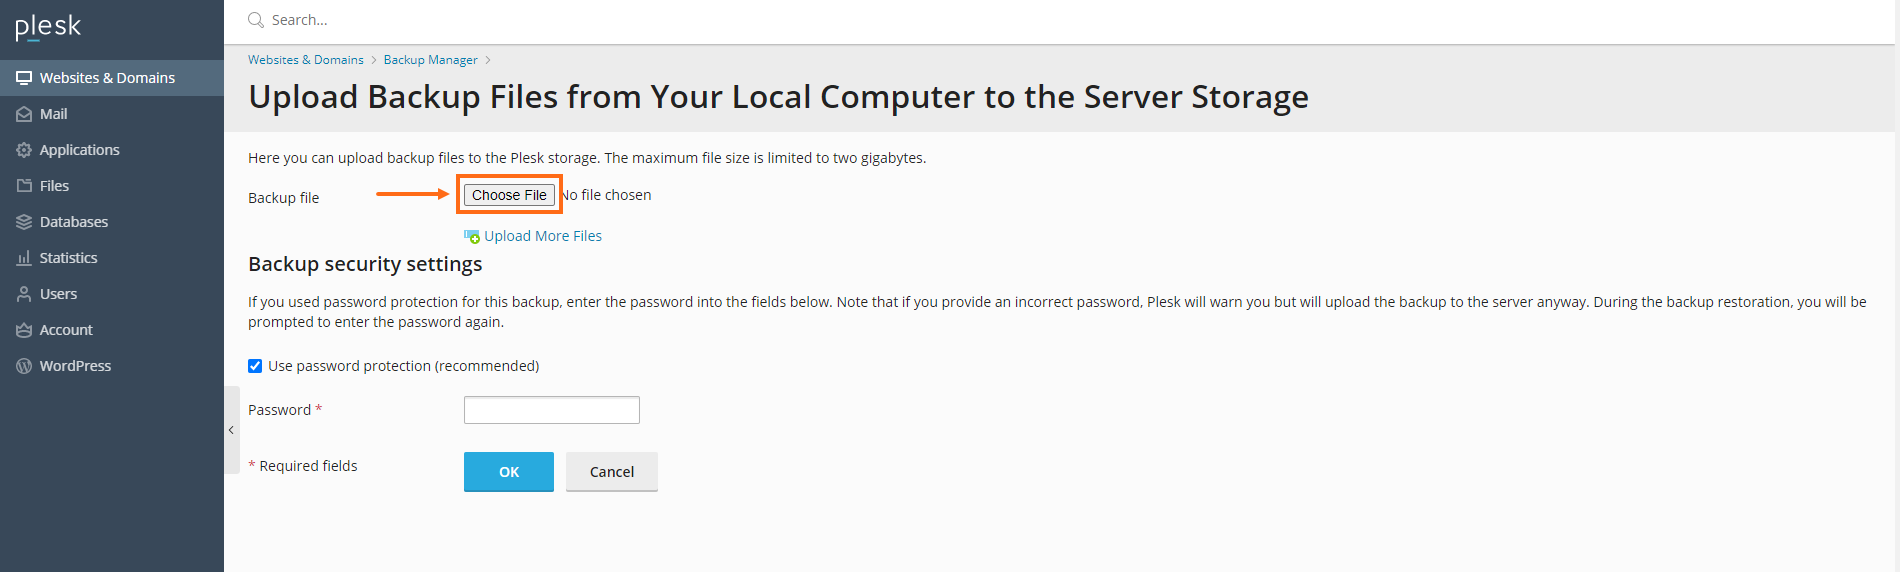
- Select Browse and navigate to the backup file. To upload multiple files select Upload more files.
- Select whether backup files may be uploaded without a valid signature (choose this option only if the backup source is trusted).
- Set a password to protect the backup file if preferred:
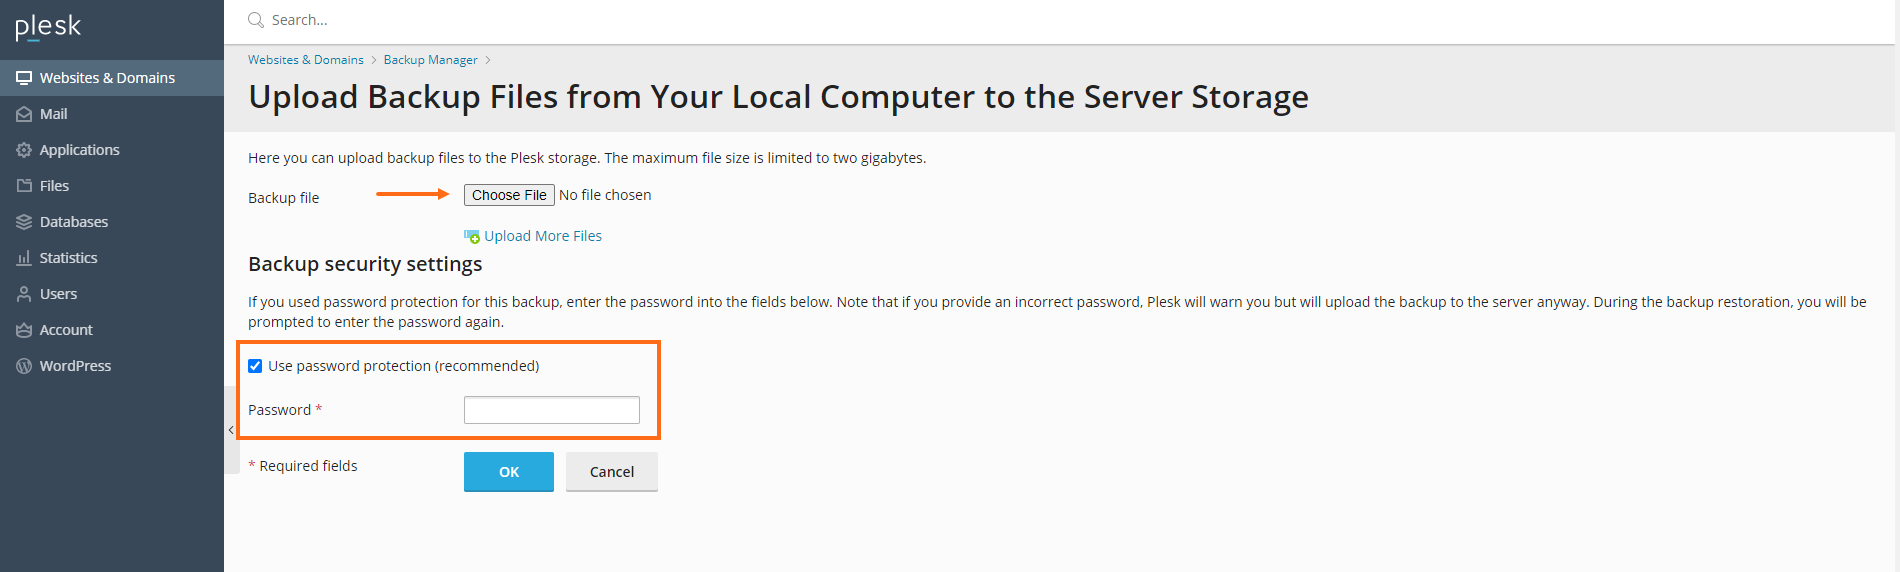
- Click OK.
Did you find this article helpful?