How to Use SpamAssassin
SpamAssassin is an anti-spam tool that helps filter unwanted messages and works for all of the email accounts in your cPanel. It can be set to mark spam messages so they are easy to notice. You can also choose to configure SpamAssassin to automatically delete any emails marked as spam.
HostGator recommends activating SpamAssassin as soon as you create an email account or log in for the first time.
This article discusses the following topics.
How to Enable/Disable SpamAssassin
To manage your SpamAssassin:
- Go to your cPanel's Email section. There are two ways to do this.
- Option 1: Launch your cPanel directly.
- Option 2: Launch your cPanel's Email section via your Customer Portal.
- Log in to your Customer Portal.
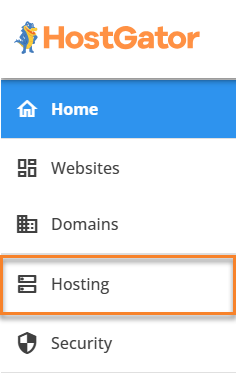
- Click the Hosting tab from the side navigation menu to the left.
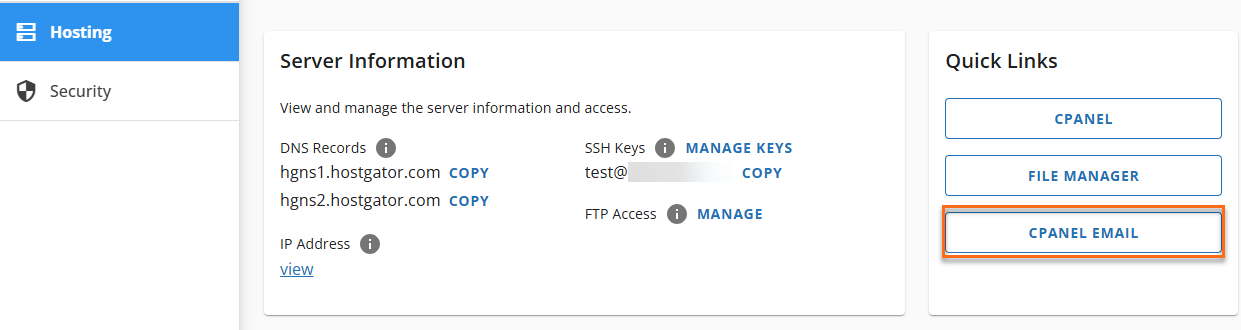
- Scroll down to click the cPanel Email button under Quick Links.
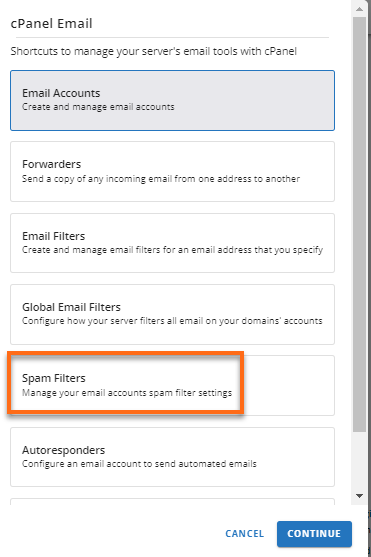
- If you have a single hosting package in your account, a pop-up window will appear. Look for Spam Filters.
- If you have multiple hosting packages in your account, you'll be redirected to the Hosting section. Look for the hosting plan whose Email section you want to access, then click its cPanel Email link.

- If you have a single hosting package in your account, a pop-up window will appear. Look for Spam Filters.
- In the pop-up window, select Spam Filters, then click the Continue button.
- Within the Spam Filters section, click on the toggle bar to enable or disable the Spam Assassin.
- If the toggle bar is blue, the Spam Assassin is enabled.

- If the toggle bar is grayed out, then SpamAssassin is disabled.

- If the toggle bar is blue, the Spam Assassin is enabled.
Set Spam Score Limit
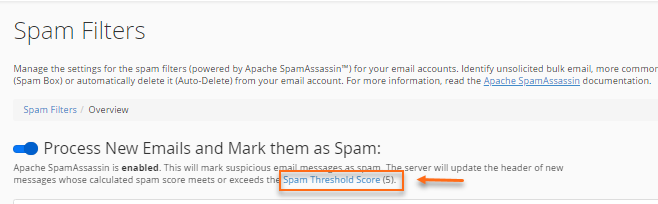
SpamAssassin screens each incoming email message and scores it based on its spam characteristics. By default, SpamAssassin considers messages with a score of 5 to be spam; however, you can adjust the spam score limit according to your preference:
- 1 means everything incoming will be marked as spam.
- 5 is the default setting (and works well for typical users).
- 10 means that any message with a score of 10 or less will not be marked as spam.
The following method is how you can change the default score.
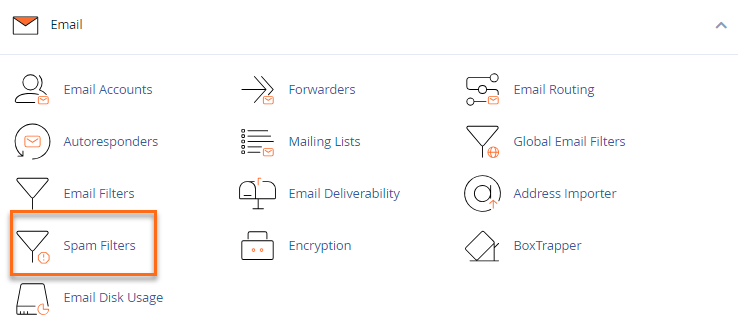
- Within cPanel, navigate to the Email section and then click on the Spam Filters icon.
- Click on the Spam Threshold Score link.
- In the dropdown, select your preferred value.

- Click Update Scoring Options at the bottom of the page.
Move New Spam to the Spam Box
You can use Spam Box or email filtering to move spam from your Inbox to another folder.
Spam Box
When the Spam Box is enabled, a spam folder is created. Spam is then delivered directly to this folder, allowing you to review all mail marked as spam before it is deleted. It also allows you to recover messages marked as "spam" from your email account's Spam folder.
To enable Spam Box, simply click the toggle bar in the Move New Spam to a Separate Folder (Spam Box) in the Spam Filters section.

You have the option to clear out or empty your Spam Box folder by clicking the Configure Spam Box Settings link.
Auto-delete Spam
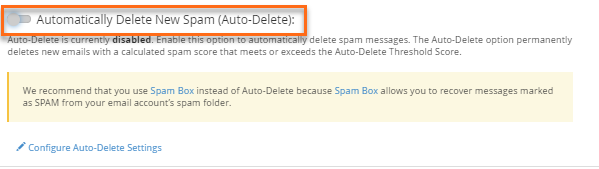
The auto-delete function automatically deletes messages that meet or exceed the spam score limit. Auto-delete can be enabled in the Filters section by clicking the toggle bar for Auto-Delete Spam.
- If the toggle bar is blue, the Automatically Delete New Spam (Auto-Delete) is Enabled.

- If the toggle bar is grayed out, the Automatically Delete New Spam (Auto-Delete) is Disabled.
It would be best to have the Auto-Delete spam score set to a higher number than the one available in the Spam Threshold Score, though both can be utilized.
Whitelist, Blacklist, and Calculated Spam Score Settings
Manage the spam filter settings for your email accounts. Click Show Additional Configurations to view more options.
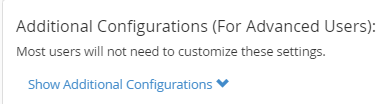
This will display the following functions:
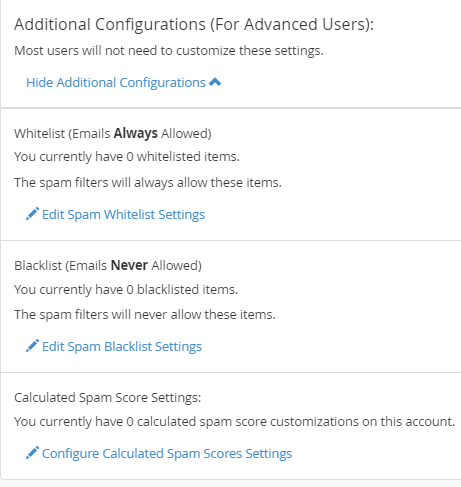
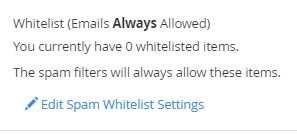
Whitelist
Whitelisting means any email sent to your domain from an email address or domain will "pass" through your spam filter and go to your Inbox.
To whitelist:
- Click Edit Spam Whitelist Settings.
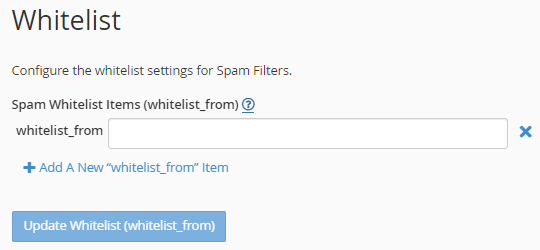
- On the Whitelist page, you can click Add a New "whitelist_from" item.
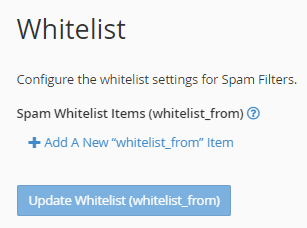
- Enter the email address that the system should NOT tag as spam. Use "*" and "?" wildcard characters for more flexibility.
 Please ensure you do not whitelist your own domain. Doing so will allow spammers who impersonate your domains to be more effective.
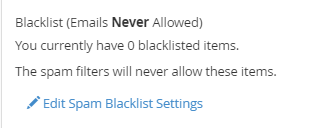
Blacklist
Blacklisting means to mark any messages from an email address or domain as spam. This is especially helpful if you're constantly getting spam emails from a specific email address or domain.
To blacklist:
- Click Edit Spam Blacklist Settings.
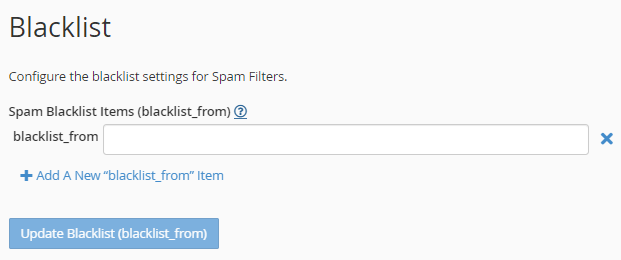
- On the Blacklist page, click Add a New "blacklist_from" item.
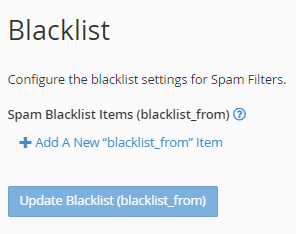
- Enter the email address to be tagged as spam. You can use "*" and "?" wildcard characters for more flexibility.
Calculated Spam Score Settings
This function is usually used by advanced users. You can assign scores to individual tests to configure SpamAssassin.You can increase the score of a test that incorrectly allows spam emails to pass through your email filter. You may also disable or reduce the score of a test that incorrectly marks emails as spam.
To modify a score:
- Click Configure Calculated Spam Score Settings.
- Click Add a New 'scores' item.
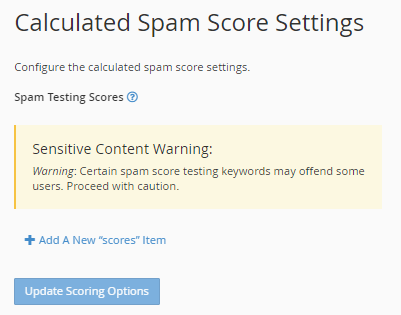
- Select a new score from the dropdown menu.
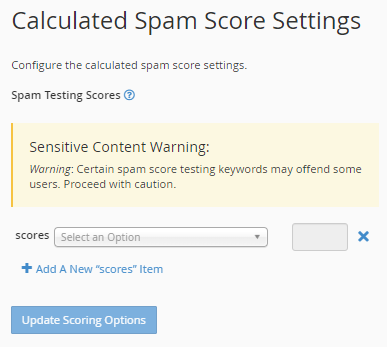
- Enter a value that contains up to 3 decimal places. (Setting it to 0 will disable the test.)
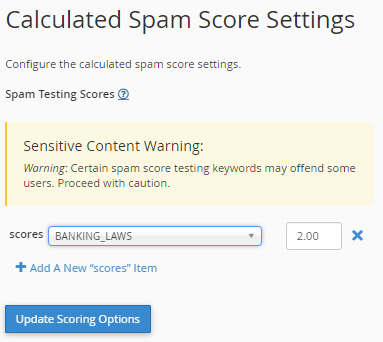
- Click the Update Scoring Options button to save.
For more information about custom SpamAssassin configurations, please see the following article:
How to go to your Spam Folder
Spam is delivered to your spam folder when you have Spam Box enabled. However, you will need to subscribe to the spam folder in your mail client to view or process spam messages held there. You can learn how to subscribe to your spam folder in this article:
User-level Email Filtering
The settings you choose for SpamAssassin are applied to all email accounts in your cPanel. You can also use filtering for each email account to direct spam appropriately for that account.
Via Roundcube
To filter an individual email account:
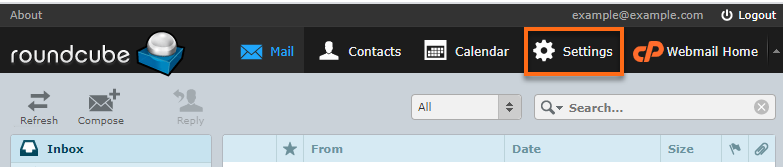
- Log in to your webmail. Usually, users will go to
example.com/webmailand log in. (Replace example.com with your actual domain name.) - Once logged in, click on Settings in the top-right corner.
- Navigate to the Folders option, scroll down, then click on the + icon.

- Label the folder name as "spam."
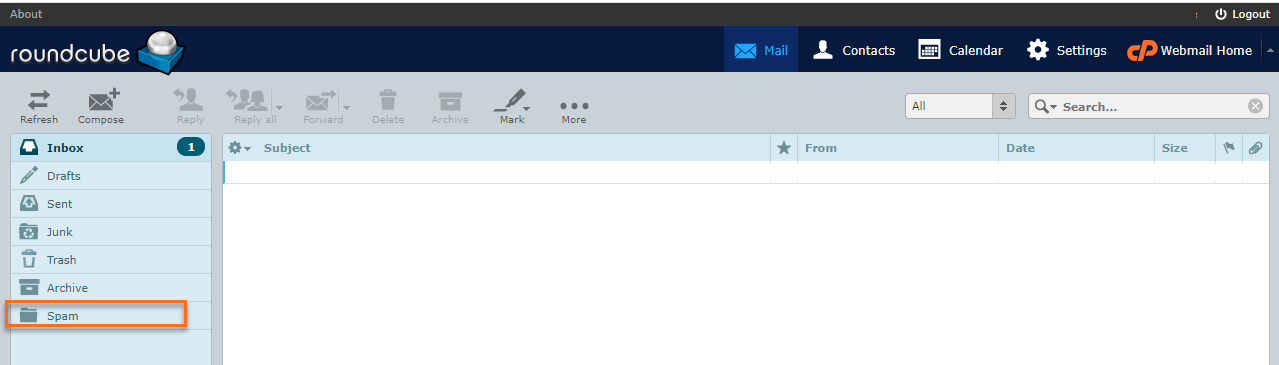
- Click on Save. Create a folder called spam. Use all lowercase letters to name this folder.
Via cPanel
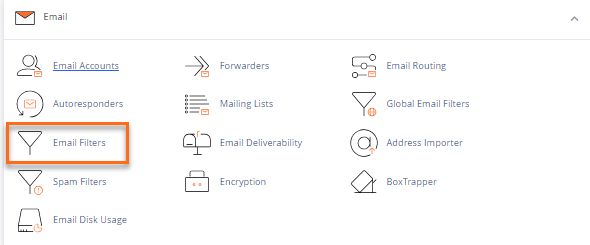
- In the Email section of cPanel, select the Email Filters icon.
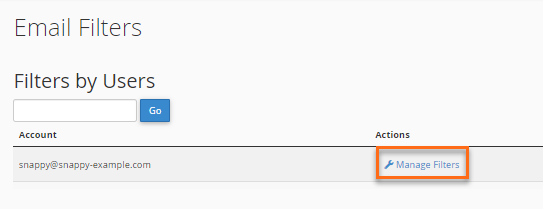
- Click Manage Filters next to the appropriate user.
- Click Create a New Filter. You will be taken to a new page.
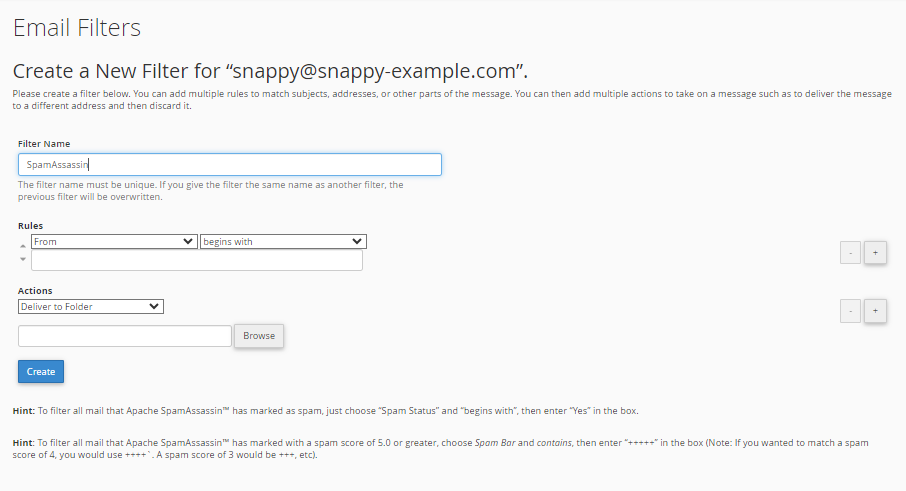
- In the Filter Name field, enter a name for the filter (such as SpamAssassin or whatever is desired).
- Under Rules, select Spam Status from the first dropdown menu.
Note: If this option is not available, check to make sure that Spam Assassin is enabled.
- In the adjacent dropdown menu, select begins with.
- In the large, blank box below the dropdown menus, type the word Yes.
- Under Actions, select Deliver to folder from the dropdown menu.
- Click Browse and select the "spam" folder.
- When finished, click Create.
You can now log back into your email client and subscribe to the new spam folder.