Knowledge Base
cPanel icon Settings using the Feature Manager
The Feature Manager allows you to disable/enable icons inside each client's cPanel. Once you build a feature list, you should edit the client's package and add the new feature list.
How to Set Up a Feature List
- Log in to your WHM.
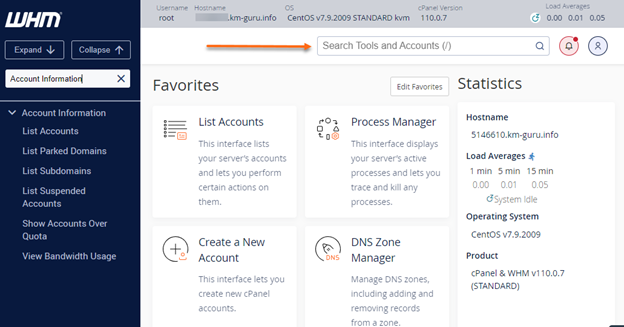
- Look for the Packages section. The quickest way is by typing the keyword in the Search box on the left-side panel.

Alternatively, you can use the Search box at the top.
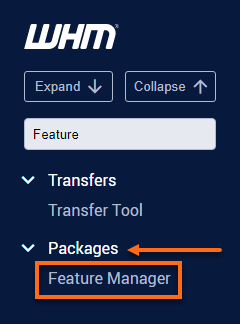
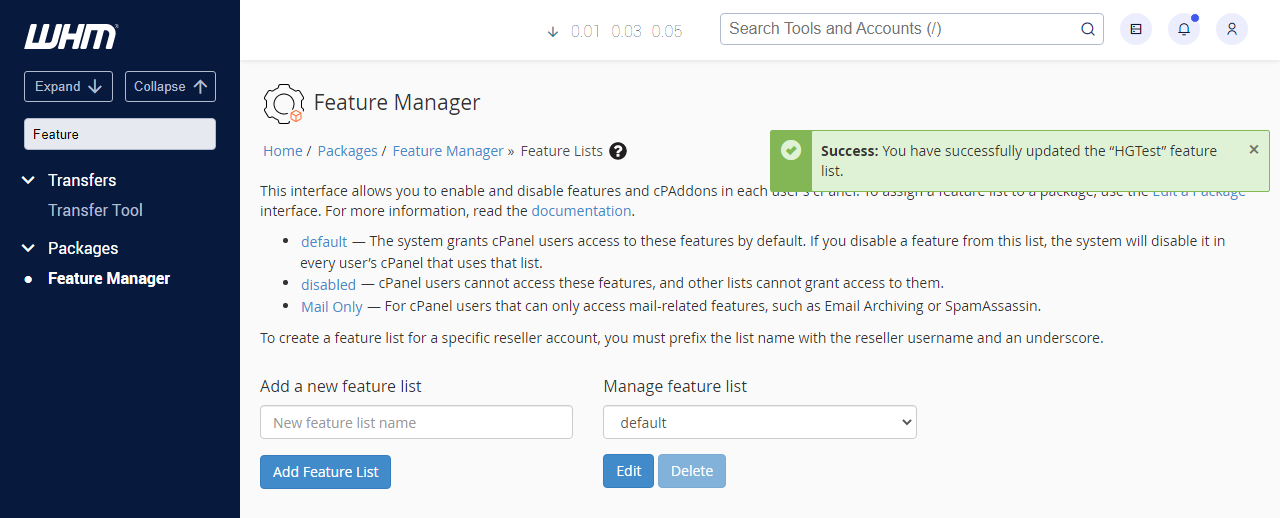
- Select Feature Manager. You can also manually locate and expand the Package section on the left-side panel, then click Feature Manager from the list.
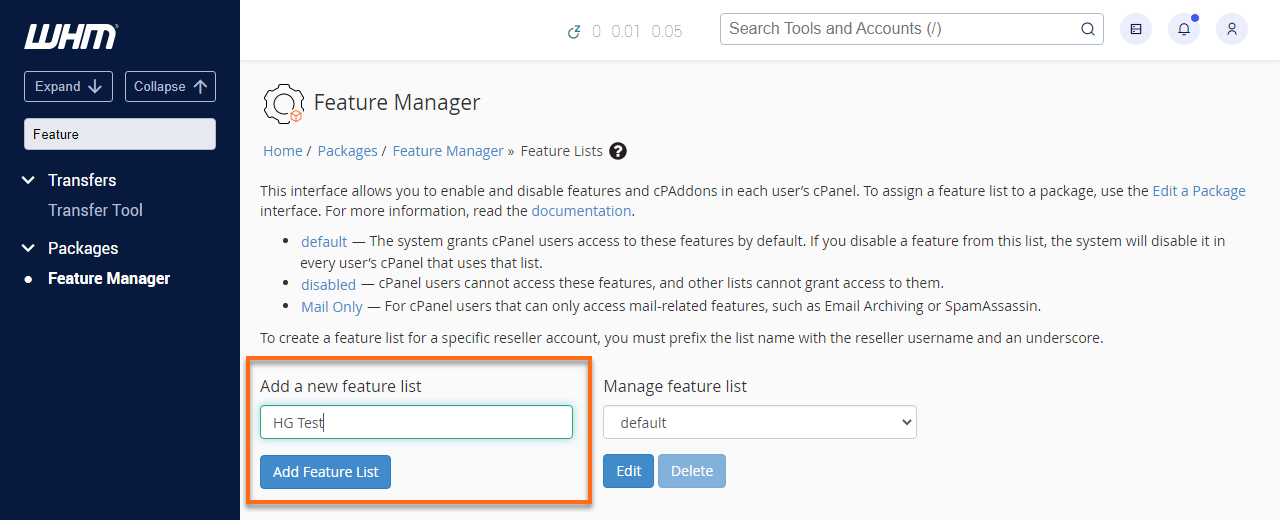
- Type a new feature list name and hit the Add Feature List button.
- Select all of the icons you want, and deselect all of the icons you don't want.
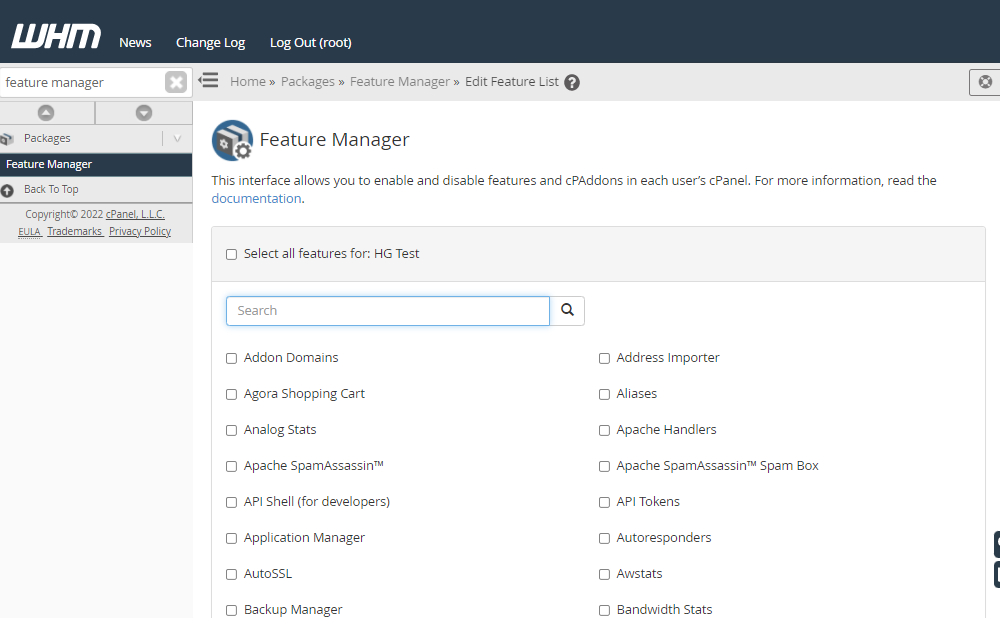
- Hit the Save button.
- Congratulations! You successfully set up a feature list.
How to Assign a Feature List to a Package
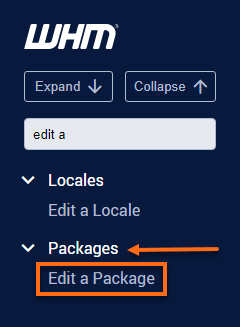
- To assign a feature list to a package, search Edit a Package in the left panel.
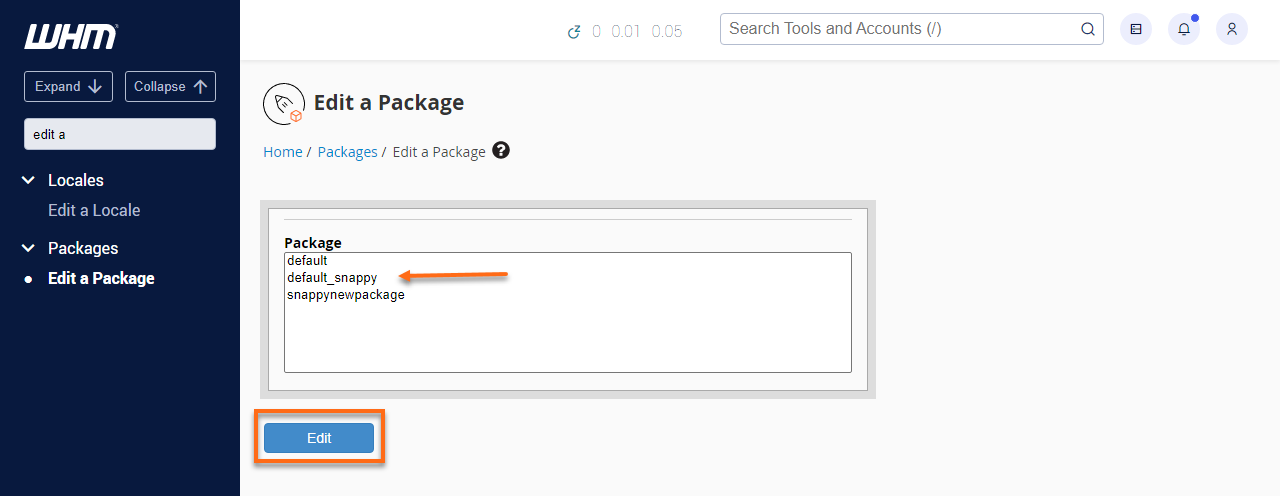
- Select the package name your domain uses, and then hit the Edit button.
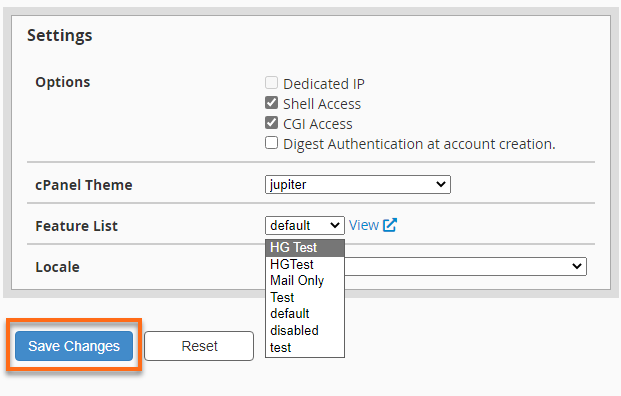
- Navigate to the Settings section. Click on the dropdown to show the available feature list.
- Select the new feature list name and click the Save Changes button.
- Now, all domains that use that package will have the cPanel icons you selected
Did you find this article helpful?