WordPress - Leverage Browser Caching
If you recently ran a WordPress speed test or want to improve your website’s performance, you may have seen the recommendation to Leverage Browser Caching. So, what does it actually mean to leverage browser caching, and why is it vital for WordPress speed optimization?
Leverage Browser Caching: What is it?
Leverage Browser Caching refers to the settings within your browser that determine how long certain website files—such as scripts, images, and HTML—are stored locally. When someone visits your site, the browser downloads these elements into a local cache.
If the visitor returns, the browser loads these cached items instead of downloading them again. This significantly reduces load time and improves overall WordPress performance.
Now that you understand what leveraging browser caching is, let’s discuss how to implement it on your WordPress website. Below are two main methods: using the .htaccess file or a WordPress caching plugin.
Method 1: Leverage Browser Caching using .htaccess
We will cover the first method to manually add Cache-Control Headers and Expiration Headers into your .htaccess file.
- Log in to cPanel. There are two ways to access your cPanel.
- Option 1: Access your cPanel directly.
- Option 2: Access your cPanel via your Customer Portal.
- Log in to your Customer Portal.
- Click Hosting in the left-side menu.
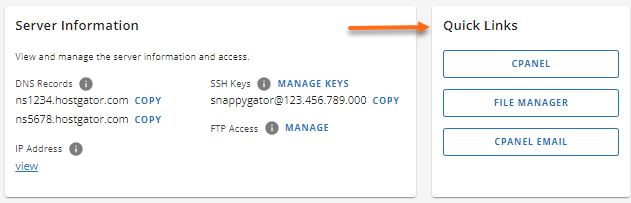
- If you have a single hosting package in your account, scroll down to the Quick Links section.
If you have multiple hosting packages in your account, locate the hosting package you want to manage on the Hosting Packages page, then click its Manage button.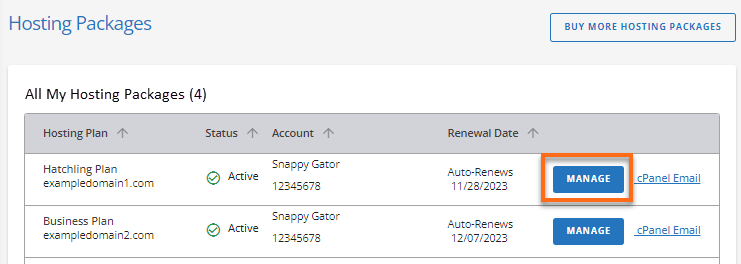
- Under the Quick Links section, click the cPanel button.
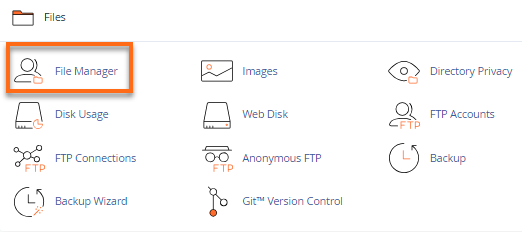
- Go to the Files section, then click File Manager.
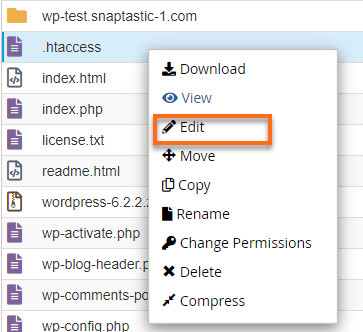
- Click on public_html on the left menu, then locate the .htaccess file.
- Right-click on the .htaccess file, then select Edit.
 If you try Leverage Browser Caching for your primary domain, that domain's file path is home/public_html. If you need to locate your addon domain's file path, that can be found via the addon domains icon on your cPanel under the Doc Root column.
 - On the next pop-up, click Edit to access the editor.

- Once in the edit mode for the .htaccess file, paste the following Cache-Control Headers and Expiring Headers codes, each on a new line within the .htaccess file.
# BEGIN BROWSER CACHING <ifModule mod_expires.c> ExpiresActive On # Images ExpiresByType image/jpeg "access plus 1 year" ExpiresByType image/gif "access plus 1 year" ExpiresByType image/png "access plus 1 year" ExpiresByType image/webp "access plus 1 year" ExpiresByType image/svg+xml "access plus 1 year" ExpiresByType image/x-icon "access plus 1 year" # Video ExpiresByType video/webm "access plus 1 year" ExpiresByType video/mp4 "access plus 1 year" ExpiresByType video/mpeg "access plus 1 year" # Fonts ExpiresByType font/ttf "access plus 1 year" ExpiresByType font/otf "access plus 1 year" ExpiresByType font/woff "access plus 1 year" ExpiresByType font/woff2 "access plus 1 year" ExpiresByType application/font-woff "access plus 1 year" # CSS, JavaScript ExpiresByType text/css "access plus 1 month" ExpiresByType text/javascript "access plus 1 month" ExpiresByType application/javascript "access plus 1 month" # Others ExpiresByType application/pdf "access plus 1 month" ExpiresByType image/vnd.microsoft.icon "access plus 1 year" </IfModule> # END BROWSER CACHING - After the codes have been added to the .htaccess file, click the Save Changes button at the screen's top right corner.
Congrats! You have now Leveraged Browser Caching!
Method 2: Leverage Browser Caching using a WordPress Plugin
Now that we have covered how to leverage browser caching manually, let's discuss a WordPress plugin you can install to perform the same task.
W3 Total Cache
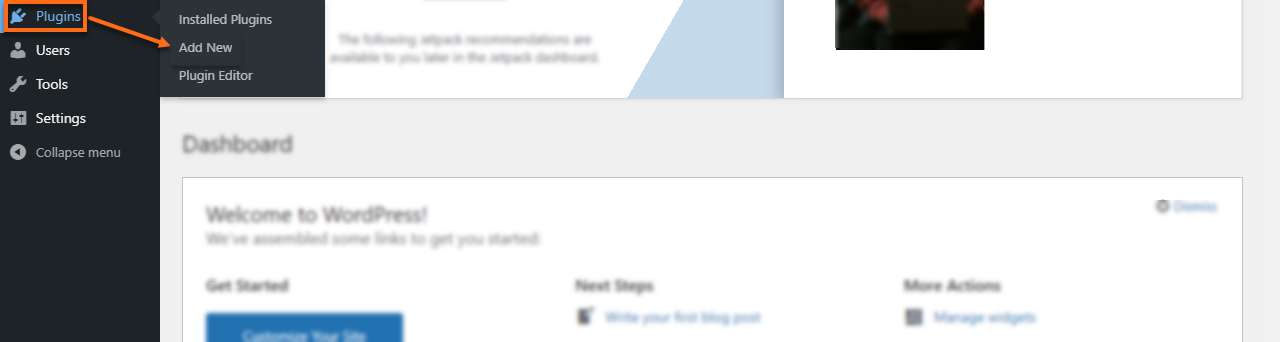
- Log in to the WordPress dashboard and hover your mouse cursor over Plugins.
- Select the Add New option.
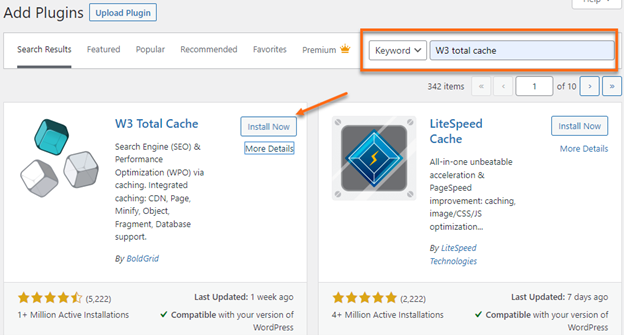
- In the middle of the page, towards the right-hand side, search for W3 Total Cache and click the Install Now option.
- Click Activate.

- Once activated, look for W3 Total Cache from your list of installed plugins and click on the Settings link.

- Scroll down to the Browser Cache section and ensure the browser cache is enabled.
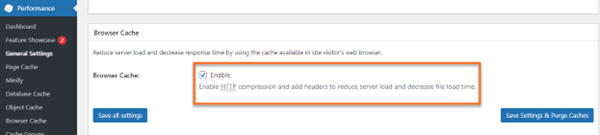
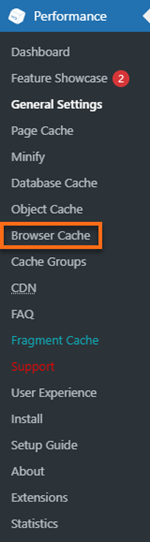
- Now that we have enabled Browser Cache, we must finish the W3 Total Cache plugin setup. On the left side of the dashboard, under the Performance section, select the Browser Cache option.
- In the Browser Cache section, under General Settings, click the checkboxes for the following options:
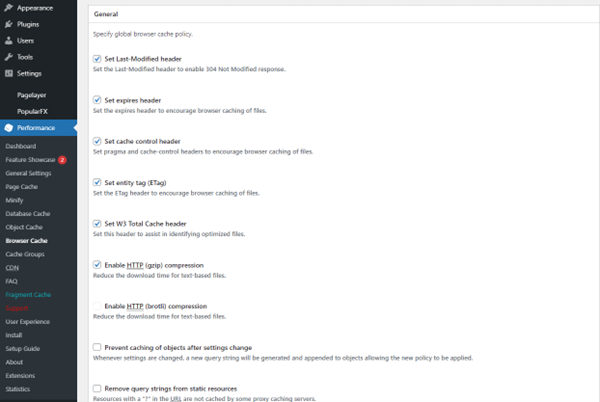
- Set Last-Modified Header - The setting of the last header change for CSS and JS files should be enabled.
- Set expires header - The expires header is the expiration time of an entity on the web, whether an HTML document, CSS file, image, etc. The length specified in this header will control how long the entity's cache is valid.
- Set cache control header - The cache-control header is an additional header to encourage browser caching.
- Set entity tag (ETag) - The ETag is a validation tag that makes browser caching more efficient.
- Set W3 Total Cache header - This is a header set by W3TC to assist in identifying optimized files.
- Enable HTTP (gzip) compression - Gzip compression will reduce the download time for text-based files.
- Once those options are enabled, select the Save All Settings button, and you will be all set!