Using DKIM & SPF With Third Party DNS
DKIM & SPF records are important for ensuring that your domain is not delivered to your recipients' spam folders or even outright rejected. HostGator currently enables these by default for all cPanel accounts. Third-party DNS providers may require you to add these DNS records manually.
There are three core steps to adding DKIM & SPF records to your third-party DNS provider:
- Step 1: Ensure DKIM & SPF are enabled ⤵
- Step 2: Find and Copy your DKIM signature ⤵
- Step 3: Add SPF and DKIM Records to your DNS Zone ⤵
This article assists with email accounts hosted on your HostGator cPanel hosting. If you use a third-party email hosting provider, you must consult them for assistance with DKIM and SPF records.
Step 1: Ensure DKIM & SPF are Enabled
The first step is ensuring that DKIM and SPF work correctly on your cPanel.
- Log in to cPanel. There are two ways to access your cPanel.
- Option 1: Access your cPanel directly.
- Option 2: Access your cPanel via your Customer Portal.
- Log in to your Customer Portal.
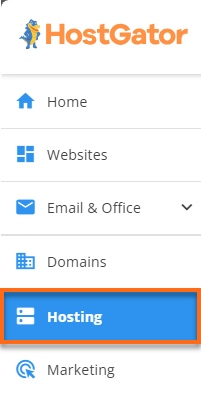
- Click Hosting in the left-side menu.
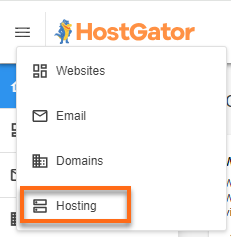
Alternatively, you can also click the slide navigation menu on the top-left, then click Hosting.
-
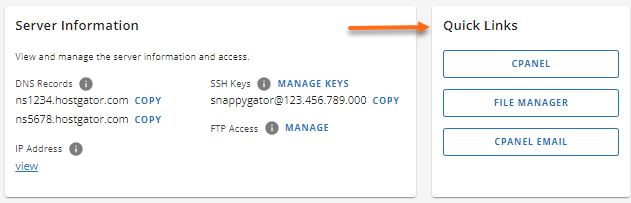
If you have a single hosting package in your account, scroll down to the Quick Links section.
If you have multiple hosting packages in your account, locate the hosting package you want to manage on the Hosting Packages page, then click its Manage button.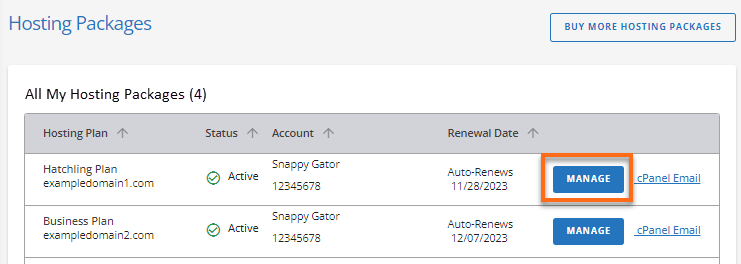
- Under the Quick Links section, click the cPanel button.
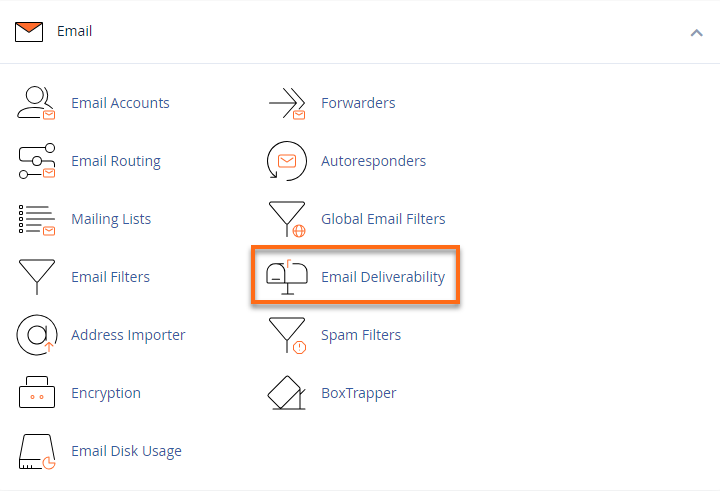
- Within cPanel's Email section, click on the Email Deliverability icon.
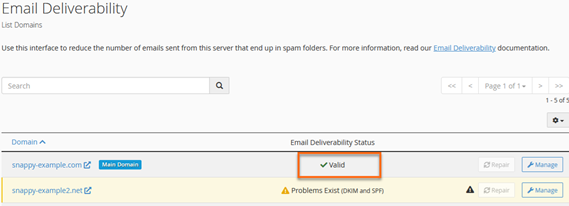
- Locate your domain and then check its Email Deliverability status.
- If it says Valid, then the DKIM & SPF are Enabled.
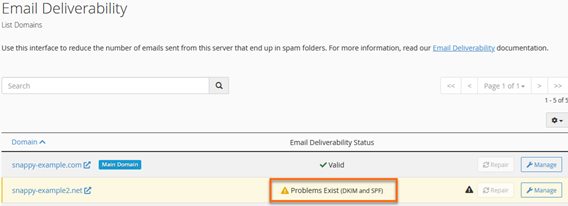
-
If it says Problems Exist (DKIM and SPF) or Problems Exist (DKIM), click Repair. Select Generate Local DKIM Key, then Repair to save the changes.
 Note: If you already use third-party DNS, the required DKIM record will be provided when the service is enabled.
- If it says Valid, then the DKIM & SPF are Enabled.
- When your DKIM & SPF are Enabled, your SPF and DKIM records will be displayed.
- Click Manage to see the records, then copy the SPF and DKIM records for Step 3.

If your DNS is already pointed to your third-party DNS host, you may copy the DKIM and raw SPF records provided on this page and skip to Step 3.
Step 2: Find and Copy your DKIM Signature
If you're using HostGator's name servers, you should be able to view the DKIM record through the Zone Editor in cPanel. You can also view your DKIM record on external websites, such as https://dmarcian.com/dkim-inspector/ or the DKIM checker in MXToolbox.
To get your DKIM record, you will need to view your full email headers.
- To do this, mail yourself using an external email address, such as Gmail, Yahoo, or a domain hosted on another server, then check the email headers. Alternatively, you may use a service such as ISnotSPAM.
- Once you have the headers from an outbound email, look for the section similar to this:
DKIM-Signature: v=1; a=rsa-sha256; q=dns/txt; c=relaxed/relaxed; d=hgunlimited.com; s=default;
h=Message-ID:Subject:To:From:Date:Content-Transfer-Encoding:Content-Type:MIME-Version;
bh=JUmMmS1Lna1PPFKxOCvqS3v+fr8dj4qCwpvucGl1i2o=;
b=TNH8rwqFBvZO2m9qcXLollRx82xvvo9RYsfIMl34/k6XMD3WiB6LGMSDCw715EAca6RadiTAq7LtOfAIYhiJ4DE0hPOM
nvKGWweypTZLz8cw+x9Zx4I03is55TuxIS5+Vk4g0F5V+gv5Ddr5m8Gni80Yx22aL9qrYkZInBdkU3Z0lTavUgxdLdARsc
OcS4apQmuOnQfOqOPR8Nof1tg3YhiLs6cTQ/cR+6fT0gngw9+70owkSpY6mydOl1KLDpJBYWHNgyoBFQhx+QqalFZMIj+w
2i+3yBdP+EE0nUhBS2J5rxpTett+cfV4Mkmoc88yI1zFYdyld4xBWeeZvgGBmw==;
*Please note that the header provided above is an example only. Email headers will be unique for every email that is sent from a domain name.
- Copy the entire value after "DKIM-Signature:" from your email header to create your DKIM record. Once you have the raw SPF and DKIM records, you may proceed to the next step.
Step 3: Add SPF and DKIM Records to your Zone Editor
Once you have the values for your SPF and DKIM records, you will need to create 2 TXT records at your third-party DNS provider:
- Record Type: TXT
- Name: example.com. (Please make sure to replace 'example.com" with your actual domain name and be sure to include the extra period (.) at the end)
- TTL: 14400
- Value: Enter the value for the raw SPF record you copied earlier.
- Record Type: TXT
- Name: default._domainkey.example.com. (Please make sure to replace 'example.com" with your actual domain name and be sure to include the extra period (.) at the end)
- TTL: 14400
- Value: Enter the value for the DKIM signature.
After adding your new DNS records, they should function correctly within 4 to 8 hours due to propagation.