Microsoft 365: How-To Migrate HostGator Email To Outlook
![]()
With your Microsoft 365 (formerly Office 365) Business Pro subscription, you can download and install your applications on your desktop. This guide will help you migrate your HostGator email to your Microsoft 365 account in the desktop version of Outlook.
How to Set Up Microsoft 365
Step 1: Gather your email client settings.
- Log in to the HostGator Customer Portal.
- Click on cPanel Email.

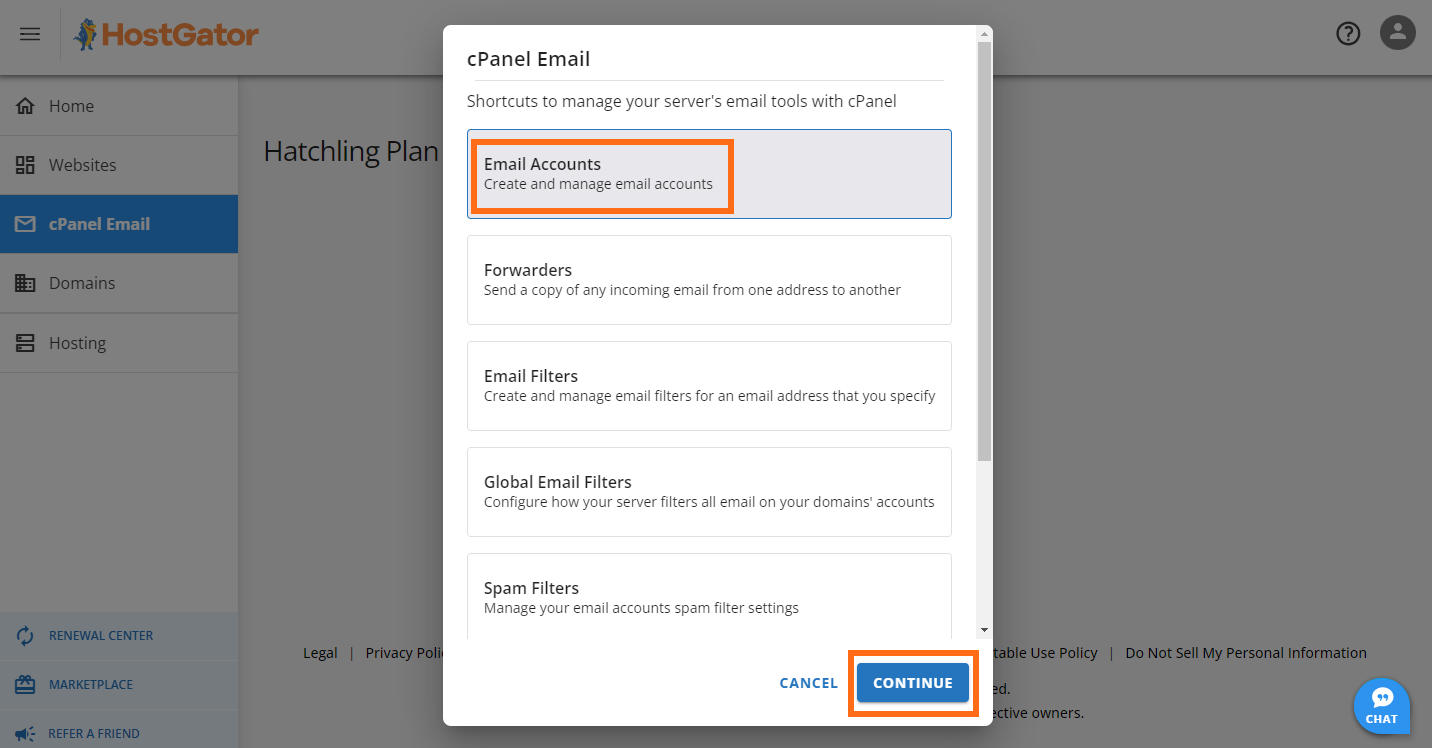
- Select Email Accounts from the pop-up and click CONTINUE.
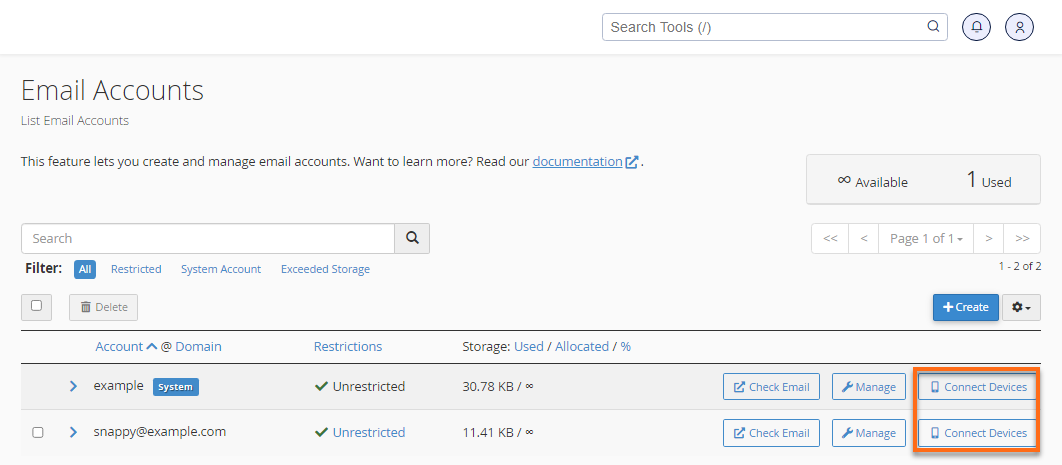
- Within the Email Accounts page, scroll down to your list of email accounts and click Connect Devices.
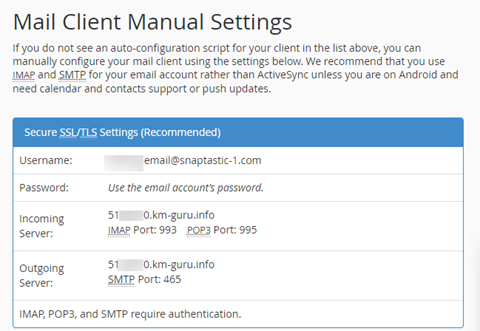
- Go to the Mail Client Manual Settings section and note the information in the Secure SSL/TLS Settings (Recommended) box. You will need this information to migrate your email.
The incoming and outgoing server varies. Please check the incoming and outgoing servers assigned to your account within your emails.
Step 2: Import your HostGator email to Outlook.
Now you're ready to import your HostGator email into Outlook.
- Open the Outlook app on your computer.
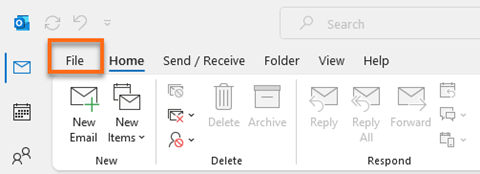
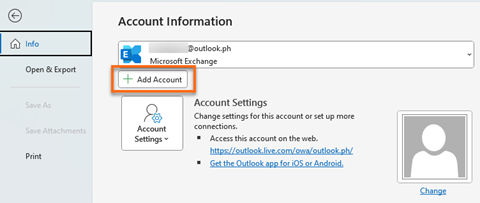
- Click the File tab.
- Next, click on the +Add Account button.
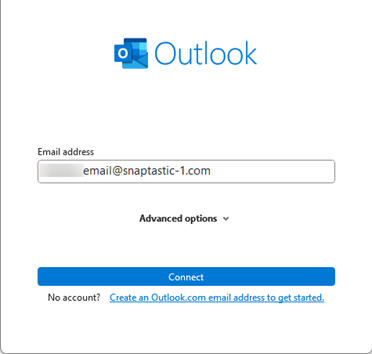
- Enter your HostGator-hosted email address and click the Connect button.
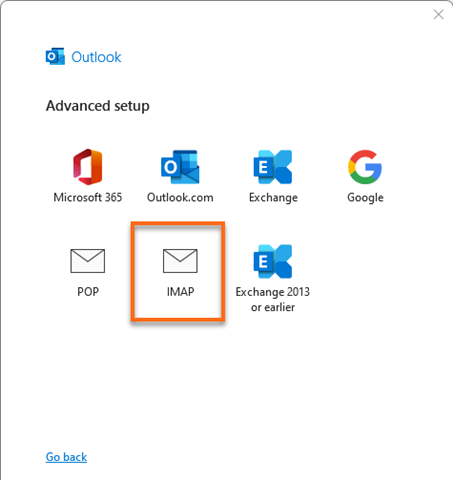
- You have to select an account type on the next screen. Choose IMAP.
- Now you will need the information gathered earlier. Use the data from the Secure SSL/TLS Settings (Recommended) box to fill in the account settings.
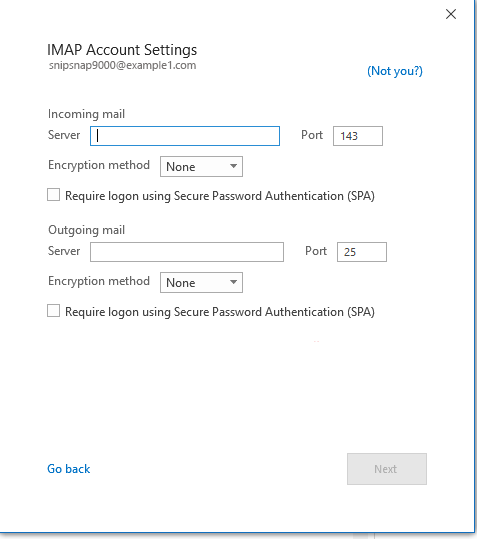
- Once you're done inputting your connection settings, click the Next button.
- Enter your password on the last screen and click Done.
Outlook will now sync with your HostGator-hosted email account. The email in your webmail account will now show in Outlook below your Microsoft 365 mailbox.
Step 3: Save your emails to the desktop.
The next part is exporting your emails to an Outlook Data File (.pst). If you receive more emails after taking this snapshot, you must repeat these steps to migrate the new messages.
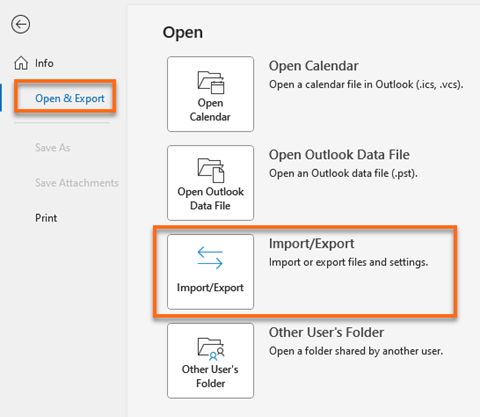
- In the Outlook desktop app, choose File > Open & Export > Import/Export.
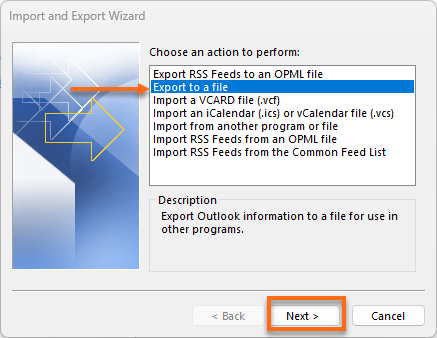
- Choose the option to Export to a file. Then, click Next.
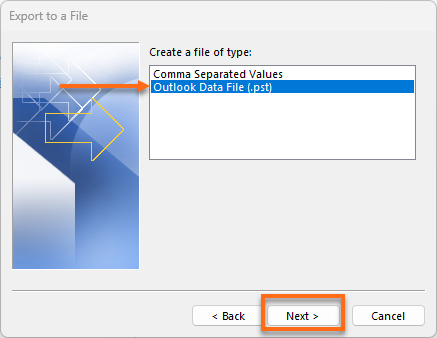
- Choose Outlook Data File (.pst), then hit Next.
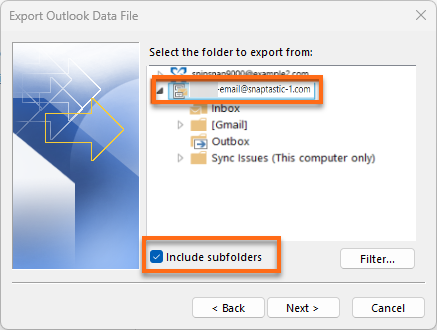
- Choose the account you want to export by clicking on the name or email account you added to Outlook in the previous steps. Ensure the Include subfolders box is checked before clicking Next.
- Click Browse to choose where to save the .pst file and to enter a filename. By default, the name is backup.pst, but you can choose another name that's easy to remember.
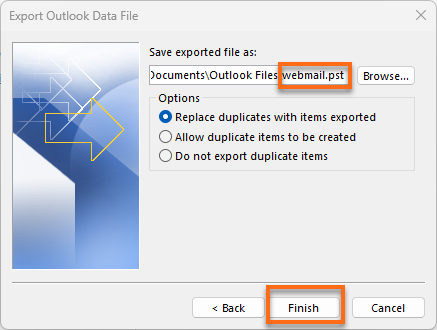
- If you are exporting to an existing .pst from a previous export, you will need to select what to do when exporting items that already exist in the file in the Options box.
- Then, click Finish to continue.
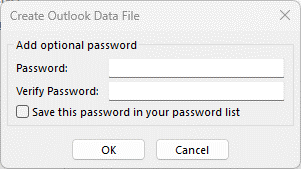
- The next box presents you with the option to password protect the file; however, you can click OK to save the data file. Outlook will immediately begin to export the data. Please note that Outlook will not send you a message when it's done.
- Confirm that the file is saved to the location you chose.
Step 4: Remove the HostGator account from Outlook.
Before connecting your Microsoft 365 account, you must remove your HostGator-hosted email account first.
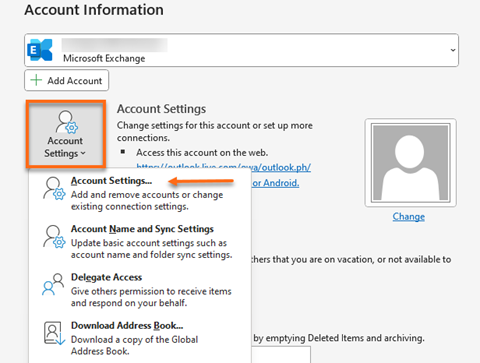
- Choose File > Account Settings > Account Settings.
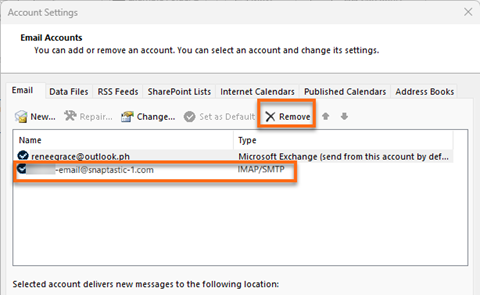
- Select your email account in the Account Settings box, then click Remove.
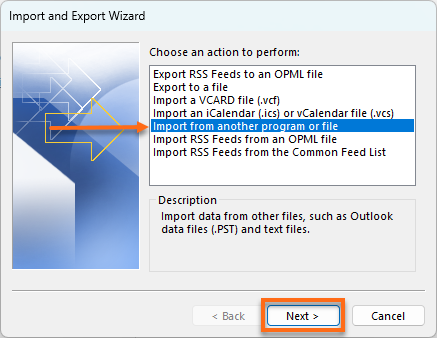
- A dialog box will warn you about the offline cache being deleted. Choose Yes.
- The email messages that you imported to your Microsoft 365 mailbox will still be there, but your HostGator email account will no longer appear in Outlook.
Step 5: Import your email to your Microsoft 365 mailbox.
Now you can connect your Microsoft 365 account to Outlook. To do this, follow the same steps from Step 2, but instead of choosing an IMAP connection, choose Microsoft 365.
- To start the Import and Export Wizard, click File > Open & Export > Import/Export.
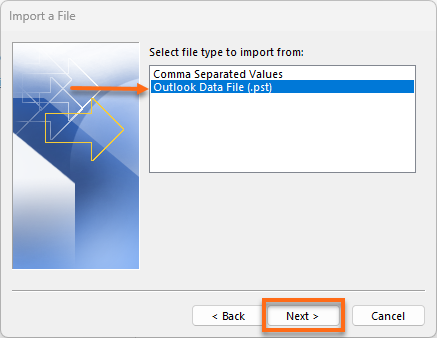
- Choose Import from another program or file from the listed options, then click Next.
- Select Outlook Data File (.pst), then click Next to continue.
- Browse to the .pst file created in Step 3.

- In the Options box, select how you want to deal with duplicates and click Next.
- If you assigned a password to the .pst file, enter the password, then click OK.
- Please choose the option to Import items into the same folder in: and make sure your Microsoft 365 mailbox is selected in the dropdown below it.
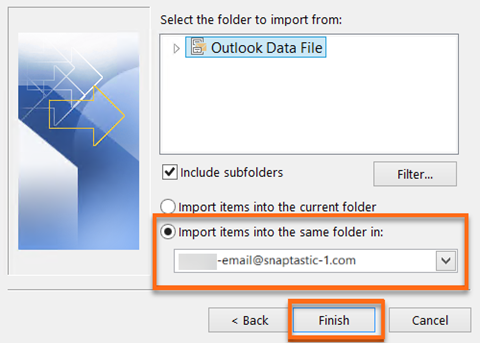
- Choose Finish.
Outlook will immediately start copying the information from the .pst file to your Microsoft 365 mailbox.
When Outlook is finished, you will see the emails from your HostGator-hosted email in your Microsoft 365 mailbox.