How to Use the File Manager - Plesk
The File Manager in Plesk makes it easy to manage your website files from a single location. You can navigate to the httpdocs folder to access your site’s main directory, where you can create or delete files and folders, upload content, and organize everything as needed. It also allows you to adjust file permissions and, for certain server setups, modify upload limits. Overall, it’s a simple tool for organizing and keeping your website files up to date.
How to access File Manager
- Log in to Plesk.
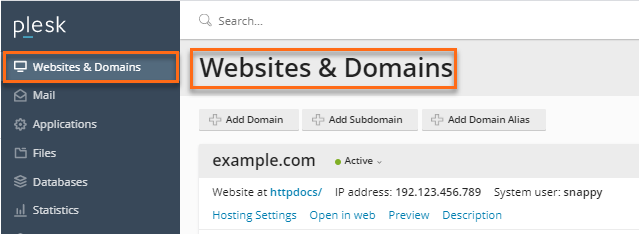
- Click Websites & Domains.
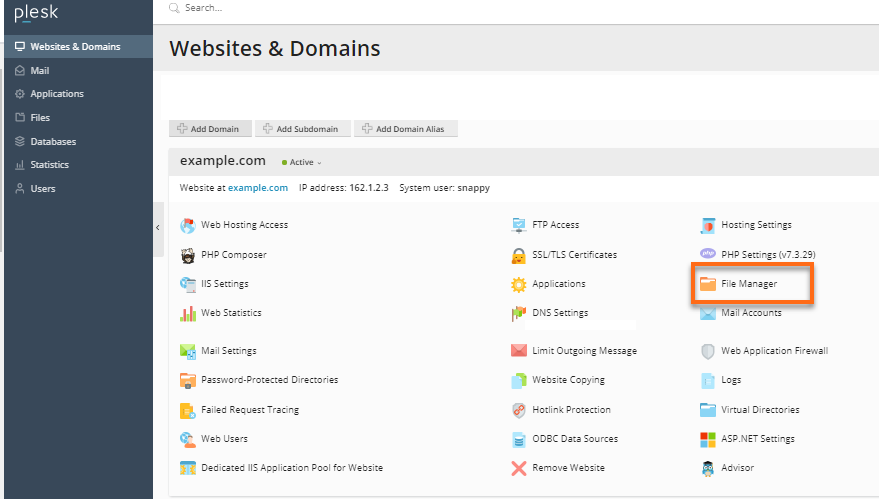
- Click on the File Manager icon.
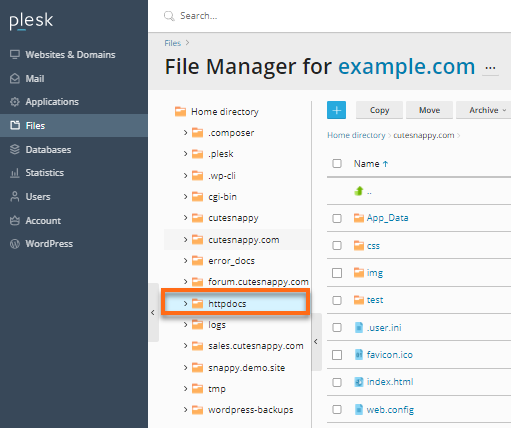
- Navigate to the httpdocs directory. (The httpdocs is the same public_html folder in cPanel. This is where the files are stored.)
How to add and remove a directory
- Log in to Plesk.
- In the Websites & Domains section, navigate to the File Manager.

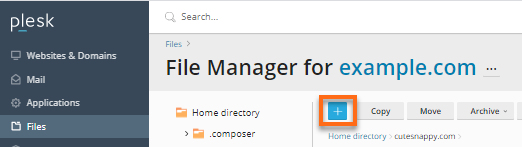
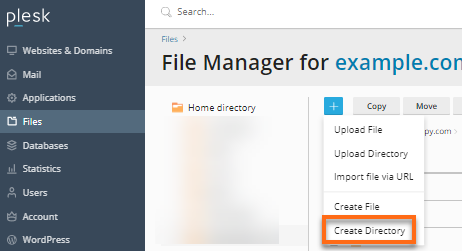
- To create a new directory, click the + symbol to expand the options.
- From the dropdown, select Create a Directory from the list.
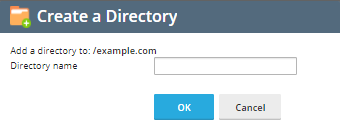
- Type in the directory name and click OK. This creates the directory and automatically opens it.
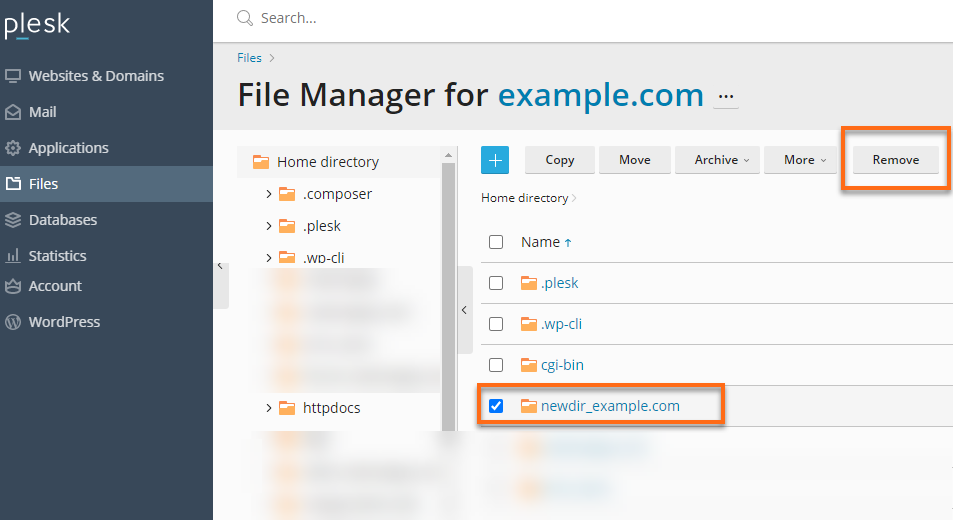
- If you need to remove a directory, select the checkbox and click Remove.
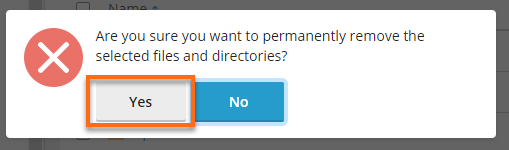
- Check the confirm removal check box and press Yes.
How to create a new file
- Log in to Plesk.
- In the Websites & Domains section, navigate to the File Manager.
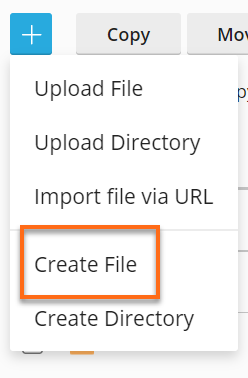
- To create a new file, click the + symbol to expand the options.

-
Select Create a file from the options.
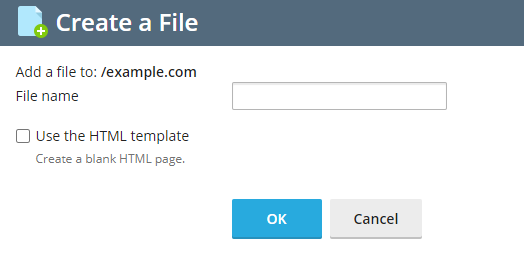
-
Enter the file name you wish to create, then click OK.
How to upload a new file
- Log in to Plesk.
- In the Websites & Domains section, navigate to the File Manager.
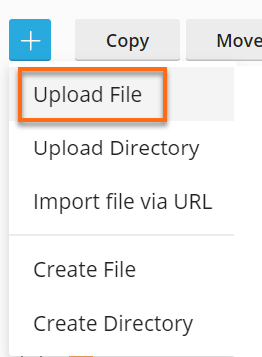
- To create a new file, click the + symbol to expand the options.
-
Select Upload File from the options.
-
Click on Choose File.
- Browse for the file you want to upload, click Open, then click OK.
How to change the file permissions
- Click on the dropdown on the right side of the file you wish to modify.
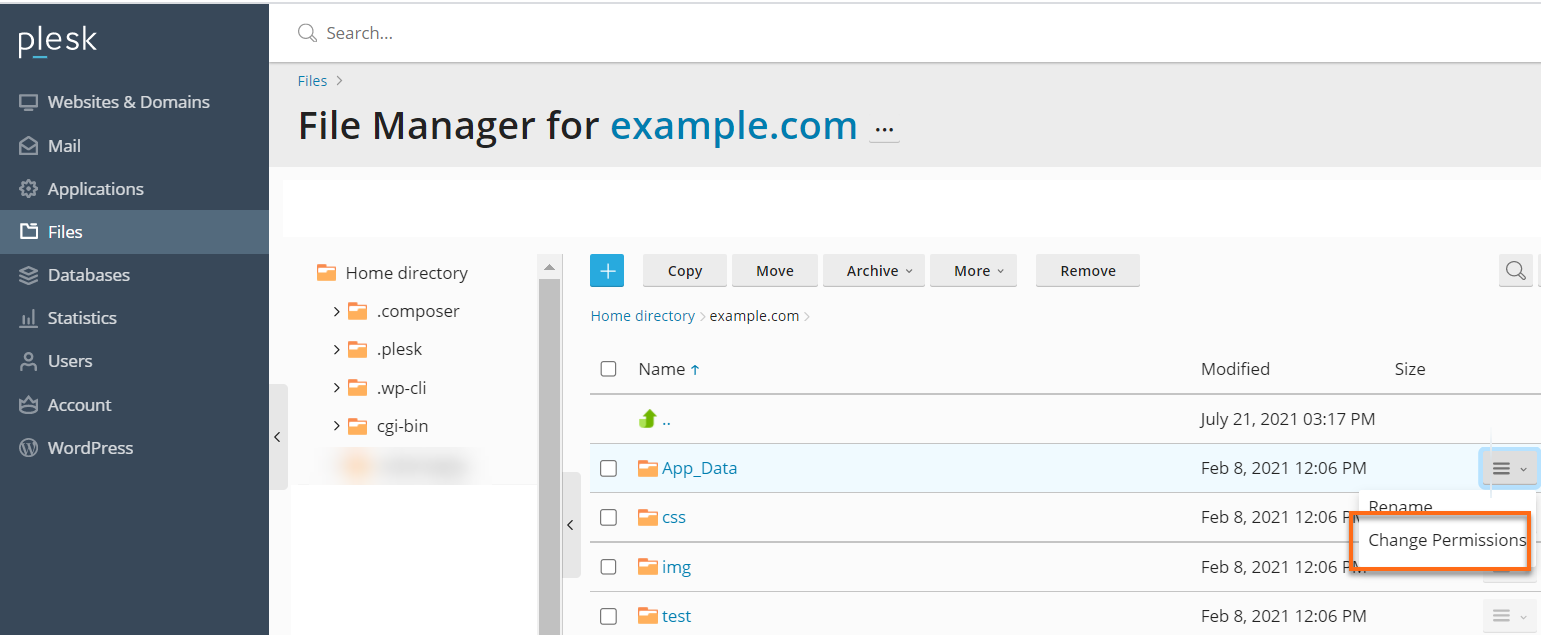
- In the dropdown, select Change Permissions.
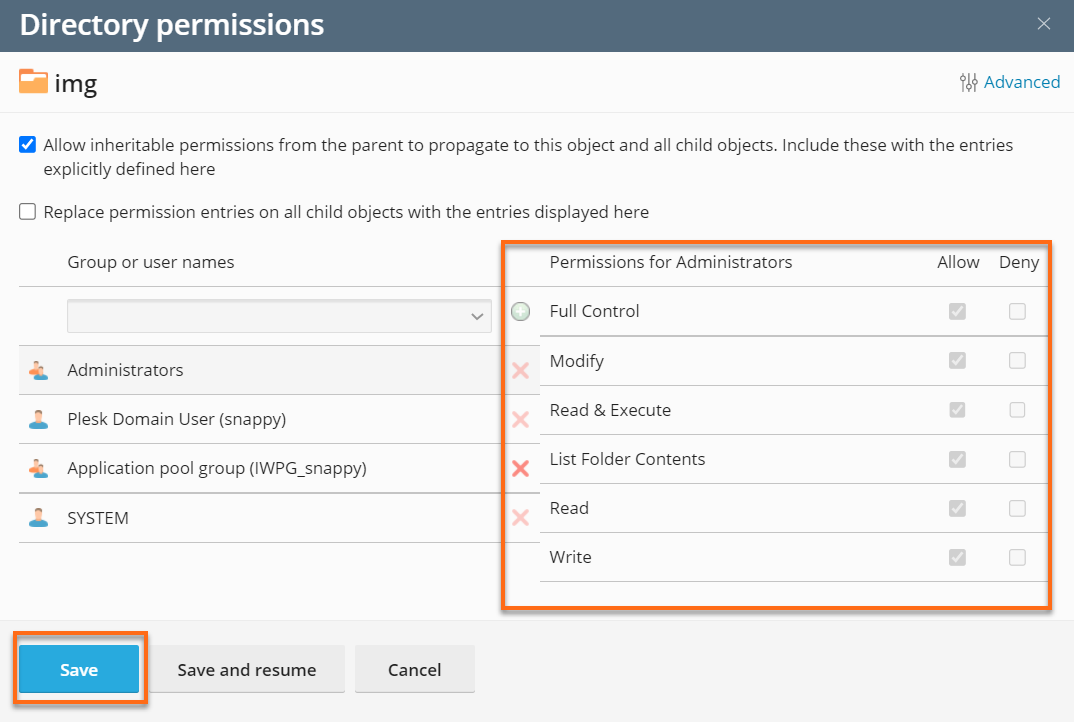
- Then click on Save.
Changing the maximum upload file size
The maximum file size depends on the Plesk PHP settings in your server. These files can be uploaded via the File Manager.
Setting the maximum size of a file limit
- Locate the .ini file by opening the /usr/local/psa/admin/conf/php.ini.
- Set the desired values for upload_max_filesize and post_max_size.
- Run the etc/init.d/psa restart command to restart the webserver.
Reminder: Changes affect both the provider and all customers, as they are server-wide.