Knowledge Base
How to Remove a Softaculous Installation in cPanel
This guide explains how to remove a Softaculous installation in cPanel, using WordPress as the example. Before deleting any WordPress install, we strongly recommend creating a full backup of your WordPress website.
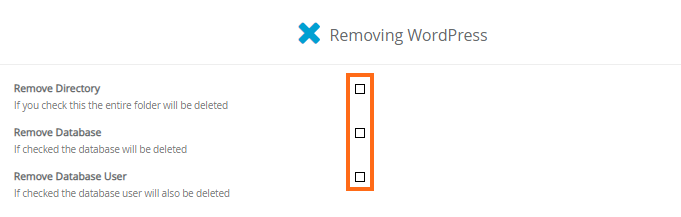
If you want to keep your website files, installation directory, WordPress database, or database user, you can do so before removing your script install. In Softaculous, simply uncheck the three removal options based on what you want to keep.
Remove a WordPress Installation in Softaculous
- Log in to cPanel.
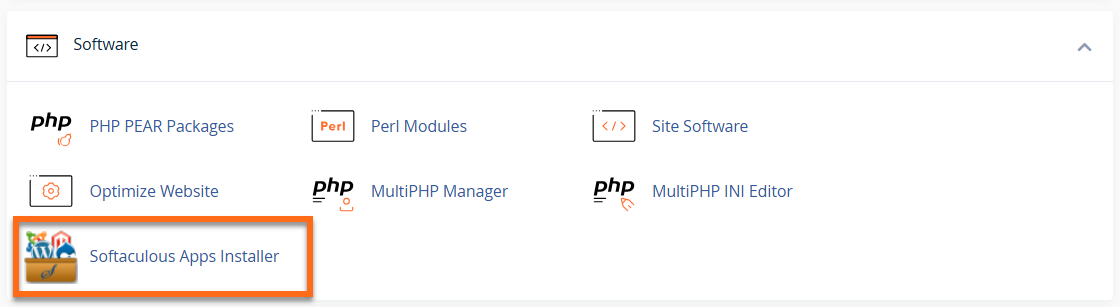
- Within cPanel, go to the Software section, then click on the Softaculous Apps Installer icon.
- Click the Installation box.

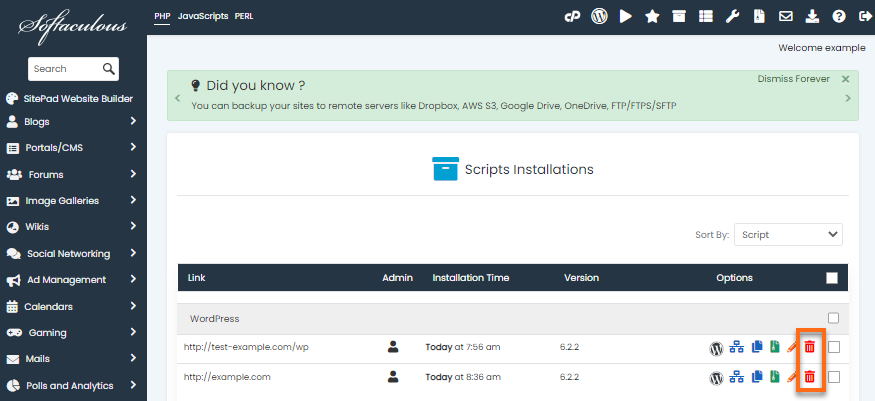
- On the next page, all of your current installations will be displayed.

-
Locate the WordPress website you wish to remove.
- Click the trash icon.
- You'll get redirected to another page where you can completely remove the installation.
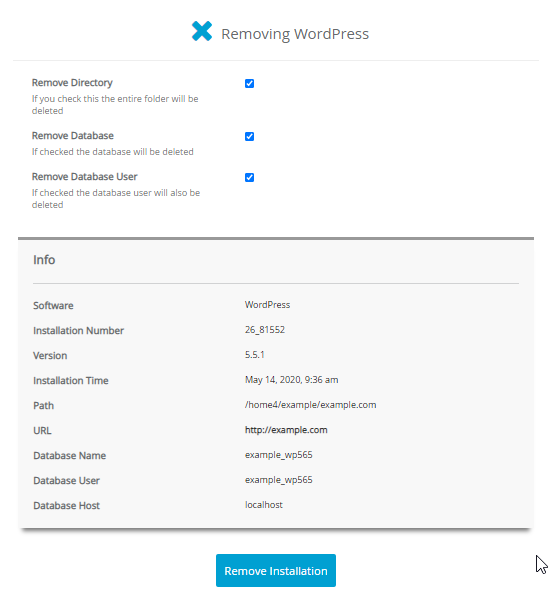
- Click the Remove Installation button to delete the WordPress install completely.
- A pop-up window will appear requesting confirmation. Click OK.
Note: This process is irreversible. Once you click OK, all website content of your WordPress install will be deleted.
- A progress bar will appear. Once the installation is completely removed, a confirmation prompt will appear.
- Click the Return to Overview link to go back to the Softaculous WordPress menu.
Did you find this article helpful?