Knowledge Base
How to Install WordPress with One Click
This article discusses how to use the One-Click feature to install WordPress in your new Shared hosting's primary domain.
Important Notes:
- This feature is only available in Shared hosting plans and does not apply to Cloud or Reseller hosting.
- You can only add more sites to your hosting packages if you have not exceeded the number of allowed websites yet. For more information, please visit the Shared Hosting section of our front-of-site.
Here are the steps for installing WordPress using One Click
Step 1: Install WordPress
Excited to get started with your website? You can go ahead and install WordPress immediately after purchase.
After paying for your hosting package, you will be redirected to the Customer Portal.
- Click Websites.
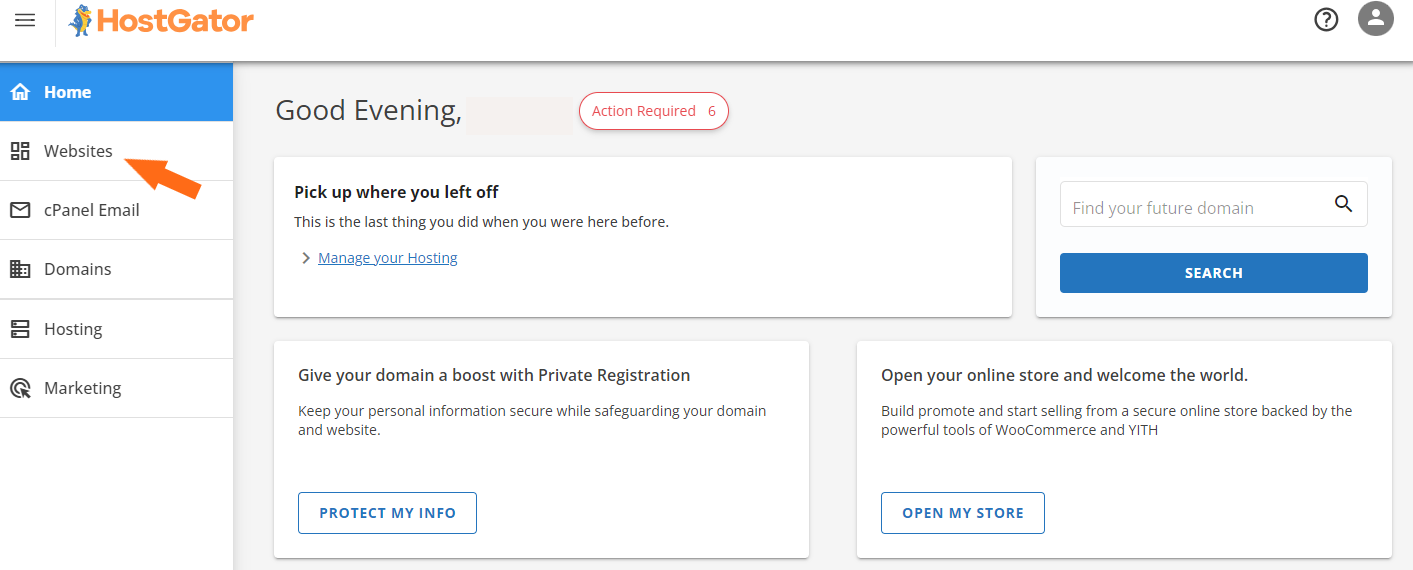
- Click Add Site.
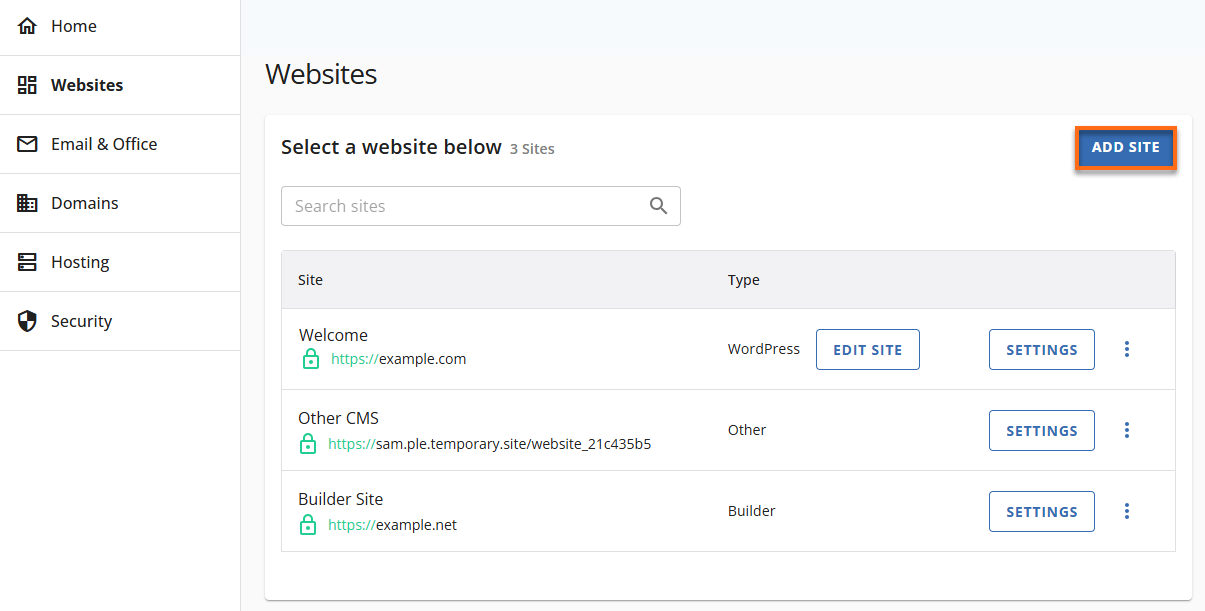
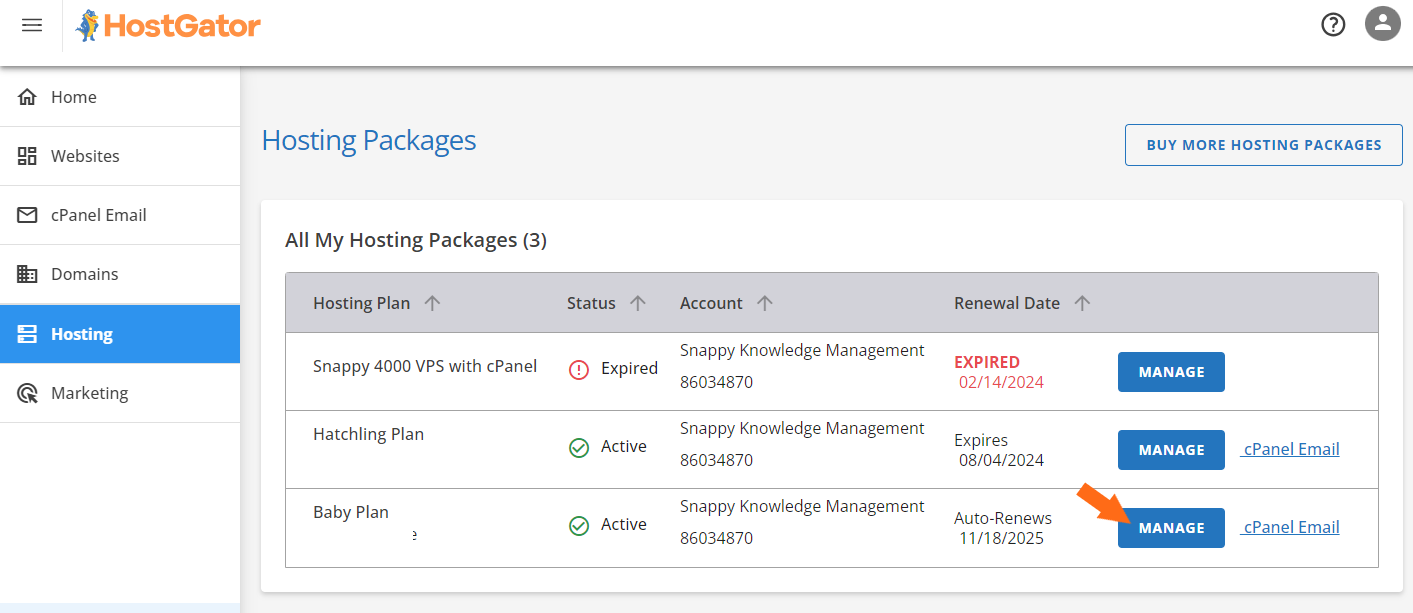
- It will direct you to the Hosting tab. Select the package where you want to install WordPress. Select Manage.
- Click Add Site.
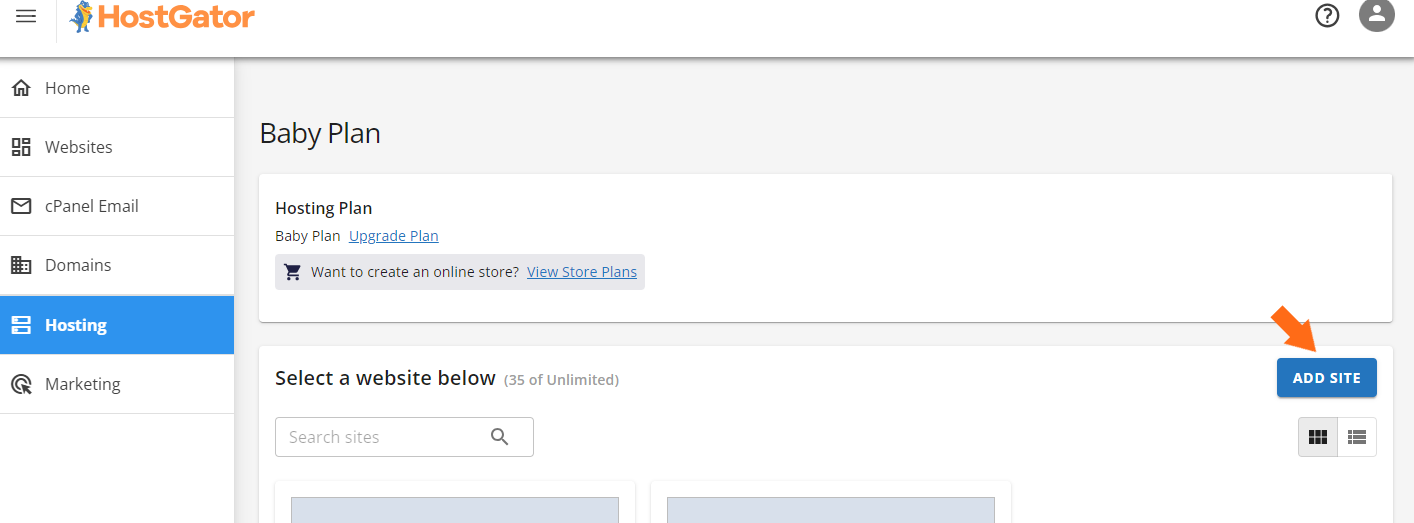
- Select Install WordPress and click Continue.

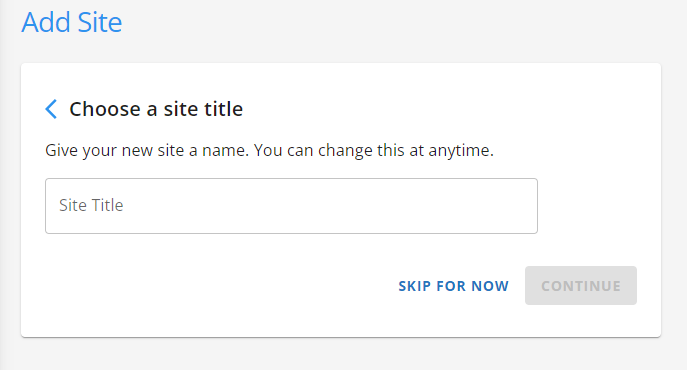
- You can add your site title or select Skip For Now.
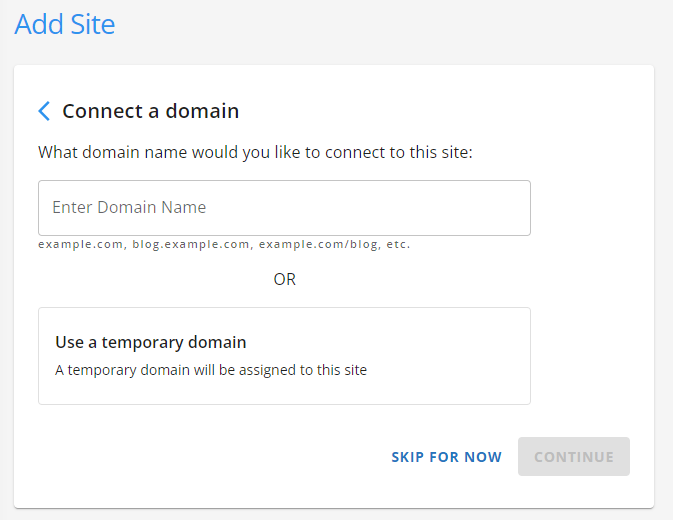
- You'll be given 3 options. Enter Domain Name, Use a temporary domain, and Skip For Now.
- WordPress will start to install.

Step 2: View your WordPress Dashboard
We have two options for viewing your website's WordPress dashboard:
Option 1: Via Customer Portal
The WordPress Single Sign-On (SSO) feature is only available to new Shared hosting customers who use the One-Click method to create a new WordPress site.
- Log in to your Customer Portal.
- In the Dashboard, navigate to Websites, then click Edit Site.
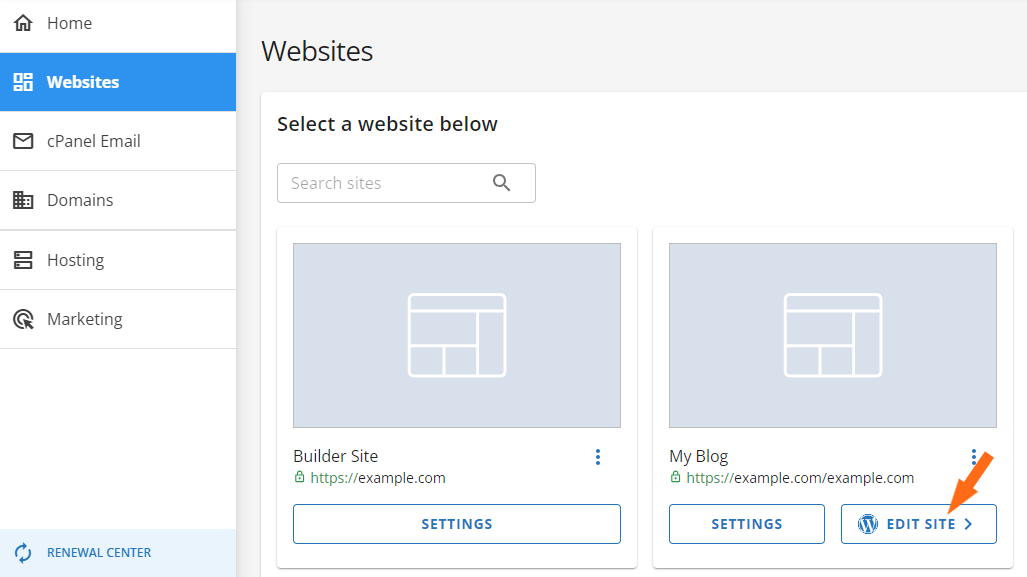
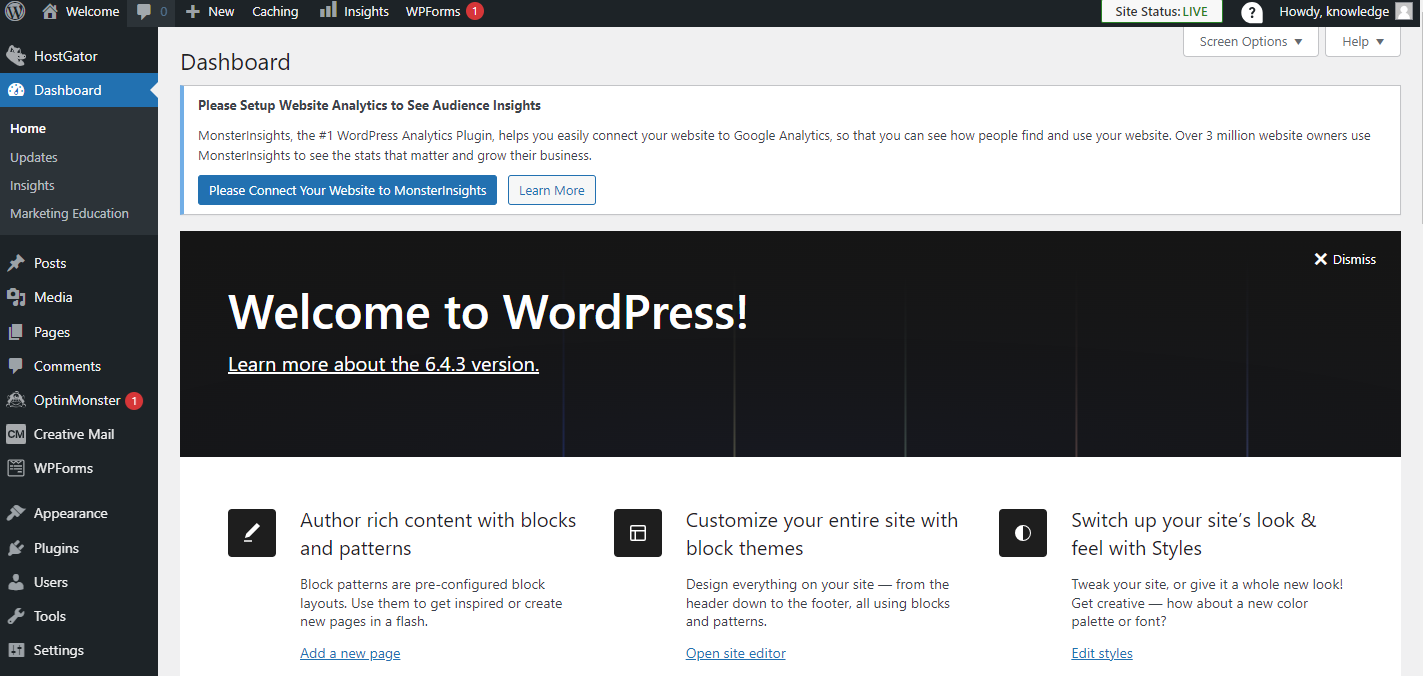
- It will automatically log you into your WordPress Dashboard.
Option 2: Via wp-admin (Direct Login)
Once full propagation is done, you can directly access your WordPress dashboard through your domain name.
- In your browser, type in:
https://yourdomainname/wp-admin(Please make sure to replace 'yourdomainname.com' with your actual primary domain name.)
- Enter the WordPress username and password you copied from Step 1 above.
Did you find this article helpful?