Knowledge Base
How to Import Installations into Softaculous
Learn how to import an existing website installation into Softaculous for easier management and control. This guide walks you through importing a single installation or scanning and importing multiple installations using cPanel. Importing your installation into Softaculous lets you manage features such as backups, staging, and updates from a single convenient interface.
Import specific installation
- Log in to cPanel.
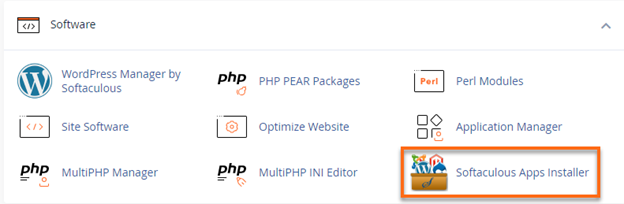
- Under the Software section, click on Softaculous Apps Installer.
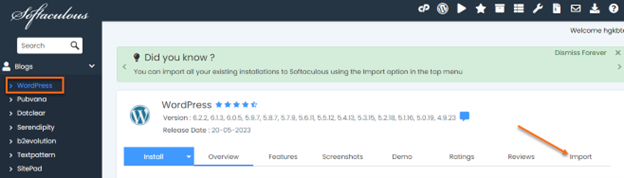
- Select the CMS or application used to create your website.
- Click on the Import tab.
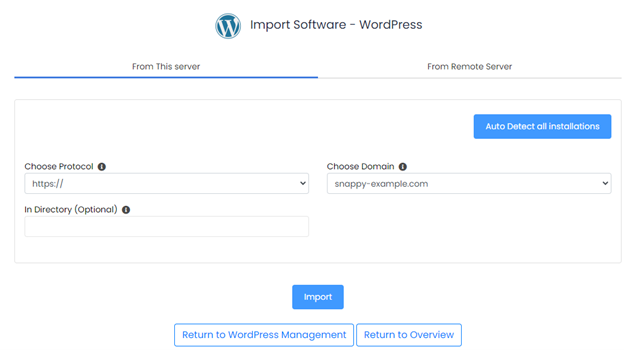
- The screen will show 3 options:
- Choose Protocol: Select the protocol your website uses.
- HTTPS: If your site has SSL
- HTTP: If your site doesn't have an SSL
- Choose Domain: Choose the domain where the software is currently installed.
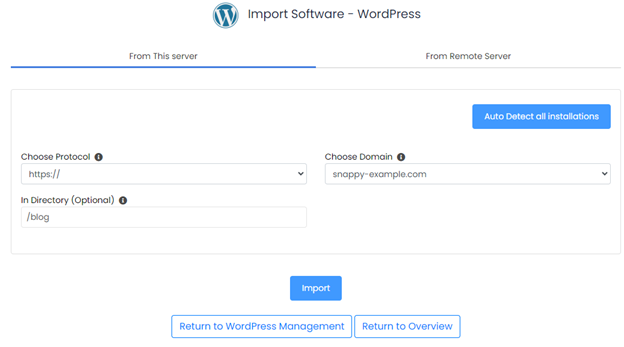
- In Directory: Enter the directory where the software is installed. If you have installed the software in the public_html, you can leave the space blank. If the installation is in a subdirectory, enter the name of the directory where the software is installed. Please see the screenshots below:
- Software is installed in the public_html.
- Software is installed in a subdirectory.
- Software is installed in the public_html.
- Choose Protocol: Select the protocol your website uses.
- Click on the Import button.
Once done, your software will be imported to Softaculous, where you can manage the installation's backups, staging site, etc.
Import multiple installations
- Log in to cPanel.
- Under the Software section, click on Softaculous Apps Installer.
- Click the Import Installations icon on the top-right portion of the Softaculous homepage. This will scan installations from other tools.

- You can select Manual Installations and scan to find any supported software that was manually installed.
Did you find this article helpful?