Knowledge Base
How to Find and Install Applications - Plesk
There are several free applications available for installation via the Plesk control panel. In this article, we will install Joomla as an example, one of the leading Content Management Systems.
Different versions of Plesk may have slightly different appearances, but the steps, buttons, and icons are the same.
To install an application to your domain:
- Log in to the Plesk control panel.
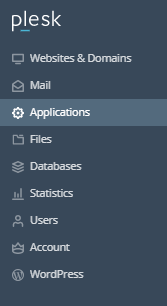
- Click on Applications from the left-hand menu.
- Select All Available Applications.
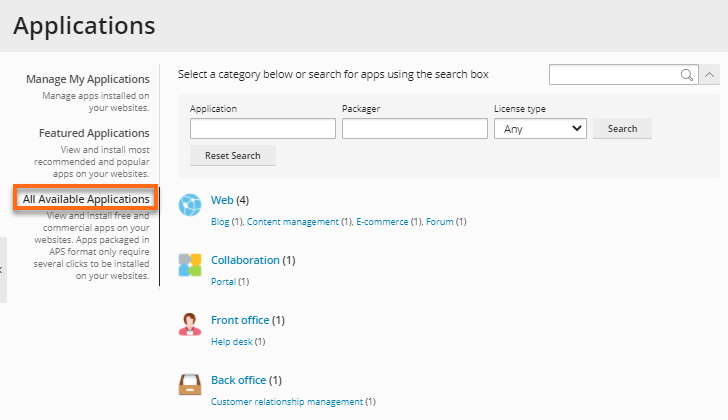
- Click Web from the list of categories on the right-hand side.
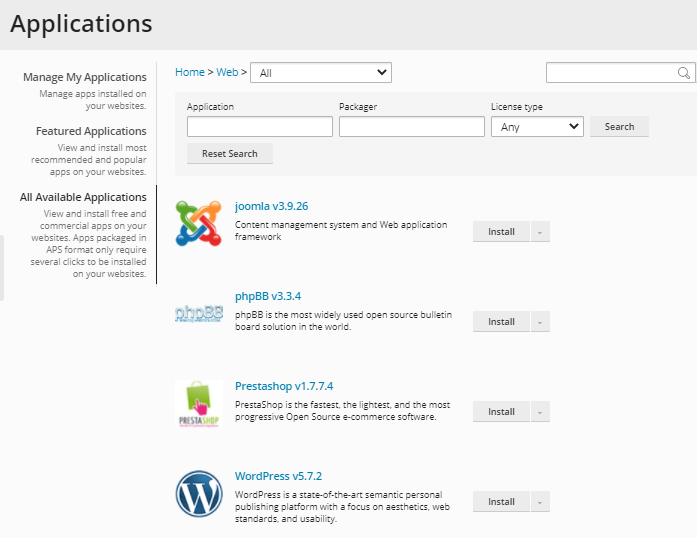
- Locate Joomla from the list of applications (You can choose any of the available CMS).
- You may want to click the arrow beside the Install button, then select Install (Custom).
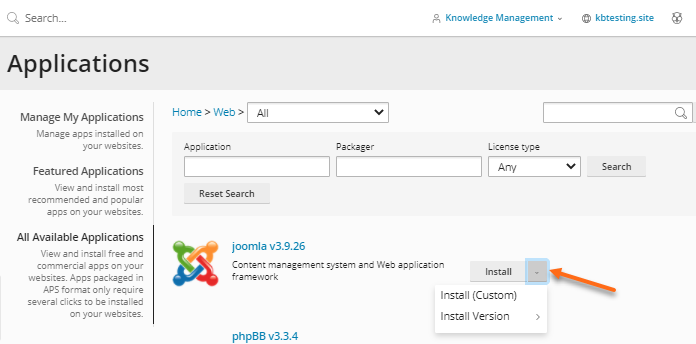
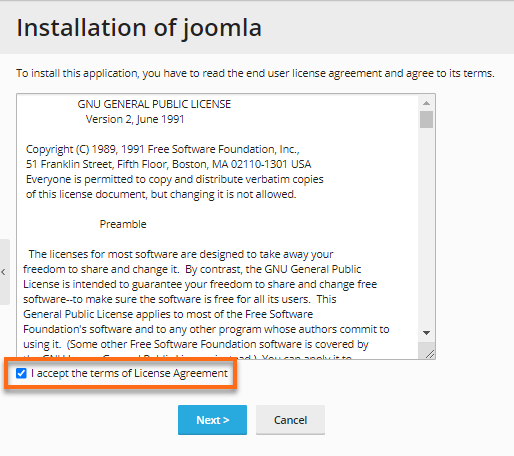
- You will be presented with the GNU Public License page. Please read the license and put a checkmark next to I accept the terms of License Agreement, then click Next.
- Enter the required details in the form.
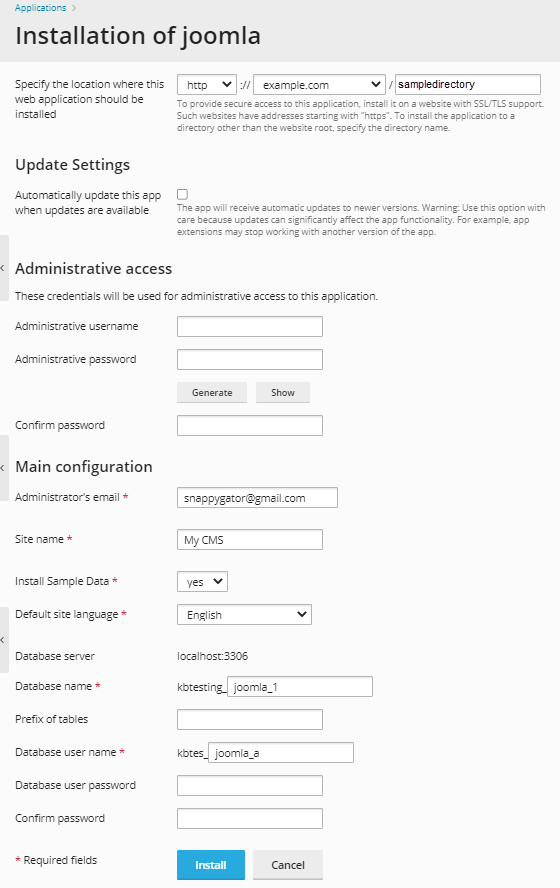
- Select the domain where you wish to install Joomla from the dropdown.
- You can choose to have automatic updates if they are available.
- Provide preferred admin username and password.
- Configure settings by providing the admin email, Site name, database username, etc.
- The database server is localhost by default.
- Once done, click on the Install button.
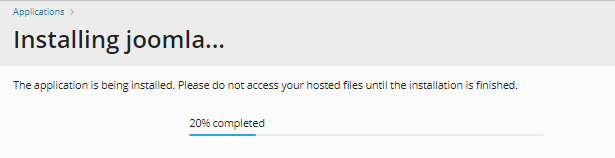
- A progress bar will appear, showing you the status of the installation.
- Once installed, a page with the installation details will be displayed, showing you what directory Joomla was installed in and your admin email and logins.
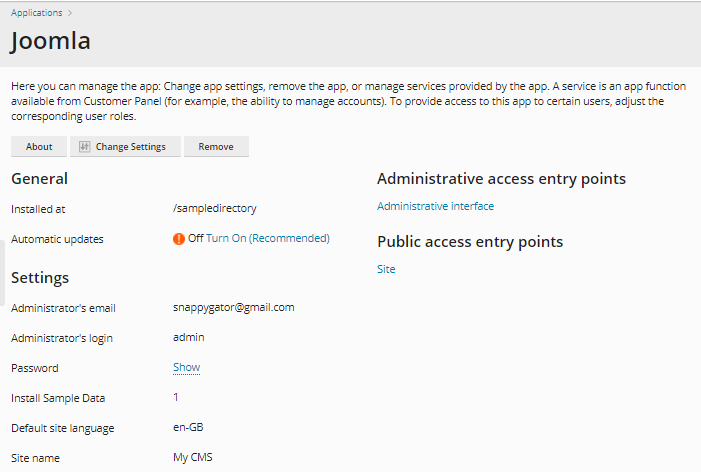
Congratulations! You have successfully installed Joomla!
Did you find this article helpful?