Knowledge Base
How to Create Email Accounts - Plesk
Plesk makes it simple to create email accounts customized to your domain. Having a [email protected] email address makes your website look professional and separates your personal email from your website email.
To create a new email account in Plesk Control Panel:
- Log in to Plesk.
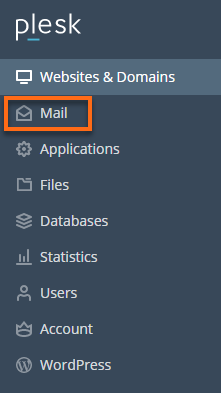
- Select the Mailtab in the left-hand menu.
- Click the Create Email Address button.

- Type the left part of the email address before the @sign, and if you have several domain names on your account, select the desired domain name from the dropdown to which the email address will be created.

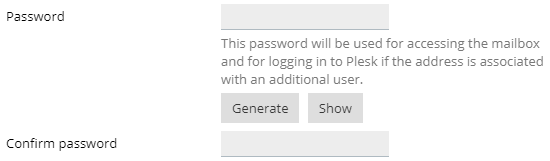
- Create or generate a password for the email account.
- Specify the mailbox size limit (25 MB is a good start) or use the default size.
 Leave the Mailbox checkbox selected. Clearing this checkbox makes sense only if you want to use this address as a mail forwarder, which will forward all incoming mail to another address.
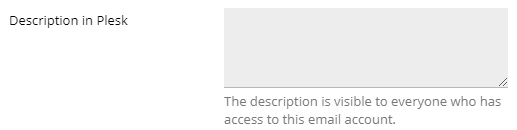
 - (Optional) Create a description for the email visible to everyone who has access to that email account.
- Click the OK button to finish.

Note: In July 2019, Windows Dedicated Servers, by default, will have MailEnable Standard installed. Windows Dedicated Servers before July 2019 will have SmarterMail. If your Windows Dedicated Server has SmarterMail, it is possible to create email accounts directly within SmarterMail. Please note that all email accounts should be created within Plesk for proper synchronization of settings. Our Windows Administration may not support any email accounts created outside of Plesk.
Did you find this article helpful?